Yo-Ho Let’s Go! To a Pirate Party!
The theme for this month’s Silhouette Challenge is “my favorite things” meaning my favorite Silhouette supplies.
The main reason I got my Silhouette Cameo was to cut paper and make party decorations. I love to make party decorations and have always gone a little over board, but now that I have my Silhouette, I go hog-wild.
This past March we had my oldest son’s fourth birthday party and I just knew this month’s challenge would be the perfect opportunity to share them with you. Or should I say, the perfect opportunity to force motivate me to finally get around to writing this {wink-wink}….And let me warn you, this post is full of pictures.

Ian decided he wanted a pirate party for his birthday, so I got to work, starting in January.
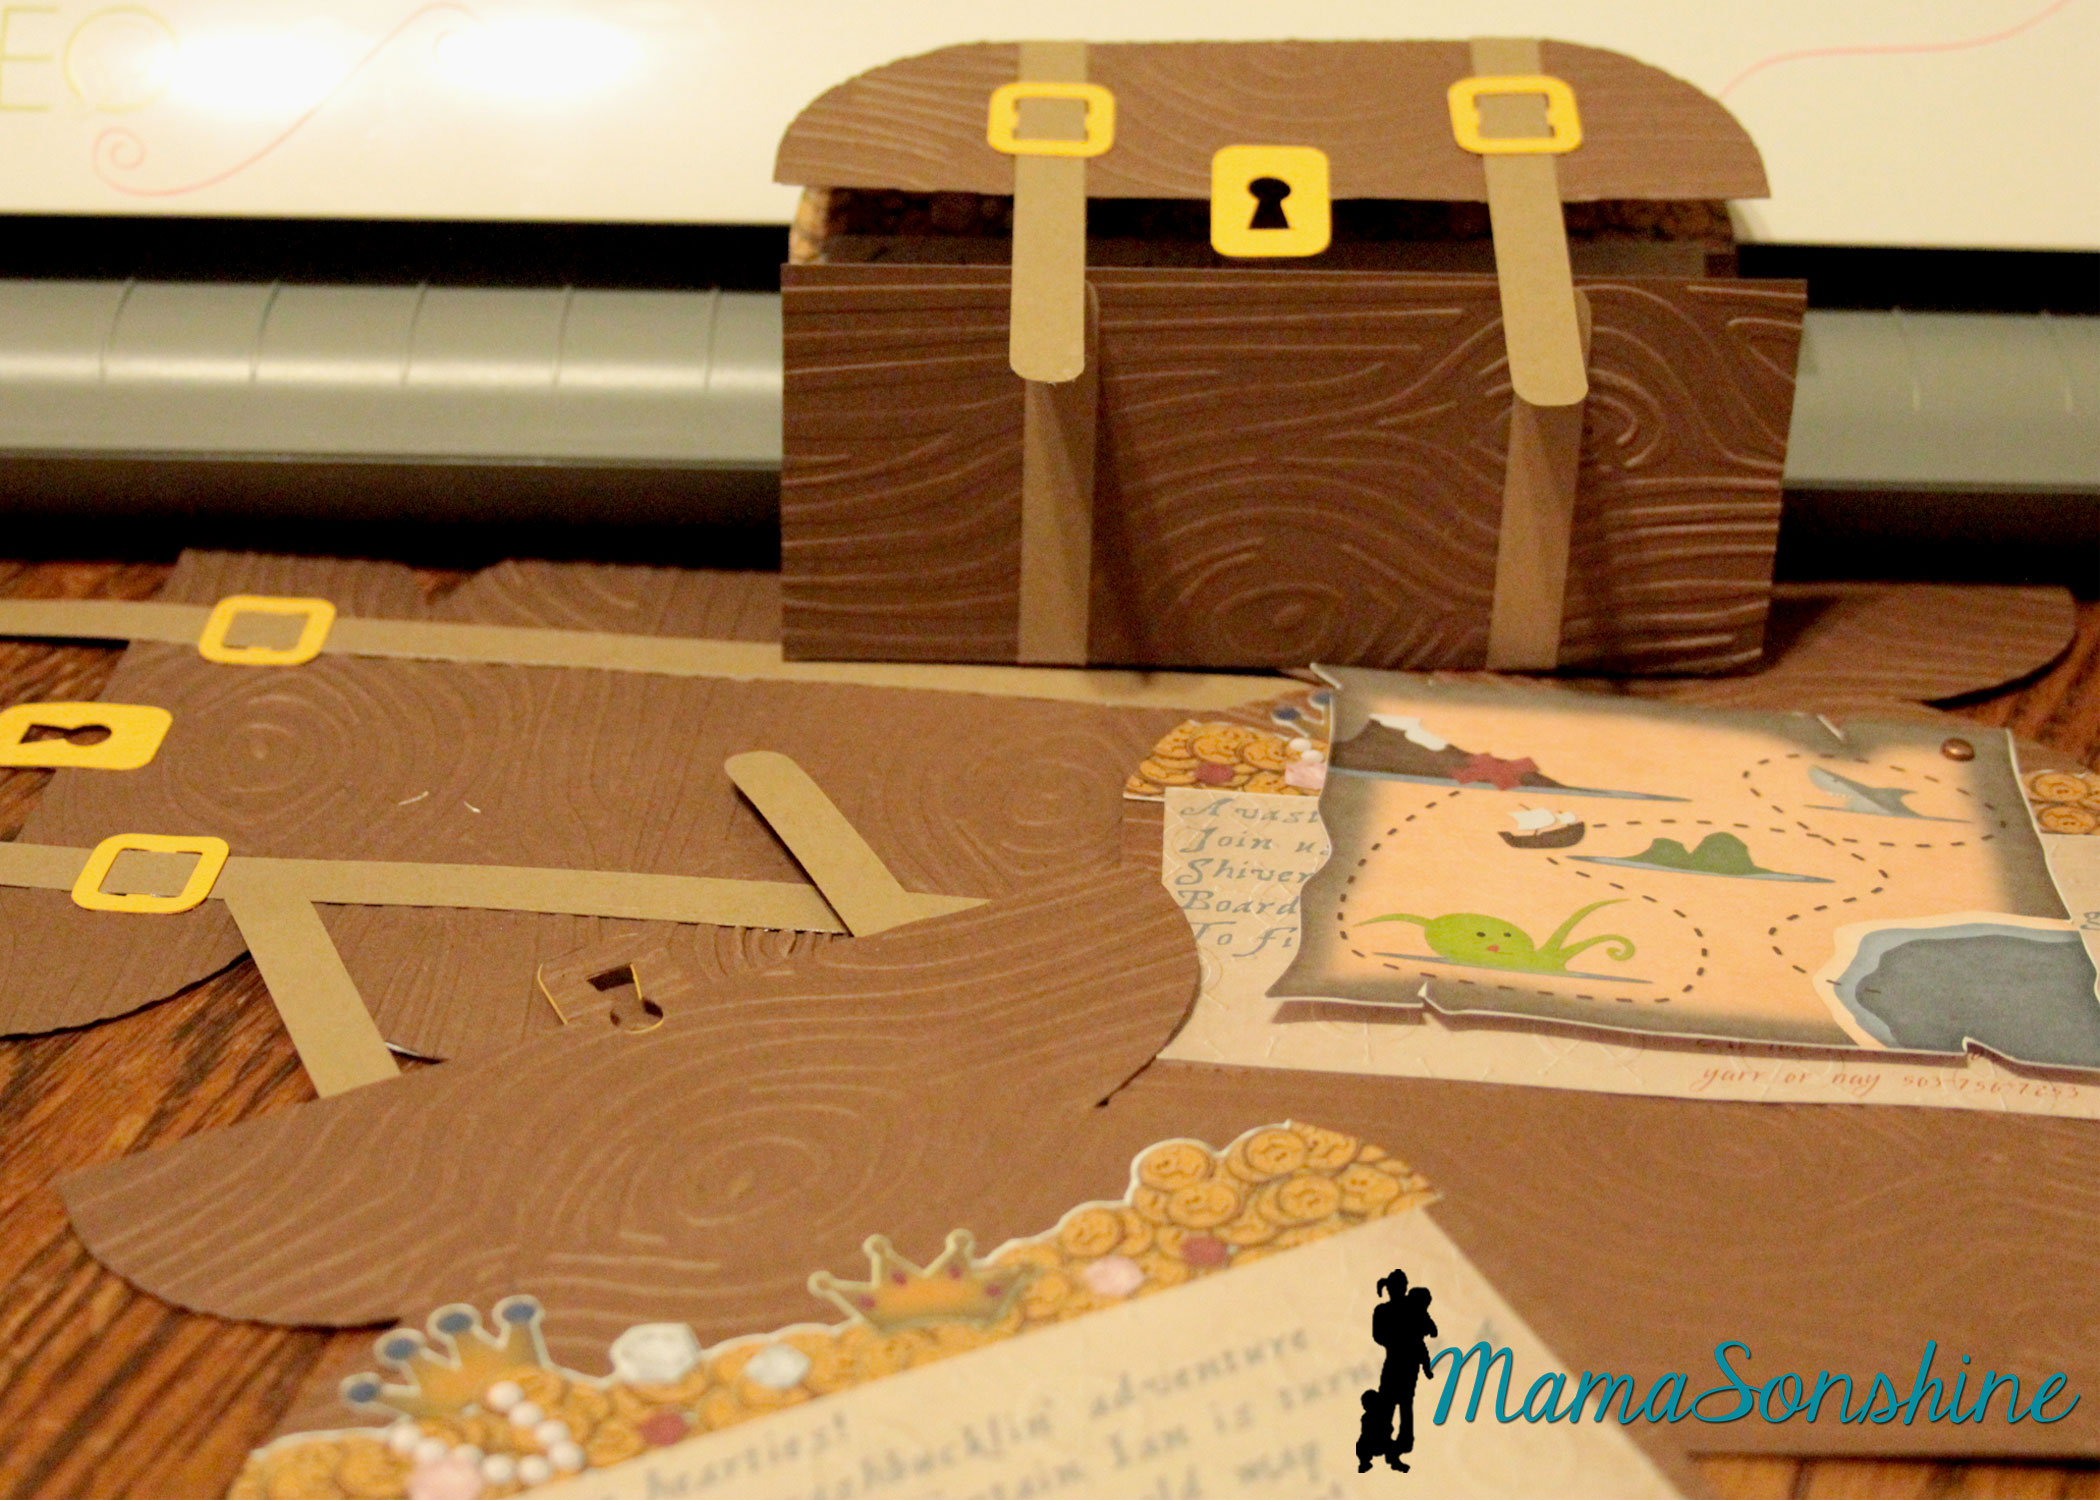
The invitations were treasure chests that opened to show a map, some treasure and the party info. The exterior of the invitation was a cut file I purchased through the Silhouette store. I used my Cuttlebug to give it the wood grain look. I used elements from Just So Scrappy’s Yo-Ho Pirate digital scrapbook kit to make the map and as a background for the information section. I used graphics from this kit in almost everything I did for this party.

I designed the coin and jewel pile and used Silhouette’s print and cut option to cut them out.
I love making rosettes for parties, and this party was no exception.
I created these party hats for the kids. This skull and cross-bones was from the a flag in the scrapbook kit. I used some of the negative skull and cross bone cut outs in other decorations, like the bunting flags (see below).
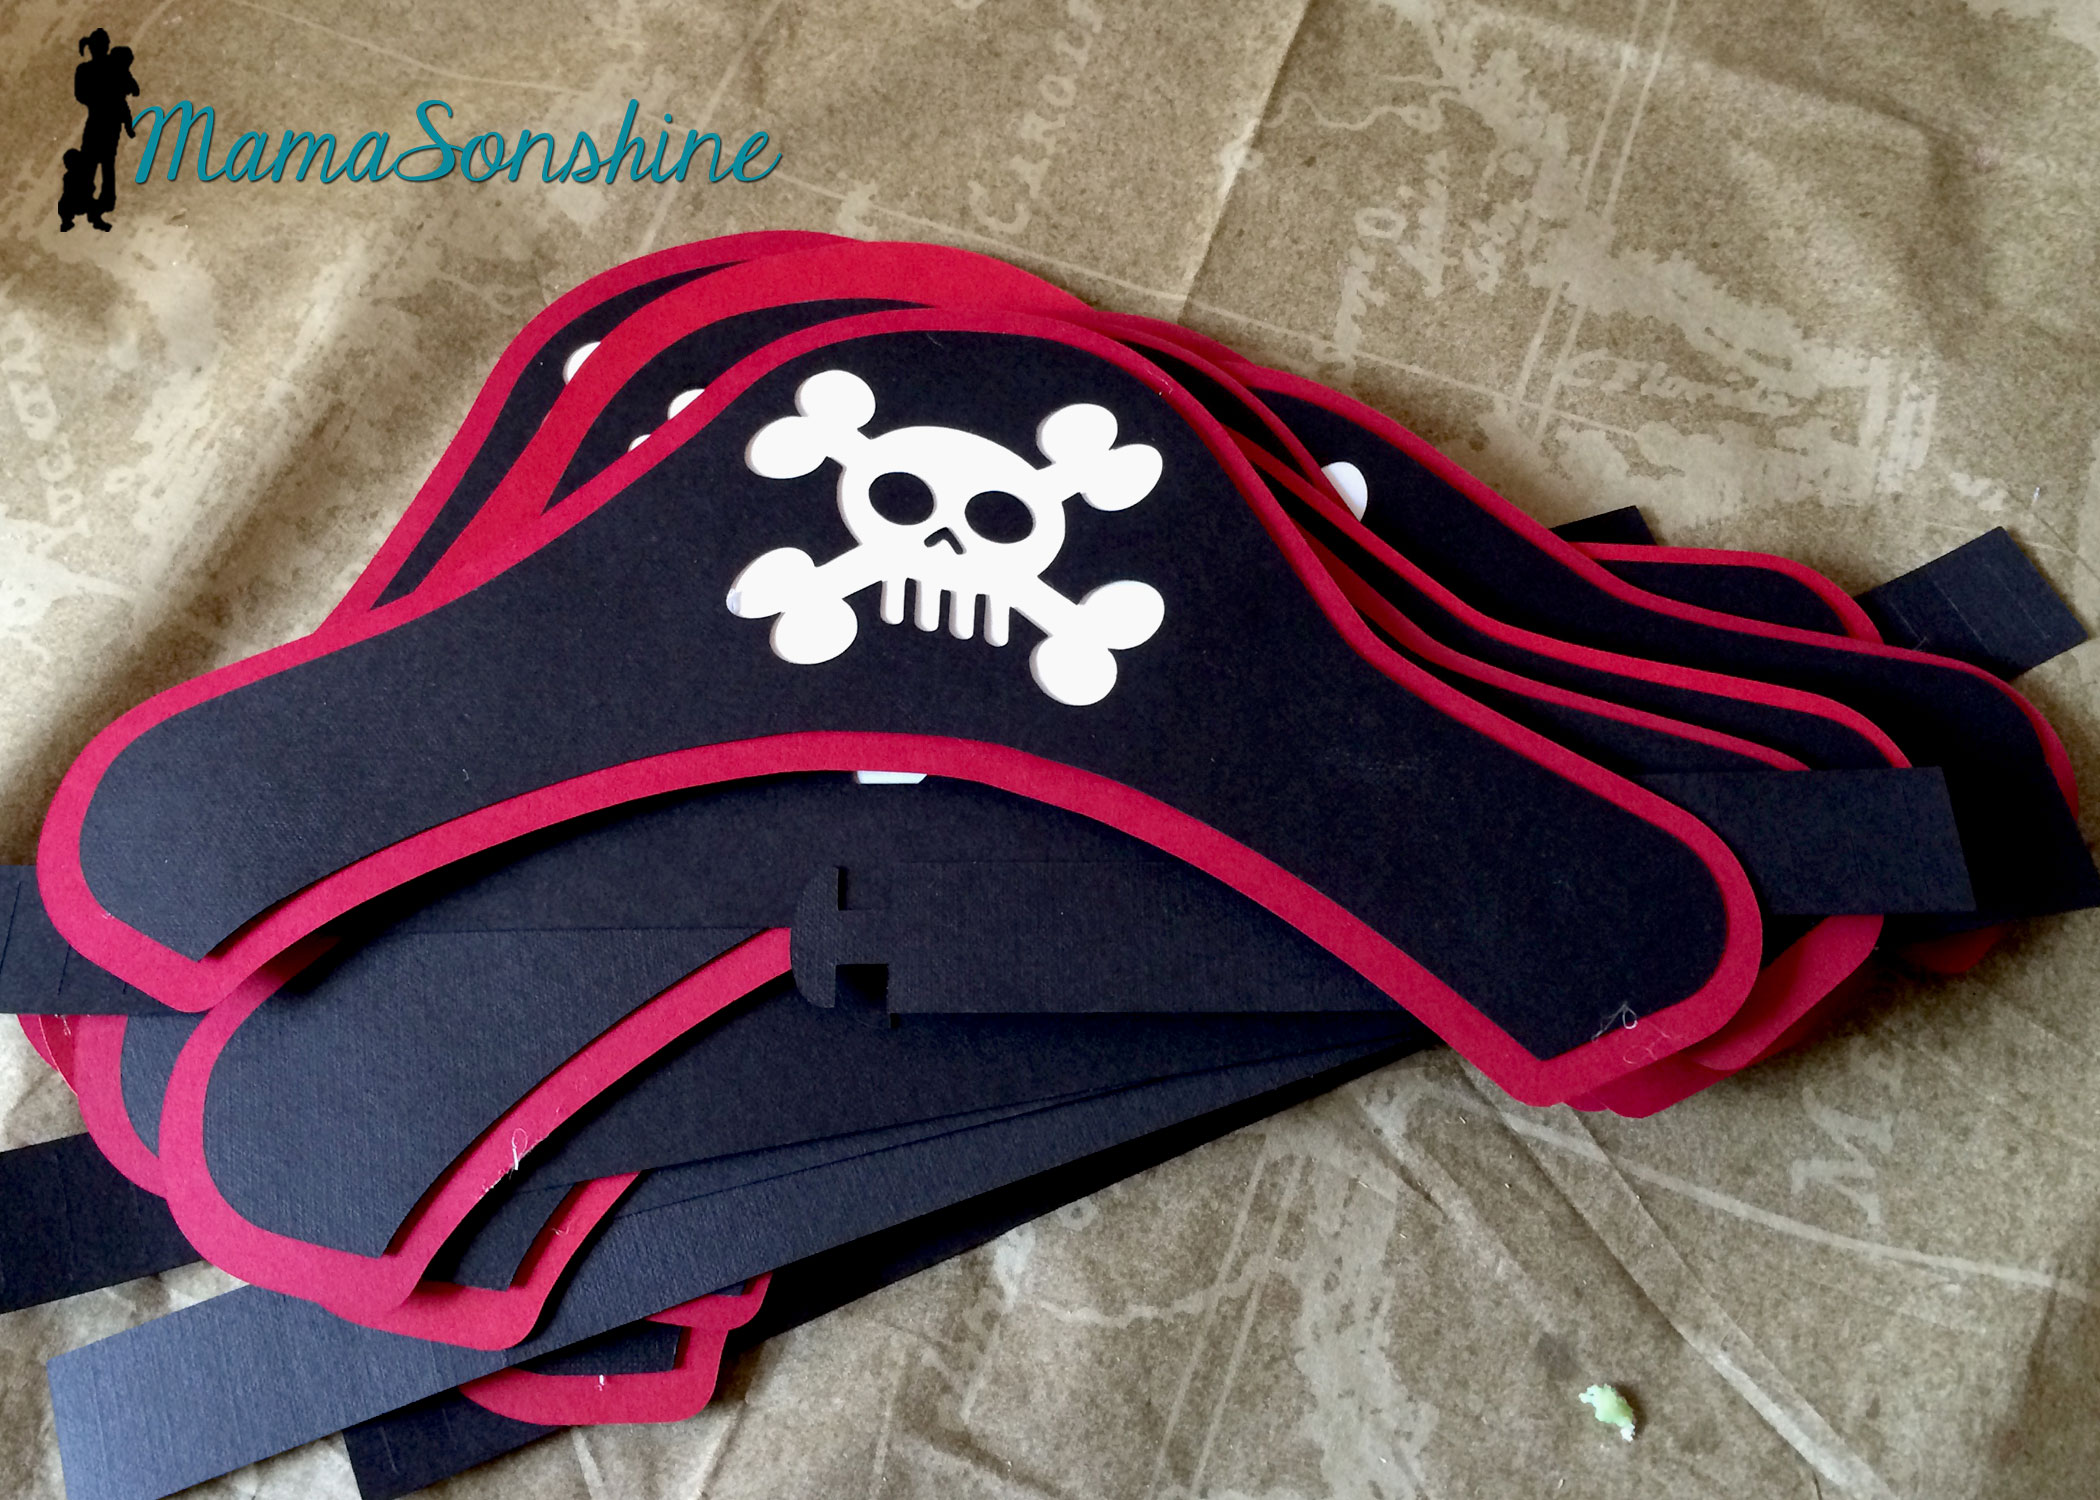
I don’t think I would have been able to make a dozen pirate party hats with out my Cameo.
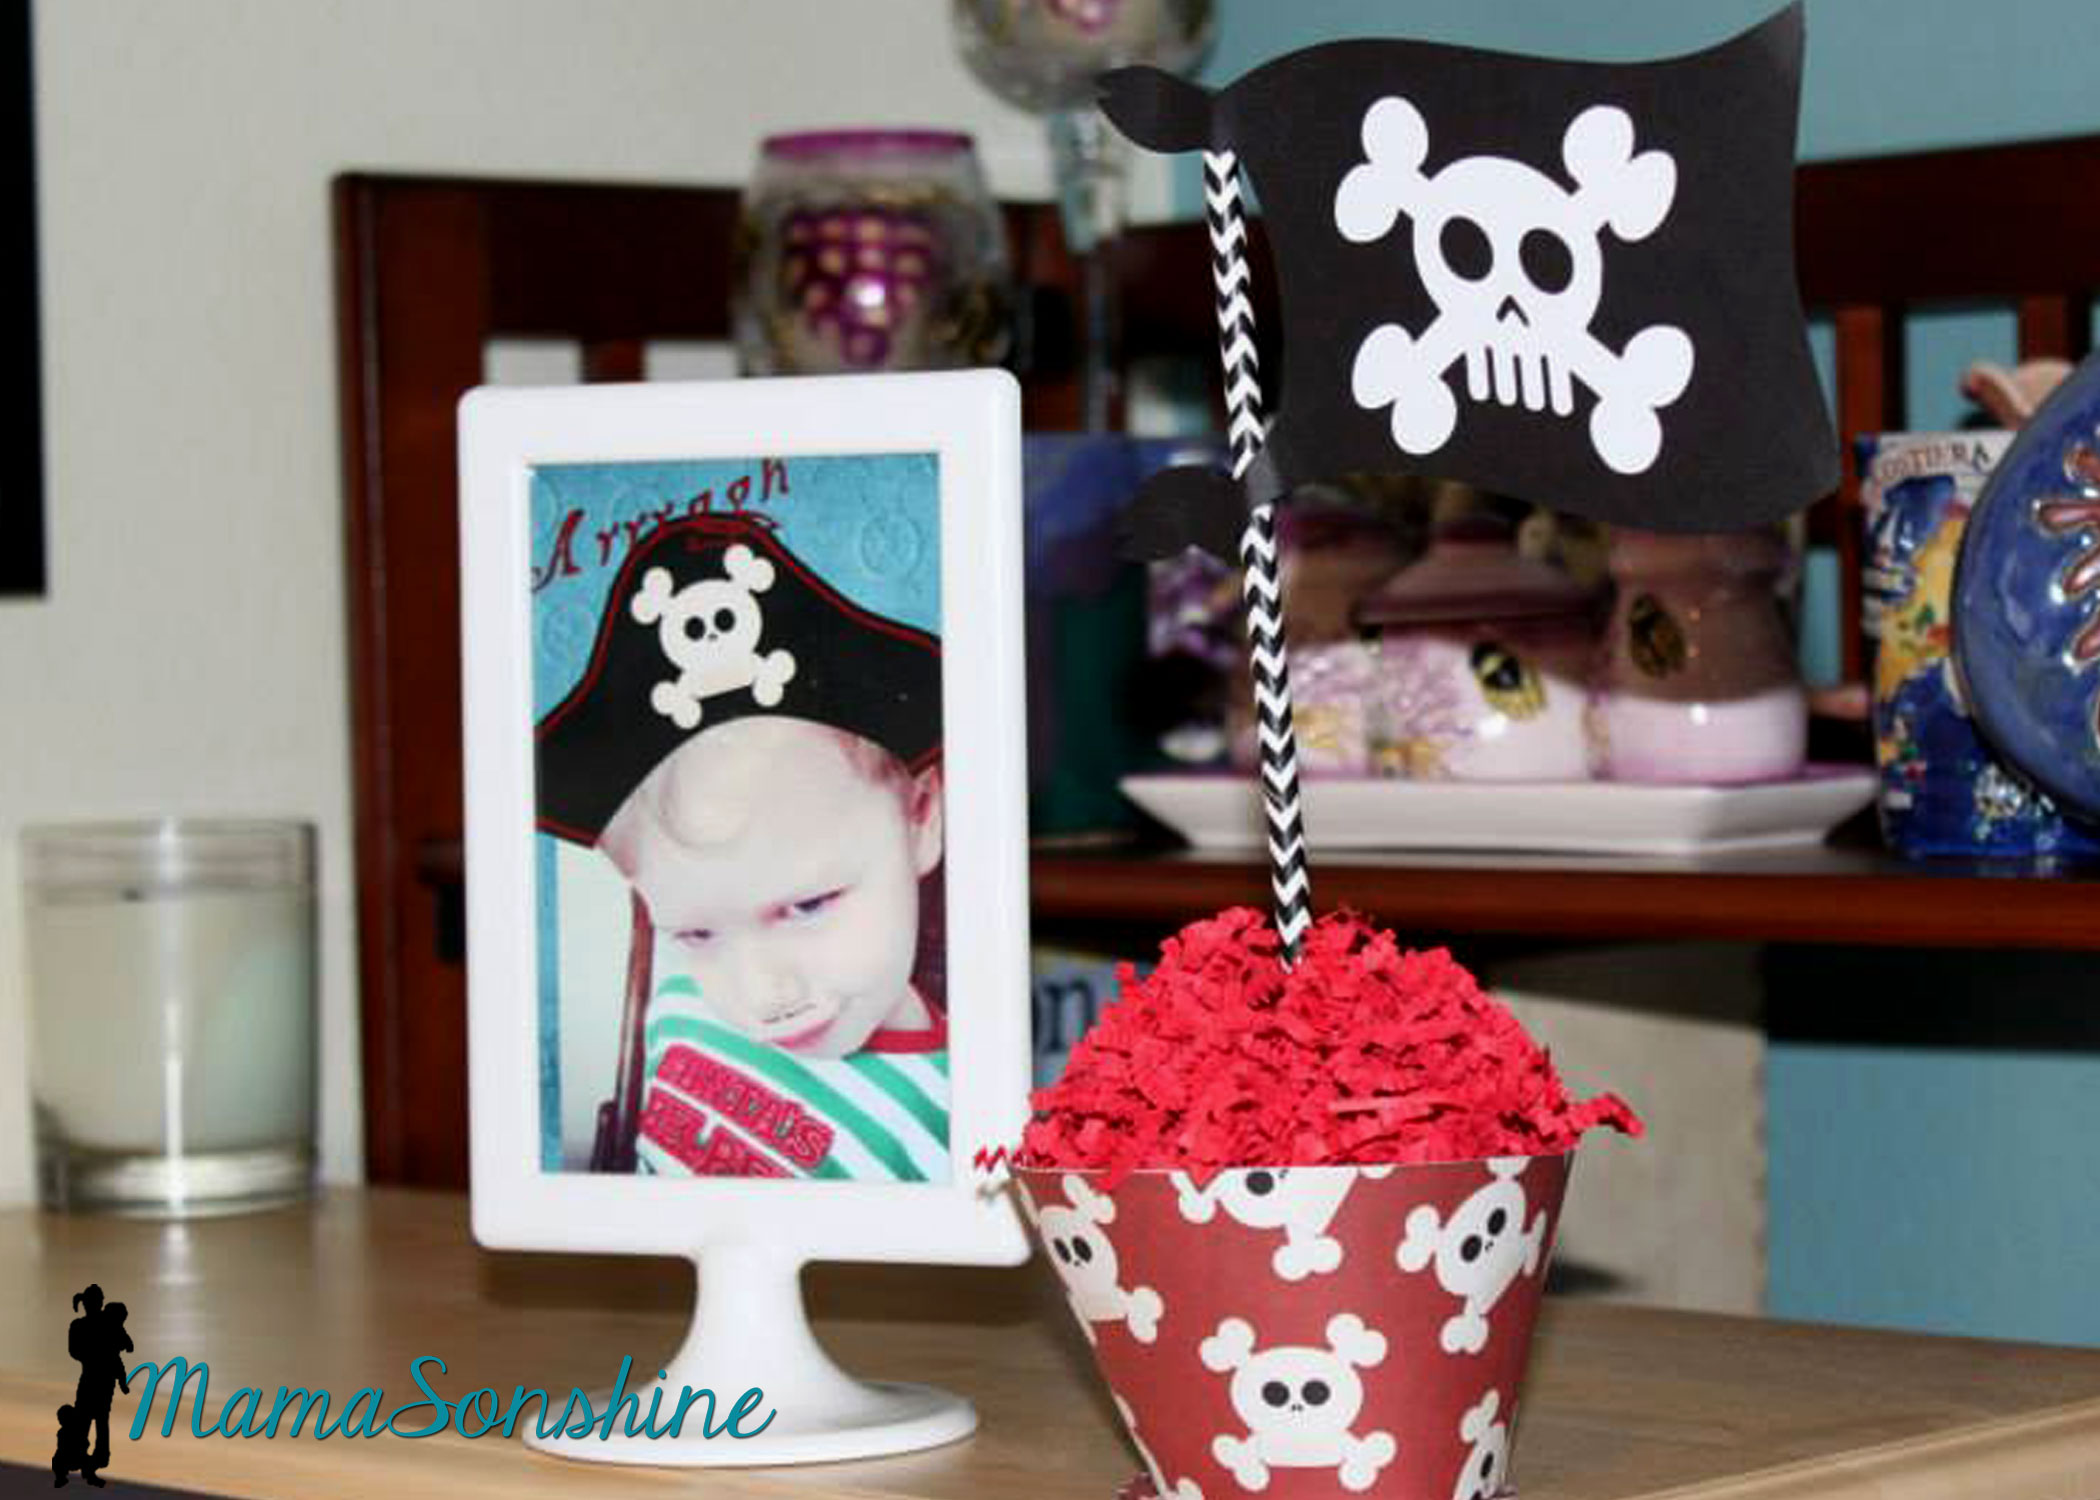
I really loved these flag topiaries. I cut the flags out from the kit and used the digital papers to make the each base.
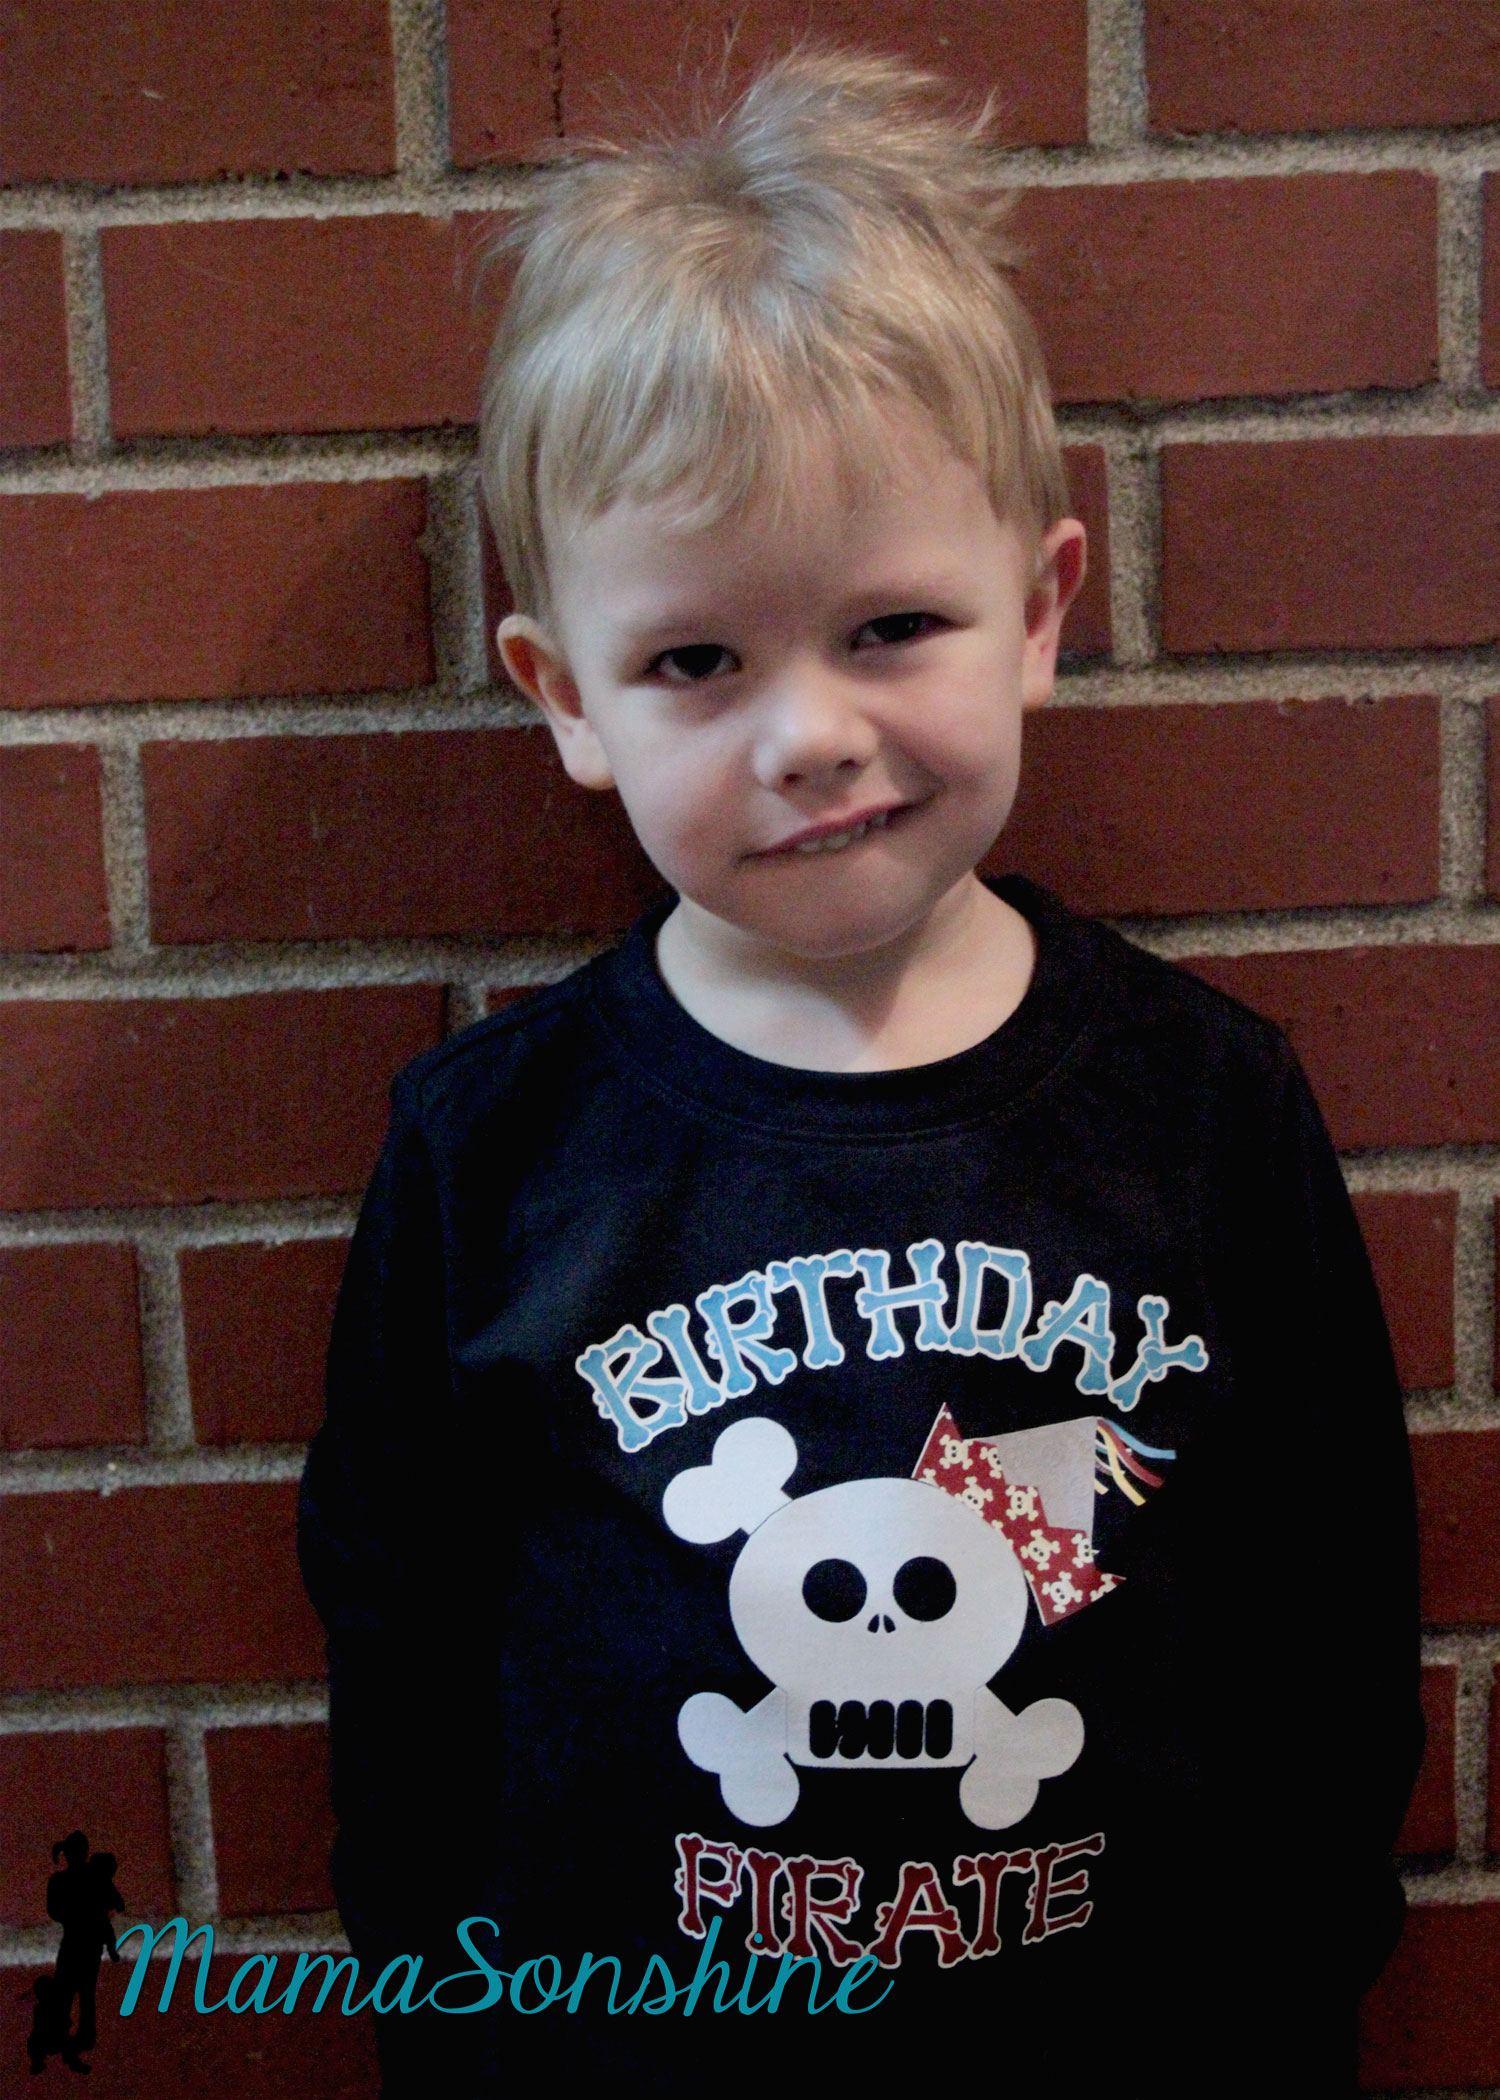
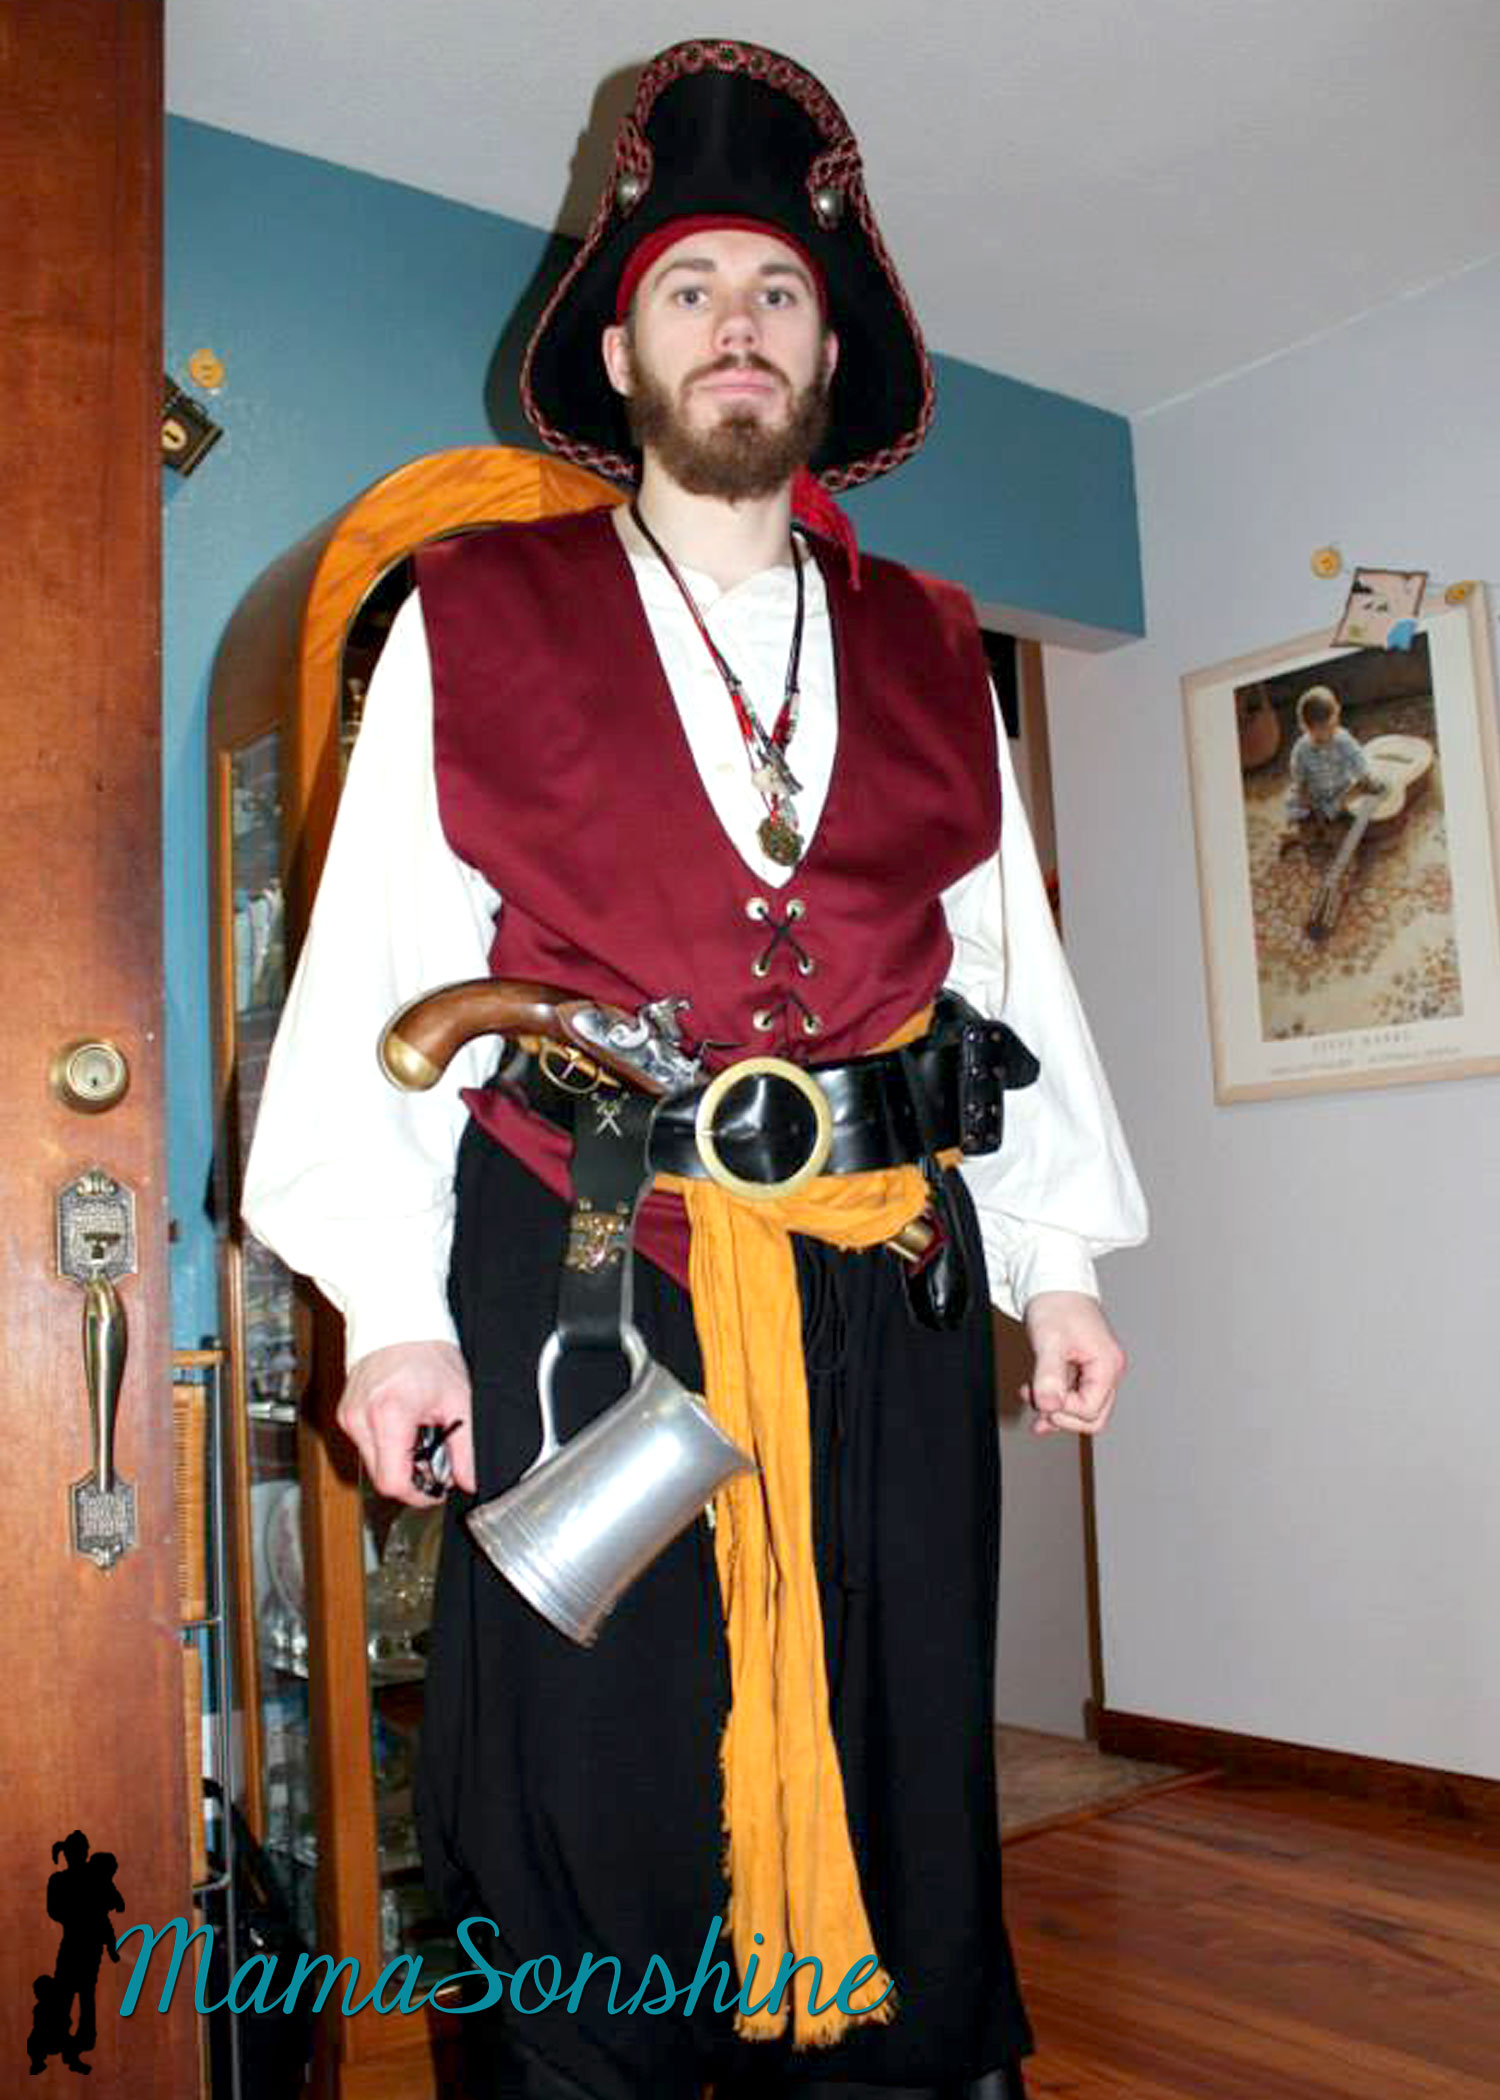
Of course there has to be a picture of the Birthday Pirate!
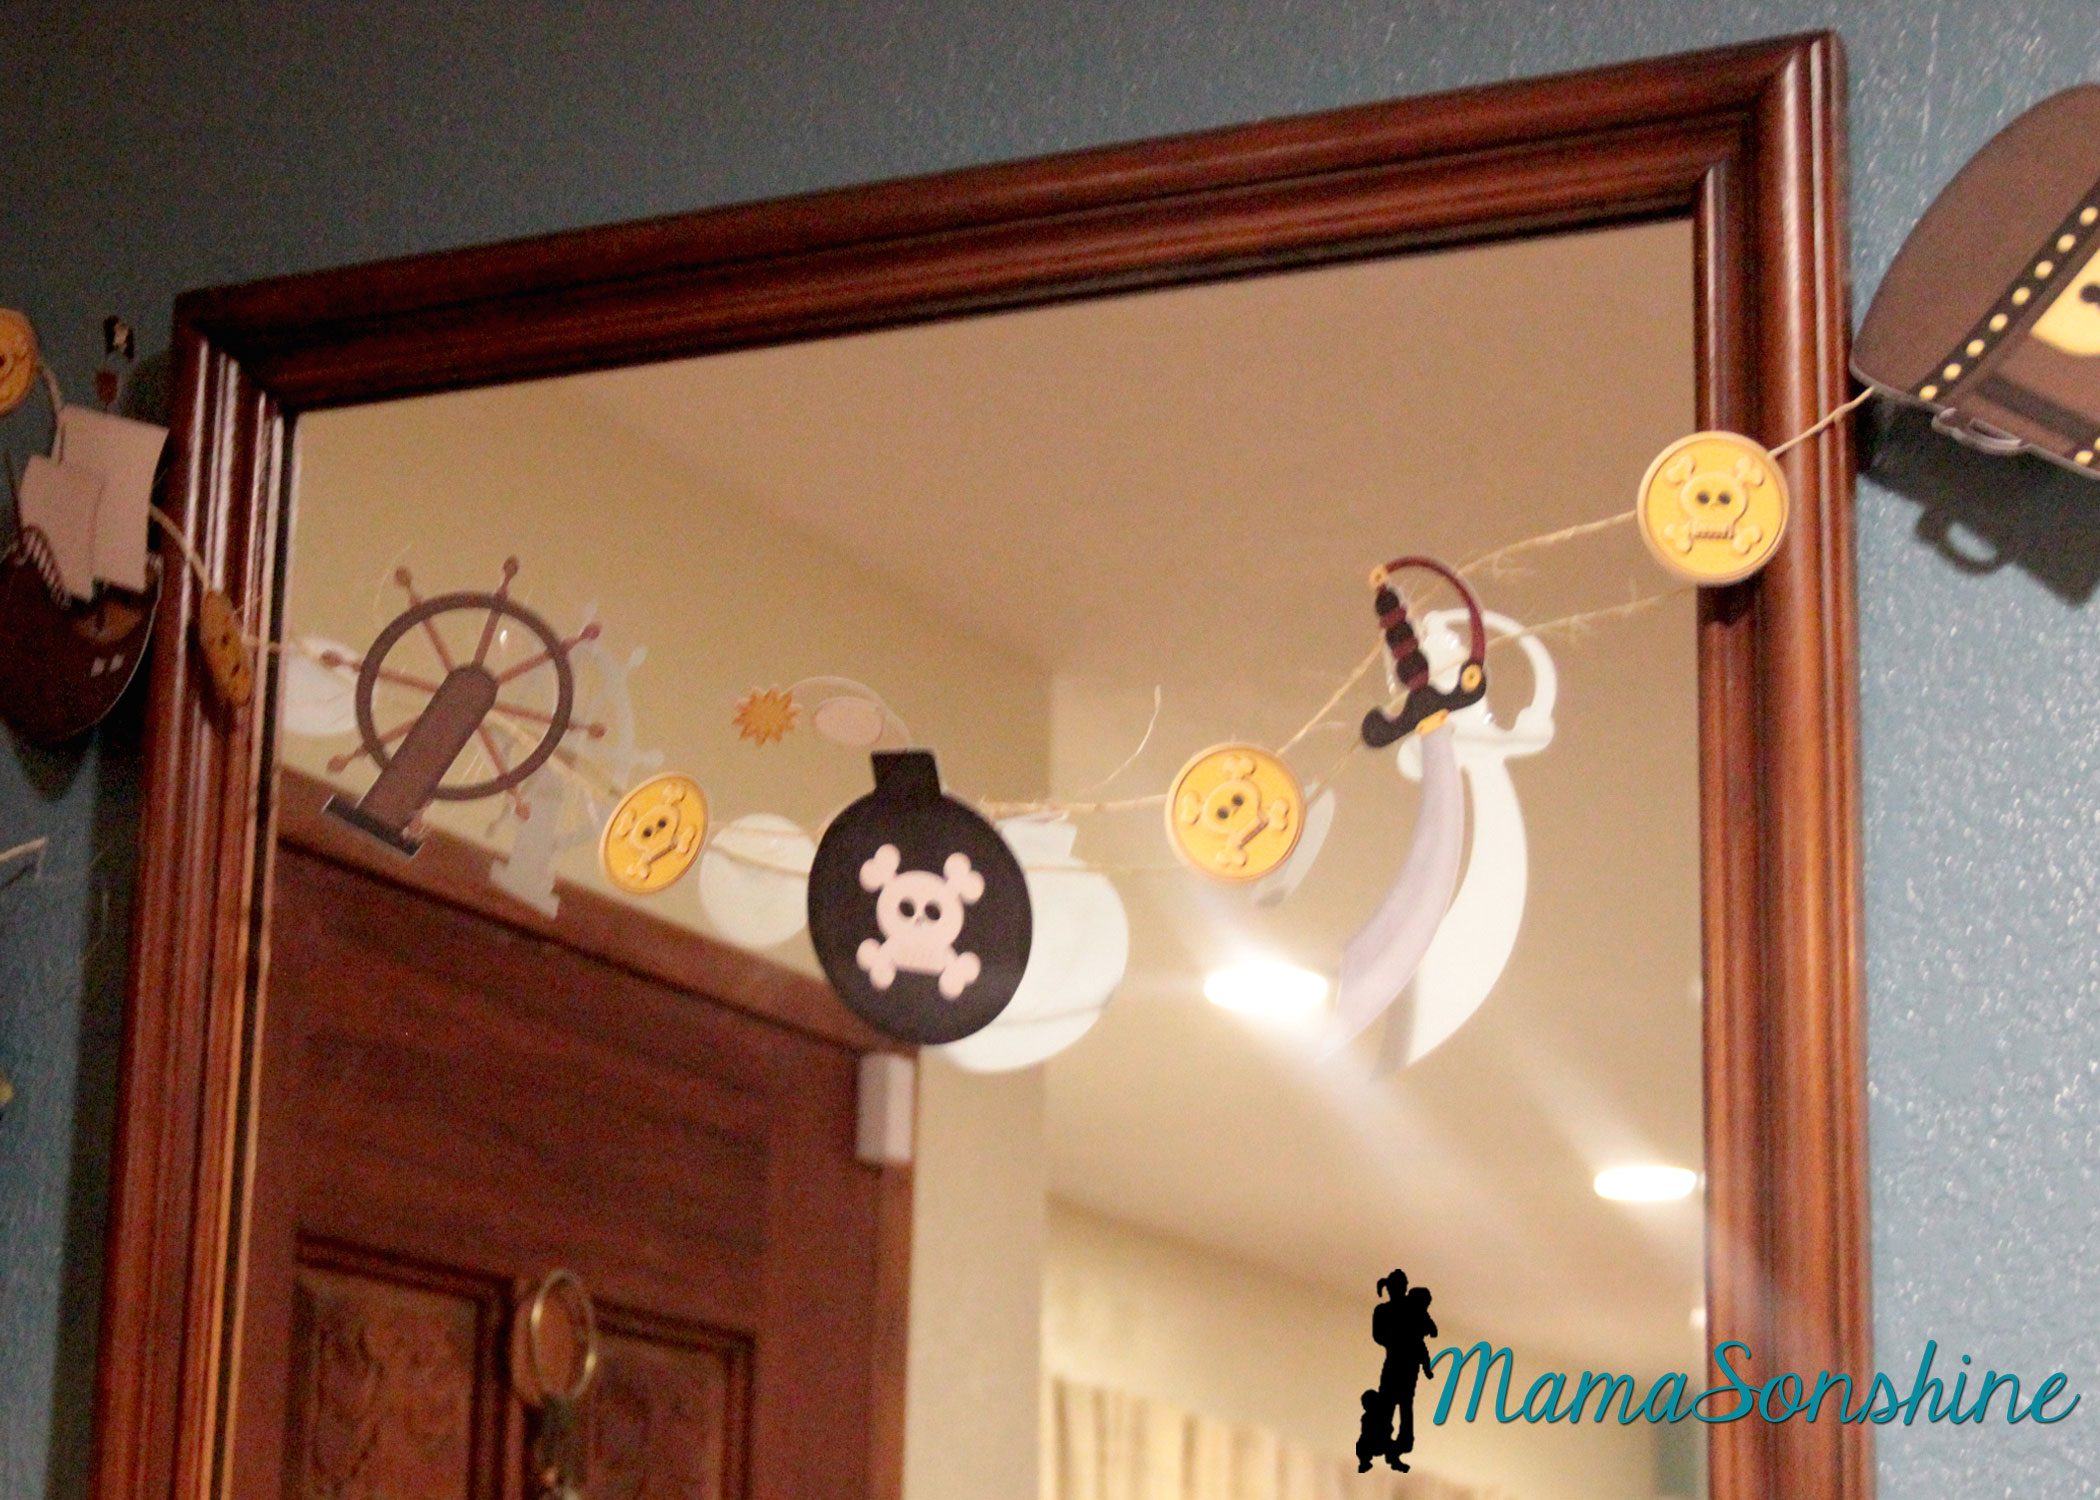
The bunting flags were made with the digital papers and cut with my cameo. I used twine to string them all together.
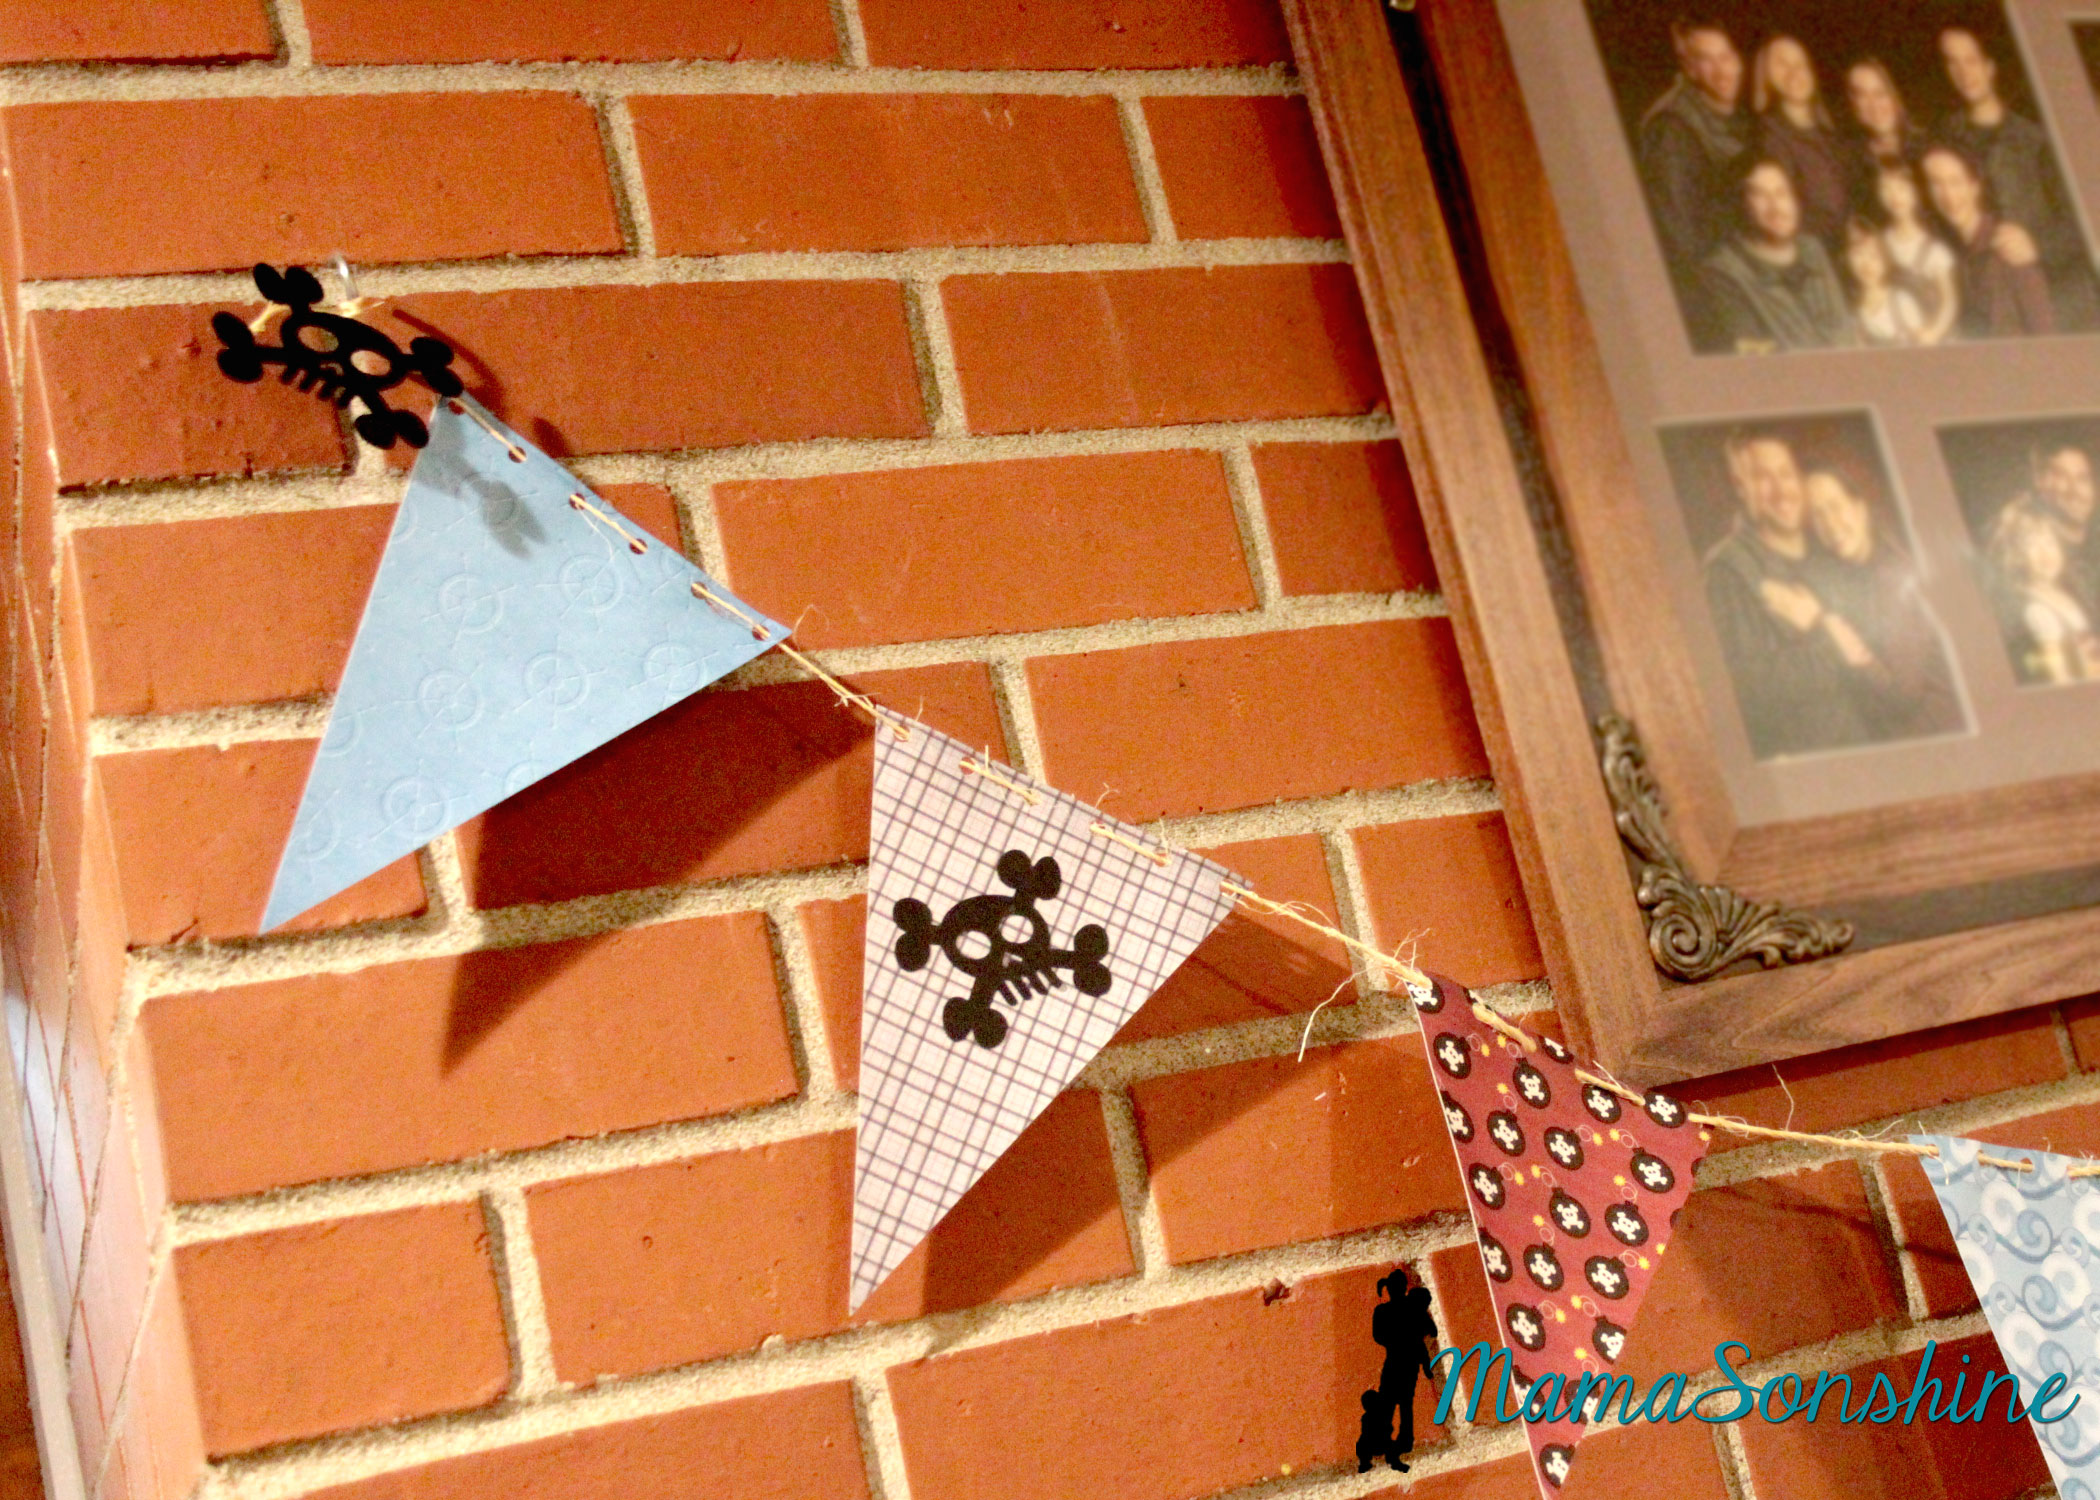
You can see where I added the negative skull and cross-bones from the party hats.
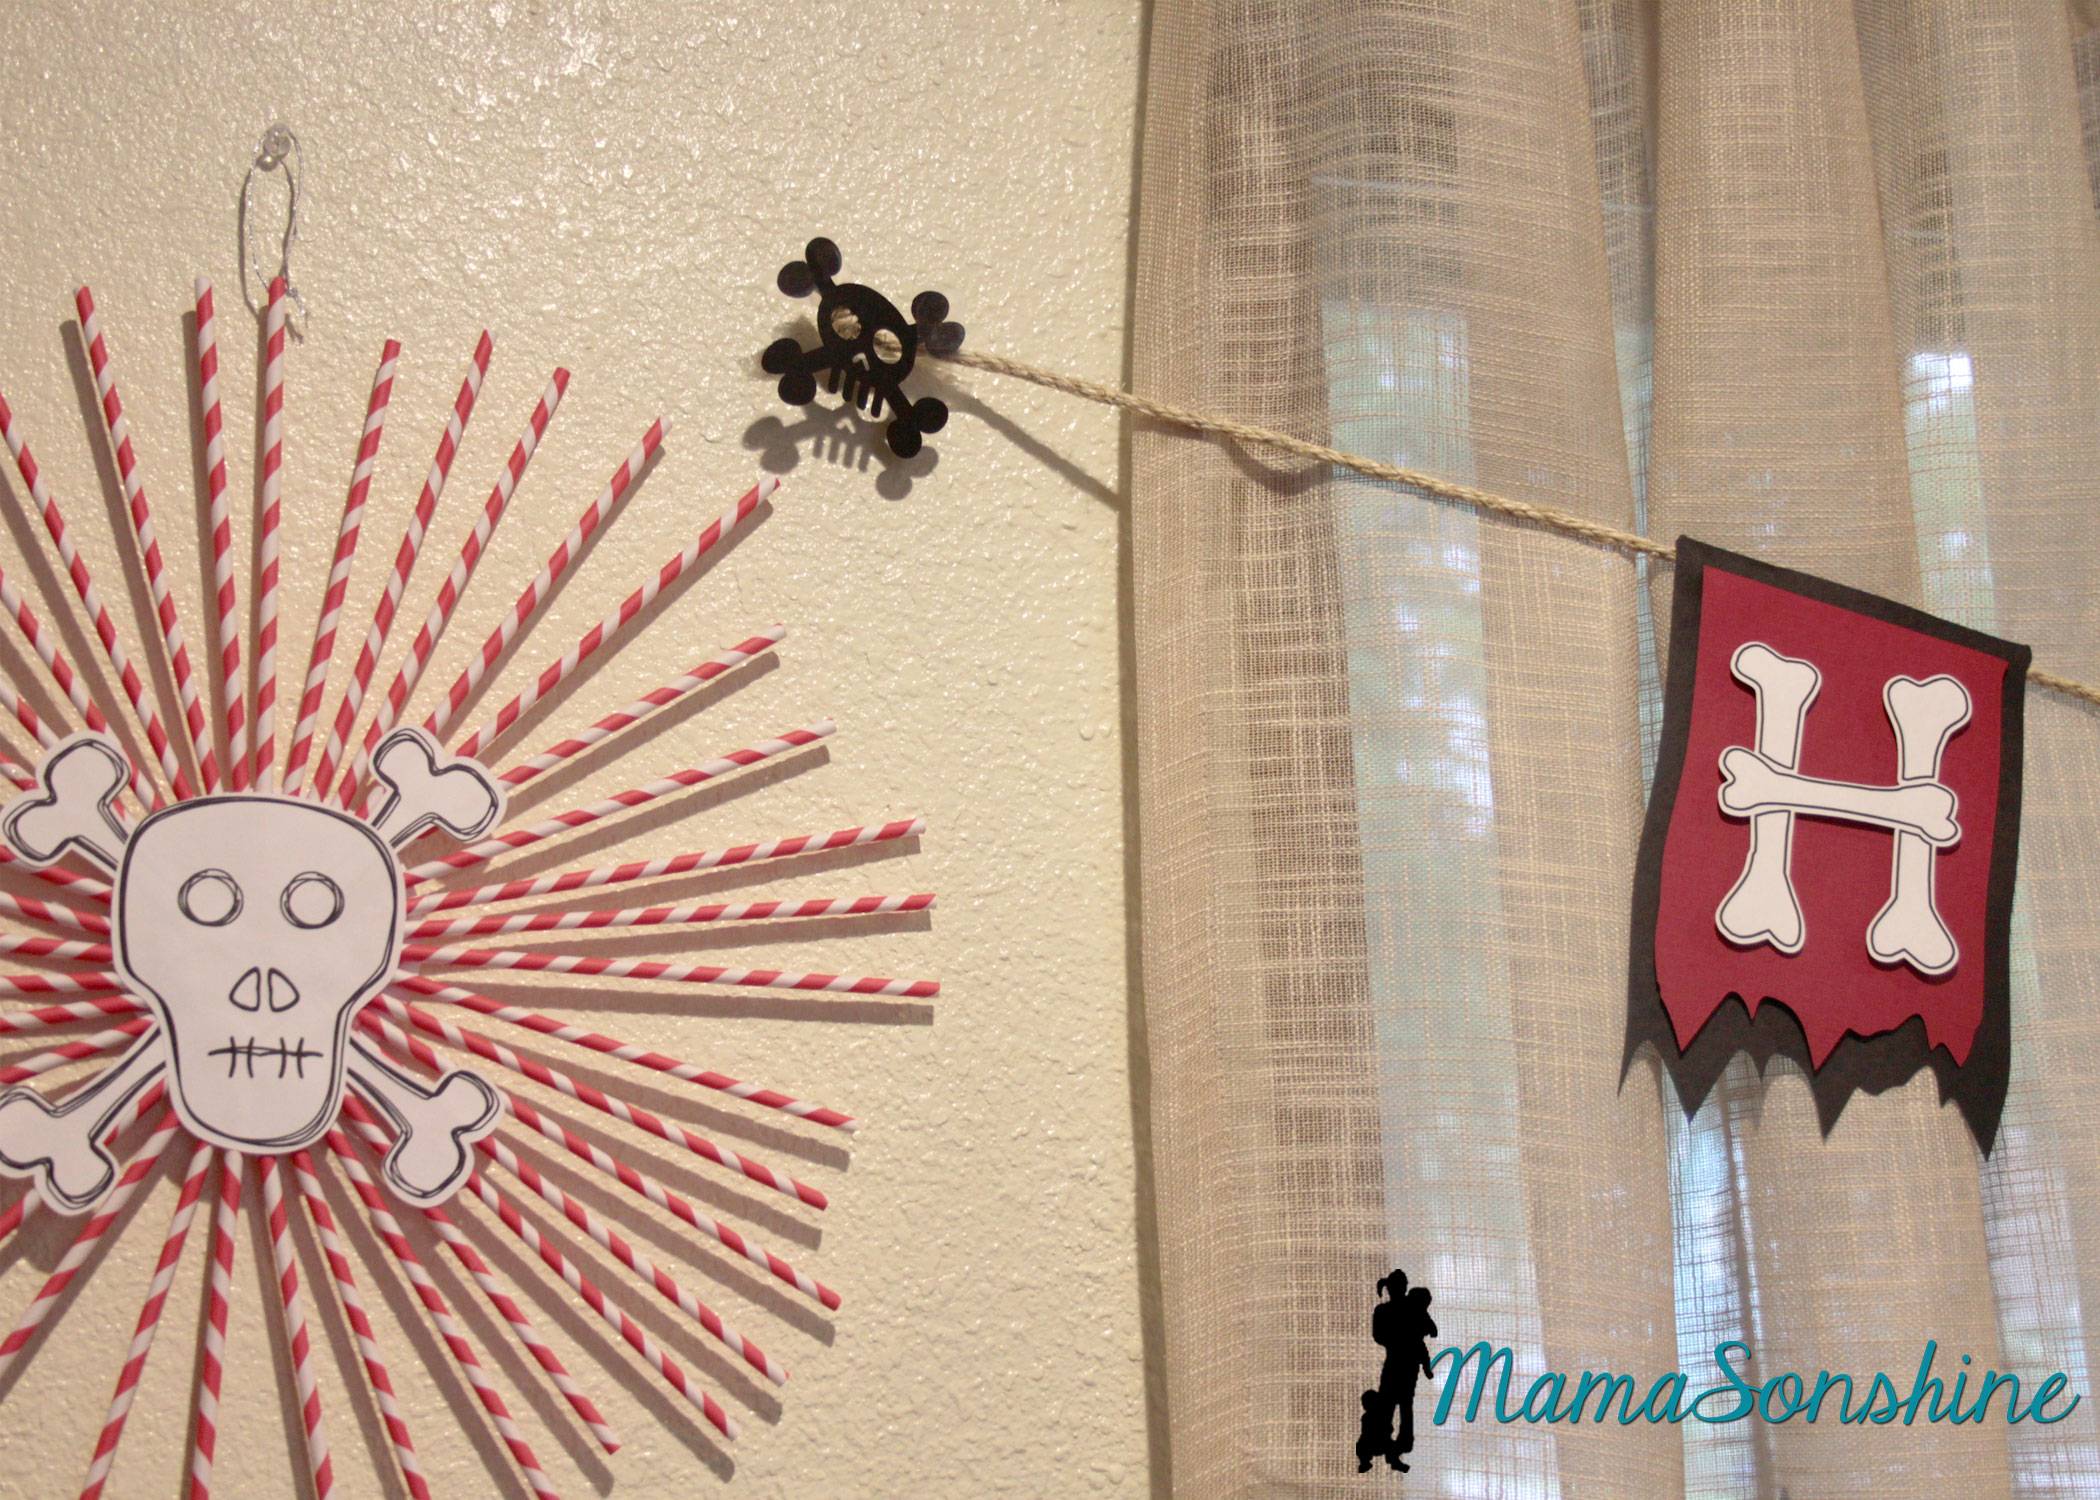
I decided to use the sketch feature in the Studio software to make the skull and cross-bones for these straw rosettes.
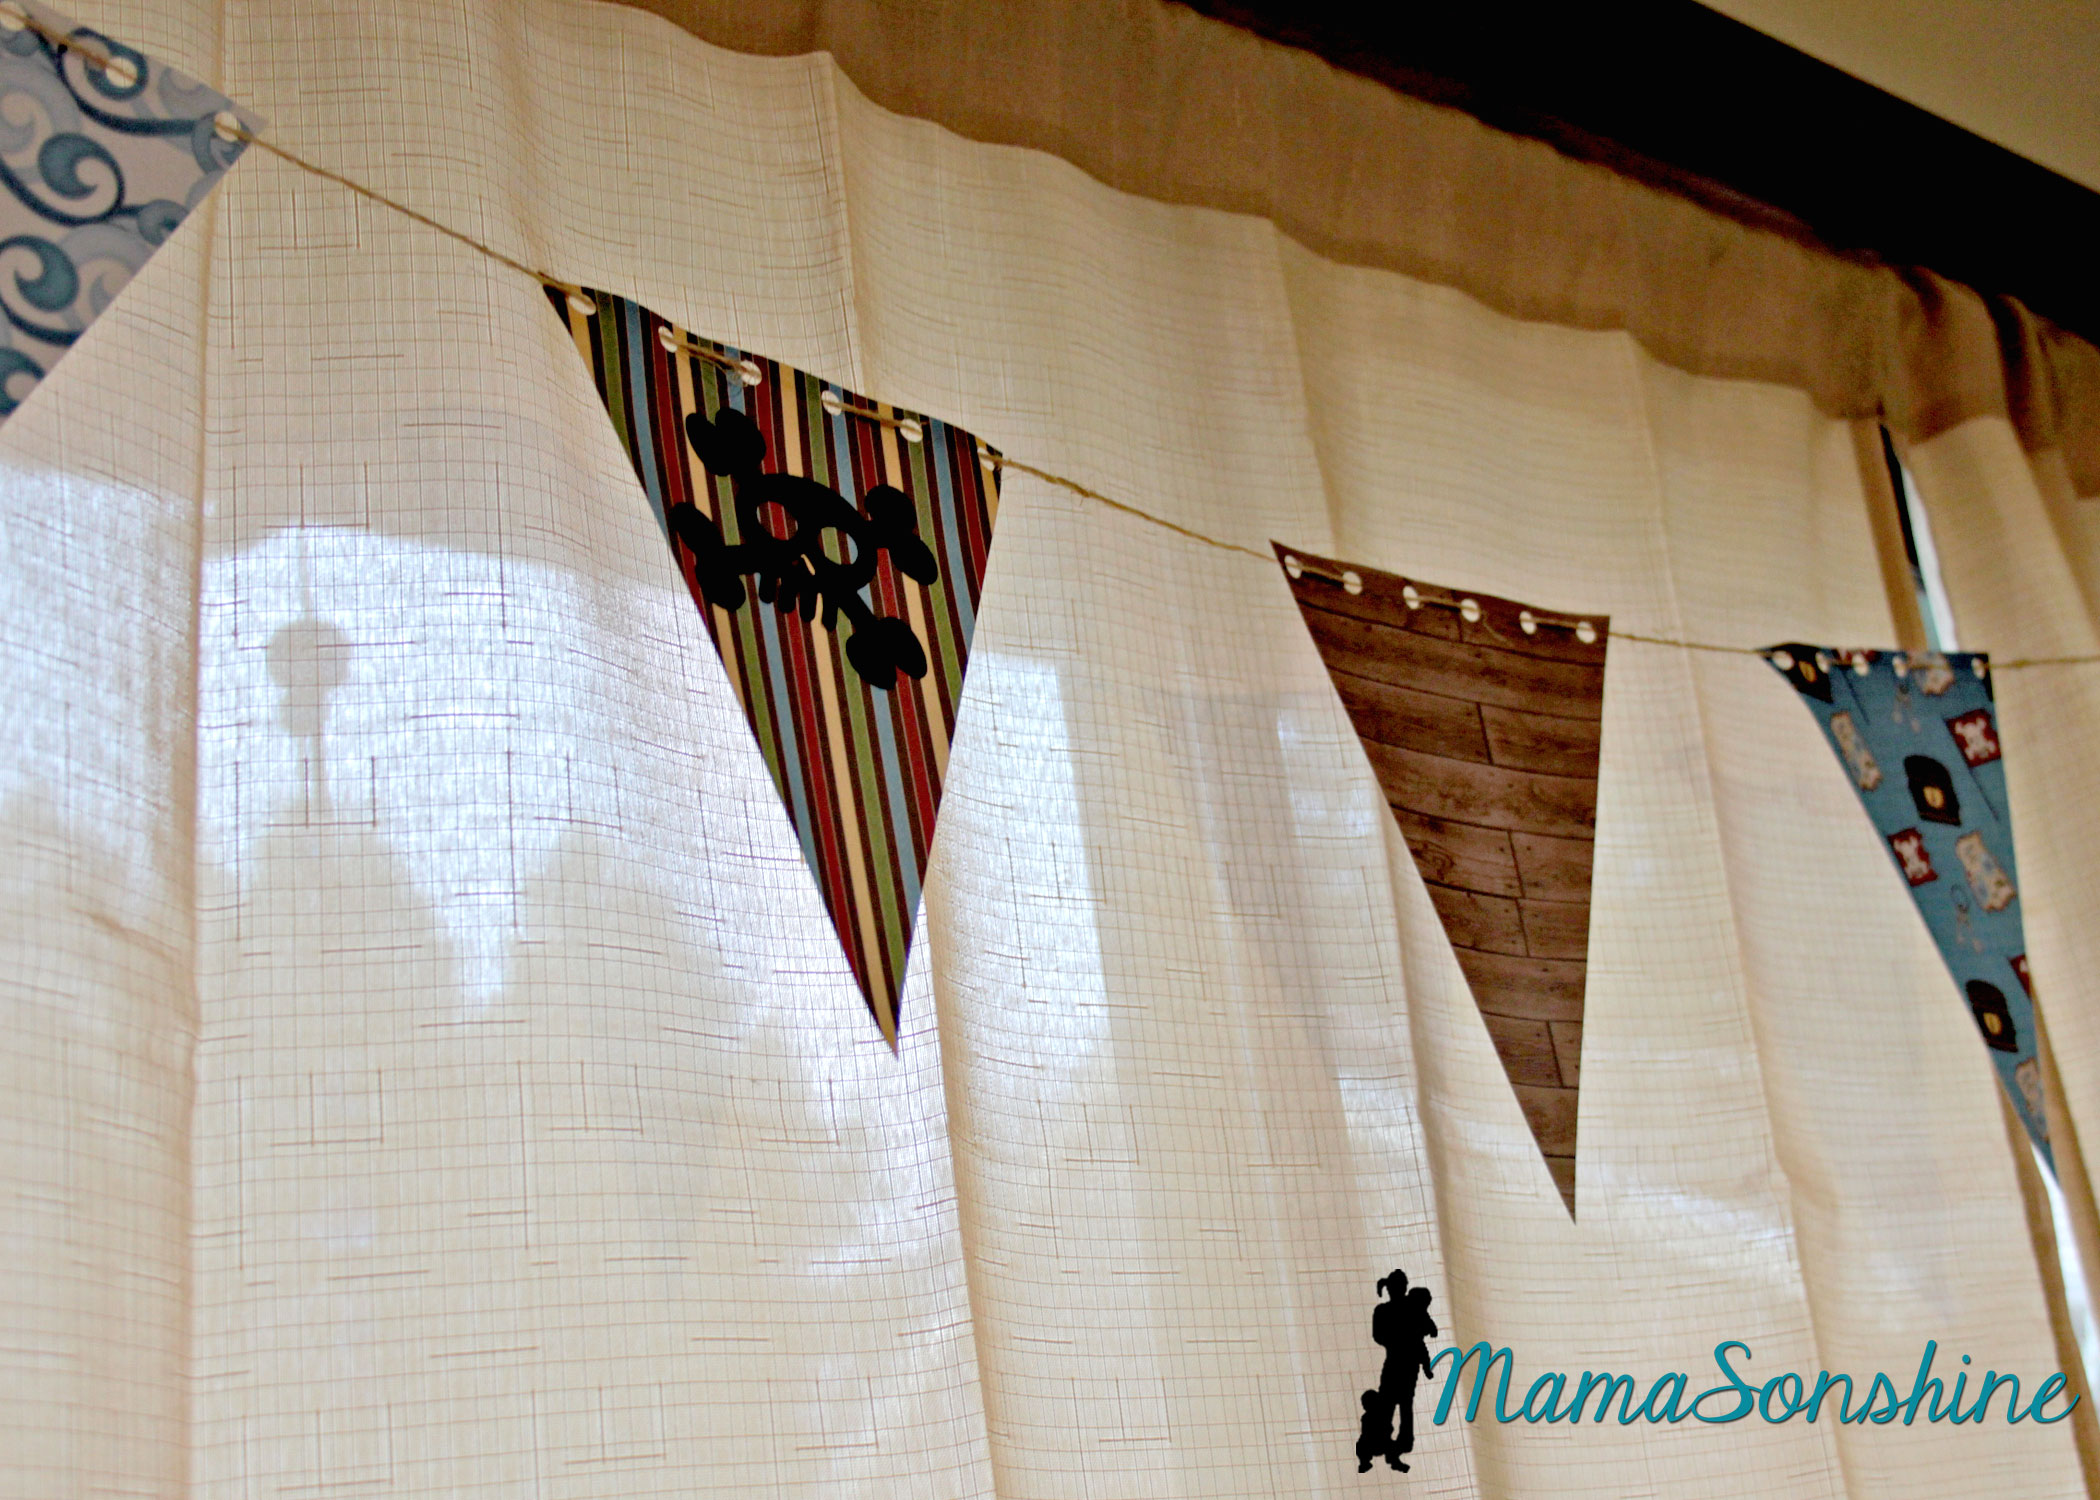
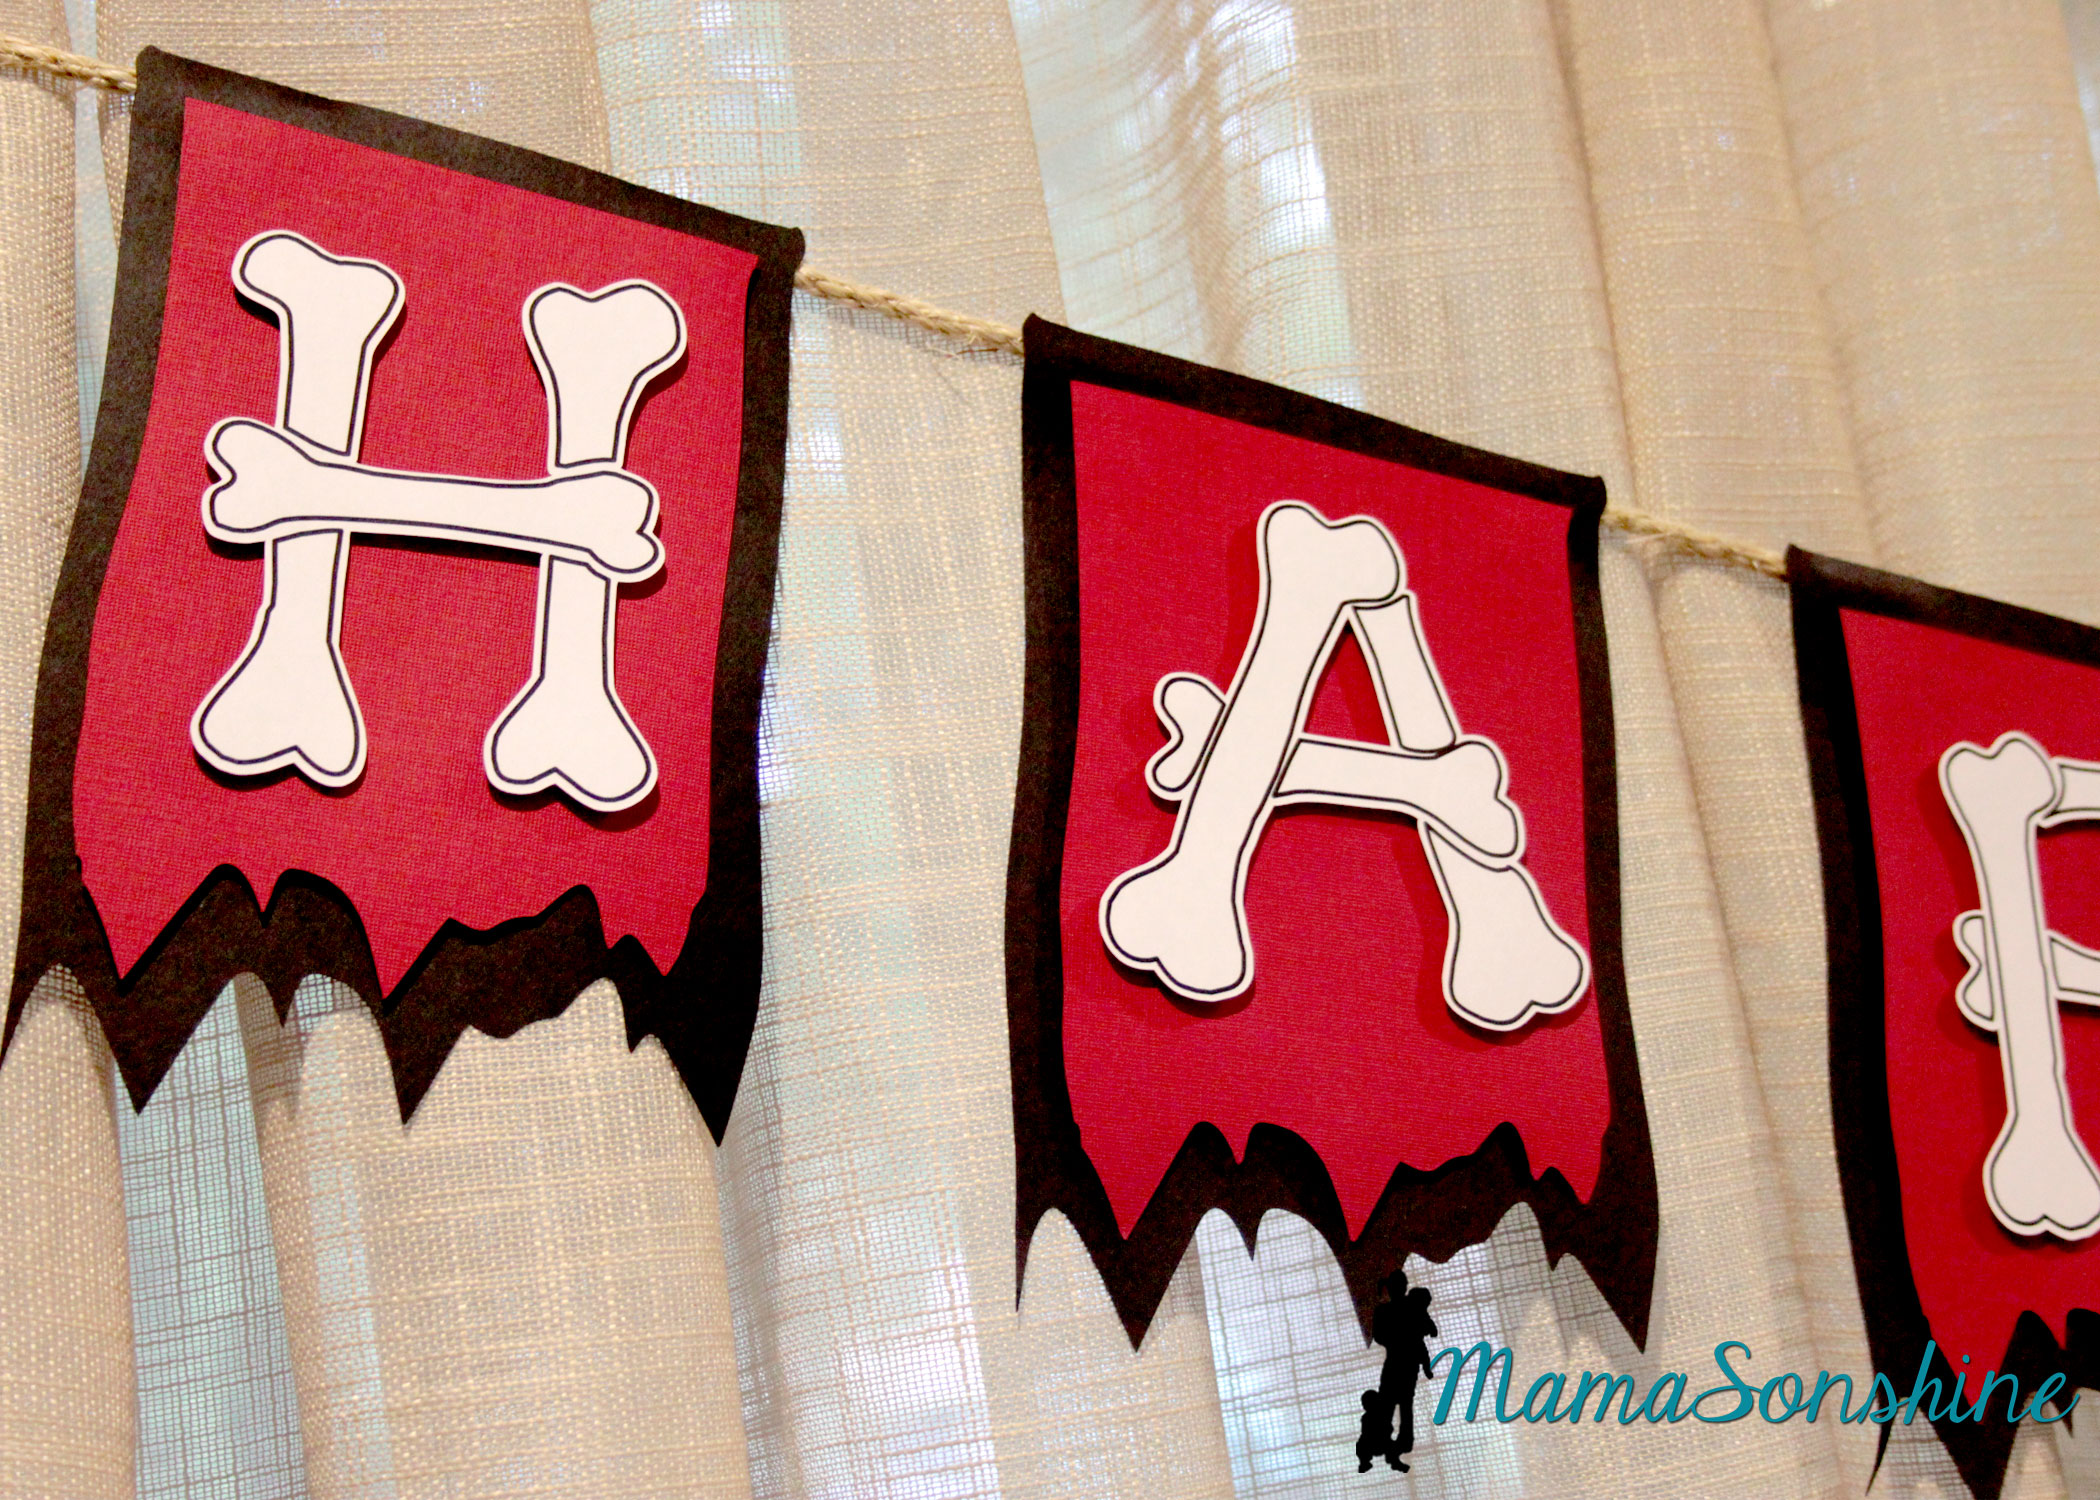
One of my favorite things from this party was the “Happy Birthday” banner.
I really like how the layered flags turned out.
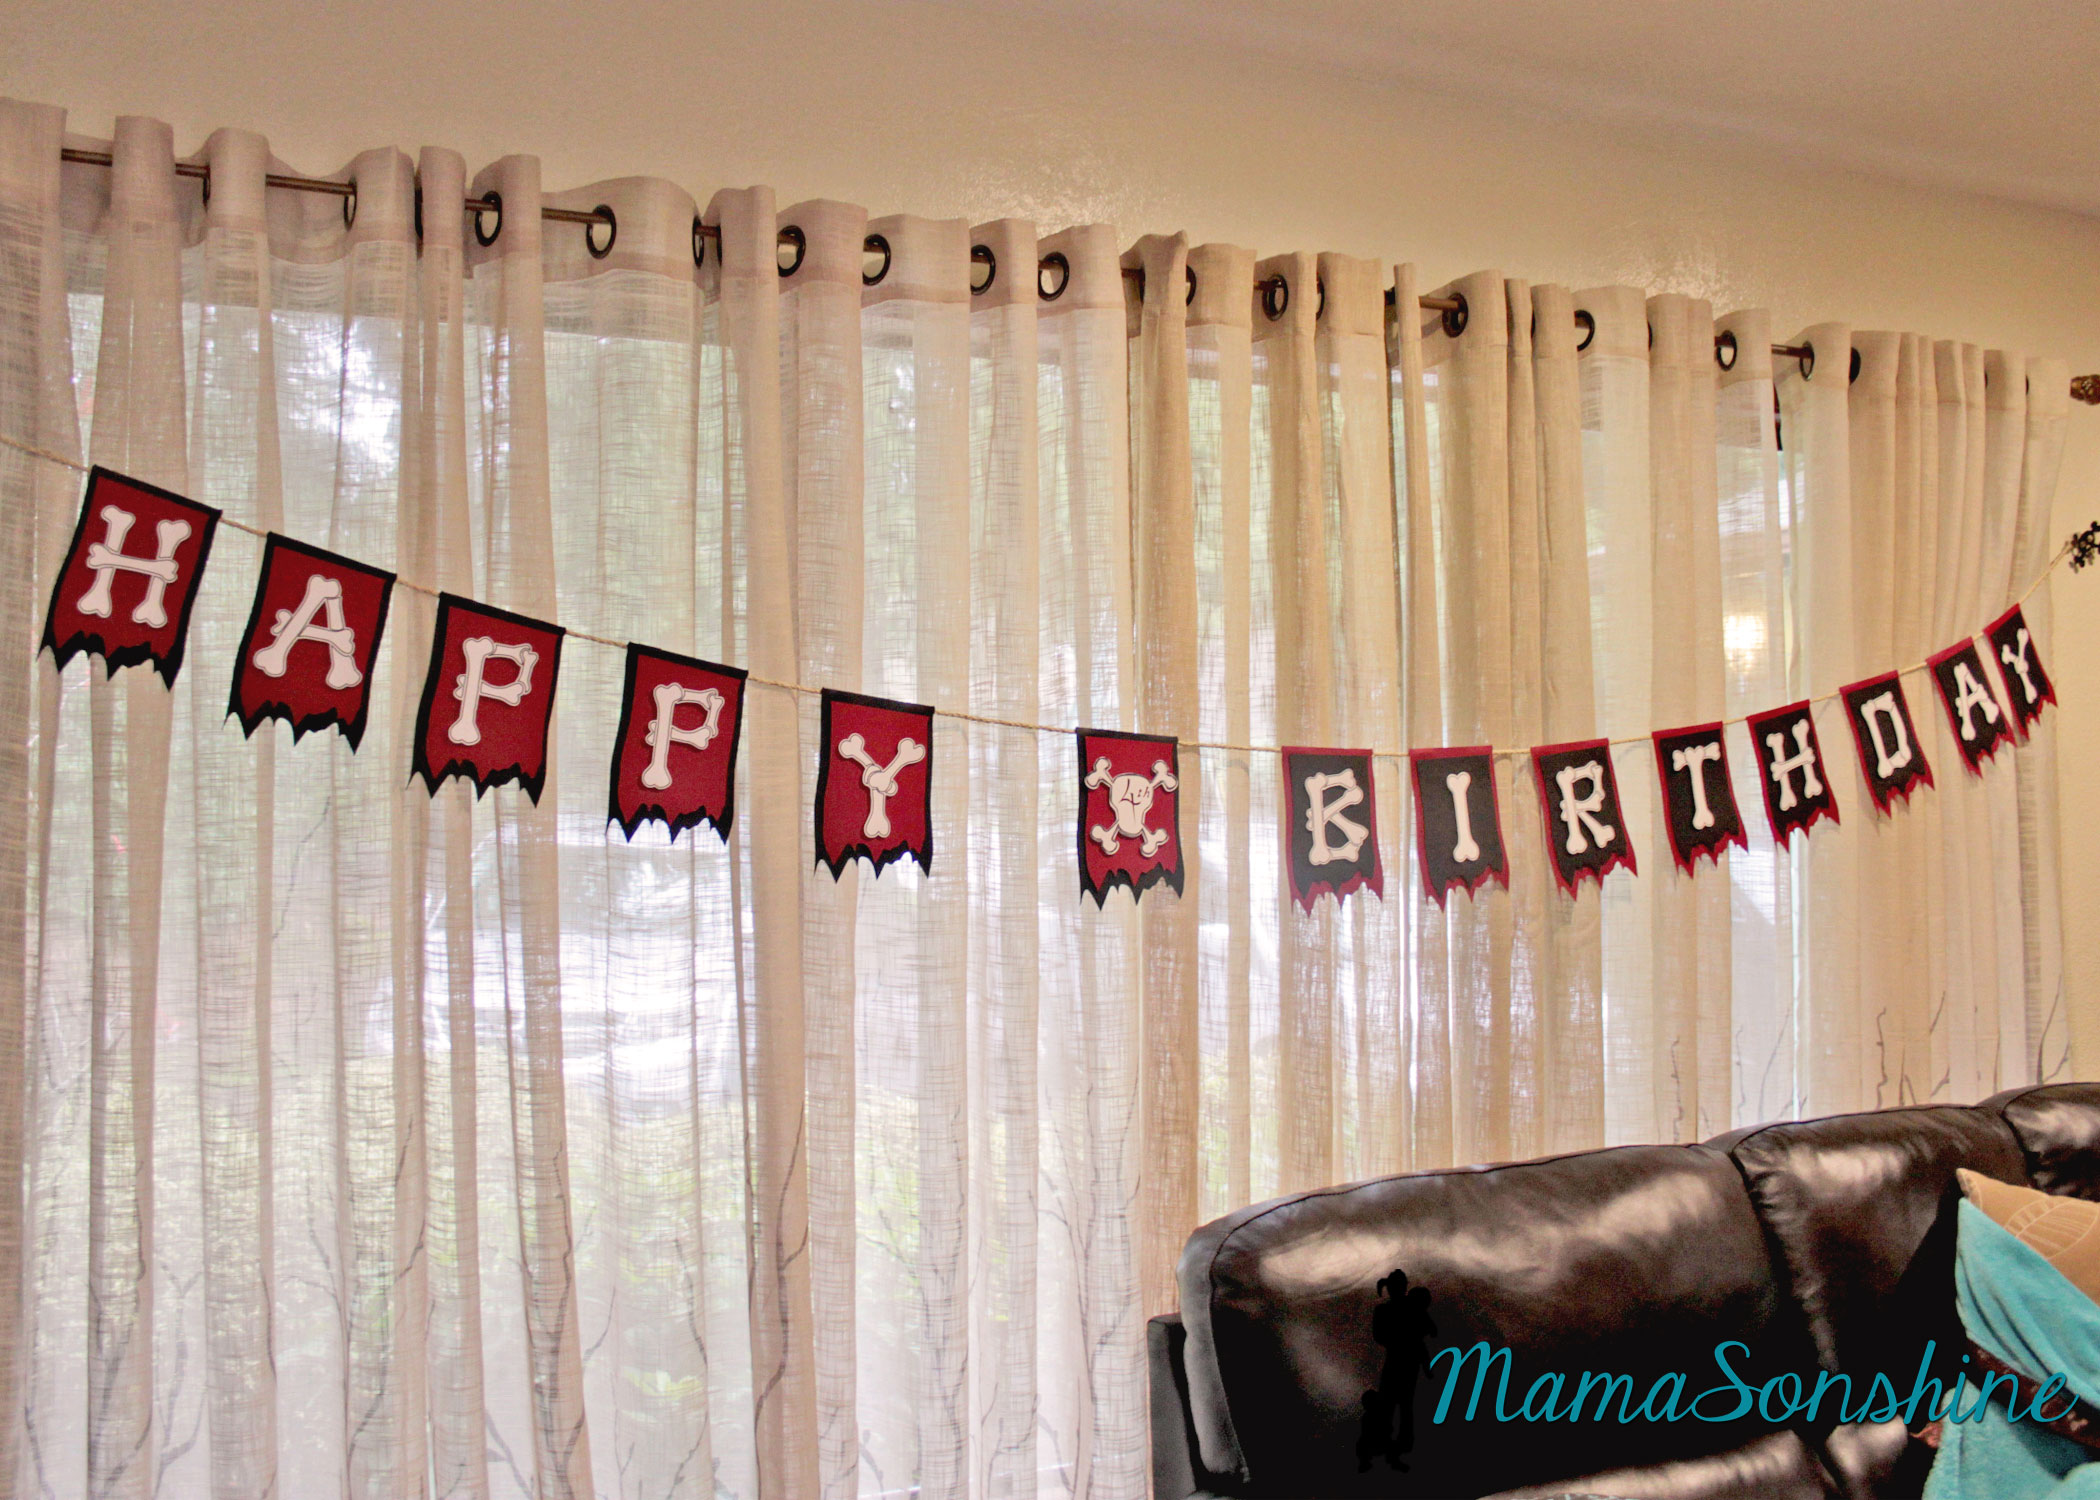
I wanted to use this bone font but each piece of bone on one letter is a cut line, so I used the offset tool to cut all around the letter. I could have used a sketch pen, but I just printed them.
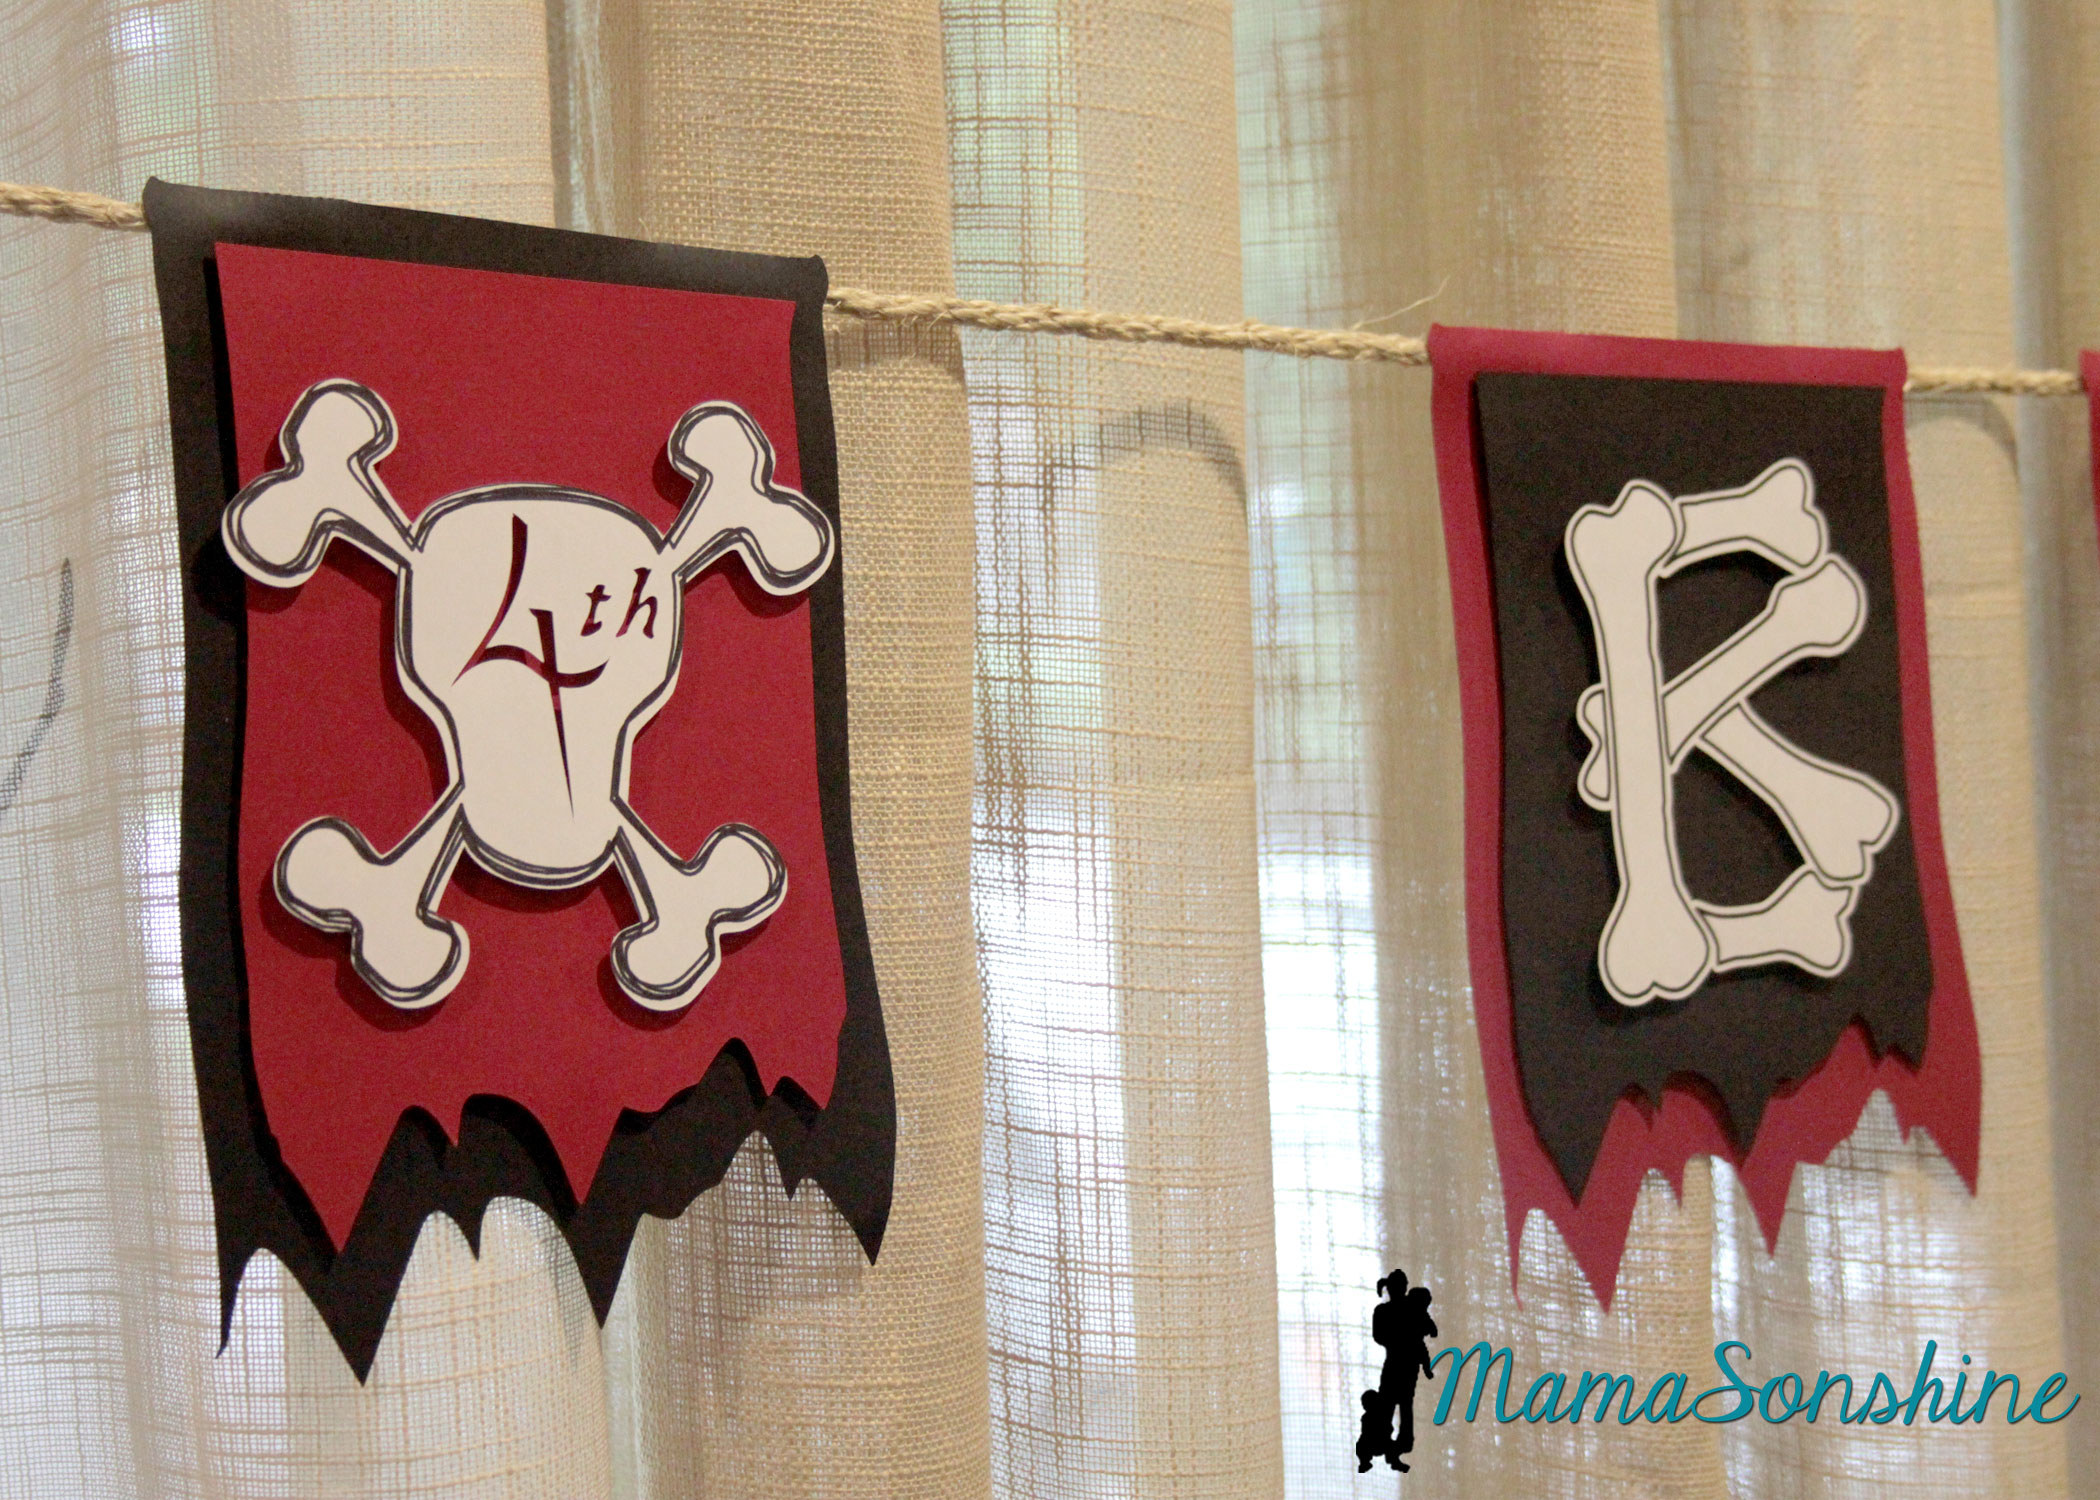
I used the custom design tool and the sketch feature to make the skull and cross-bones for the number part of the banner. Instead of writing the number, I cut it out, so you can see the background color. I used sisal rope to hang the banner across the window.
I also used the print and cut feature on the elements from the kit to make other banners.
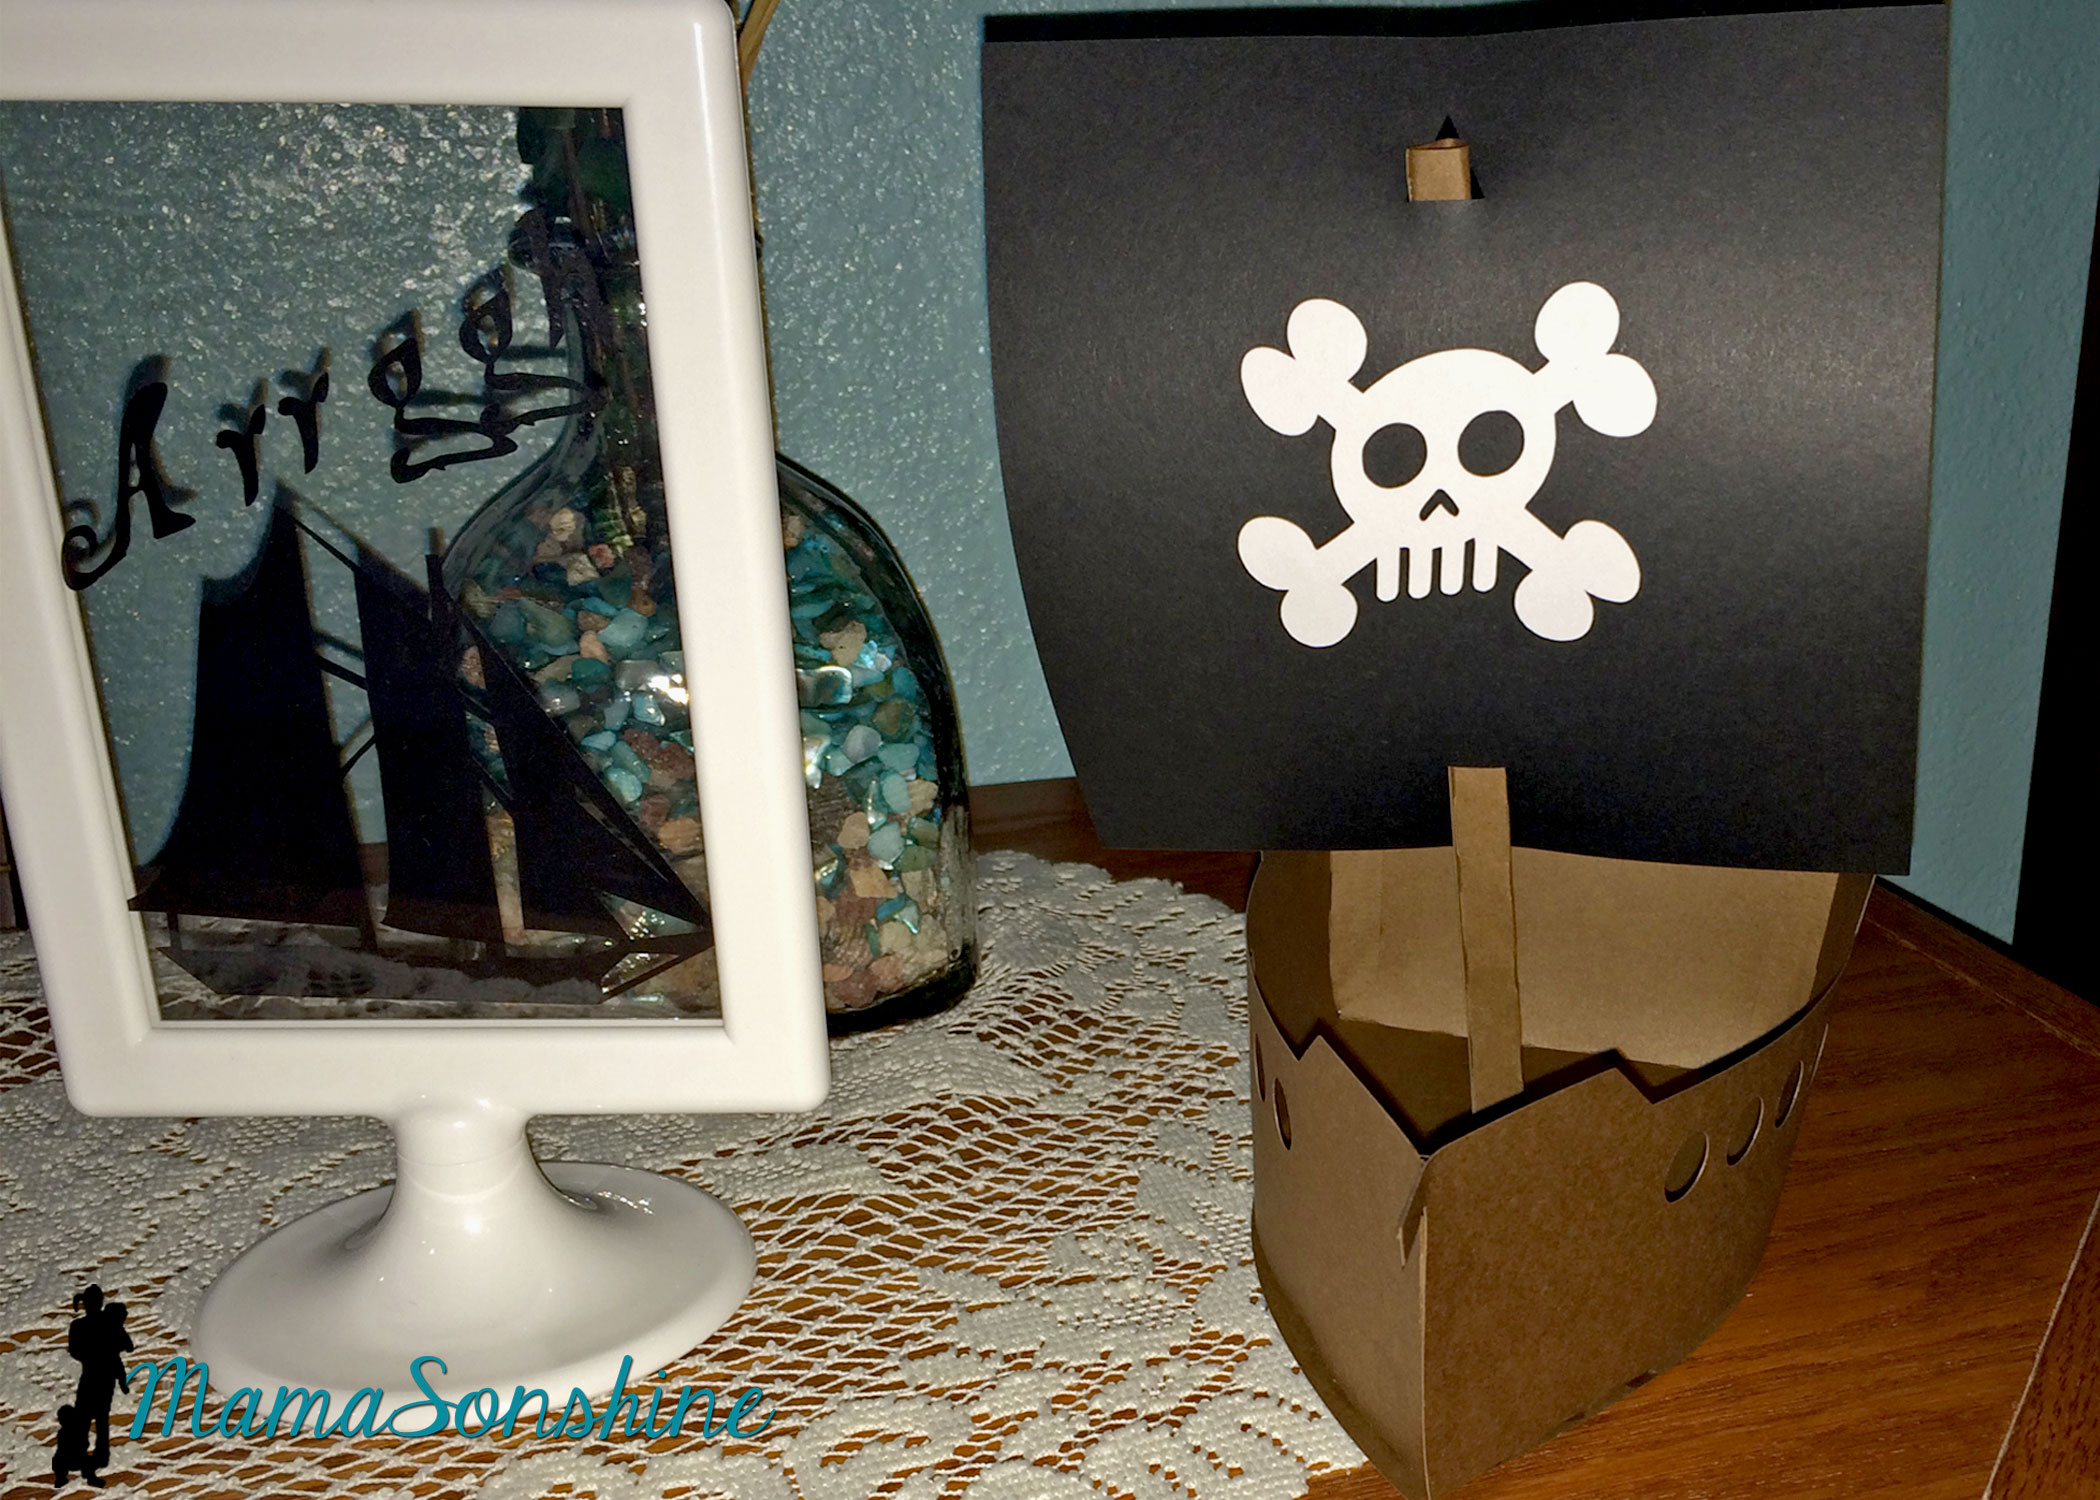
I cut out some pirate items as silhouettes and put them in these Tolsby frames from Ikea.

These are my new favorite party items, and they are really inexpensive and simple to adapt to any party.
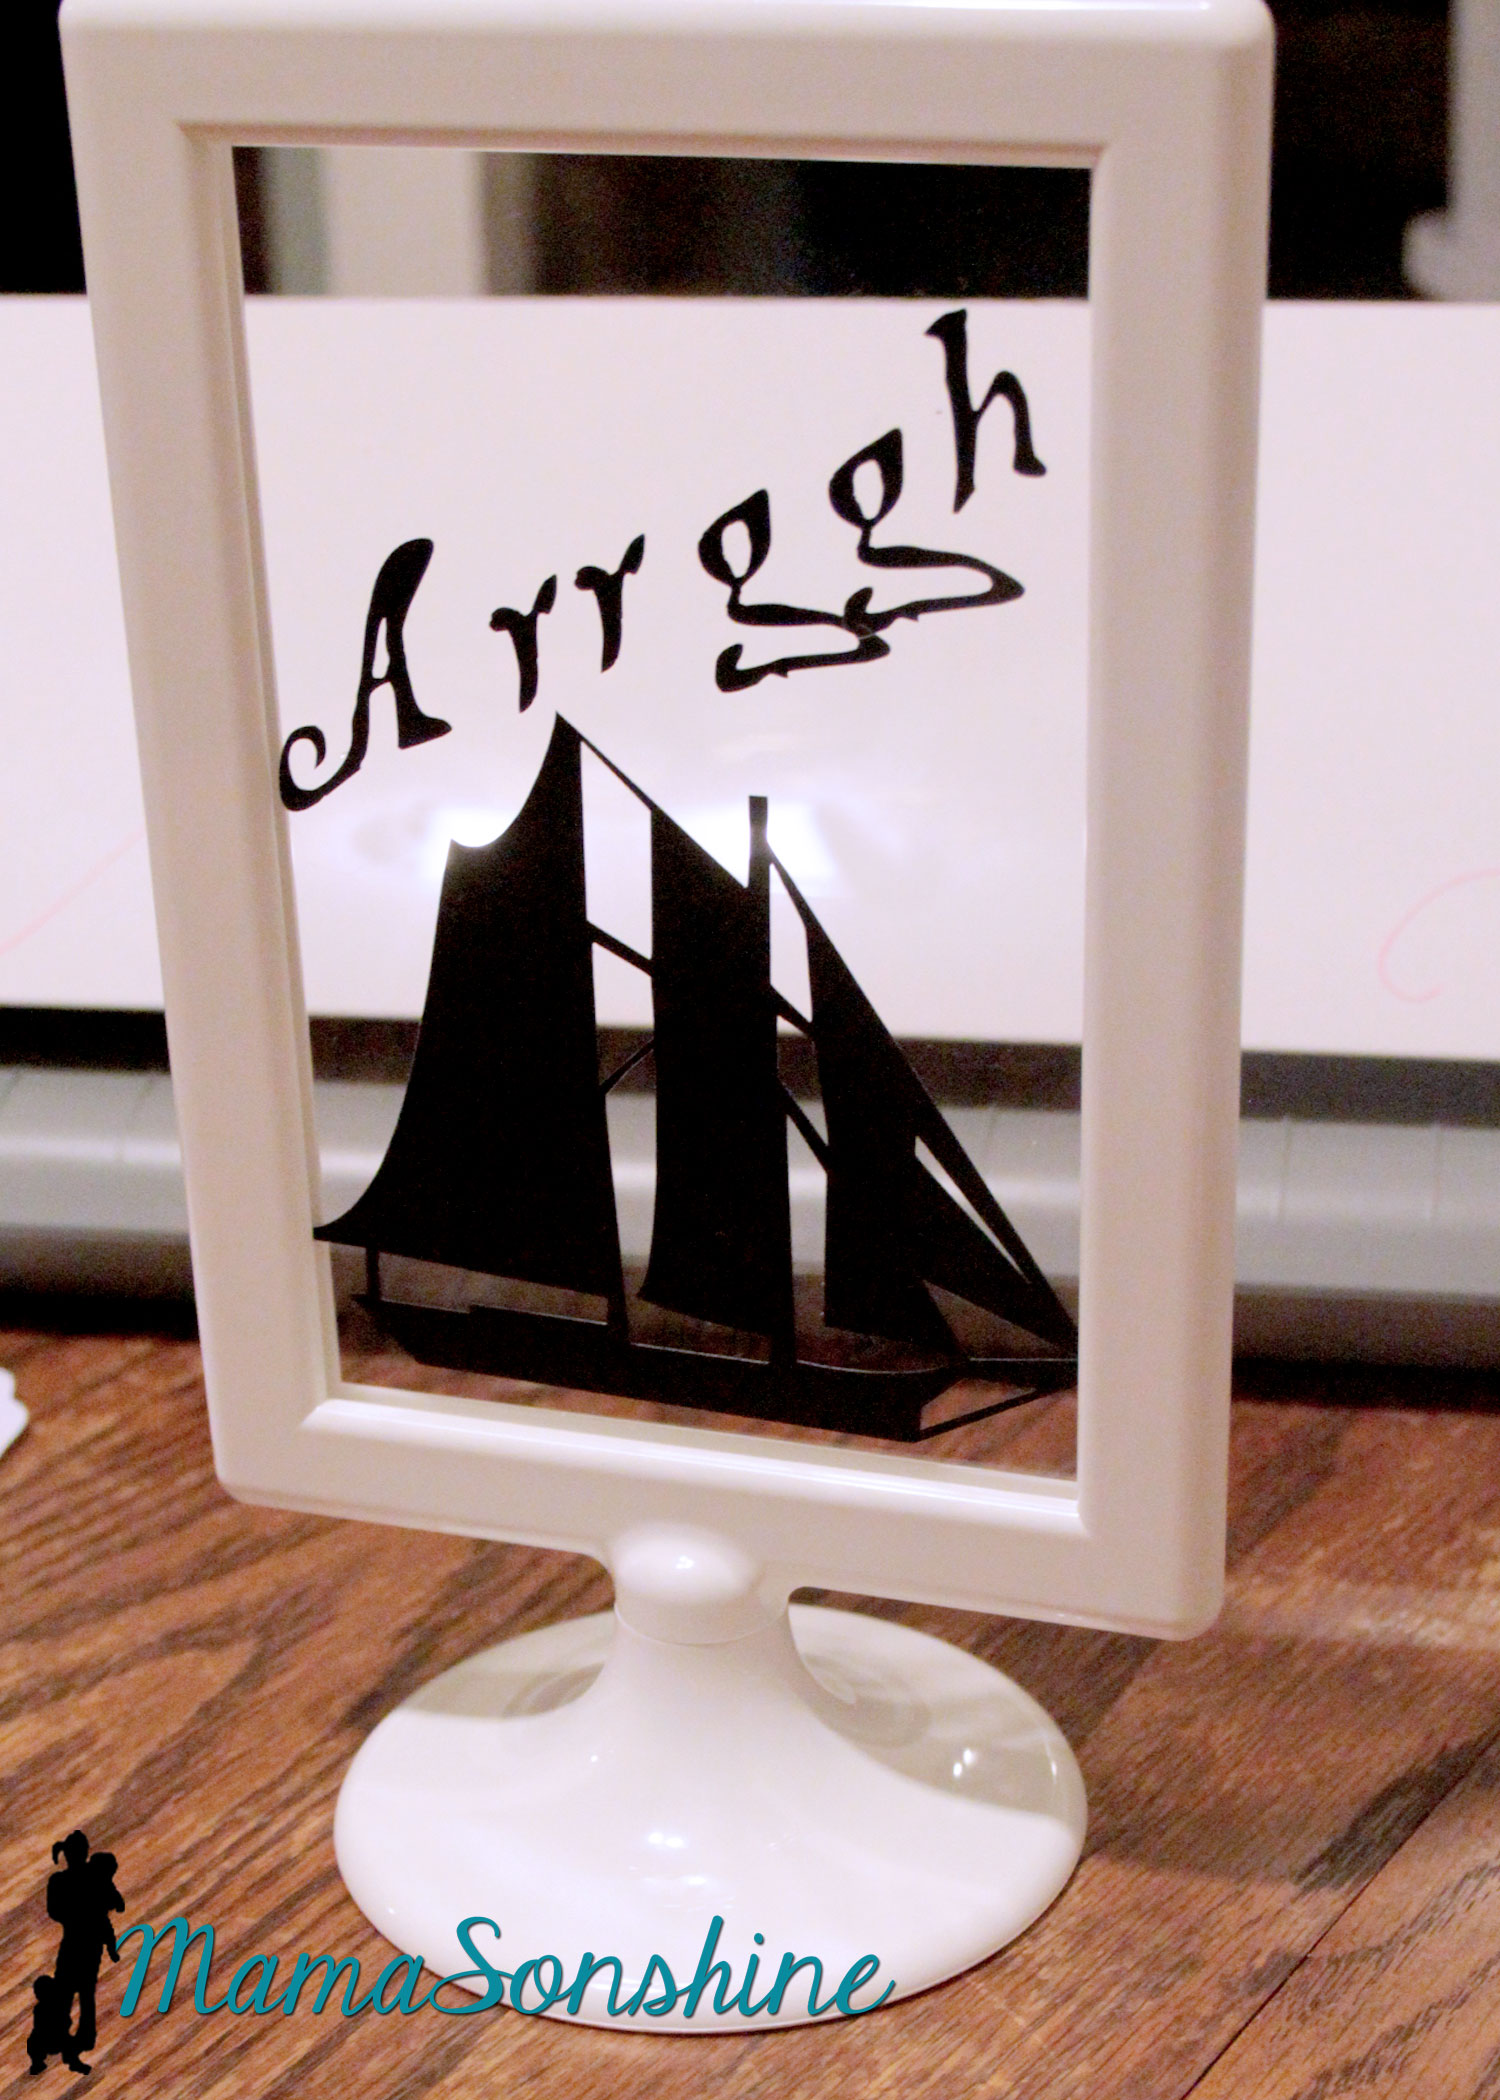
I used black vinyl to keep the silhouette look.

I also purchased this 3-D pirate ship, from the Silhouette store with the idea that I would enlarge it for the center piece. I had so much other work to do, that I just decided to use it as decorations.
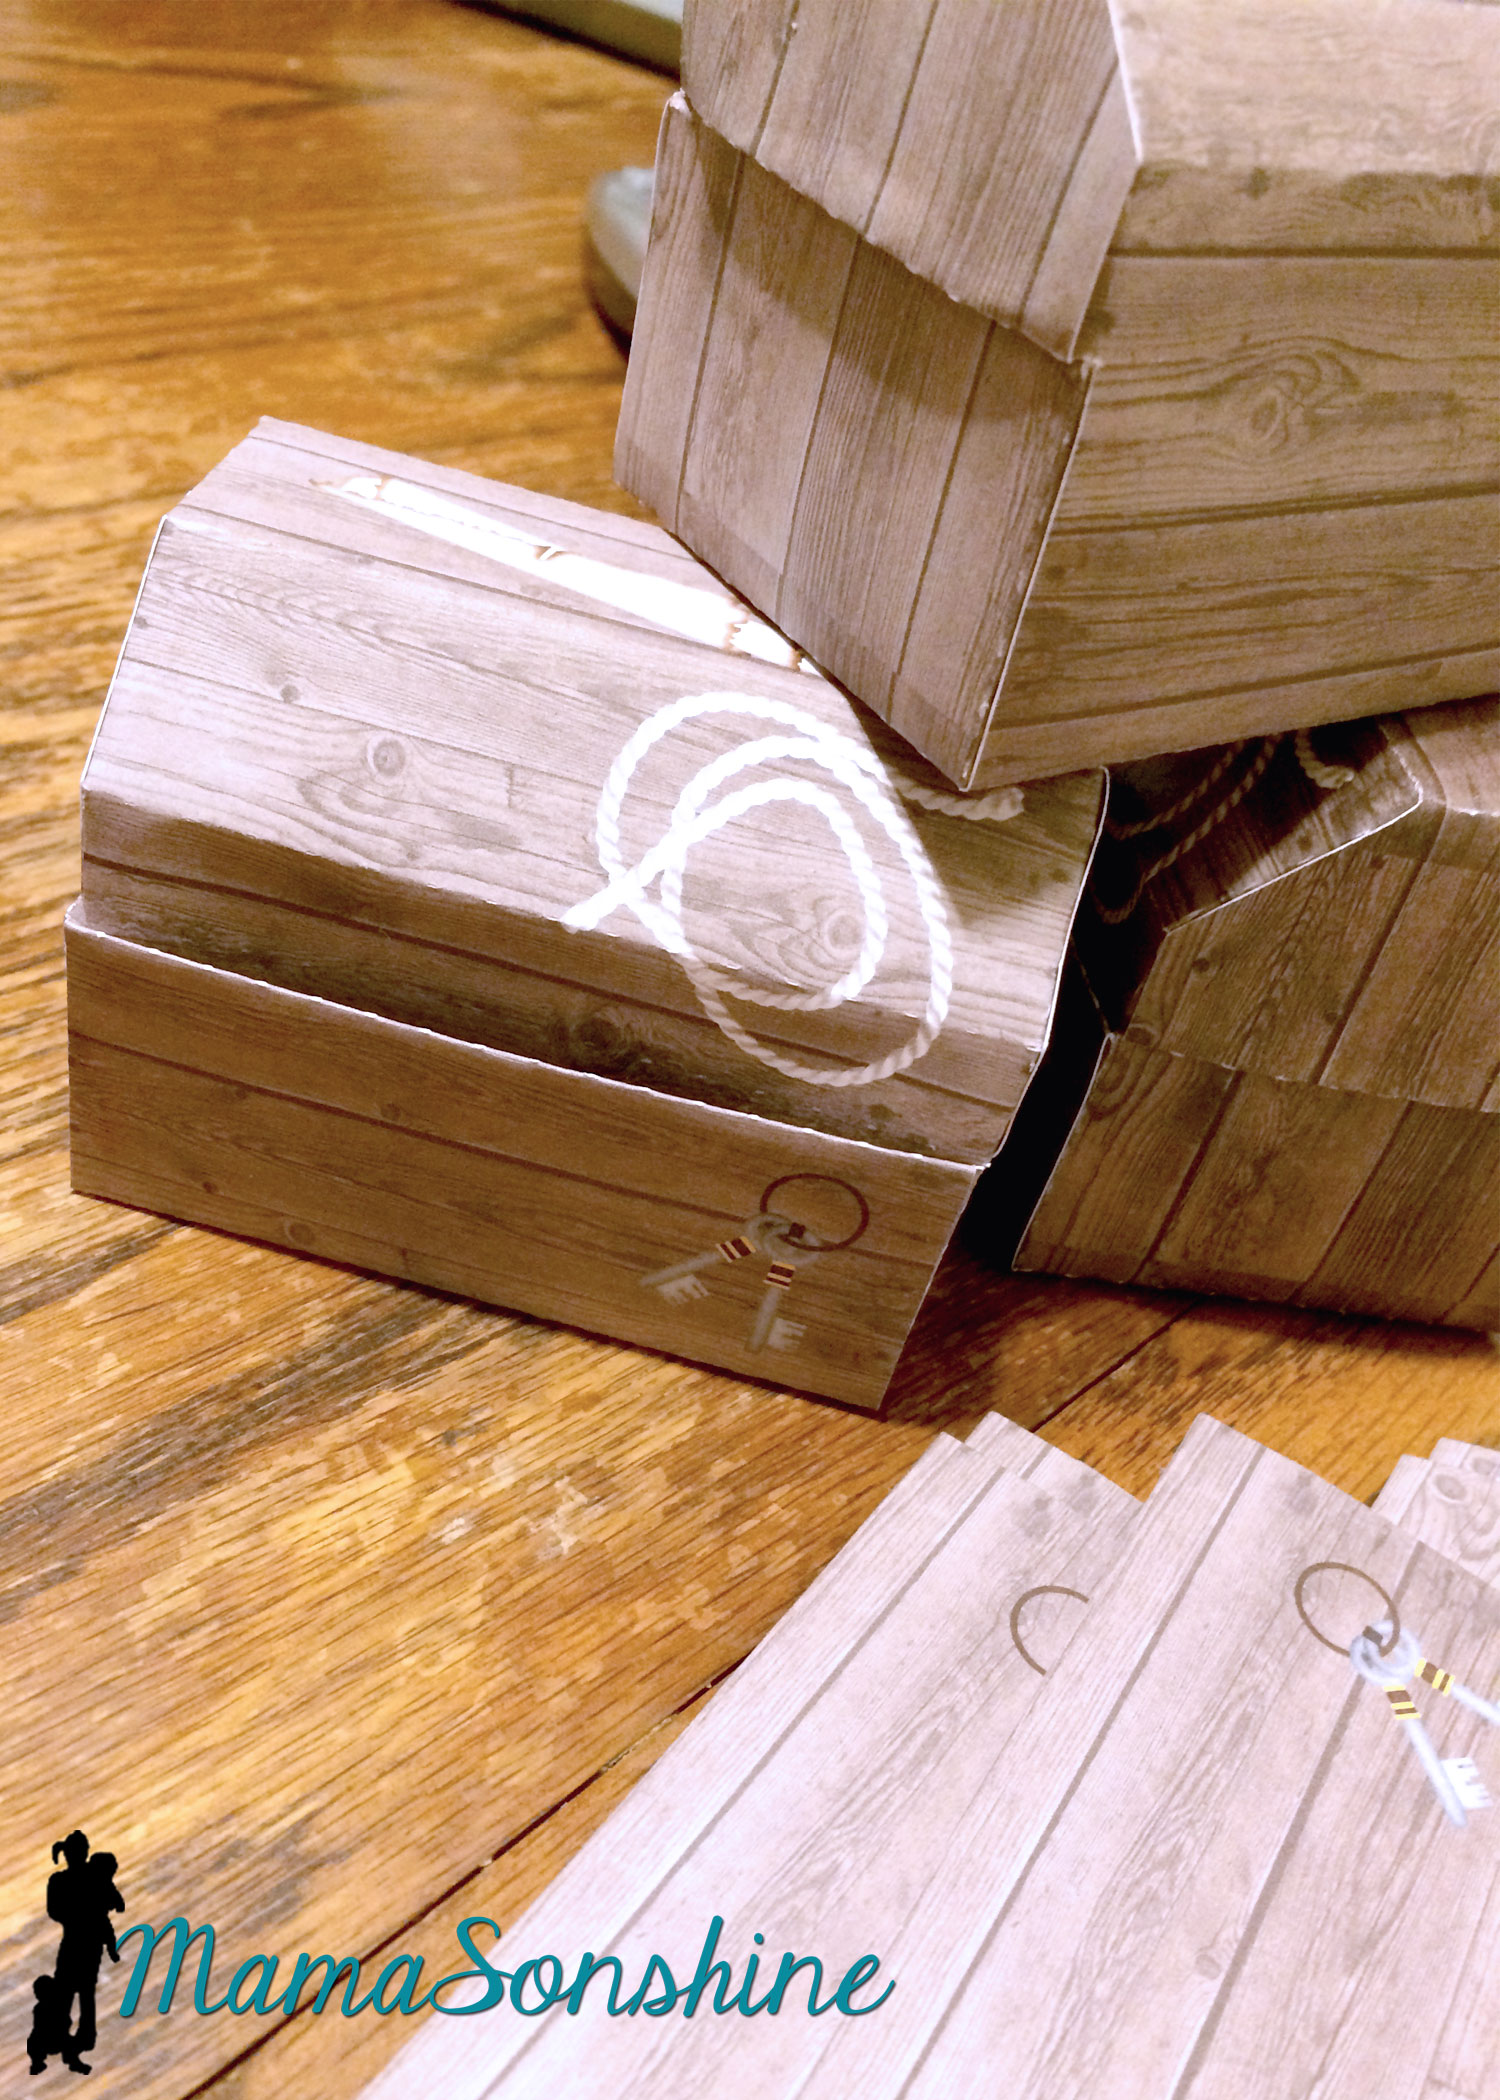
These treasure boxes were too small to be used as the gift boxes, but they made great decorations.
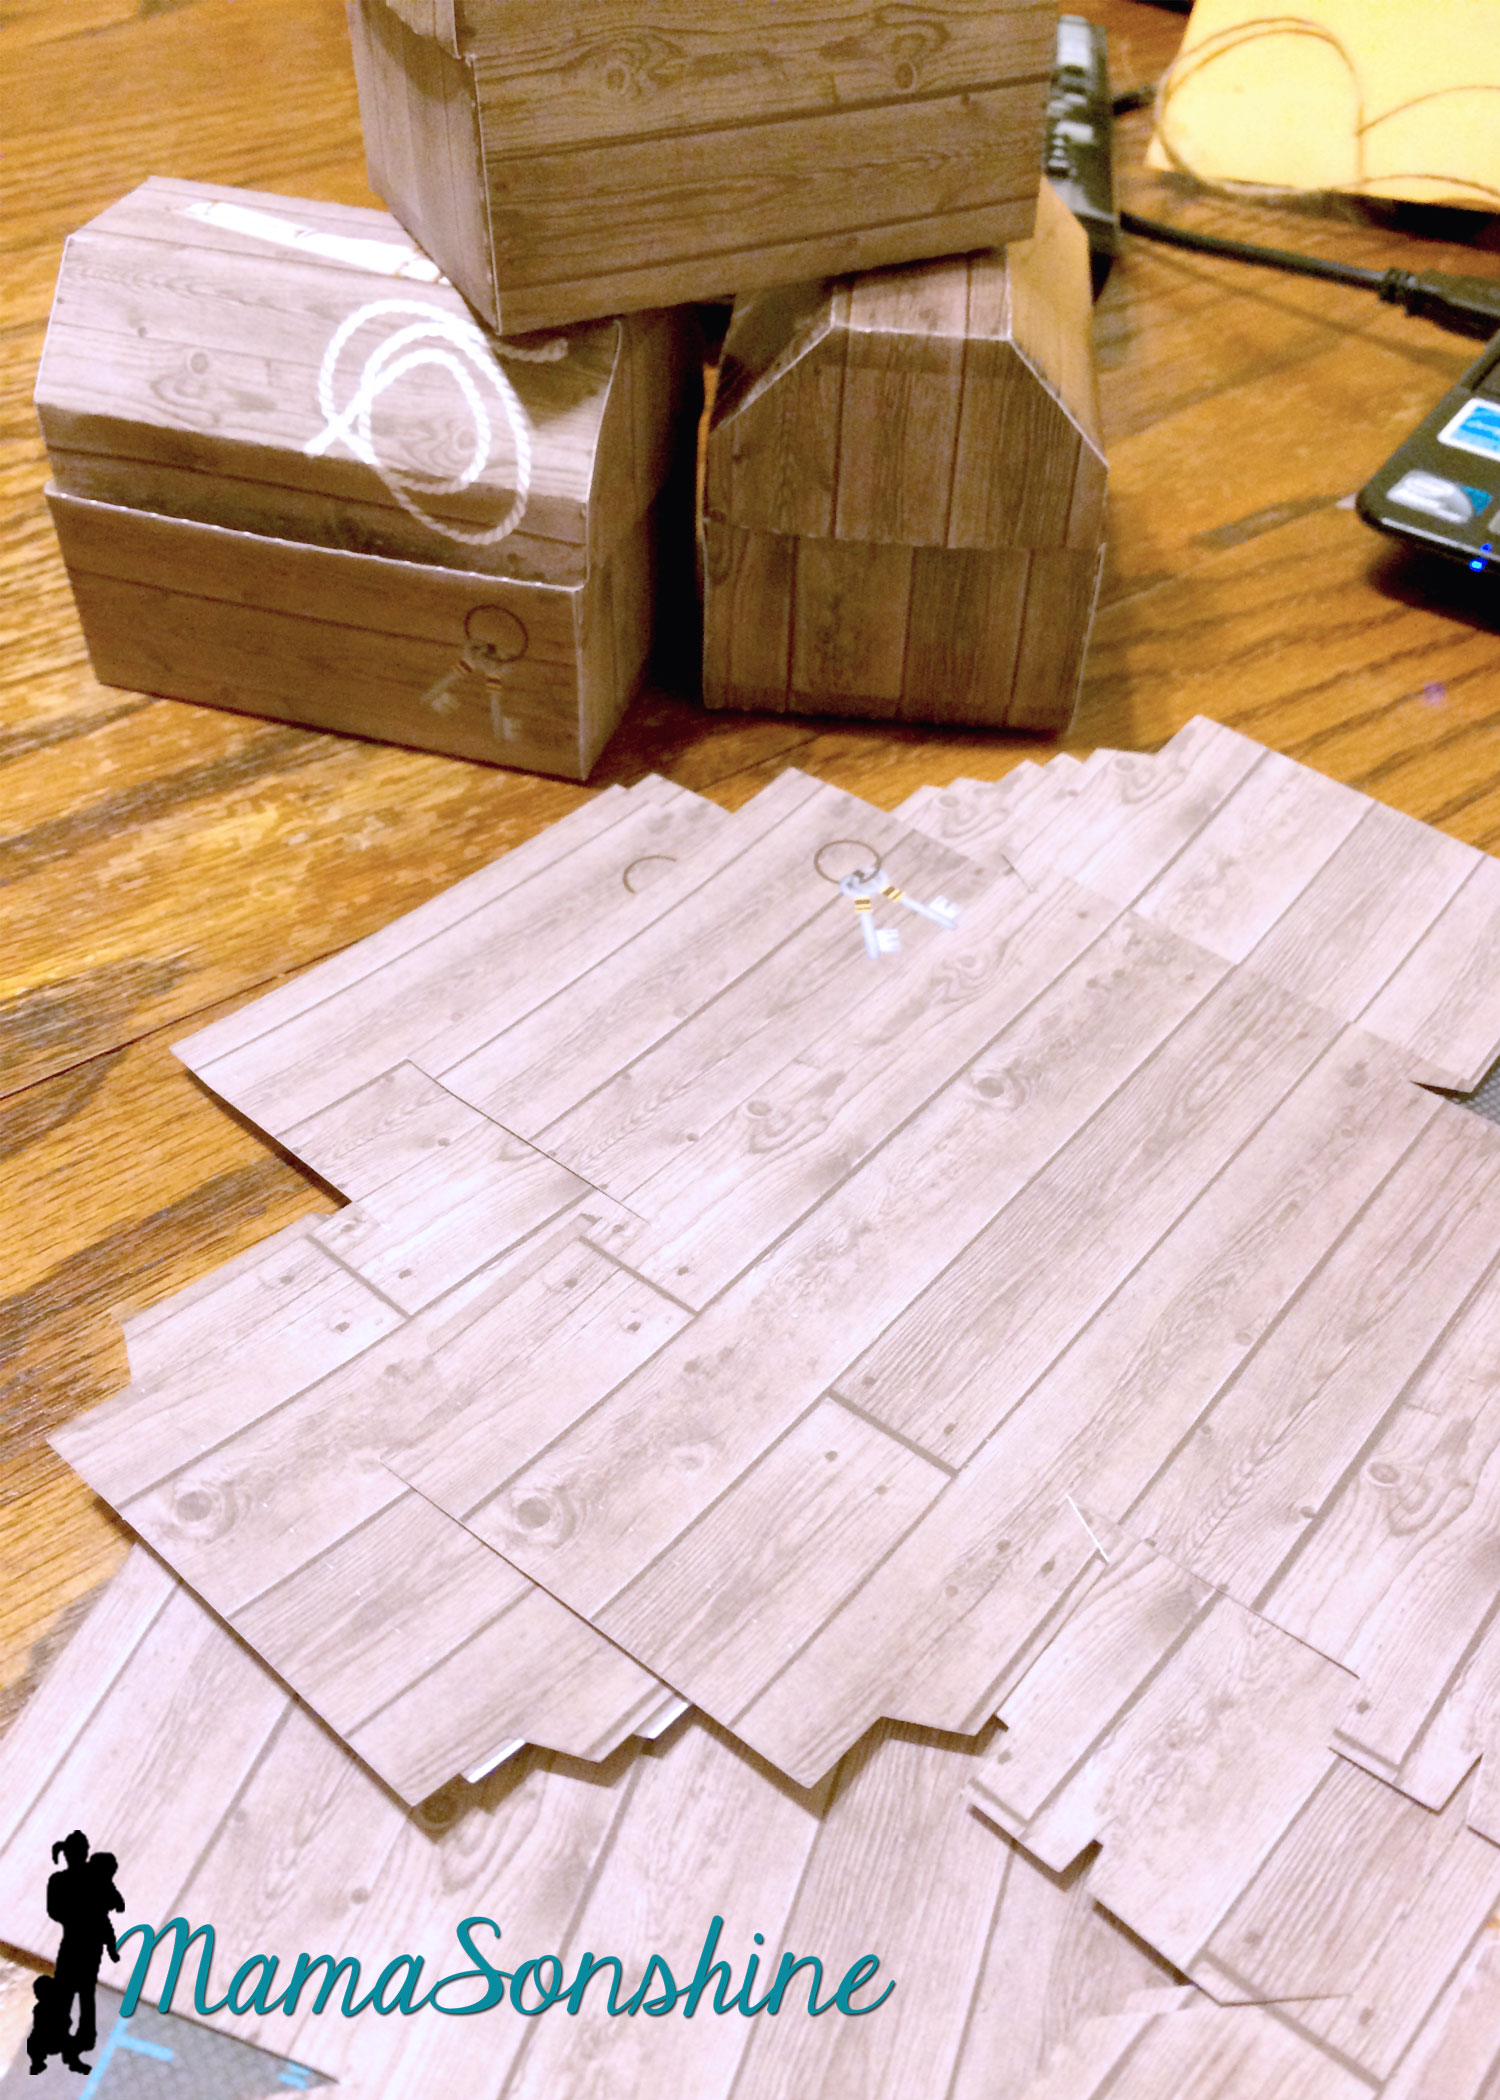
I filled them with glass stones and chocolate gold coins, and had them through out the house.
As a guest gift each kid got to take home a hook and a Thank You bag.

The tags say “Thanks me hearties!” I also made the gift bags using the digital papers as the panels for the bags and black card stock for the bag base. I used a variety of the papers included in the kit. The skull was attached with foam dimensional tabs.
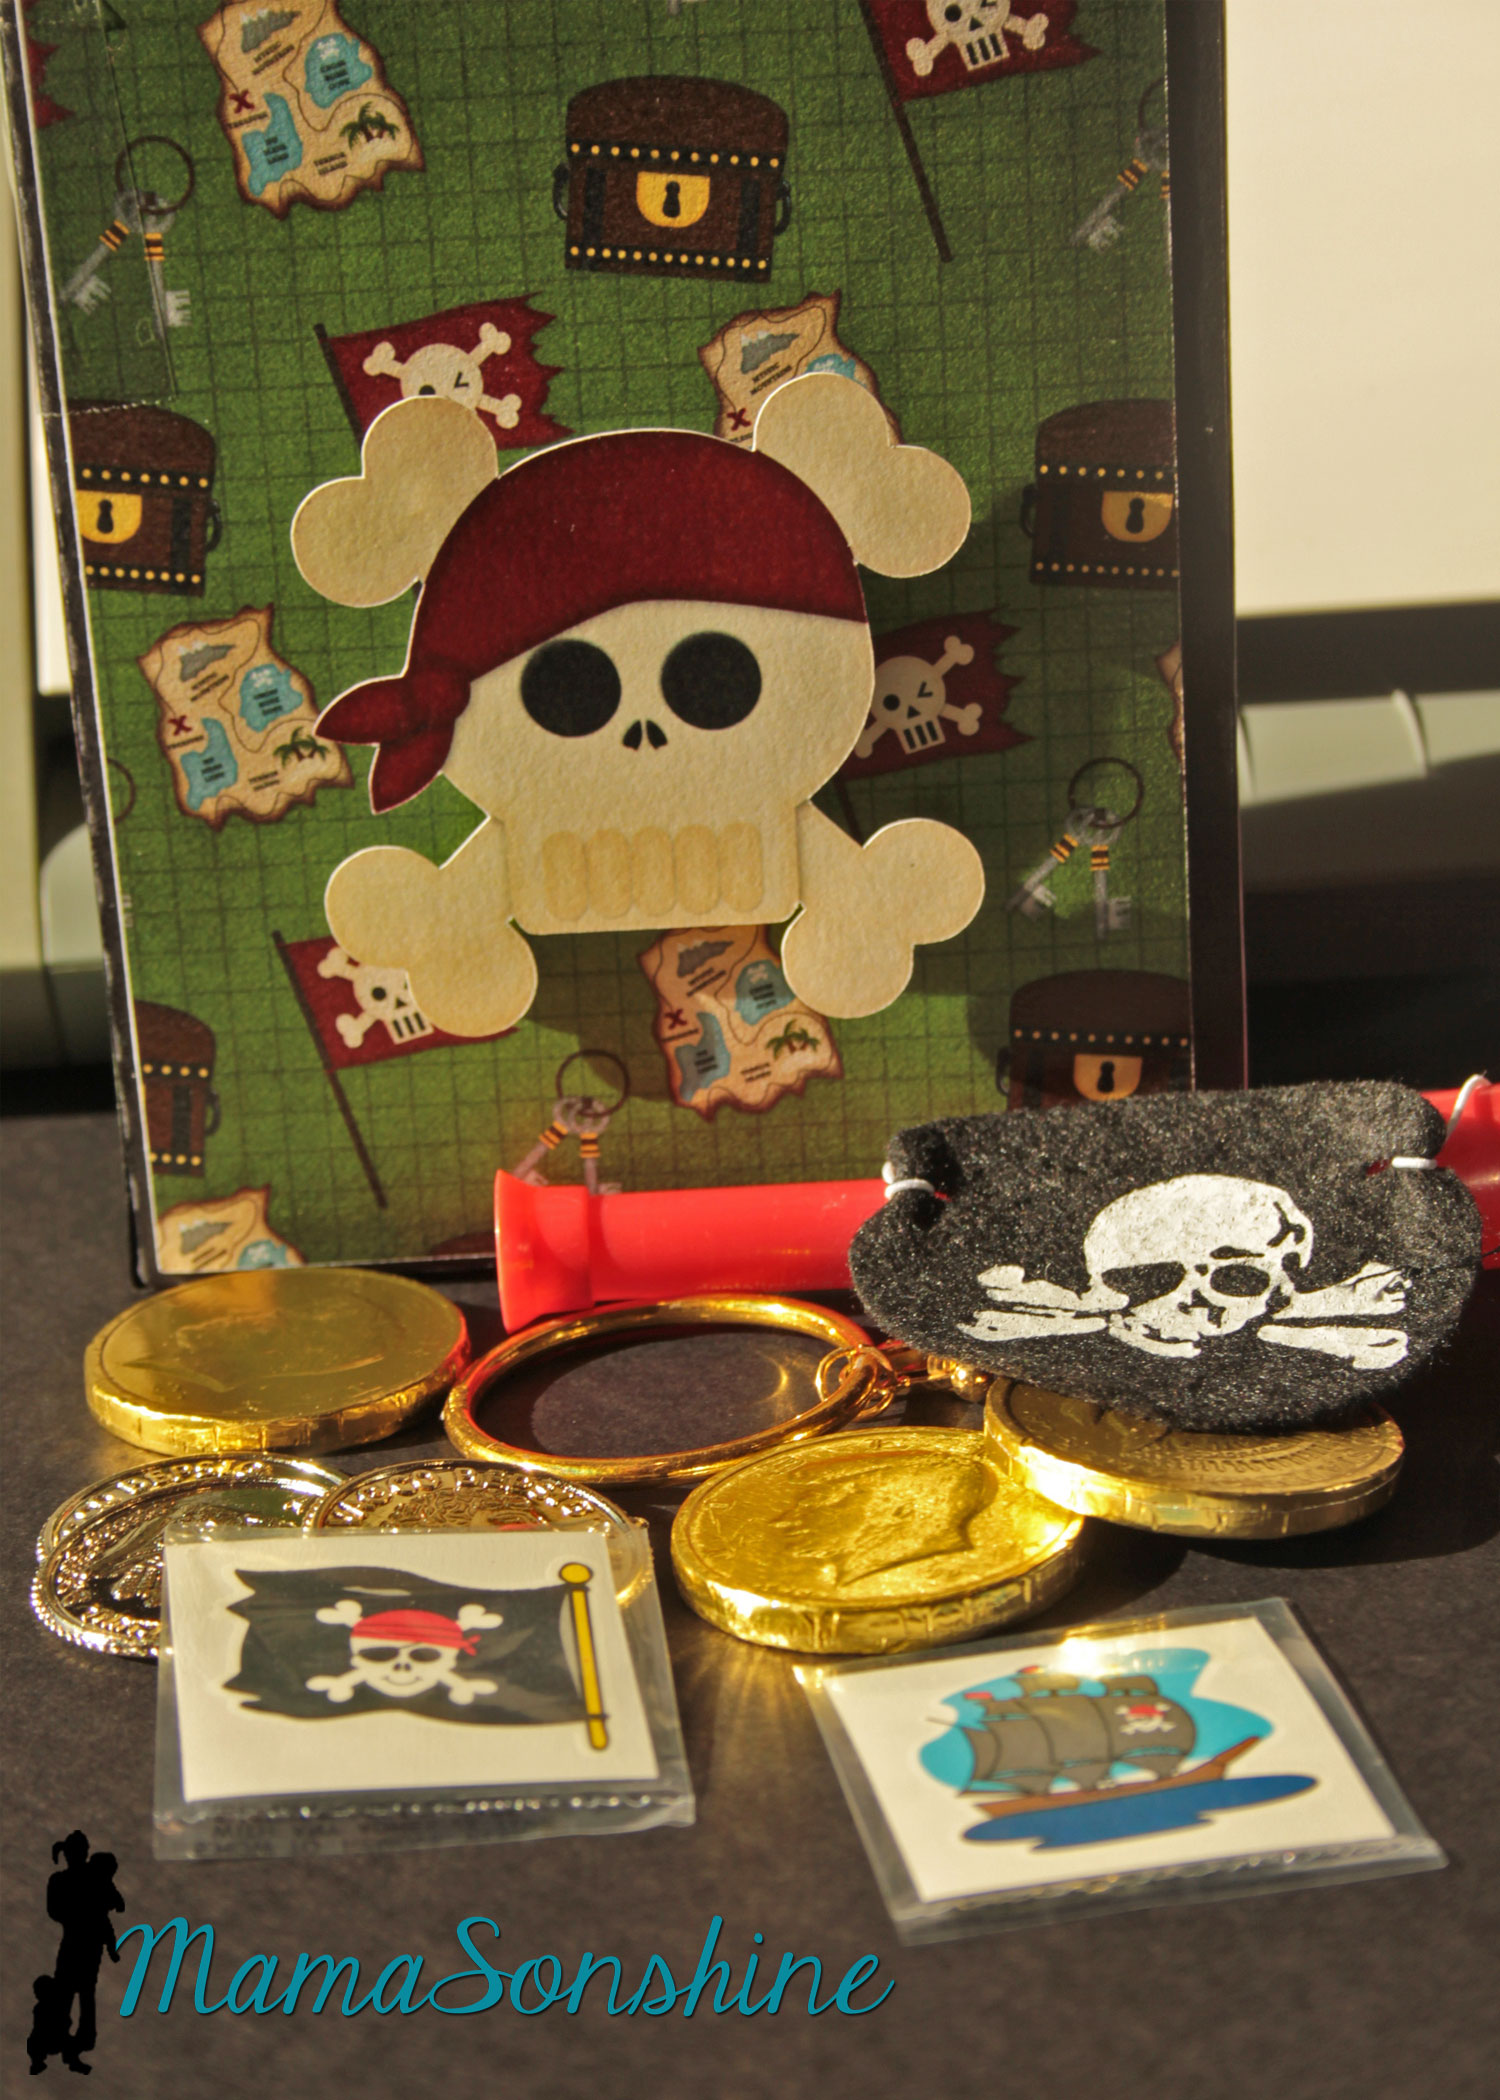
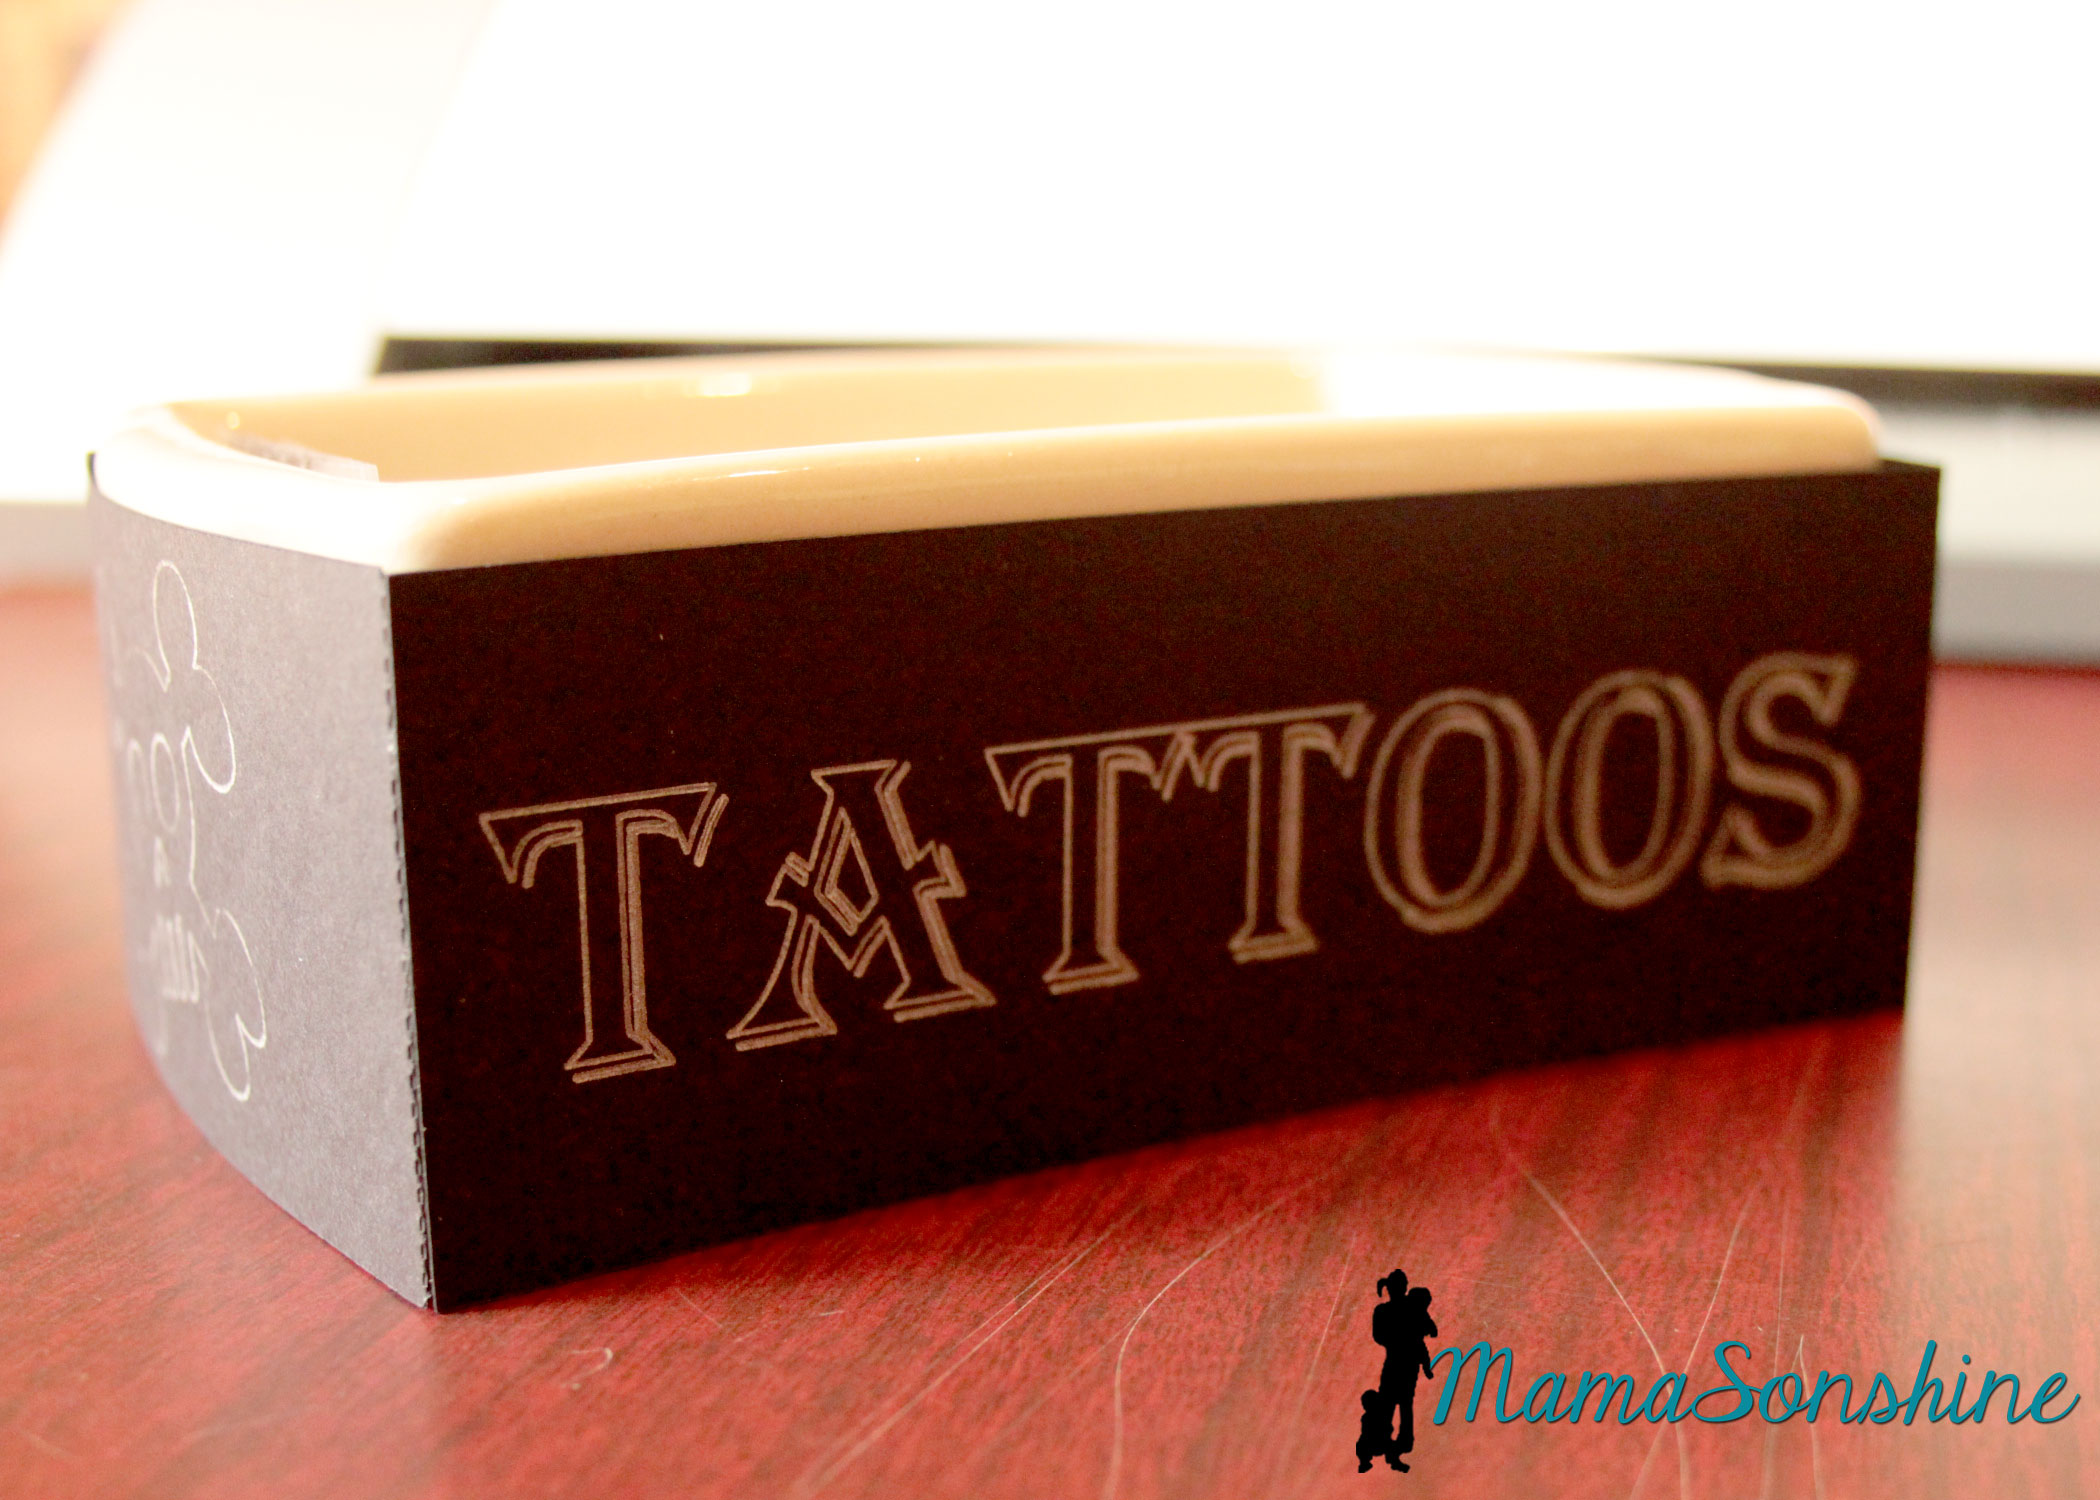
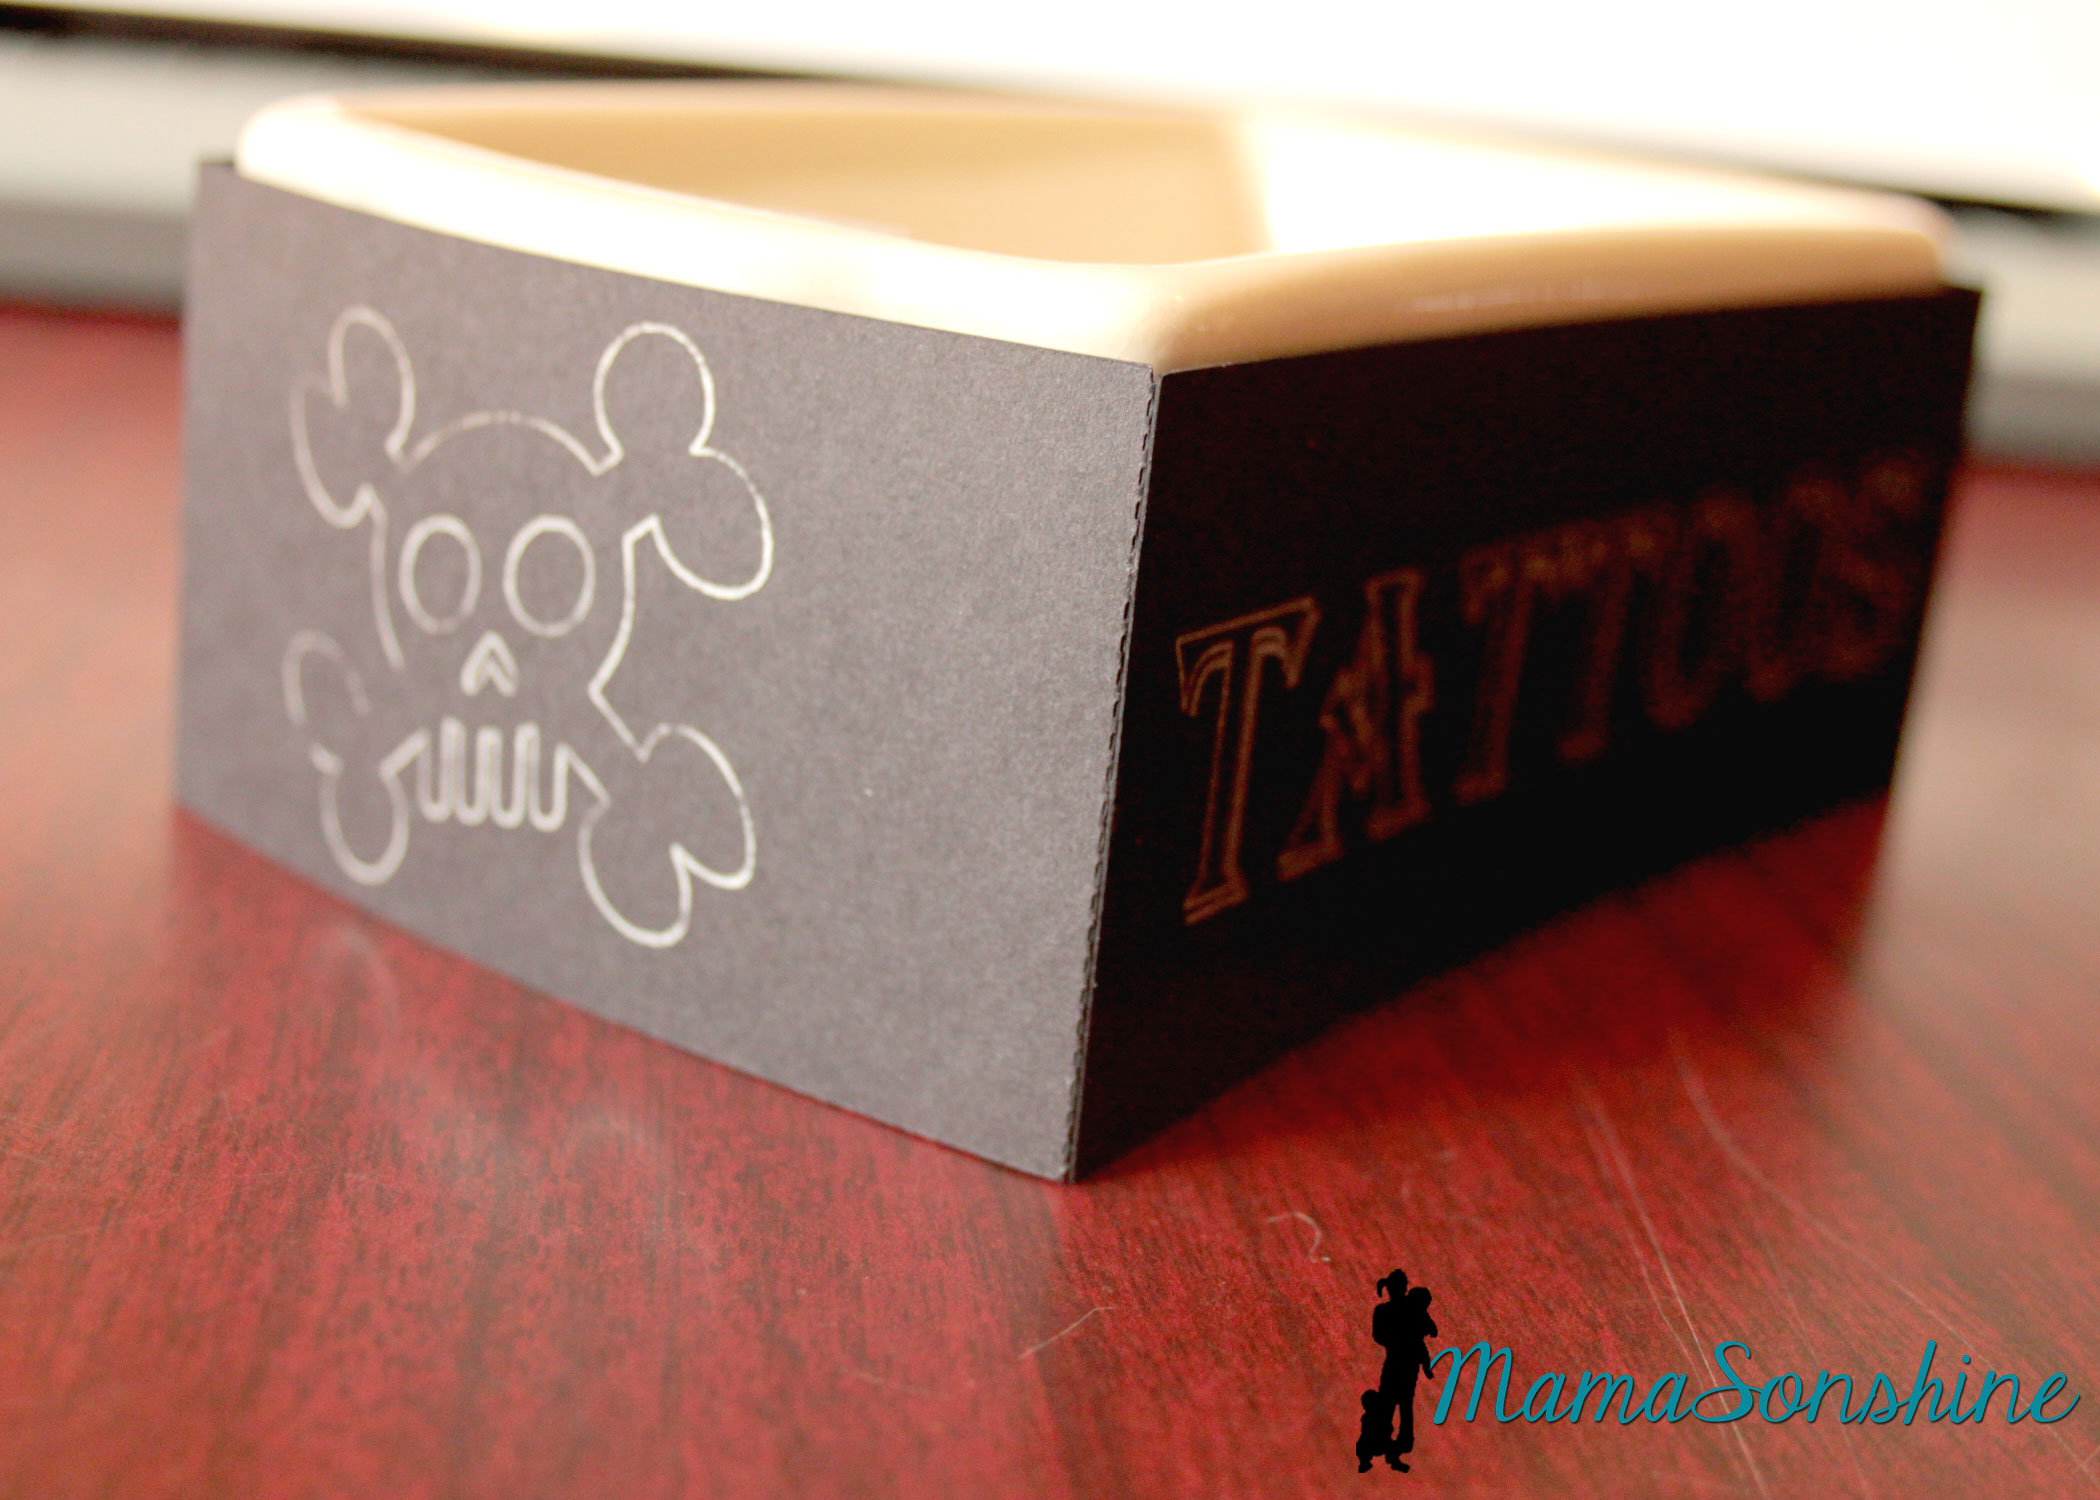
Each bag had a pirate bandanna, an eye patch, a pirate ear-ring, some tattoos, cold coins, chocolate coins, and a telescope.
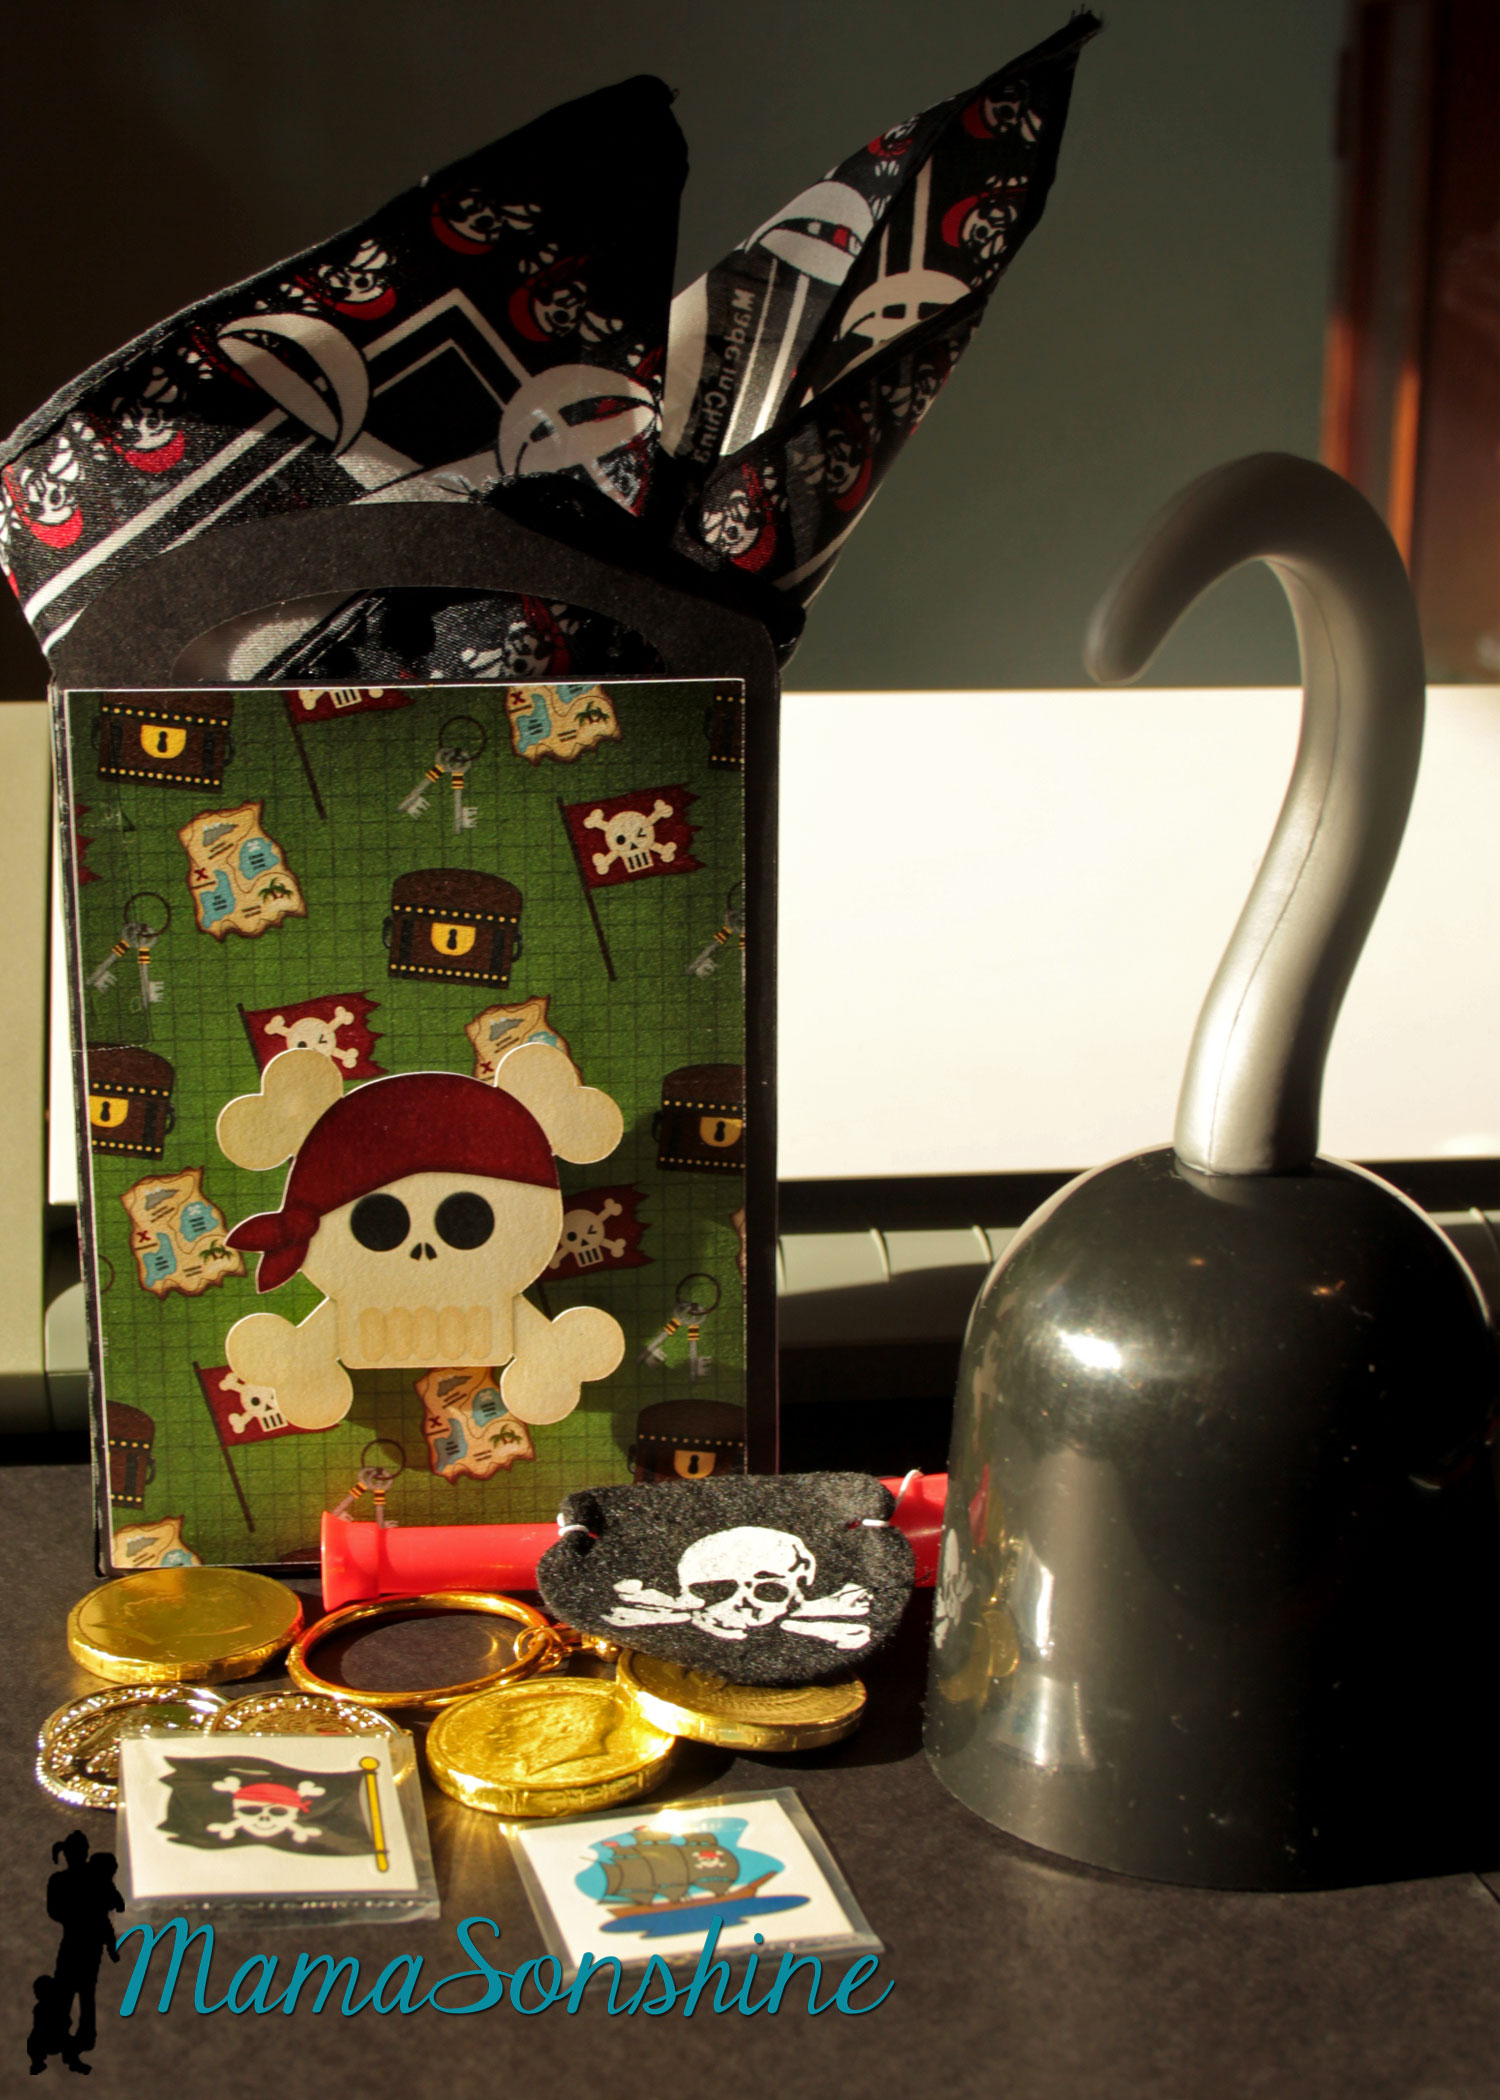
The hooks wouldn’t fit in the bag, so the kids got to get them out of a basket.
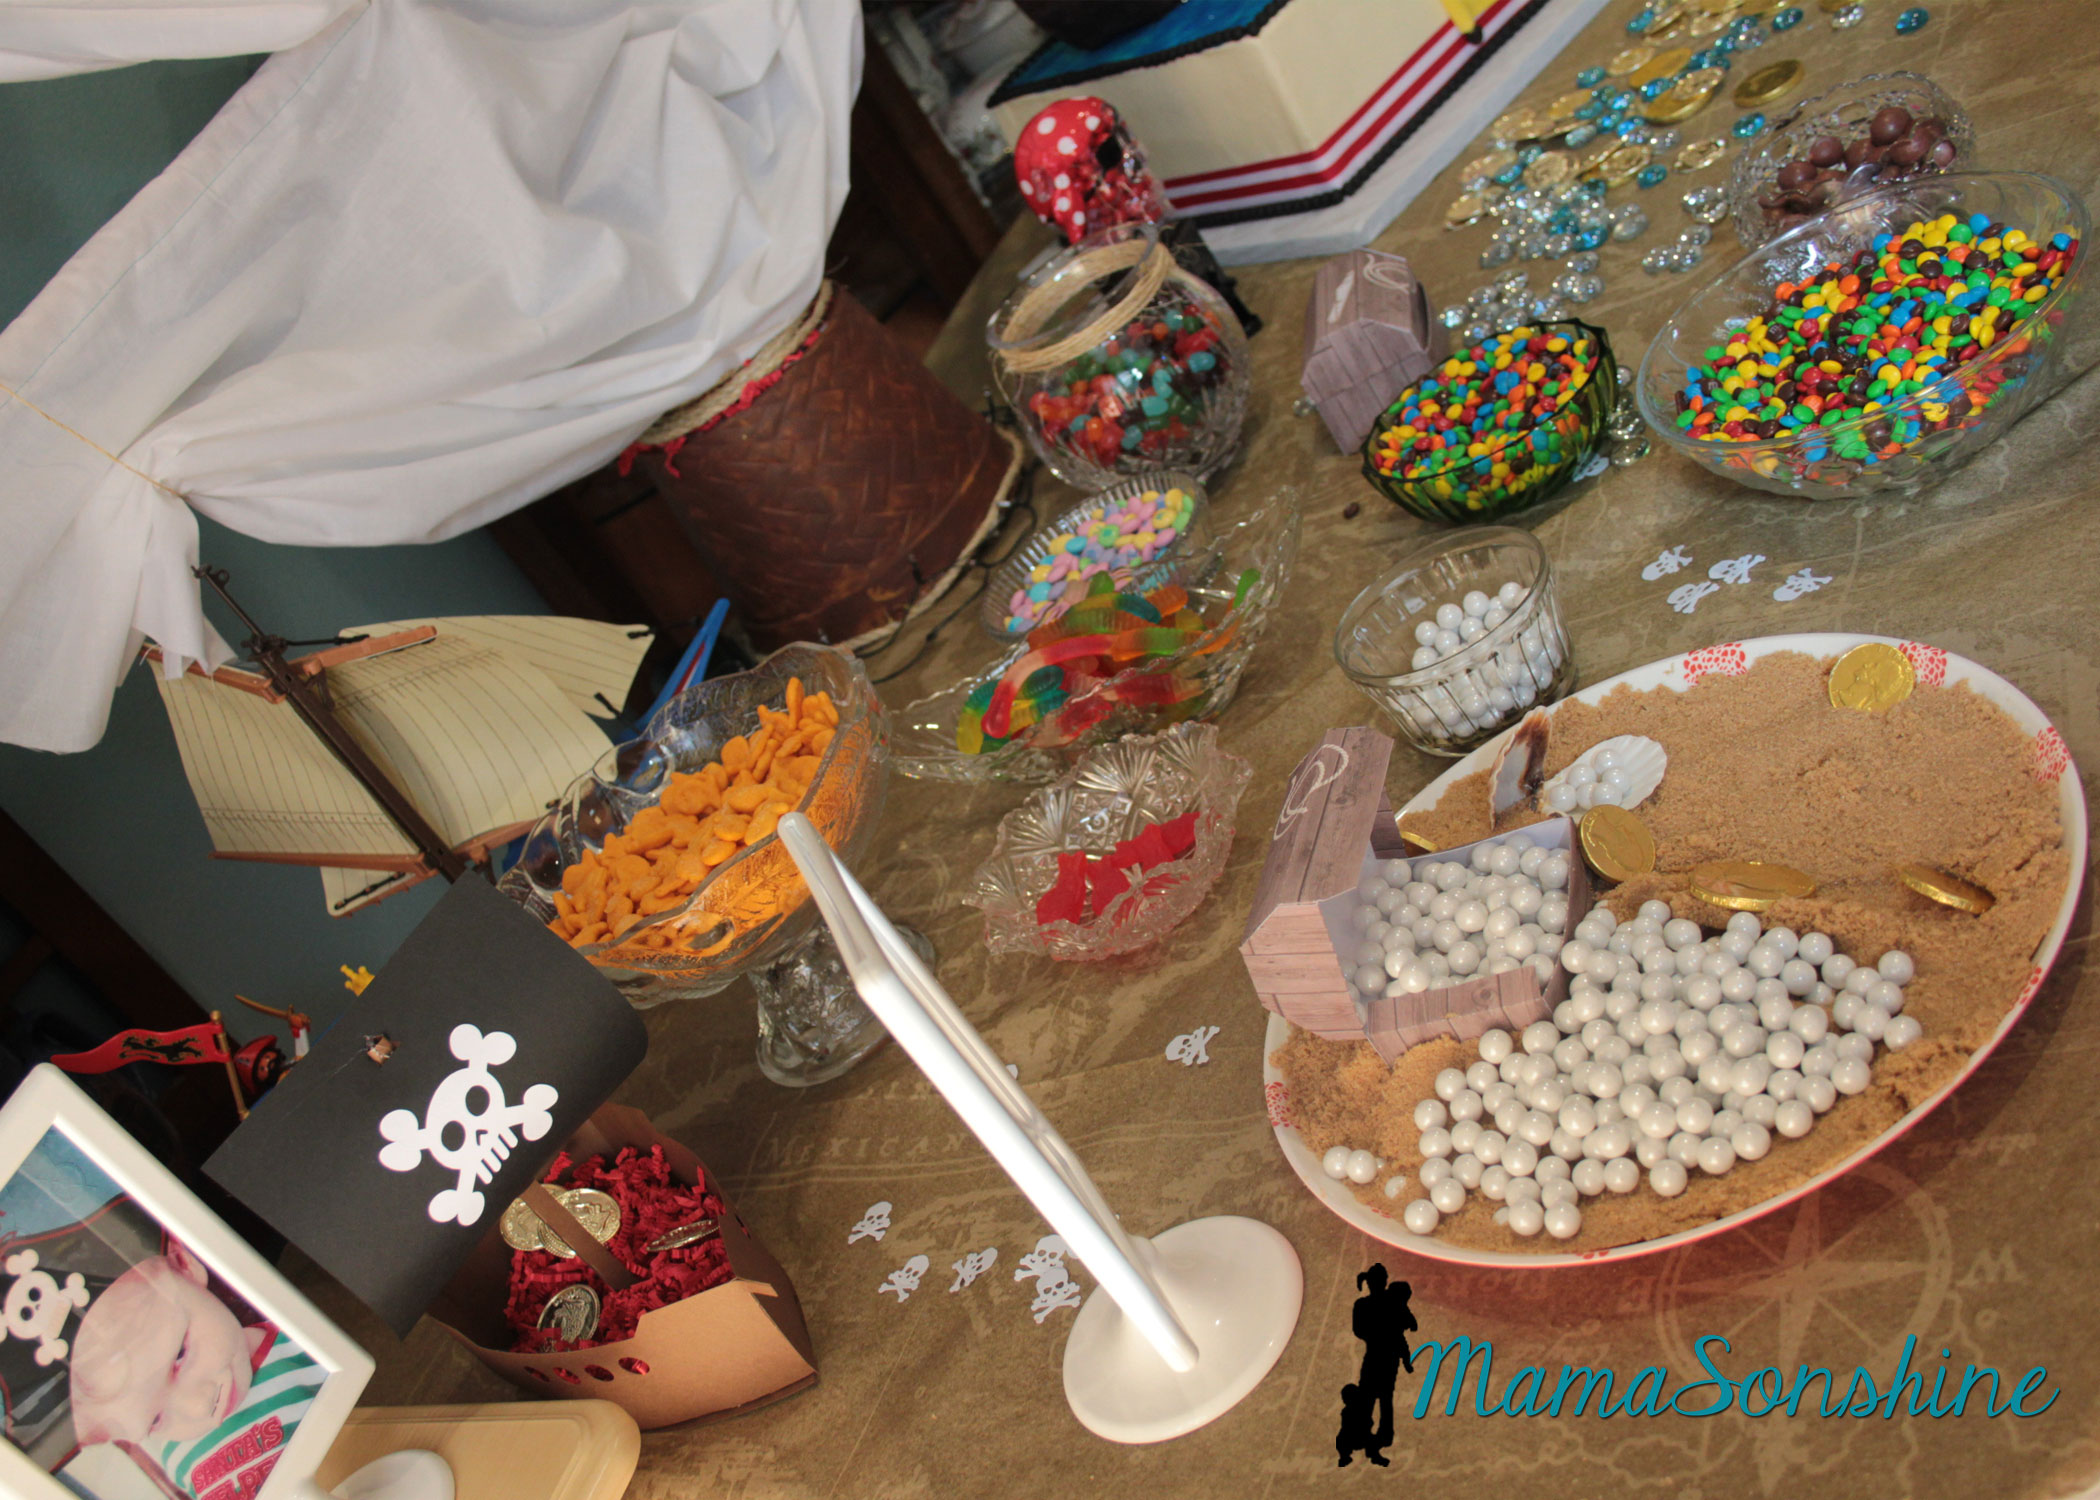
The Table
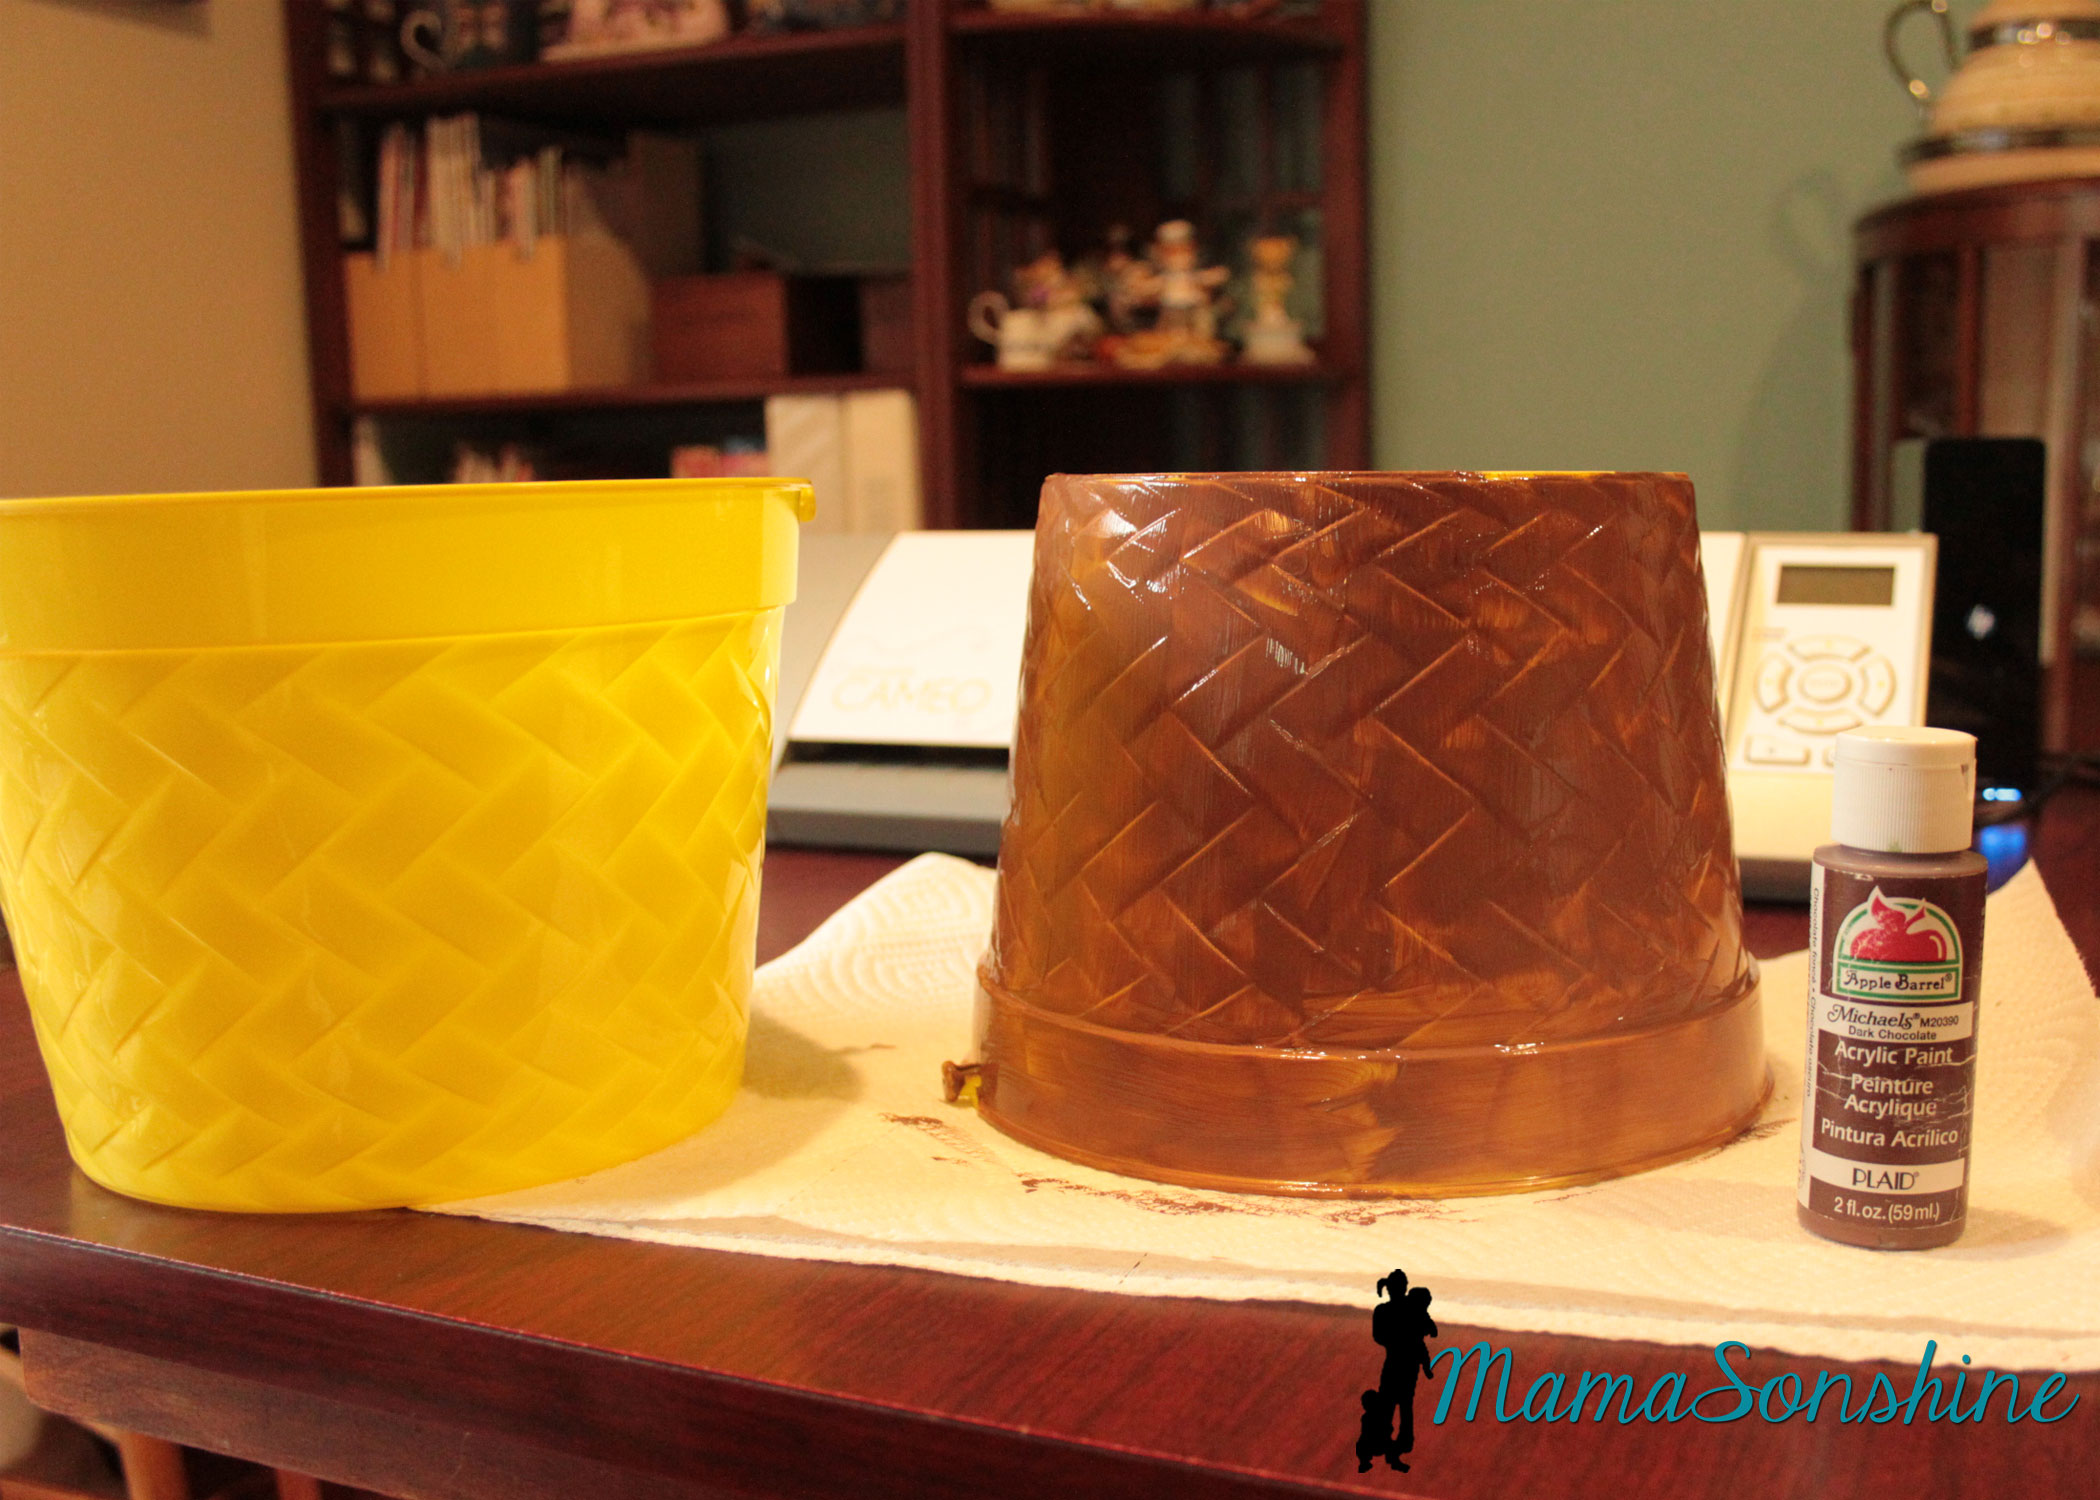
For the table center piece I took these Easter buckets I got at the dollar store and transformed them in to a mast from a boat.

I actually envisioned it much bigger, but the wooden dowels I had, limited the size.
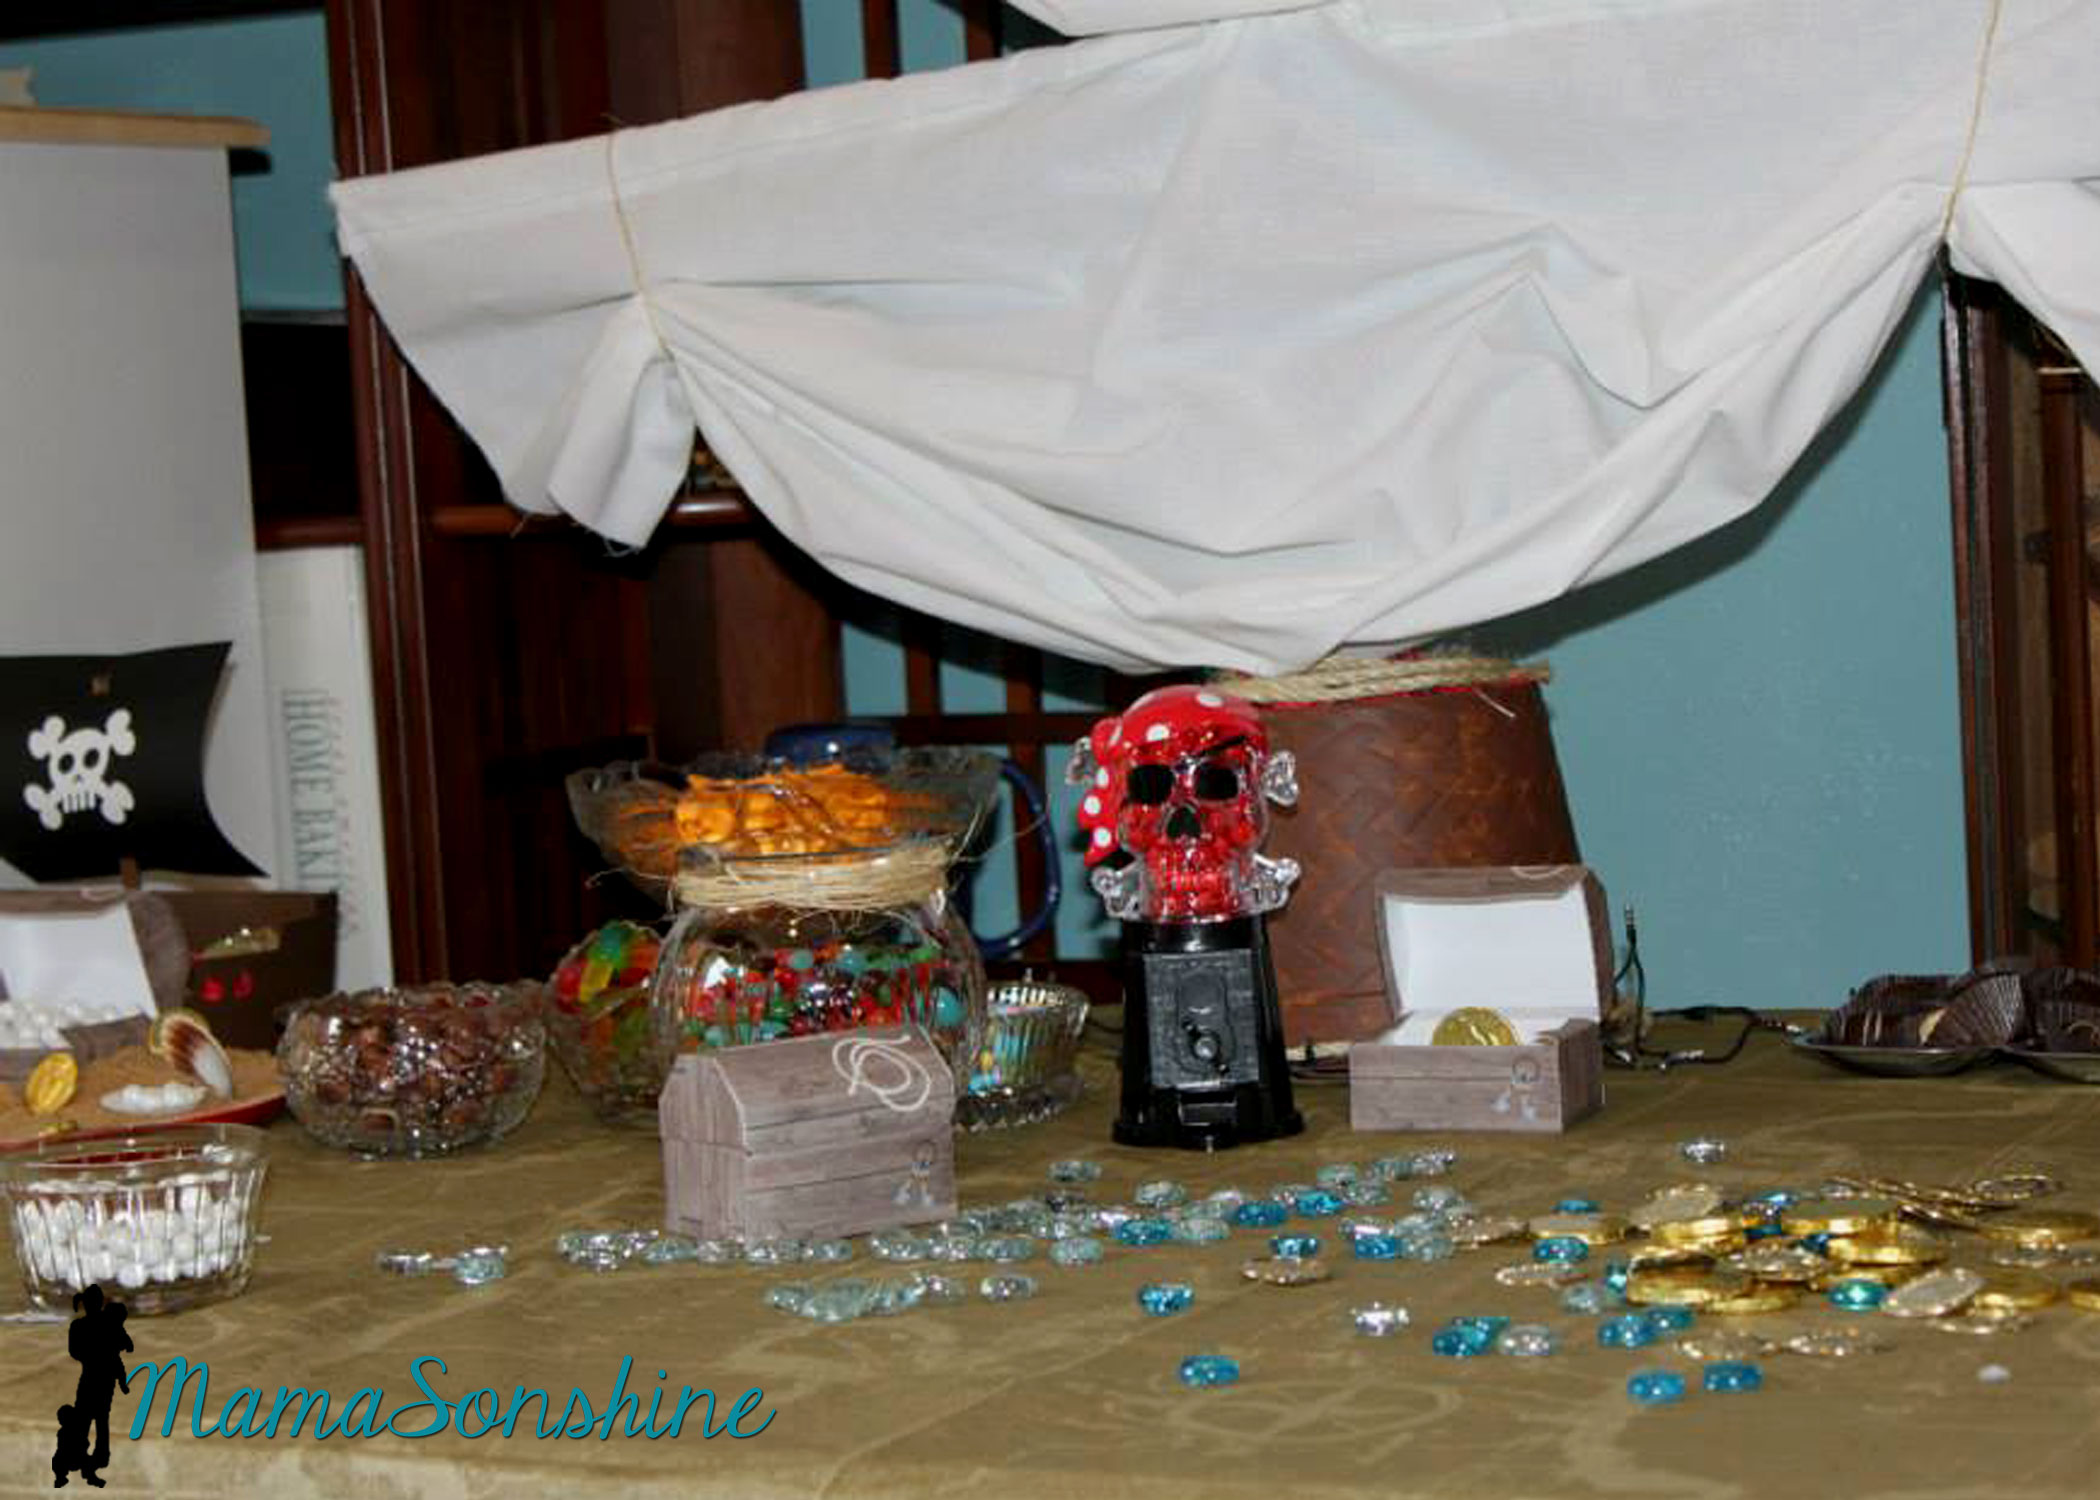
Using the idea from Sid’s beach party, I made a plate with brown sugar sand and pearls (Sixlets) coming out of one of the paper treasure chests.
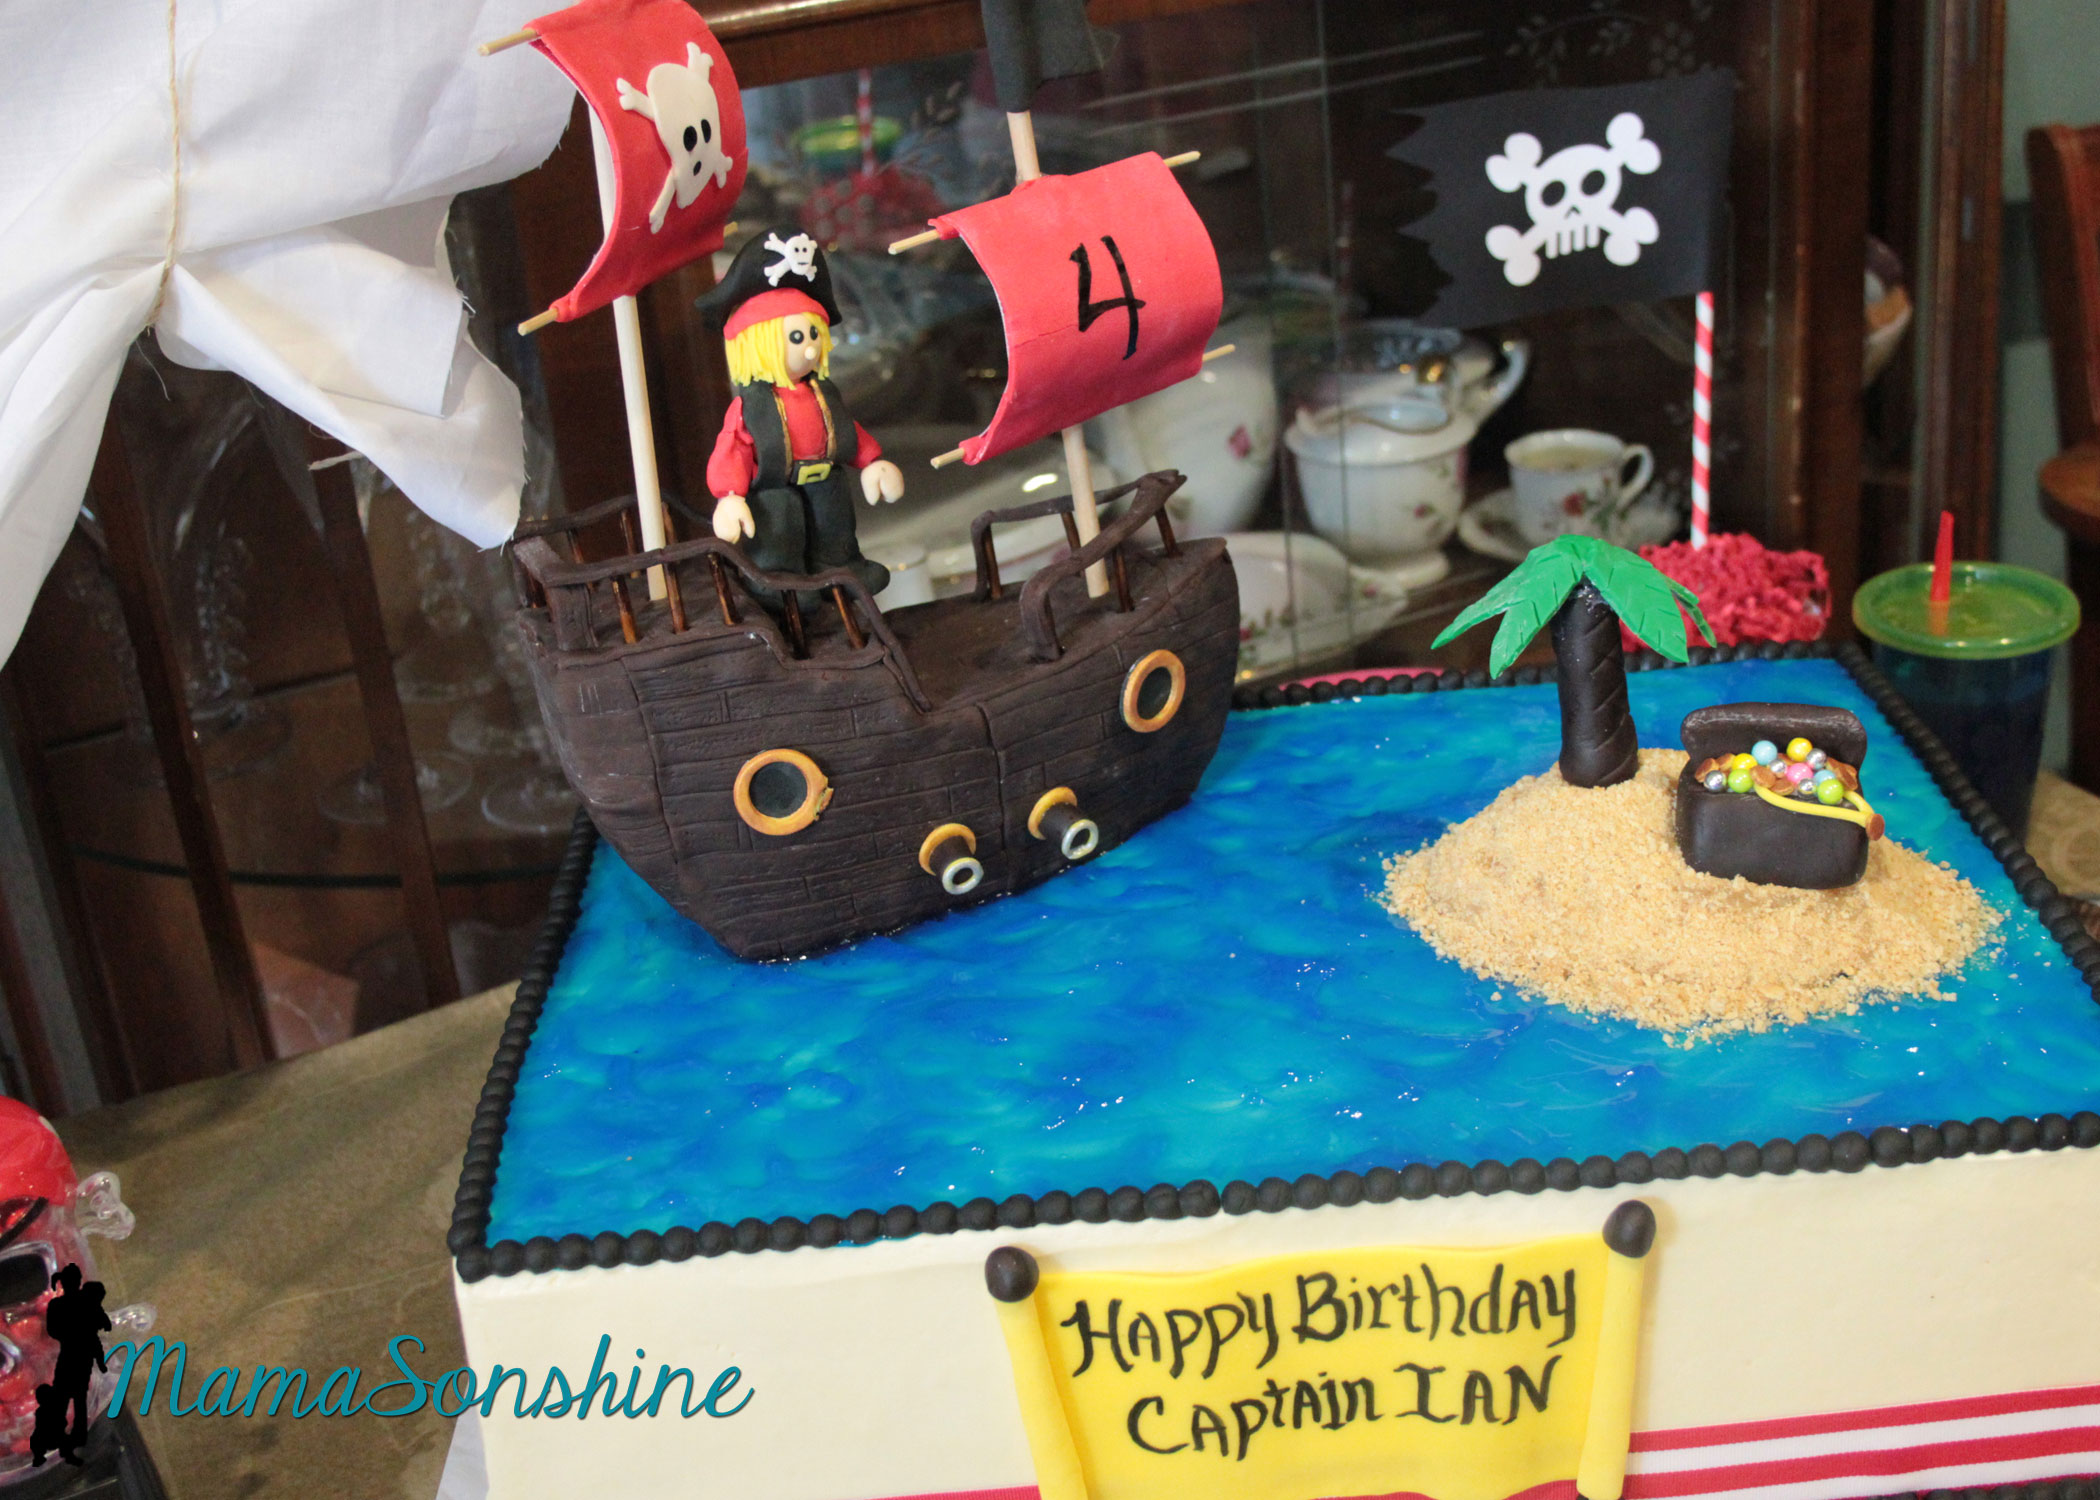
The cake
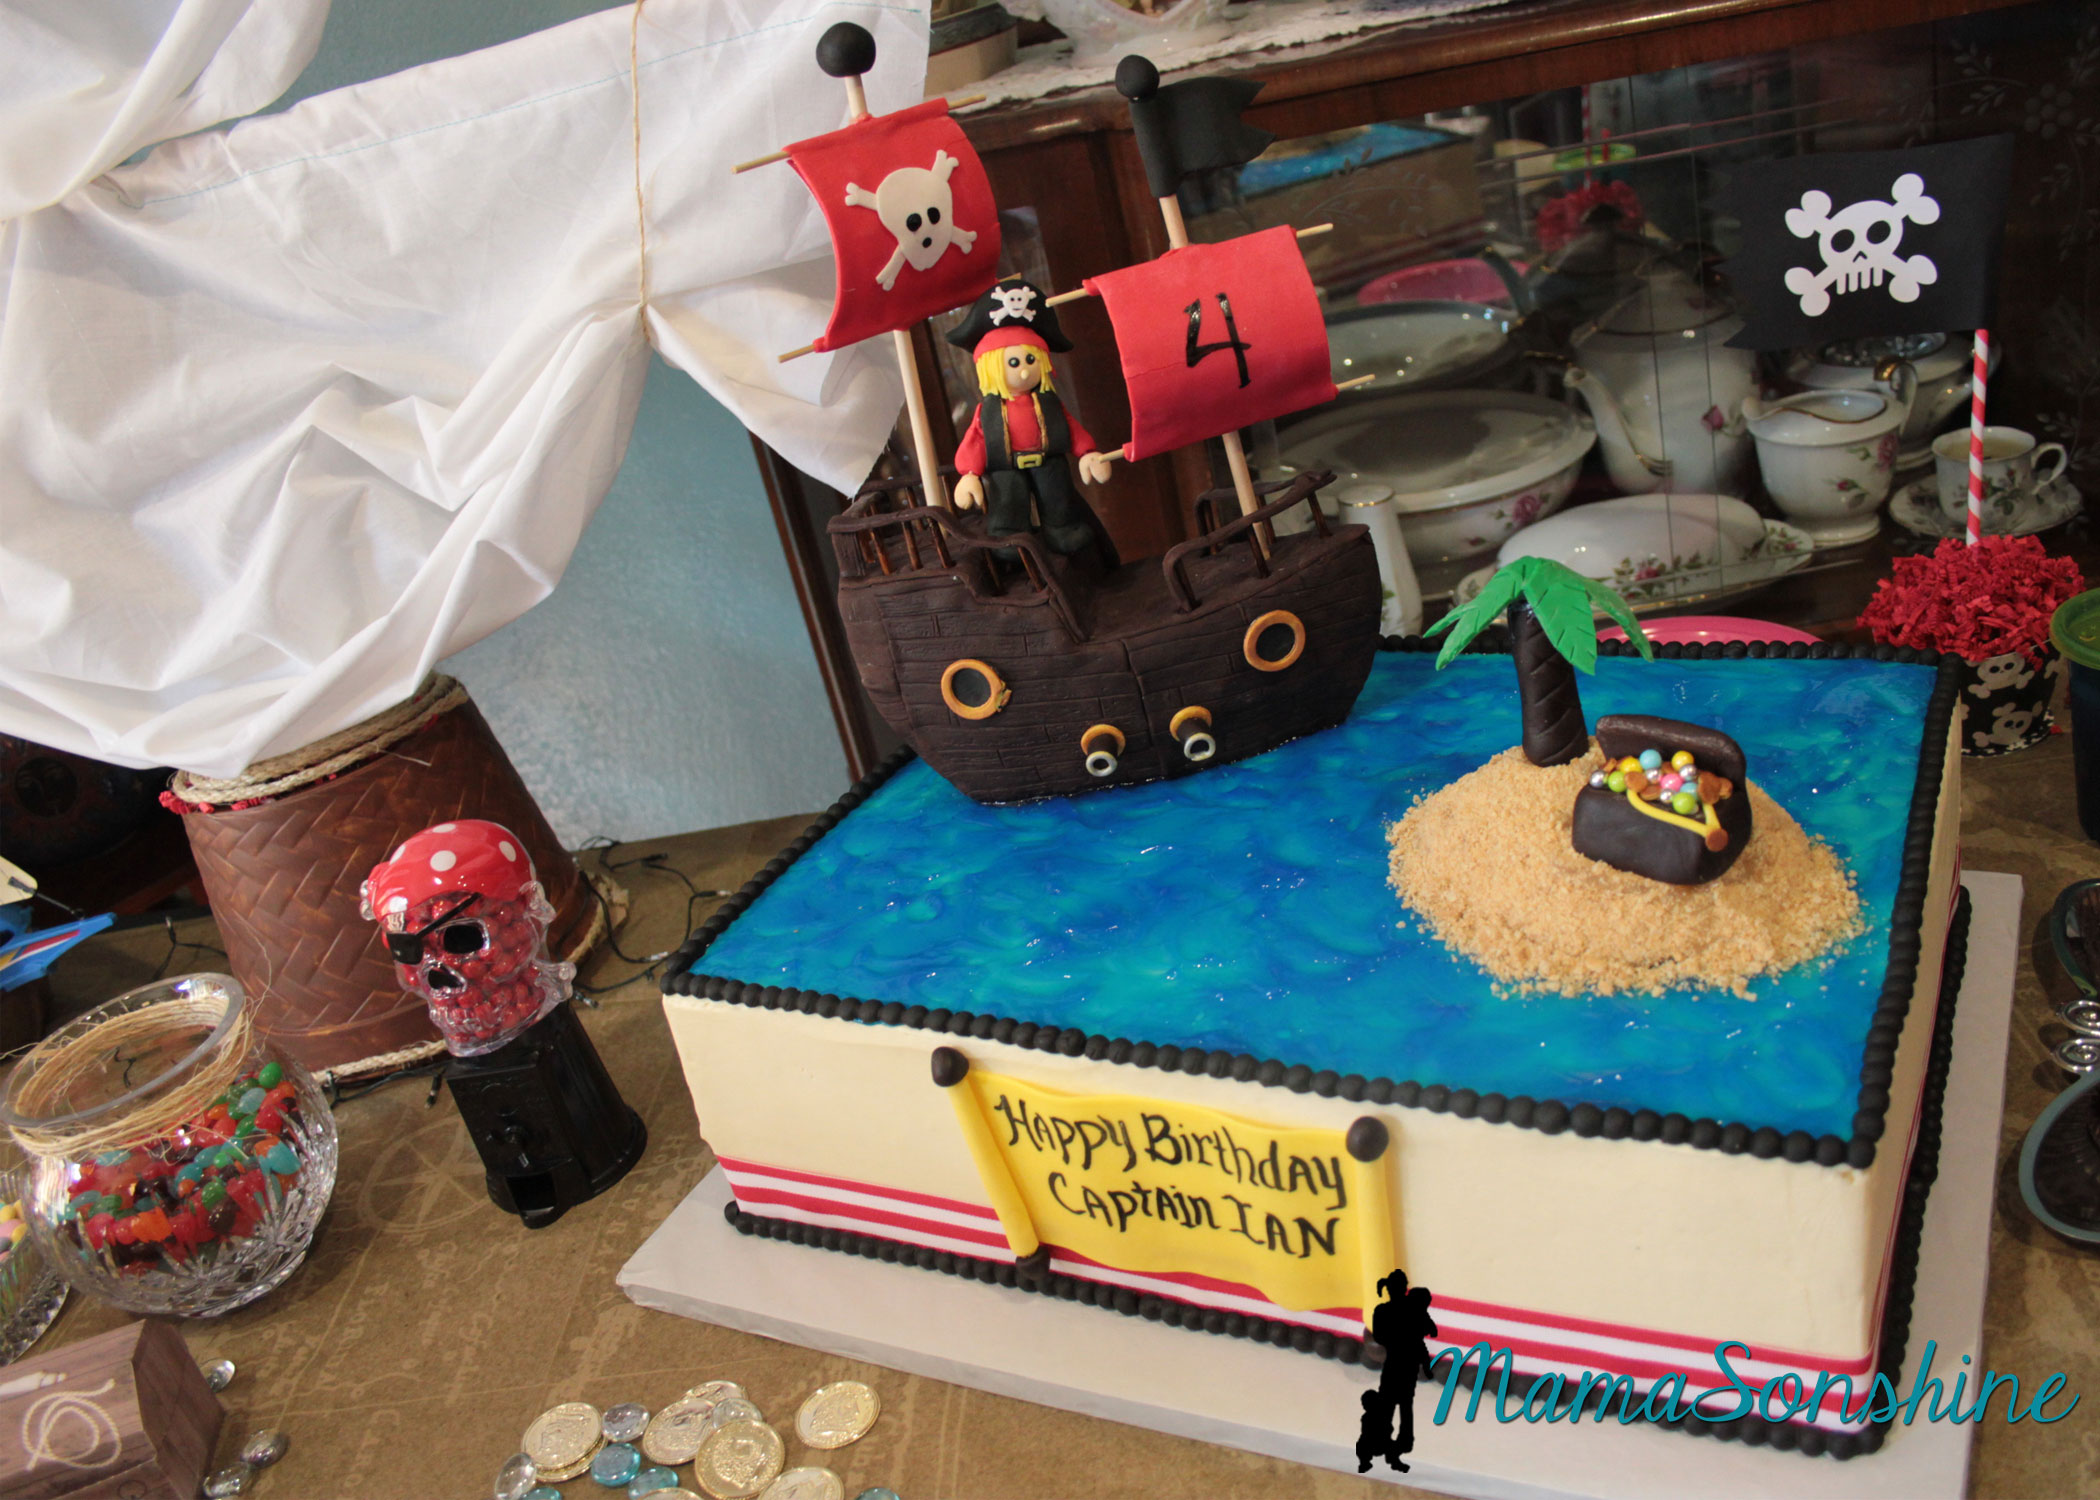
I did not make the cake, this awesome creation was made by my aunt.
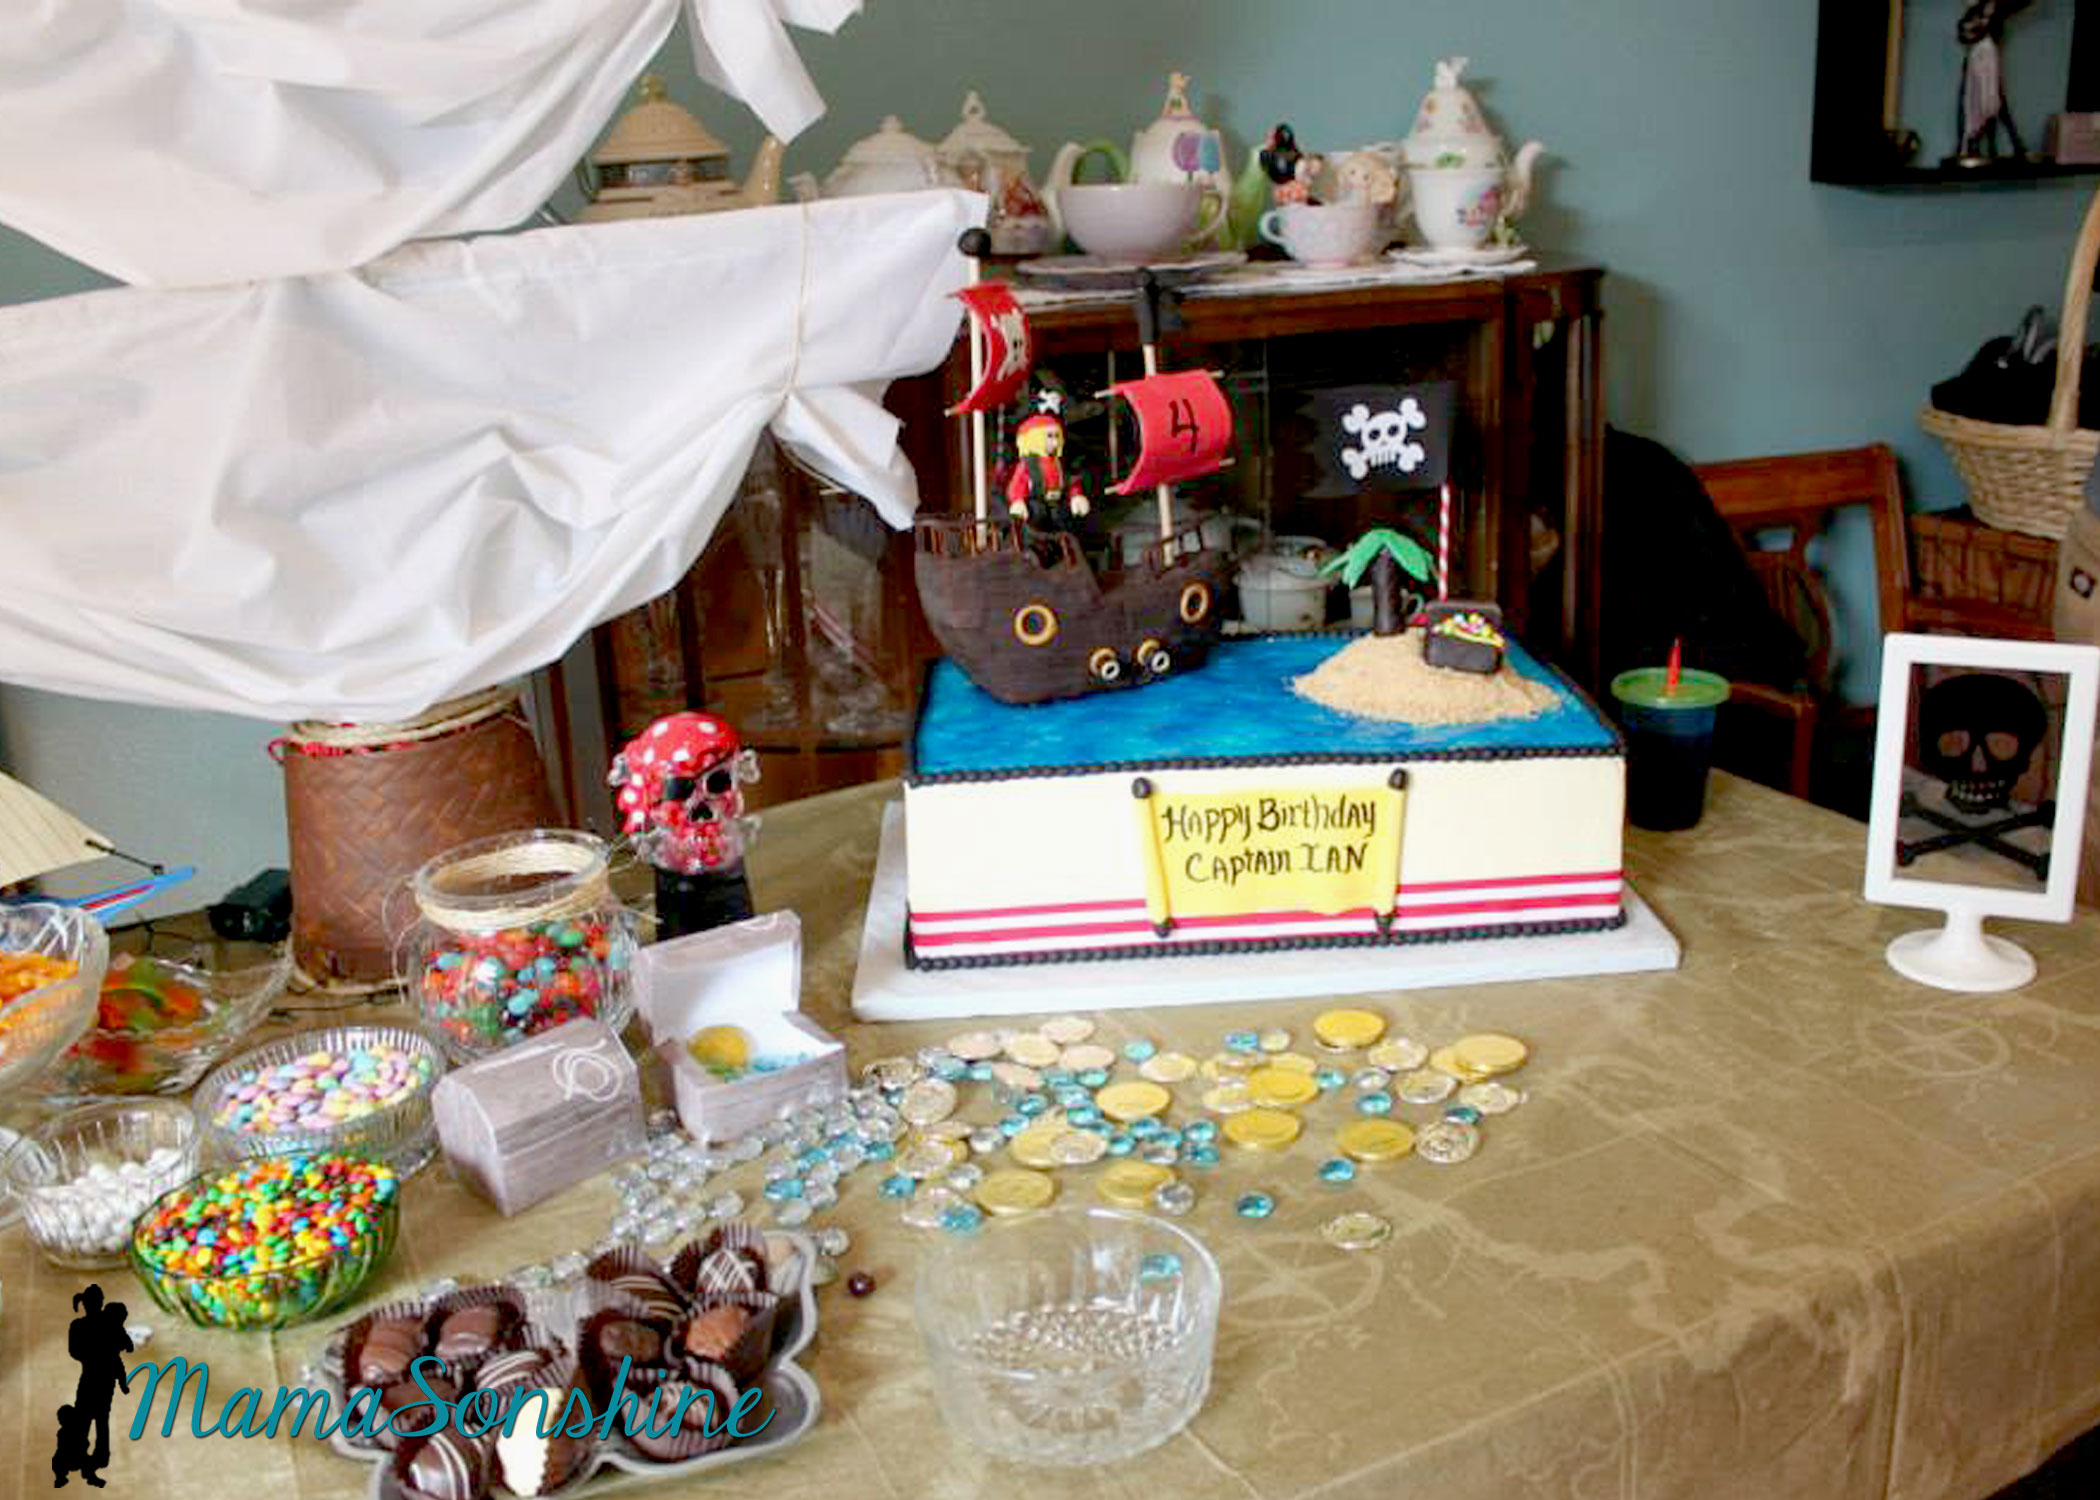
This table-cloth was the most expensive paper table-cloth I have ever purchased, but I absolutely loved it. The skull candy dispenser was the one thing my son said he had to have at his pirate party.
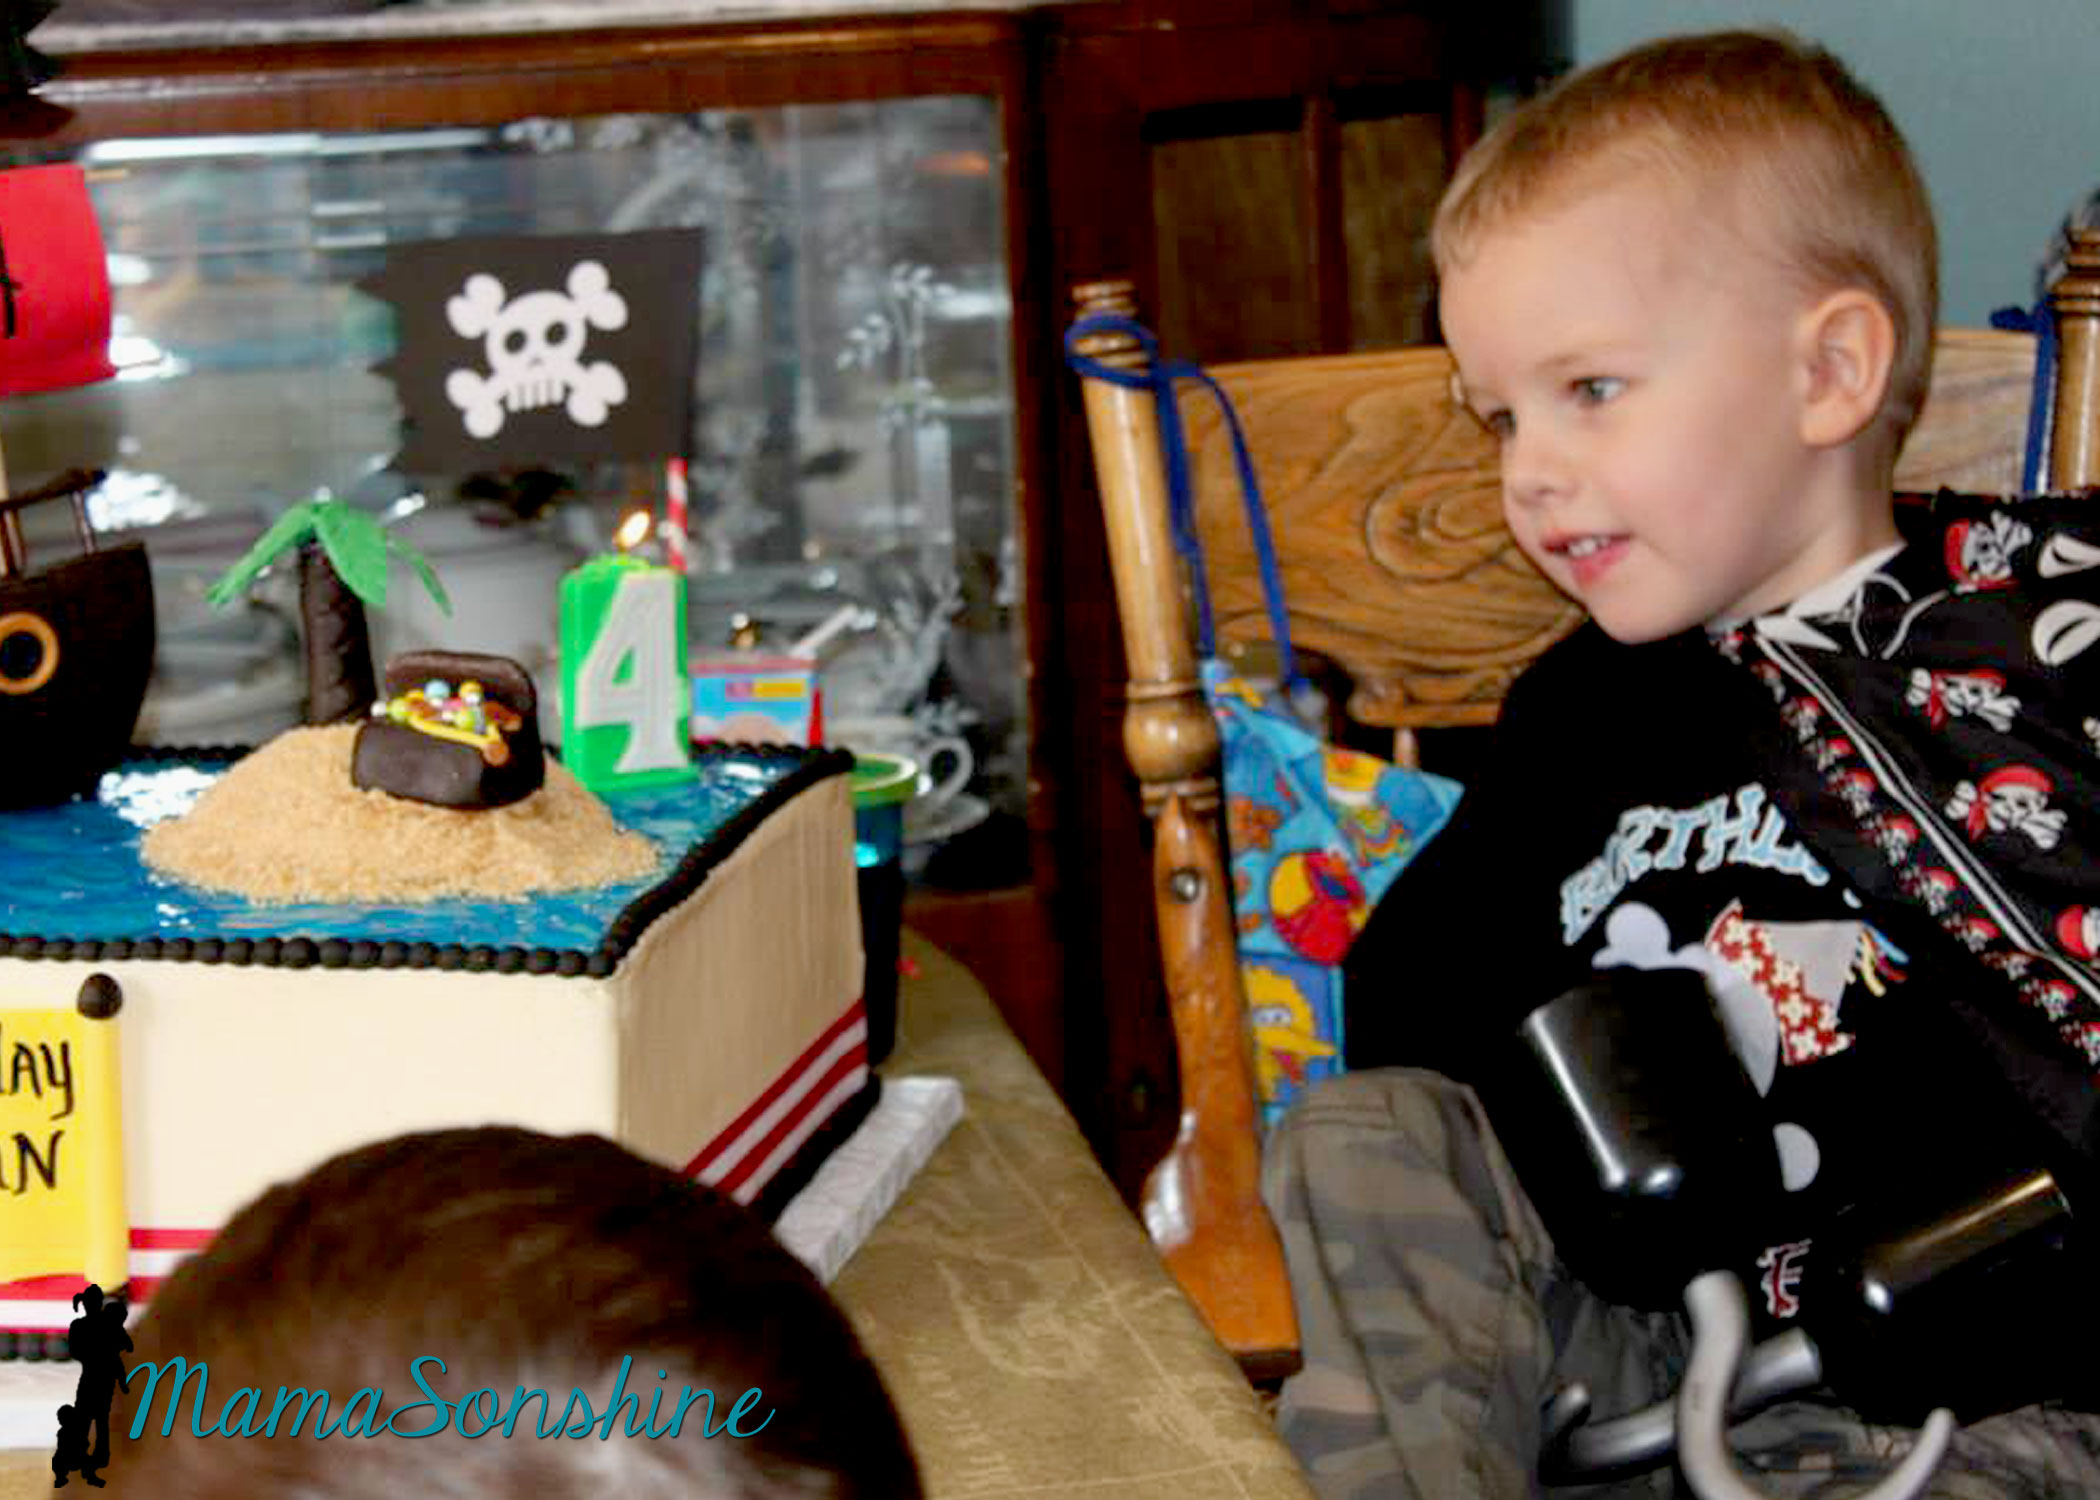
My son likes to wear his bandana as a pirate cape.

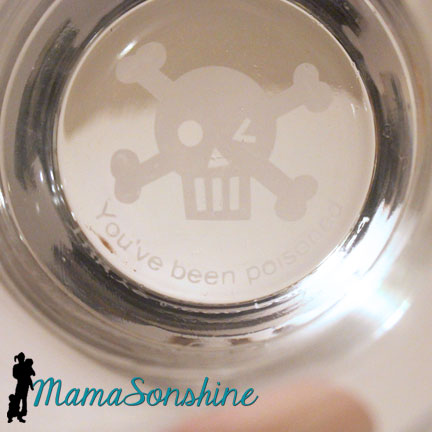
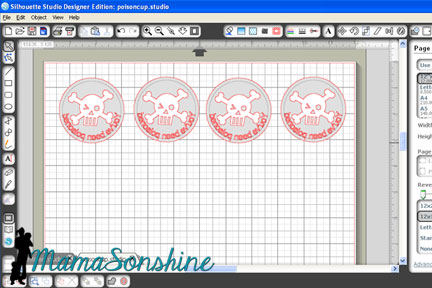
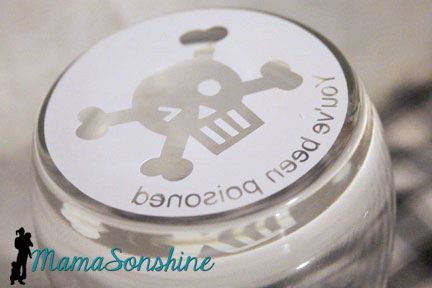
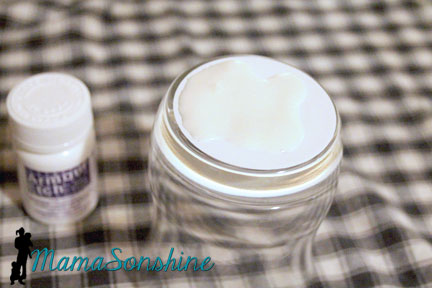
The drink labels were also made using the Cameo’s print and cut feature. Have I told you how much I love that feature?
We had some extra tattoos so I transformed a dish my mom had.
I used the sketch pens on the cameo. It was really easy and something I did at the last-minute, but wouldn’t have if I didn’t have my Silhouette.

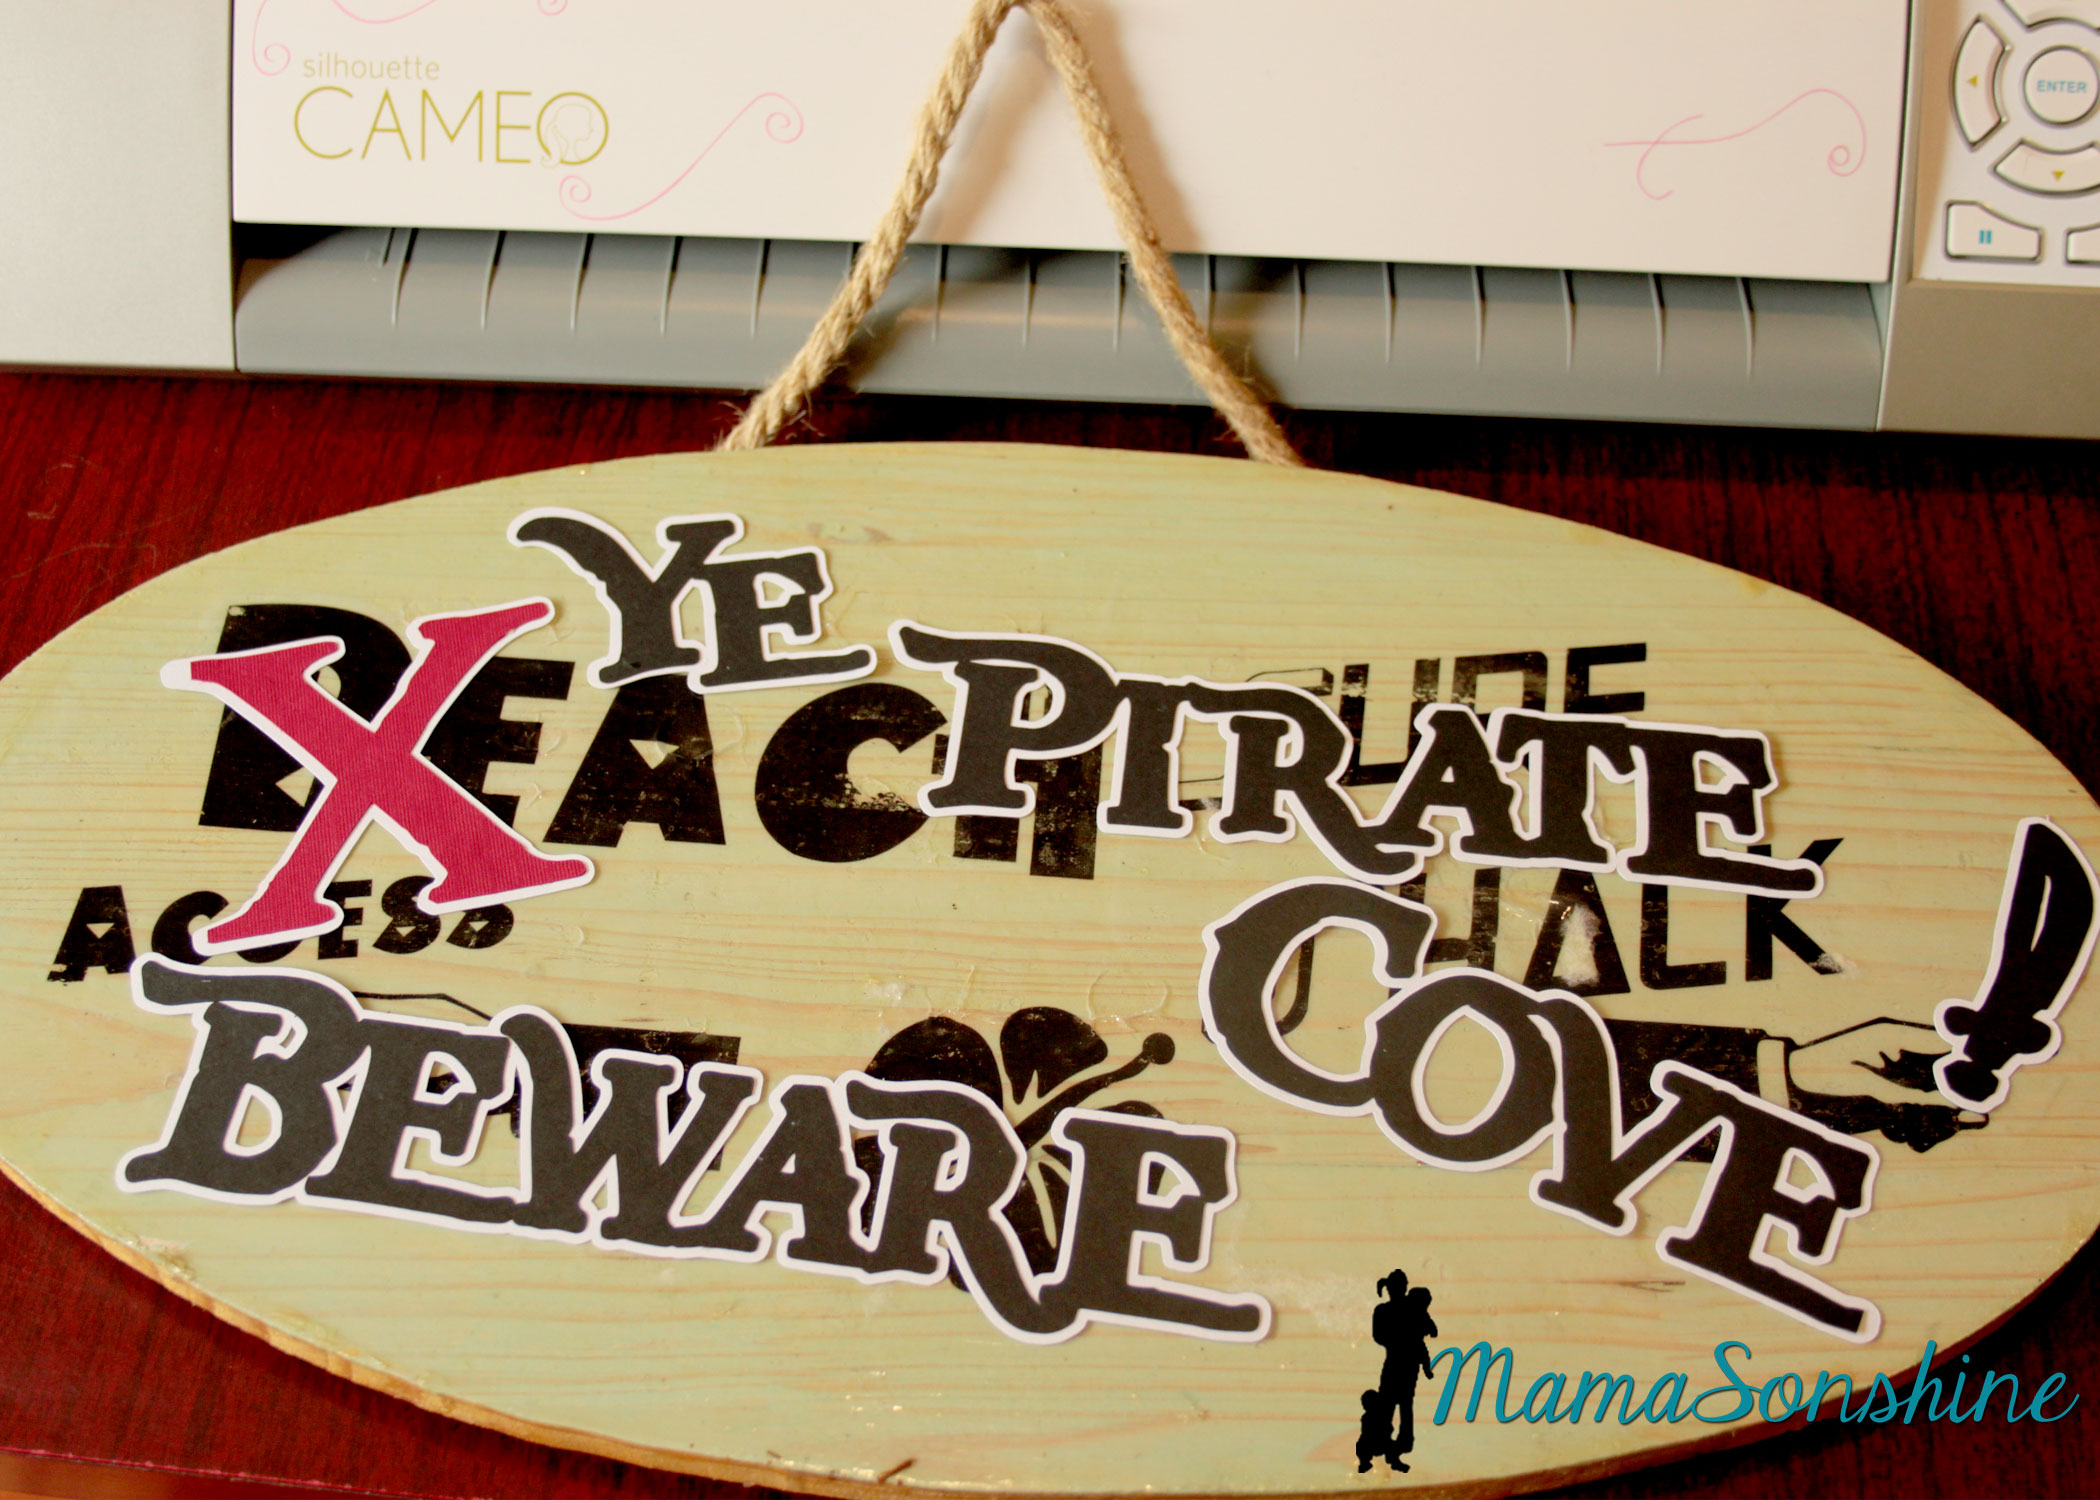
I took the sign I made for Sid’s beach party and cut out letters to make it look like Pirates had taken over the beach. I was going to redo the sign, but my mom wanted to keep the original, so I had to make something temporary. She has kept the sign up on the front of her house since Sid’s party.
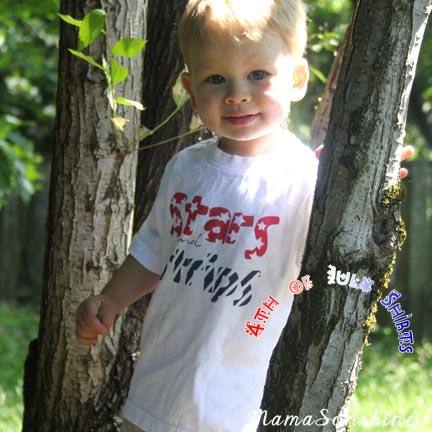
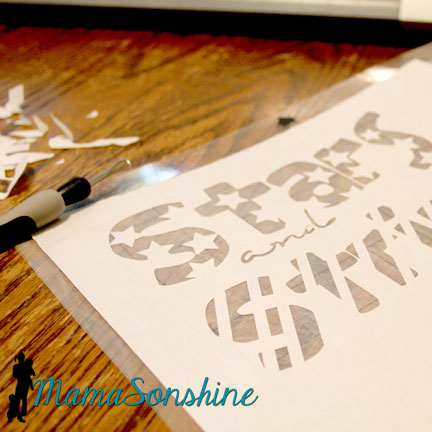
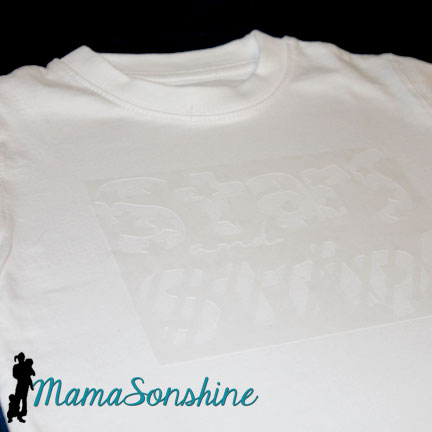
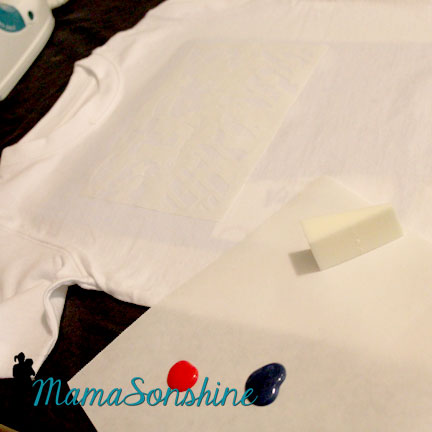
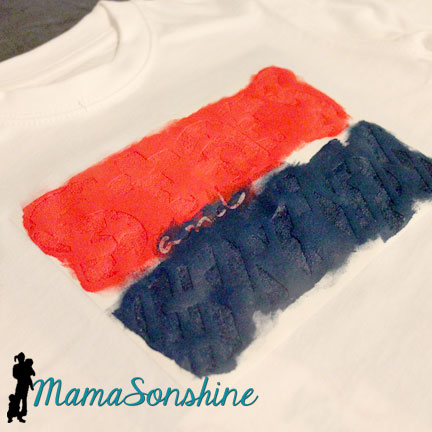
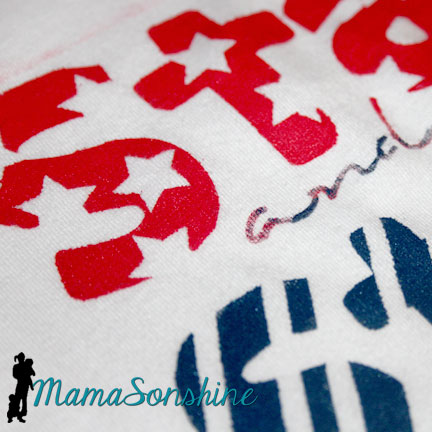
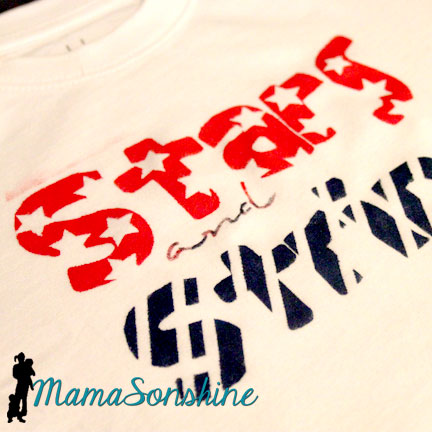
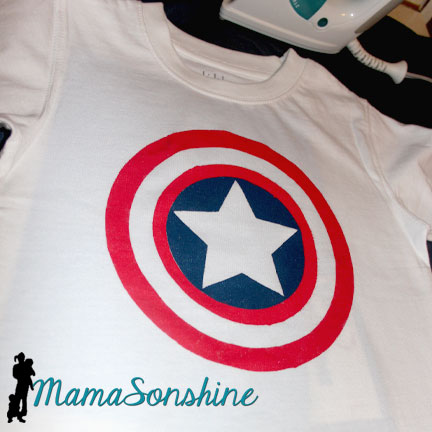
Of course the night before I decided to make Sid a shirt to wear for the party. Then I realized I had to make Ian one in a similar style, even though I had already made him a birthday shirt.

Here is the birthday shirt I originally made for his party.
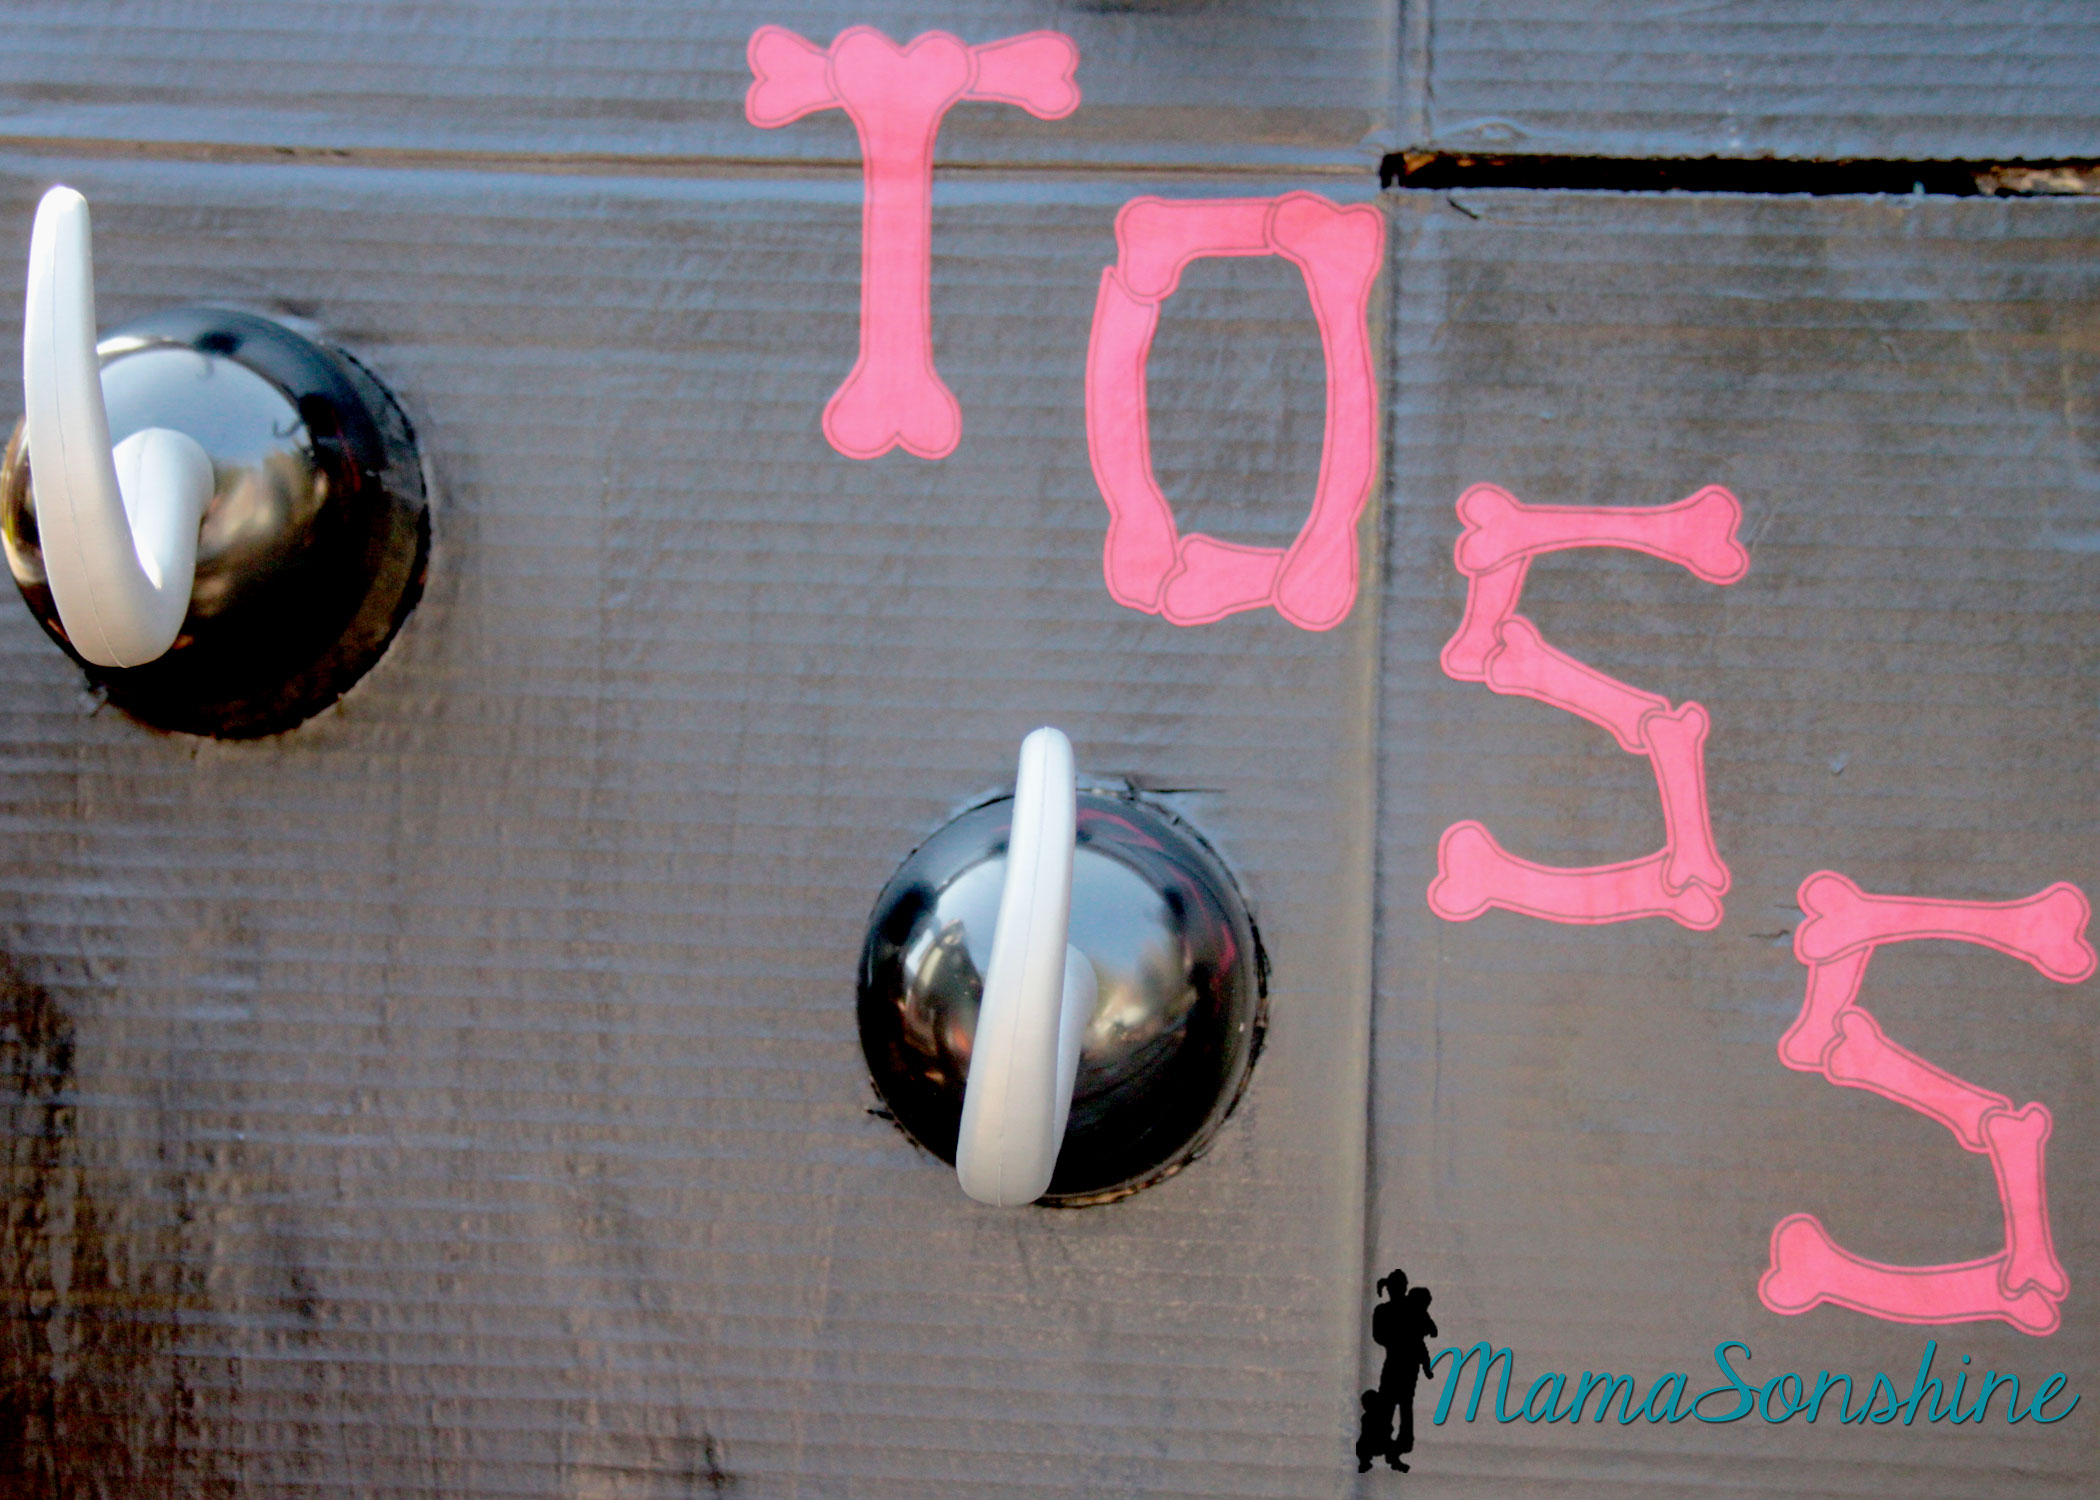
I ordered extra hooks to make a Hook Toss game.
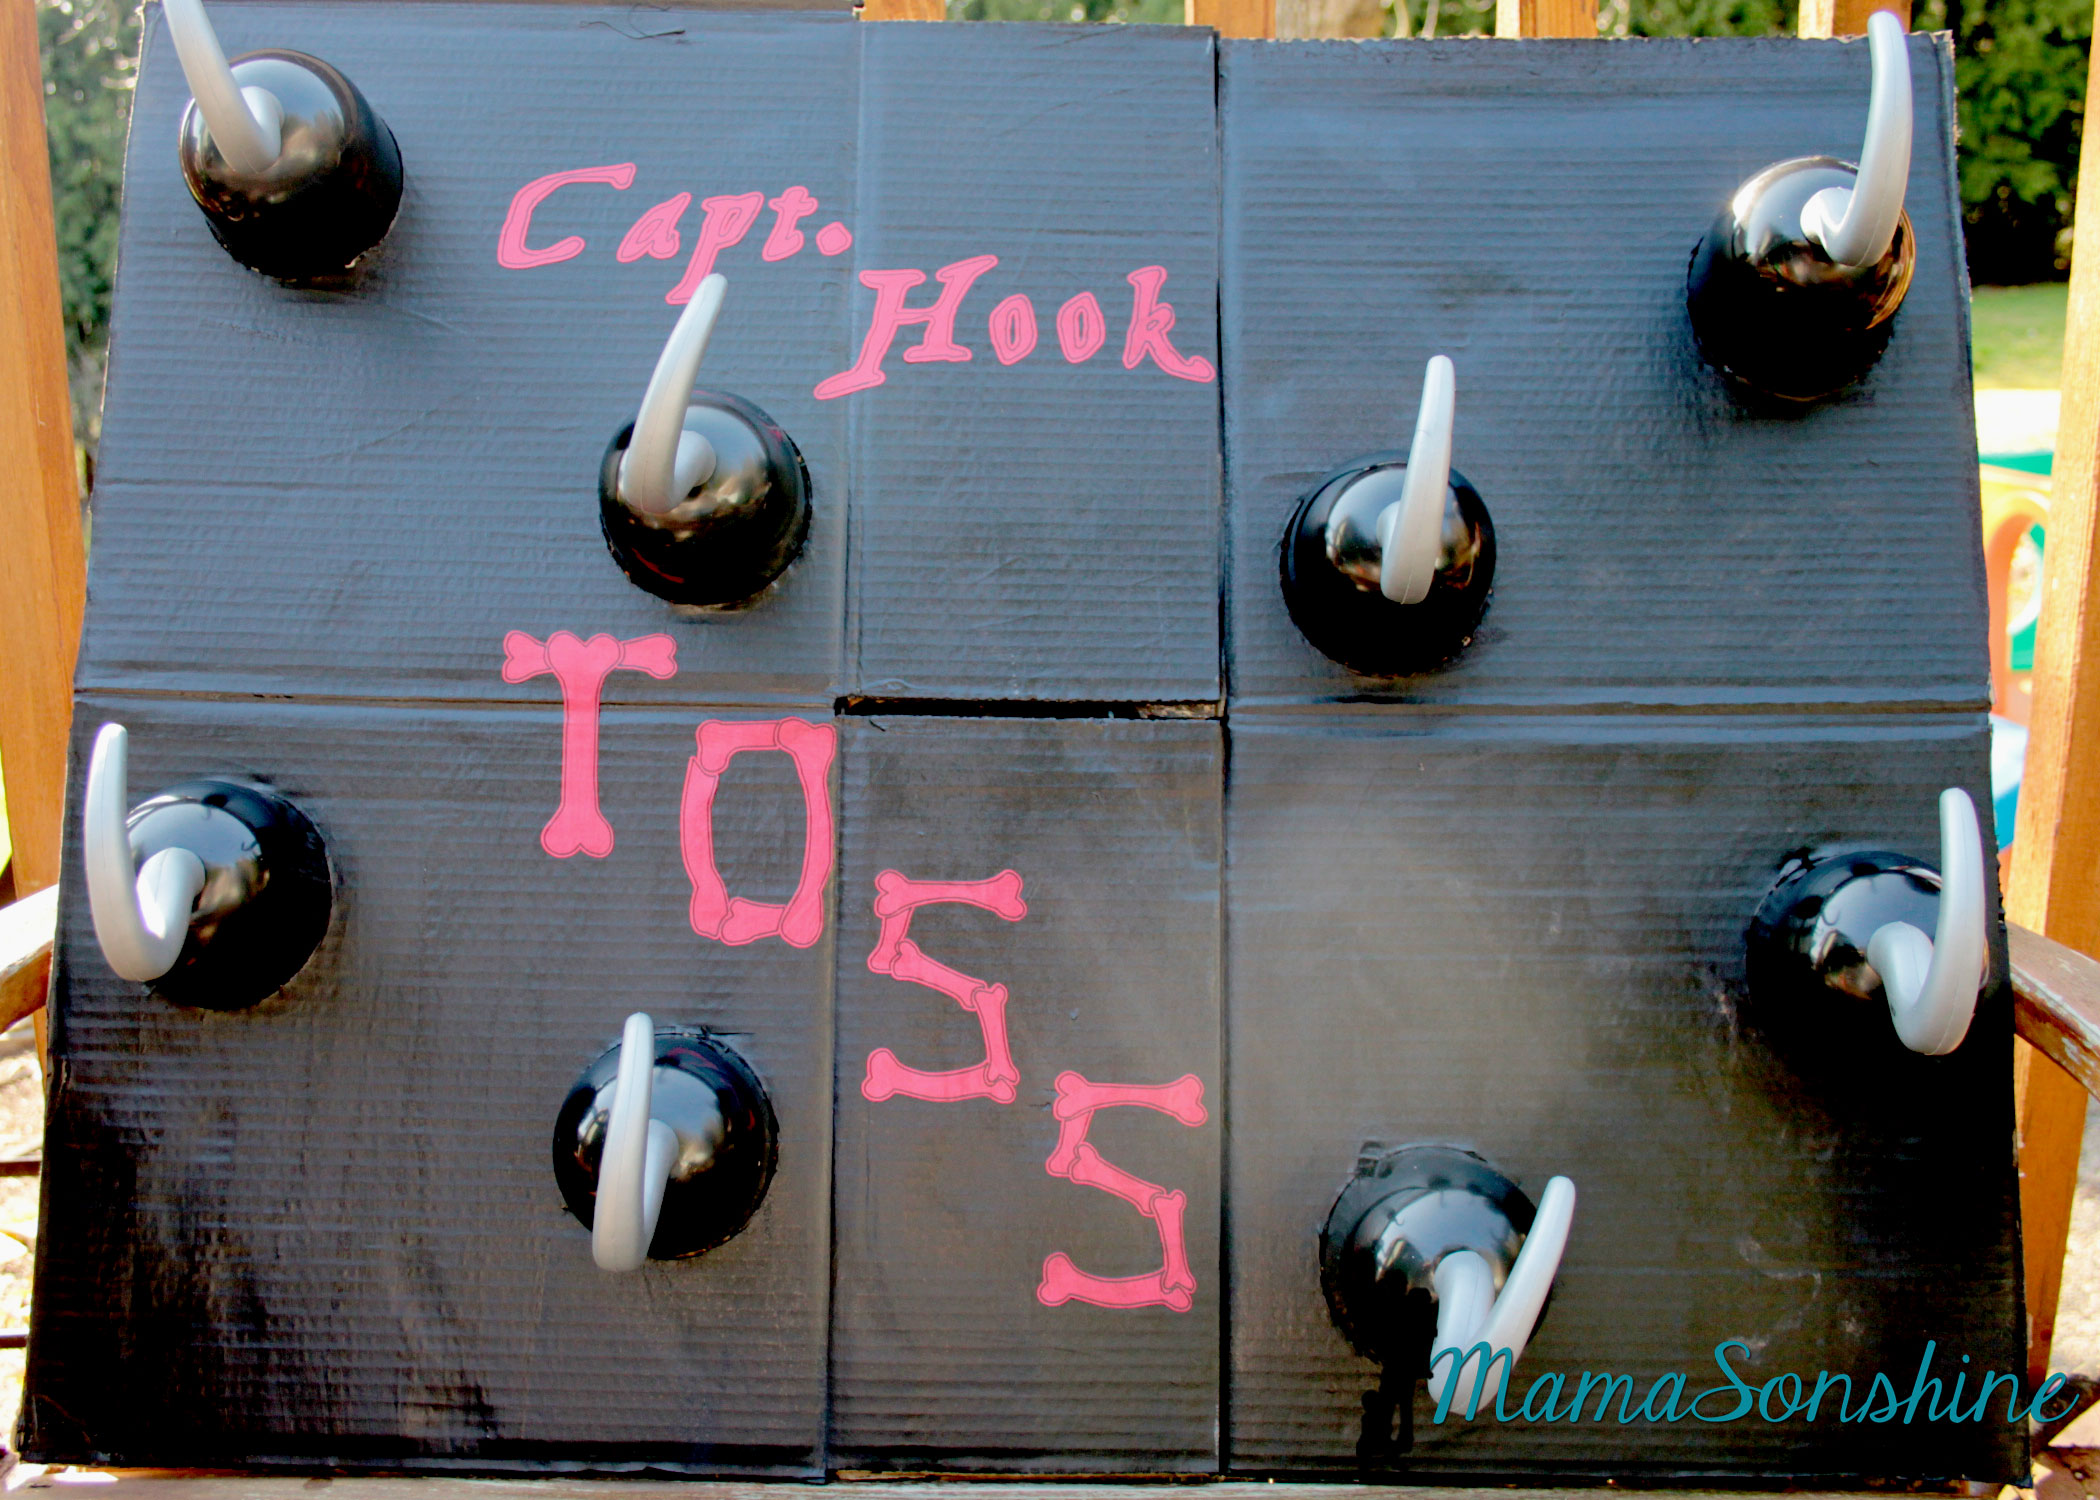
I just cut circles out of a cardboard box and painted the flattened box. I used my cameo to cut the letters out of cardstock and Mod Podge to glue them on.
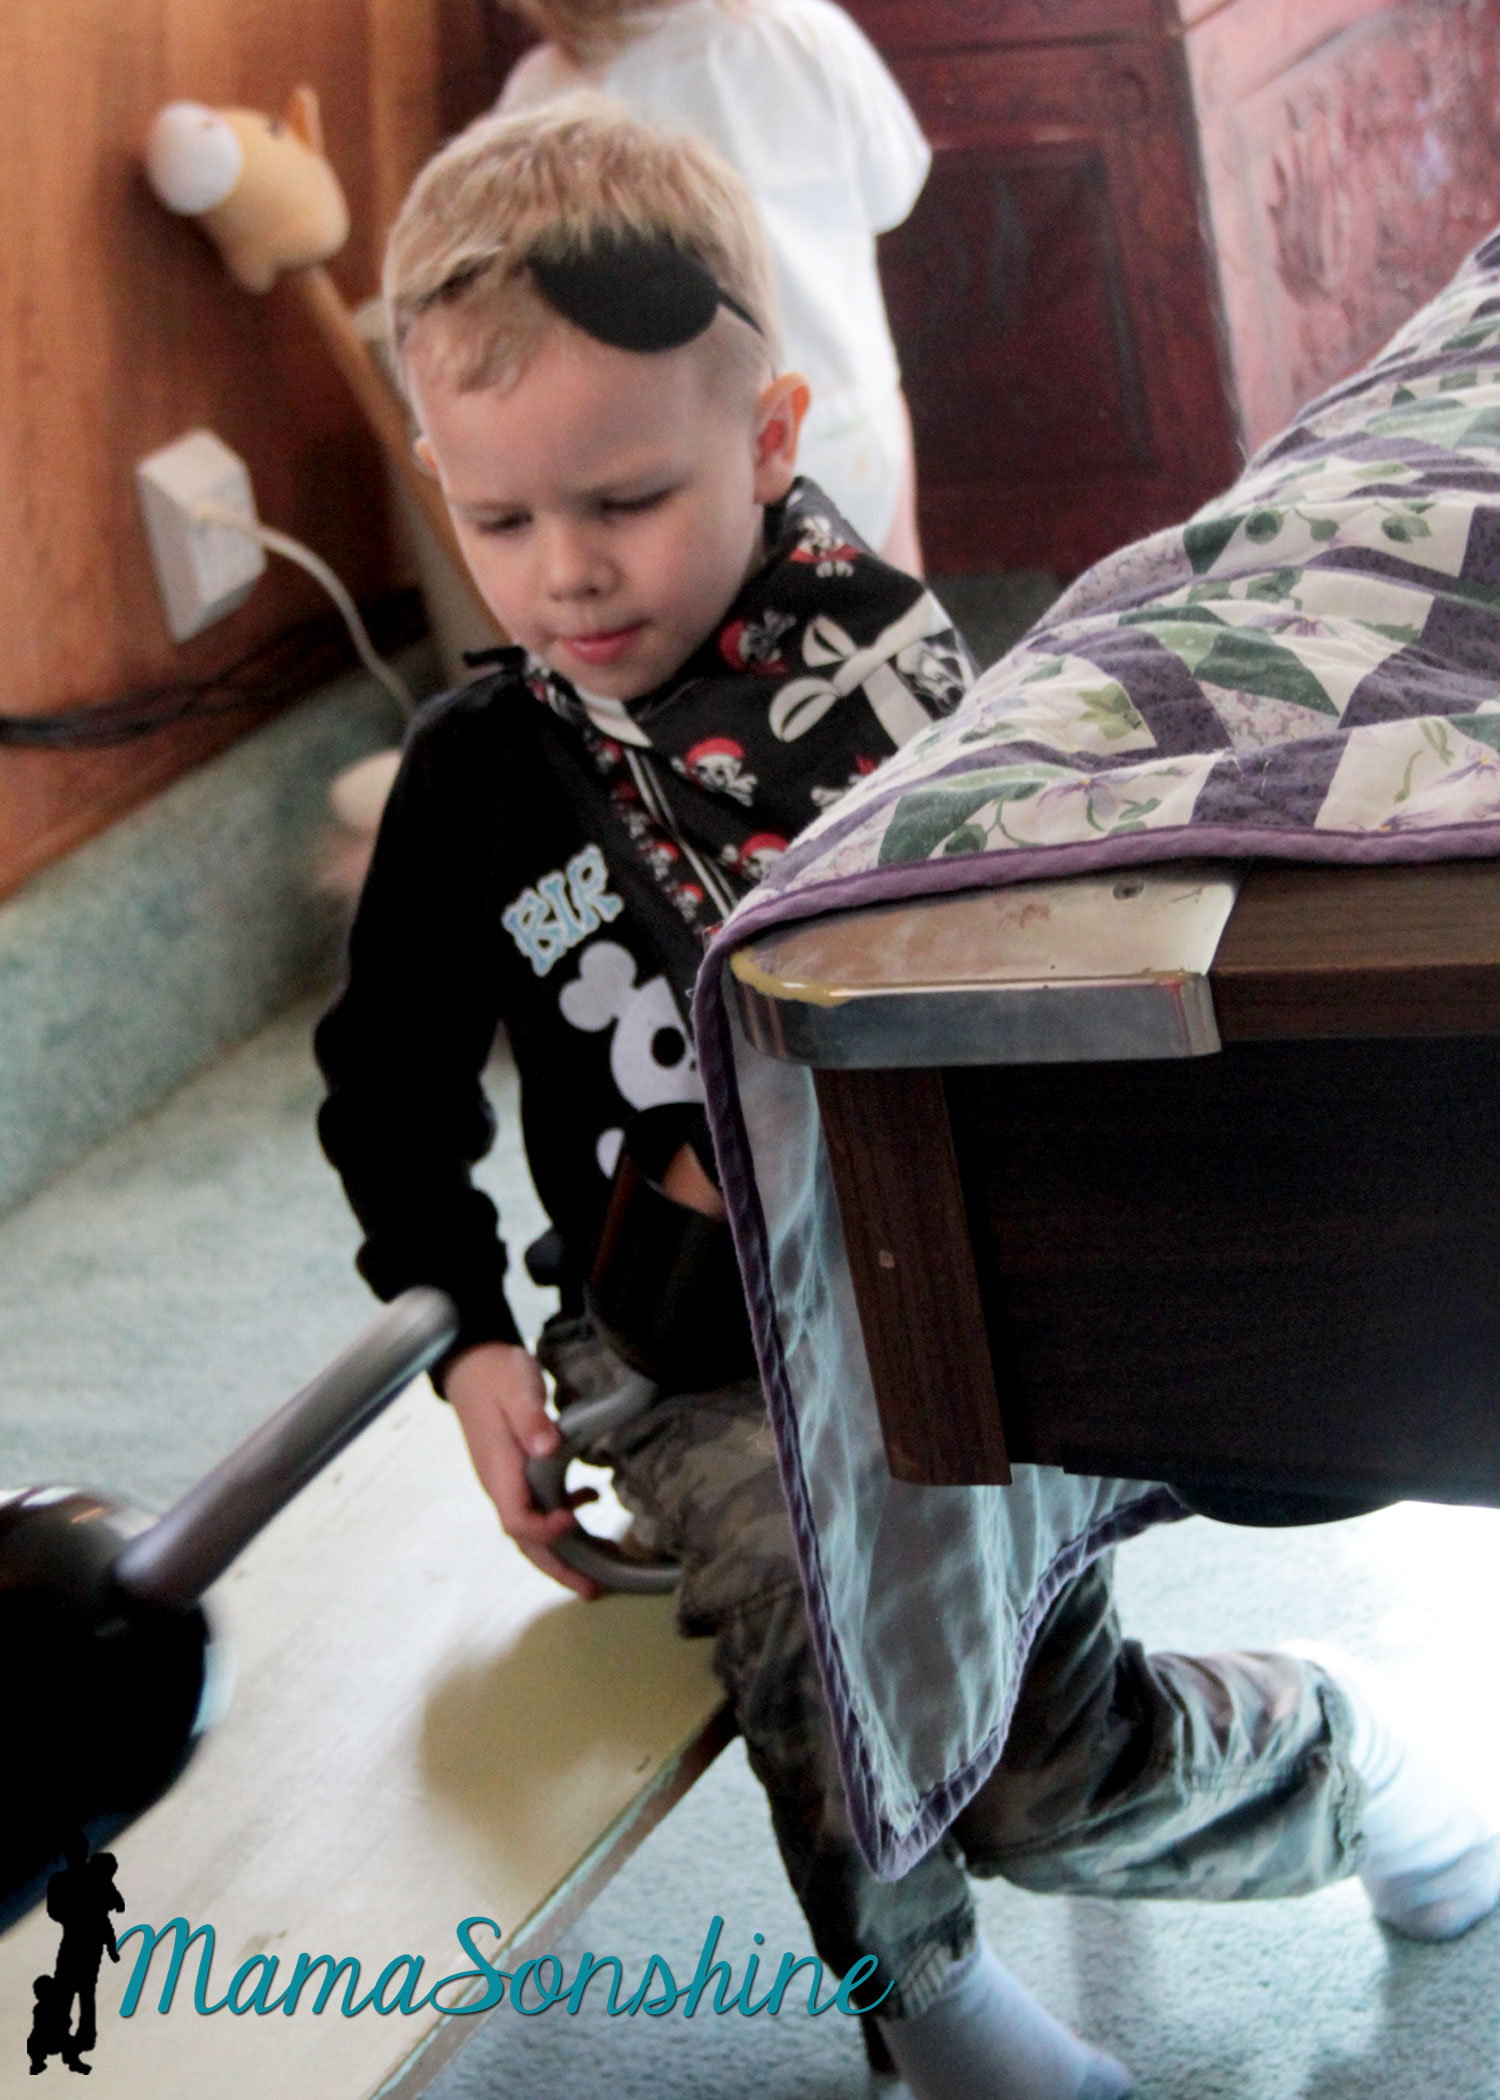
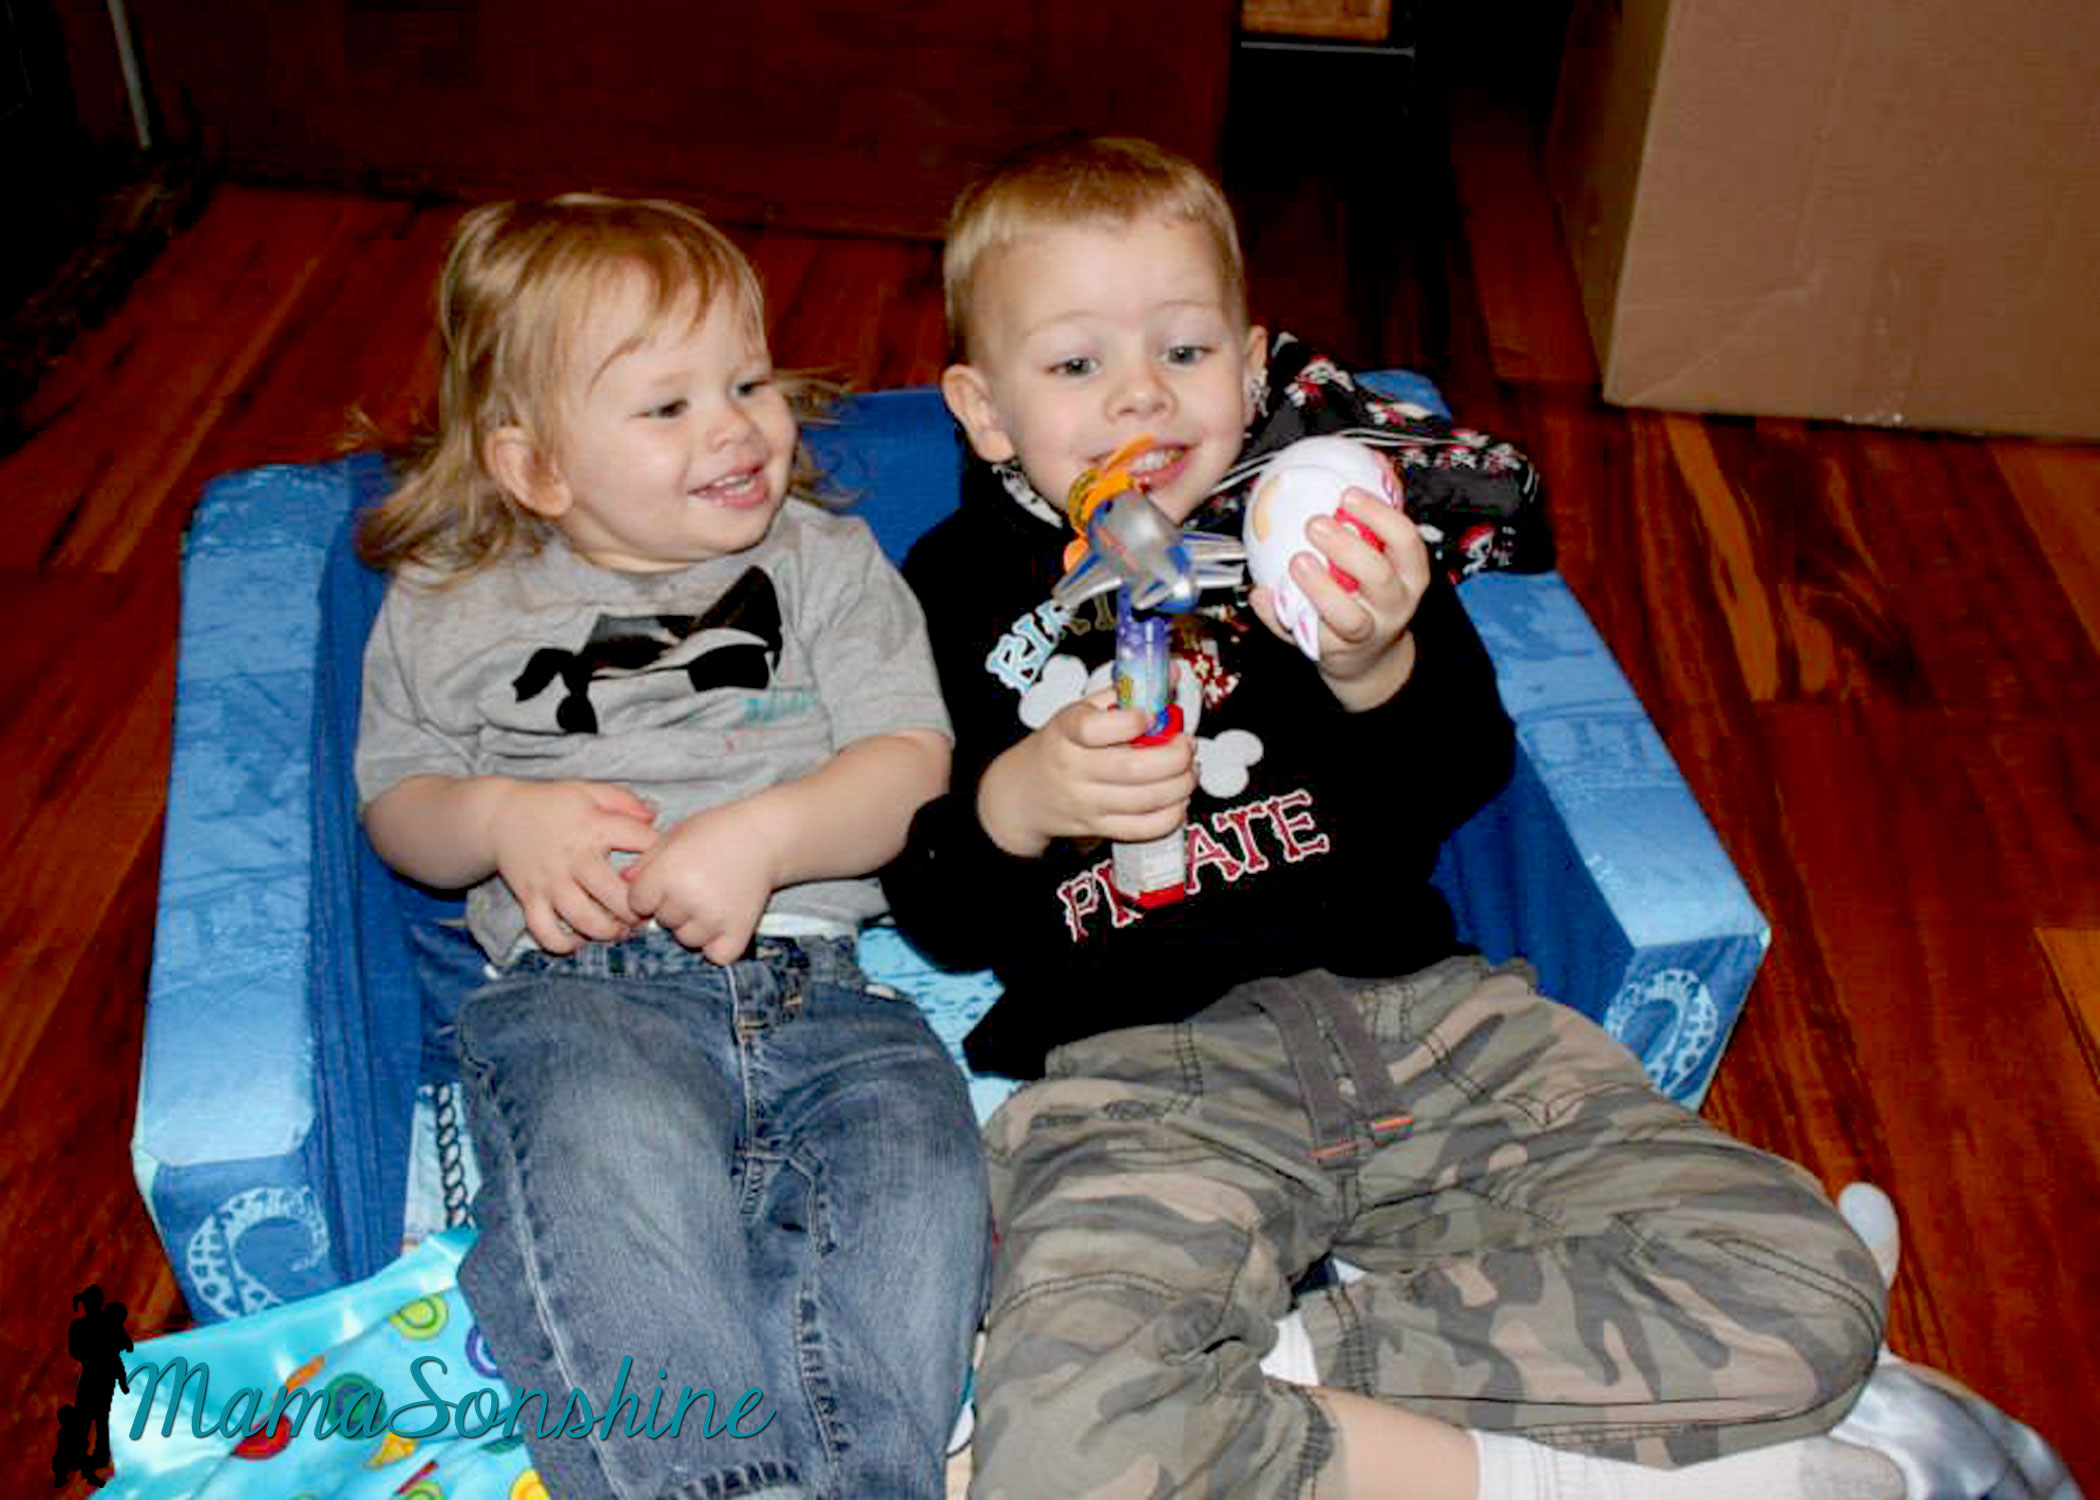
Baby Sid loved playing the hook toss game.

It was super difficult to get a picture of the birthday boy, he was in constant motion that day.
Since it was March in the Pacific Northwest, we couldn’t let the kids play outside. The kids got walk the plank in the basement. I used a wood board my mom had, some step stools and the kid pool. I thought about filling it with those plastic balls you find in a ball pit, but didn’t have time to order them.

The kids didn’t need anything to jump into. They loved the plank just the way it was.
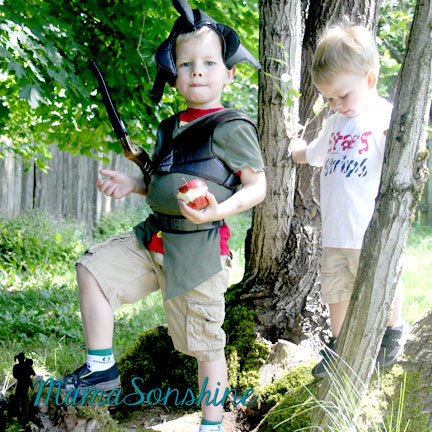
And what kind of pirate party would this be without a real pirate?
My cousin is part of a pirate group in Portland and he was kind enough to show up in full pirate grab. He was the hit of the party!
It was a busy day but Ian loved his party.
Thanks for visiting, remember to Shine On

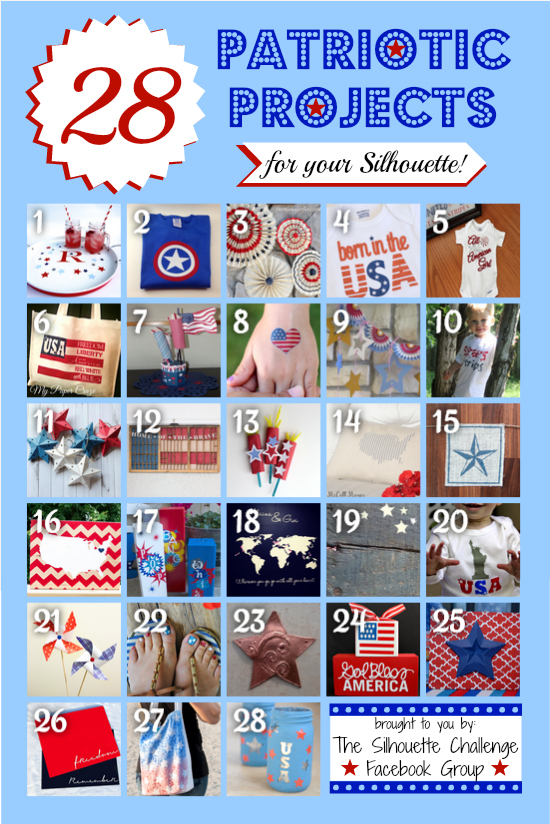
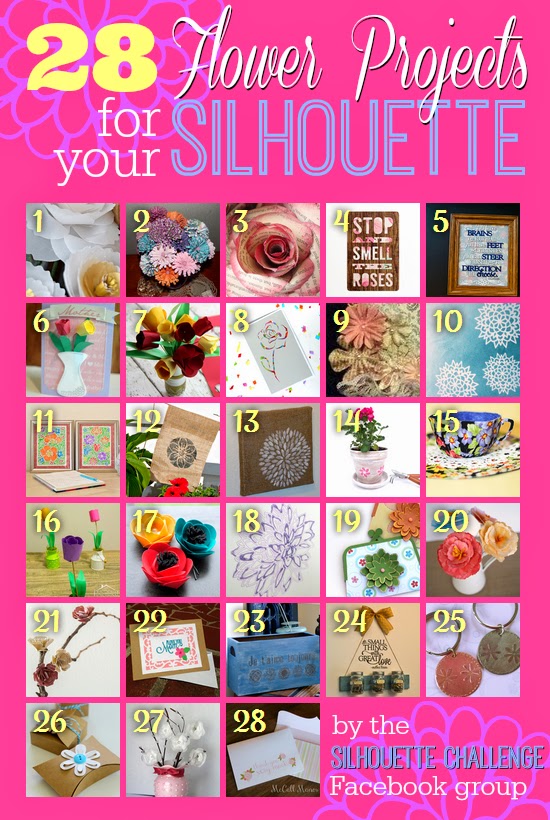
Want to Check Out More Silhouette Projects?
My Silhouette Challenge buddies and I are all sharing projects on our blogs today, so pursue the projects below for a wealth of Silhouette inspiration!
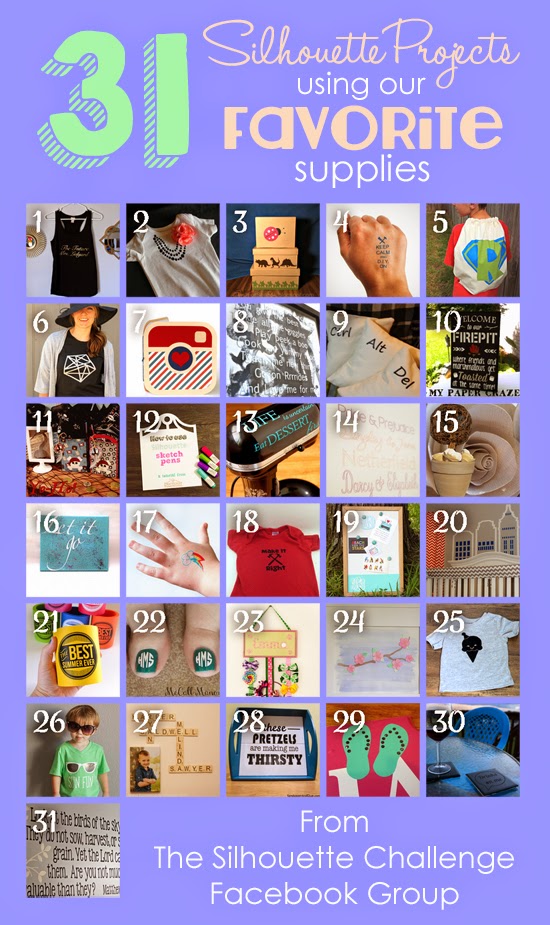
1. Just a Girl and Her Blog // 2. The Frill of Life // 3. A Time For Seasons // 4. The Thinking Closet // 5. Ginger Snap Crafts // 6. Grey Luster Girl // 7. Simply Kelly Designs // 8. Home At Eight // 9. Please Excuse My Craftermath… // 10. My Paper Craze // 11. Mama Sonshine // 12. Practically Functional // 13. Adventures in All Things Food // 14. Two Purple Couches // 15. Dragonfly & Lily Pads // 16. Sowdering About // 17. Cutesy Crafts // 18. My Mom Made That // 19. Pitter and Glink // 20. Pineapples And Pinecones // 21. Dream a Little Bigger // 22. McCall Manor // 23. TitiCrafty // 24. unOriginal Mom // 25. Persia Lou // 26. Lil Mrs Tori // 27. Home. Made. Interest. // 28. Sandpaper and Glue // 29. Silhouette School // 30. Creative Ramblings // 31. My Favorite Finds