We are now at the point in our lives where we aren’t attending weddings every weekend of the summer.
It seems that you have two waves of wedding times. For the first few years out of high school it seems like your summer weekends are only weddings. Then there is a time when you don’t really attend any weddings, maybe one or two. Then about your early 30’s you start getting all the invitations to the rest of your friends weddings. After that, you may get one or two a year, and usually they are family members kids or for the wedding of someone younger than yourselves.
This year we only have two weddings. One of which we are traveling across the country for and one that happened in the summer.
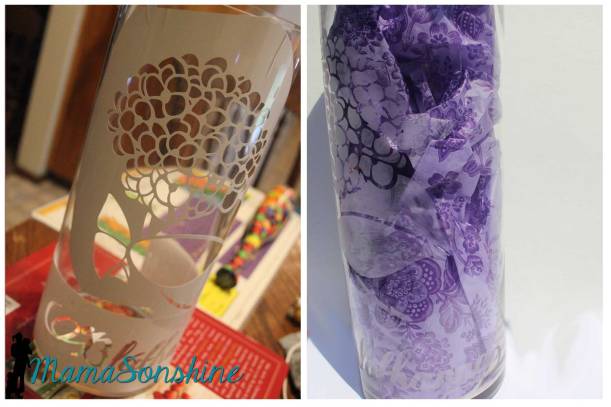
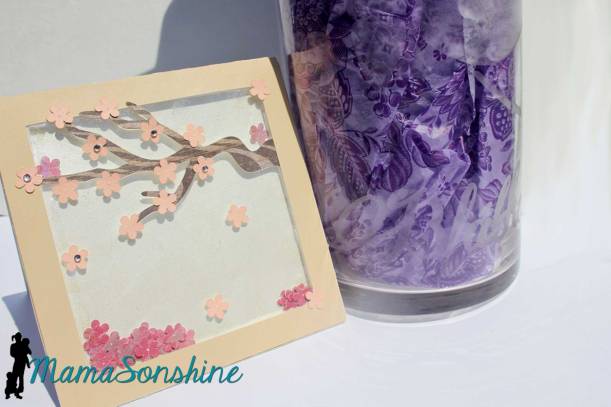
The one we attended this summer was a wedding of one of my husbands friends. He is an artist, a very wonderful painter, and for his invitations he drew and painted a hydrangea bouquet. I thought the perfect gift would be a large glass vase with the same picture etched on it.
Turns out, his style of painting and my starting on the project late, made for the inability to trace the image and create a stencil.
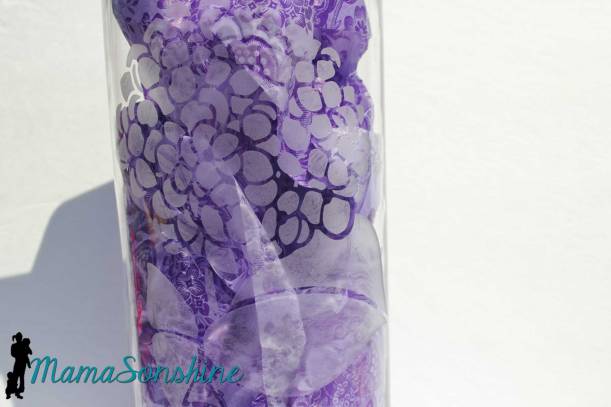
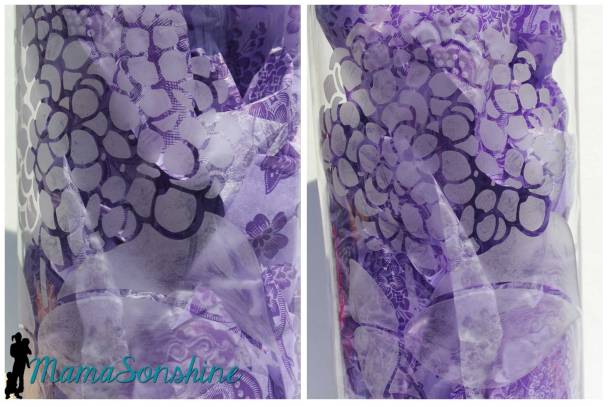
So I did the next best thing. Found another picture of a hydrangea that I could trace, and made a stencil out of it.
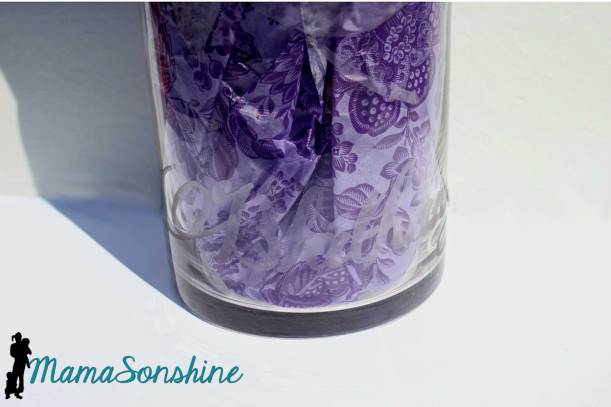
I like the glass vases that have the word “flower” etched on it in some foreign language, usually in French. The groom is Irish and so I decided to use the Gaelic word for flowers which is bláthanna. Singular for flower would be bláth.
So I found a fancy font with swirls but it was a little thin, so I had to create an offset to make it a little easier to cut.
To keep with the floral, nature theme I made a card with a Cherry Blossom tree. I found this card base at Bird’s Cards, it’s a free download. I decided to make it a shaker card adding more cherry blossom flower and glitter.
Big glass vases that are already decorated can come at a larger price tag. By decorating it myself, not only could I make it more personal without breaking the bank, and on short notice.
If you read my race recap about the half-marathon I ran this summer you saw that I made some motivational tattoos for my cousin and me to wear.
It was the first time I used the Silhouette brand Temporary Tattoo paper, but I knew that I would be using it again the following month for Sid’s birthday party. I ran into a few issues as a first time user and thought I would share them, in hopes that other’s don’t have the same troubles.
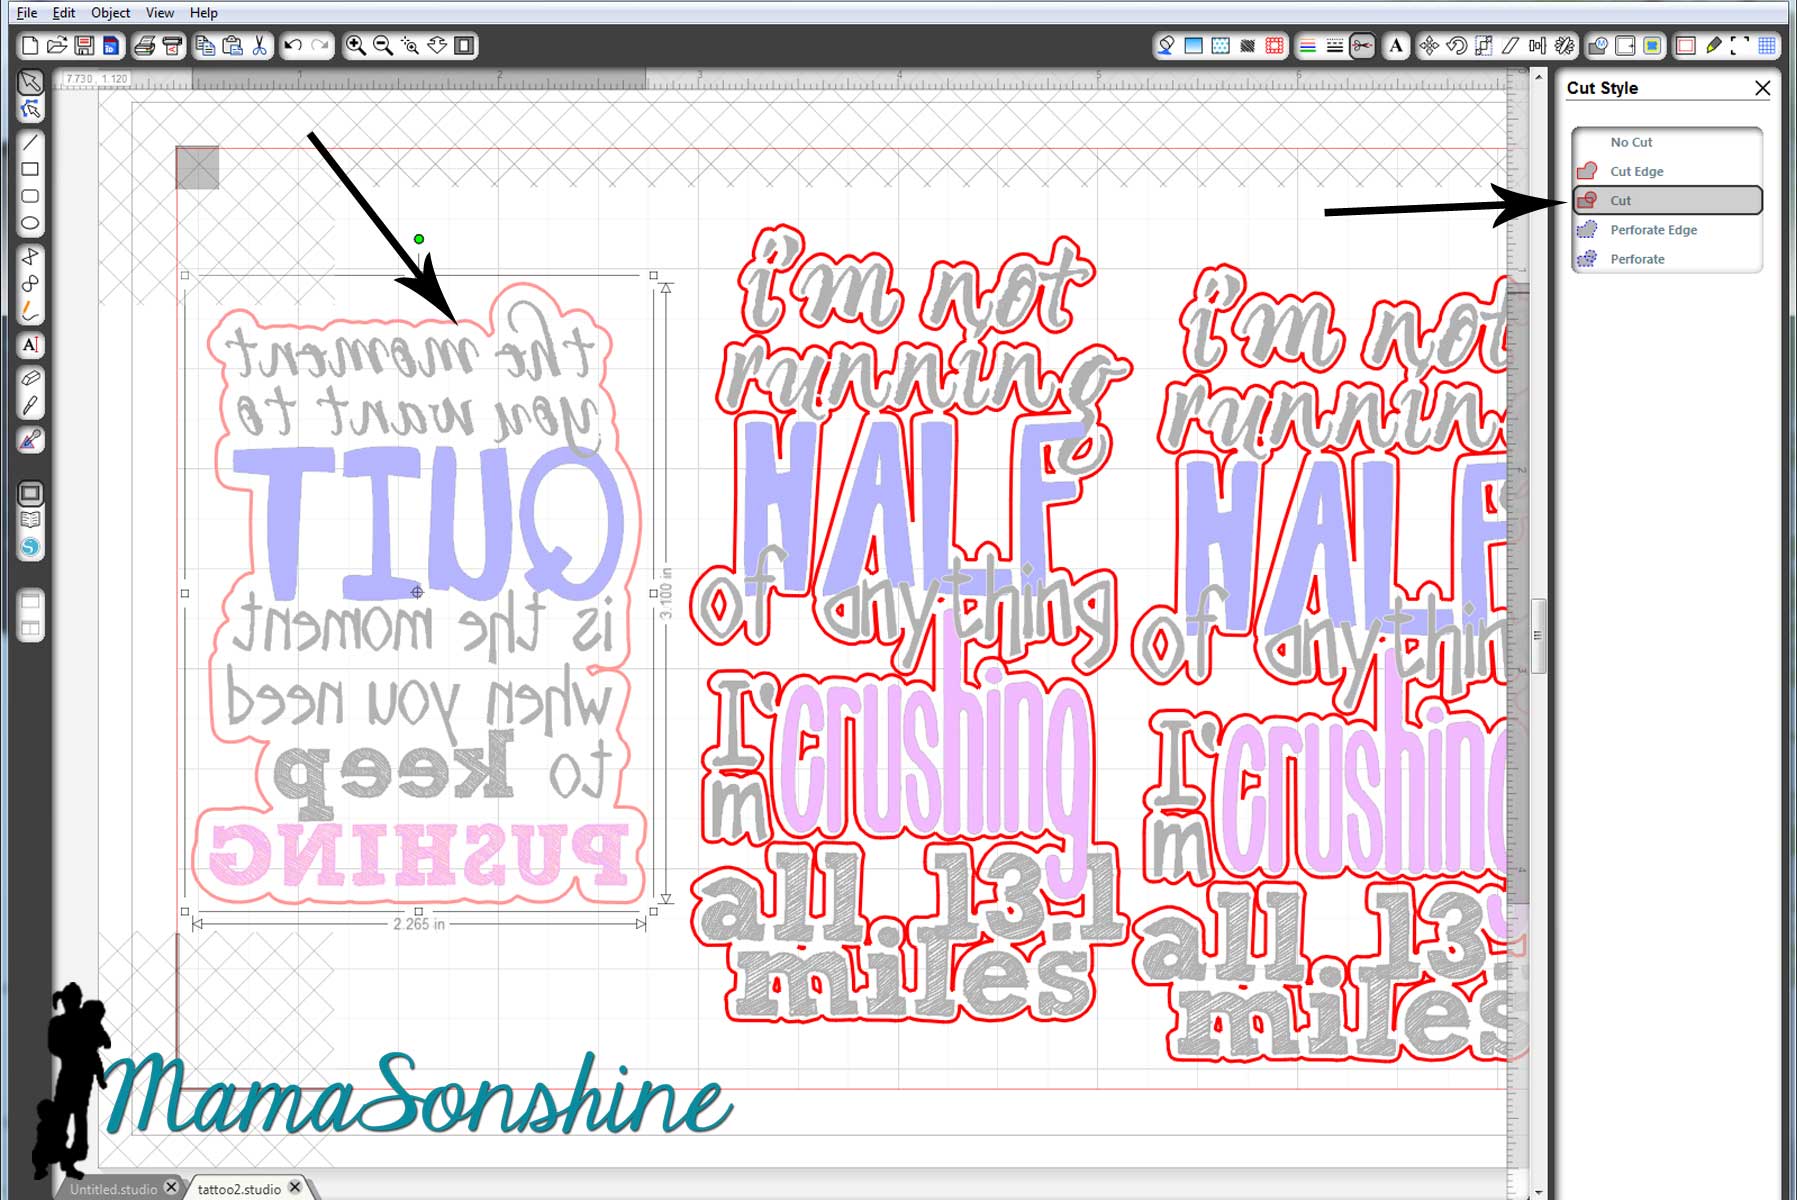
First I made my design. One of my favorite motivational quotes for running is “I’m not running half of anything. I’m crushing all 13.1 miles.” There are a few variations, but I like this wording the best. I made one for my cousin and one for me. I had room for one more quote, and since I had two arms I also used “The moment you want to quite, is the moment when you need to keep pushing.”
I sized out the space on my arm and made a box in Silhouette Studio. I then typed out my sayings and changed the fonts, sizes and colors for specific words. I then used the offset tool to create my cut lines around the words. Remember, anything that is white in your design will be clear on the tattoo, and your skin will show through.
My first instinct was to make a close-in offset, as I would when cutting other media.
Here is the problem: when you cut it, it cuts through the paper backing. So now you have all the words in different pieces that you would have to place on your arm individually. So again, remember that the tattoo paper is clear, and make your offset big enough that all the words cut as one piece.
And there is no reason you need to waste time cutting out the middle of your o’s or other inner parts since the paper is clear. Release the compound path,
select all the unwanted parts, then delete them.
Now you are left with a nice group of text that will stay together once cut.
Check out your cut lines, make sure you are not cutting out the words you are printing, but just the offset you just made.
Once you have your design and cut lines all set, flip your image horizontally. This is very important when doing something with words, or your words will be backwards.
The key to the temporary tattoos is Silhouette‘s print and cut feature using the software’s registration marks. I don’t know about you, but when I print and cut, I change the paper to ‘letter’ (because that is the size of the paper I print on) and adjust my registration mark settings to the smallest available. One day when I was printing something small I realized I don’t have to waste the whole piece of paper. I say ‘waste’ because once I printed the registration marks, I couldn’t reprint (for cutting) on that same piece of paper.
So I changed the size of the paper, I know it seems like a simple statement. But I made the paper size just larger than my image size, with the registration marks, and that left the rest of the paper blank, for use again! So simple, yet so helpful.
The tattoo paper is a bit pricey, about five bucks a sheet; the pack comes with two sheets and is priced at $9.99. You can find it on sale at Amazon, and sometimes through Silhouette. I didn’t want to waste any of the paper, and I wasn’t ready to print out the favors for Sid’s party, so I just adjusted the size of the paper to fit my quotes. That way I still had half a sheet of unprinted paper I could use again.
Printing.
First you want to make sure when you print, that you print the lines of the words, but do not print the lines of the offset. (Note: this feature is different if you are using V3)
Here is where I had the main problem that I really didn’t want to admit to anyone. It’s a little embarrassing.
I opened the pack of tattoo paper and pulled out the first sheet on top. The instructions say to print on shiny side then peel of green backing to apply adhesive material. So I printed on the shiny side.
My ink wouldn’t dry. I left it while I went to work, when I got home it still wasn’t dry. I wiped it off, tried different print settings, still wouldn’t dry.
I googled instructions looking for a video tutorial. Finally when watching my second video I wondered why their paper was white when my paper was clear with a green paper backing….
Maybe I have to use my own paper, but that seemed silly because the instructions talk about printing on the shiny side…
I went back to the package and looked inside it. Behind the two pieces of clear paper with green backing was two pieces of white paper with a shiny side.
*hand hits forehead*
Start over. Printed on the shiny side of the white paper, and ink came out dry and sharp.
Followed directions by adding the adhesive layer. That is the clear paper with the green backing that I was trying to print on first.
This is actually a picture of the tattoos I made for my son, but this is how you apply the adhesive layer
Because I wasn’t using the whole sheet of paper, I used a paper-cutter to trim down both the white sheet and the clear adhesive sheet before joining them. Then used my Silhouette to cut out the tattoos.
They look great and just the motivation we needed.
Now that I am a pro at the temporary tattoos, I made some as favors for Sid’s party. However, I neglected to flip the image horizontally, so the words were backwards. There is always something with me, right? I decided to let it ride (yep, pun intended) as the guest were toddlers who really couldn’t read anyway.
I am already planning my tattoos for my Halloween costume!
I love chalkboard art. I love that it can be changed really easily, just erase it and write something new.
The problem I have….
I have horrible handwriting and I can’t draw a stick figure.
Ok, seriously, look at the one on the left, would you want that on your dresser if you were a kid? Can you say SCAR-RY. Nothing about it says ‘I love you.’
But I found these super cute little chalkboards at the craft store and a chalk marker and wanted to make something for my son. So I thought I would turn to my Silhouette Cameo and some vinyl to make a stencil.
I just colored in the lines of the stencil using the chalk marker. Much cuter, and way easier than writing.
I made two stencils because I have two chalkboards. There is no way I would have been able to draw this moon by hand.
The marker says it will come off with water, but as you can see with the moon one, it doesn’t really come all the way off if you leave it on for a while.
Ian really likes his little signs, even if he can’t read them yet. They are super easy to make, and super easy to change the sentiment.
I had thought I was very cleaver making my four-year old a Capt. America shirt for him to wear on July 4th.
Till I showed him and he said “I don’t yike Capt. America now”
hmmm….
OK back to the drawing board.
This time around I decided to take a sailors approach to the flag. Because I saw Lauren’s post (The Thinking Closet) about her Nautical Star Banner. I just loved the nautical star and thought it would look great on a shirt. But I didn’t want plain old boring stripes….
hmm….what to do….
Then my son picks these out at the store. “I’m a SHARK! dana dana dana”
So my brain clicked and this shirt was born. Just in the nick of time.
My original plan was to do the stencil with freezer paper, because it makes a tighter seal and crisper lines.. But the cuts are too intricate for my dull blade. So I used vinyl, and as you can see some of the detail, like the gills was lost, and the edges are a little blurred.
The tricky part to this shirt is all the small pieces, I didn’t want to lay every little piece of freezer paper down one at a time. I thought I would share how I connected all the parts to make one complete stencil. Lauren also talks about how to do this in her afore-mentioned post.
First find the FREE images you want to use and trace them. (Please be mindful of copyright laws, and other people’s art work)
Draw lots of little rectangles using the rectangle tool. Place them on top, over the two parts you want connected. Select everything, go to the modify window and click on subtract. Then select everything again and click on make, under compound path.
If you go to the color fill tool box and fill your shape with a color, you can easily see you now have a star that has missing parts. The parts that are colored is what will be painted on the shirt.
After tracing the shark, we do the same thing. Make rectangles, go to modify and click subtract.
Then, under compound path, click make (after selecting all parts of the shark). You will see that when I traced the shark, I made sure that the gills and eye were part of the white portion. This eliminates a bunch of little eyes having to be added after the stencil is laid down.
Draw a large rectangle, the size that you want your flag. Use the replicate and alignment tool boxes to fill the rectangle with your stars and stripes.
The row of … and column of…were especially useful in this design. As was the space vertically and space horizontally tools in the alignment tool box.
Now select everything, the outer rectangle, all the sharks and all the stars, go to the modify window and click on makecompound path.
Of course this removes all the fill colors you have used, but that’s ok.
If you click on a fill color now, you will see that all the parts that will be your stencil are now colored. These are the parts that the shirt will show through.
You can look closely and see all the parts are connected and will come off in one piece.
Cut, apply to shirt, paint, etc. You know the drill.
Got all that?
Well don’t worry, I decided to just let you download this cut file. For free. Yep. Go ahead and make your own. Tonight. Cause the fourth is coming soon.