I Tri and Craft

thoughts from a mother of boys, a marathoner, a triathlete, a crafter, a wife, and a scientist


2 Comments

Running Motivation in a Temporary Tattoo

If you read my race recap about the half-marathon I ran this summer you saw that I made some motivational tattoos for my cousin and me to wear.

Running Tattoos_MamaSonshine

It was the first time I used the Silhouette brand Temporary Tattoo paper, but I knew that I would be using it again the following month for Sid’s birthday party.  I ran into a few issues as a first time user and thought I would share them, in hopes that other’s don’t have the same troubles.

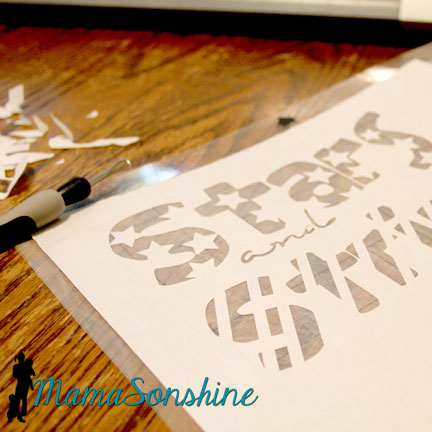
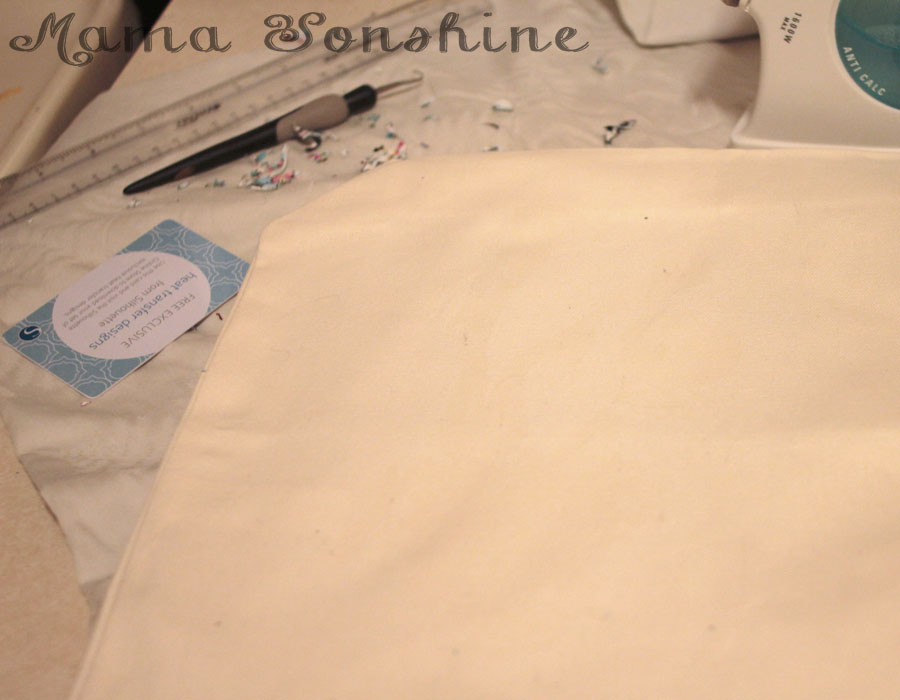
First I made my design.  One of my favorite motivational quotes for running is “I’m not running half of anything. I’m crushing all 13.1 miles.”  There are a few variations, but I like this wording the best.  I made one for my cousin and one for me.  I had room for one more quote, and since I had two arms I also used “The moment you want to quite, is the moment when you need to keep pushing.”

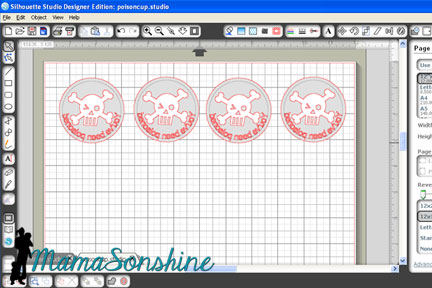
I sized out the space on my arm and made a box in Silhouette Studio.  I then typed out my sayings and changed the fonts, sizes and colors for specific words.  I then used the offset tool to create my cut lines around the words.  Remember, anything that is white in your design will be clear on the tattoo, and your skin will show through.

My first instinct was to make a close-in offset, as I would when cutting other media.

MSS_Tattoo close offset

Here is the problem: when you cut it, it cuts through the paper backing.  So now you have all the words in different pieces that you would have to place on your arm individually.  So again, remember that the tattoo paper is clear, and make your offset big enough that all the words cut as one piece.

MSS_Tattoo large offset

And there is no reason you need to waste time cutting out the middle of your o’s or other inner parts since the paper is clear.  Release the compound path,

MSS_Tattoo

select all the unwanted parts, then delete them.

Now you are left with a nice group of text that will stay together once cut.

MSS_Tattoo Running motivation

Check out your cut lines, make sure you are not cutting out the words you are printing, but just the offset you just made.

MSS_Tattoo cut lines and mirror

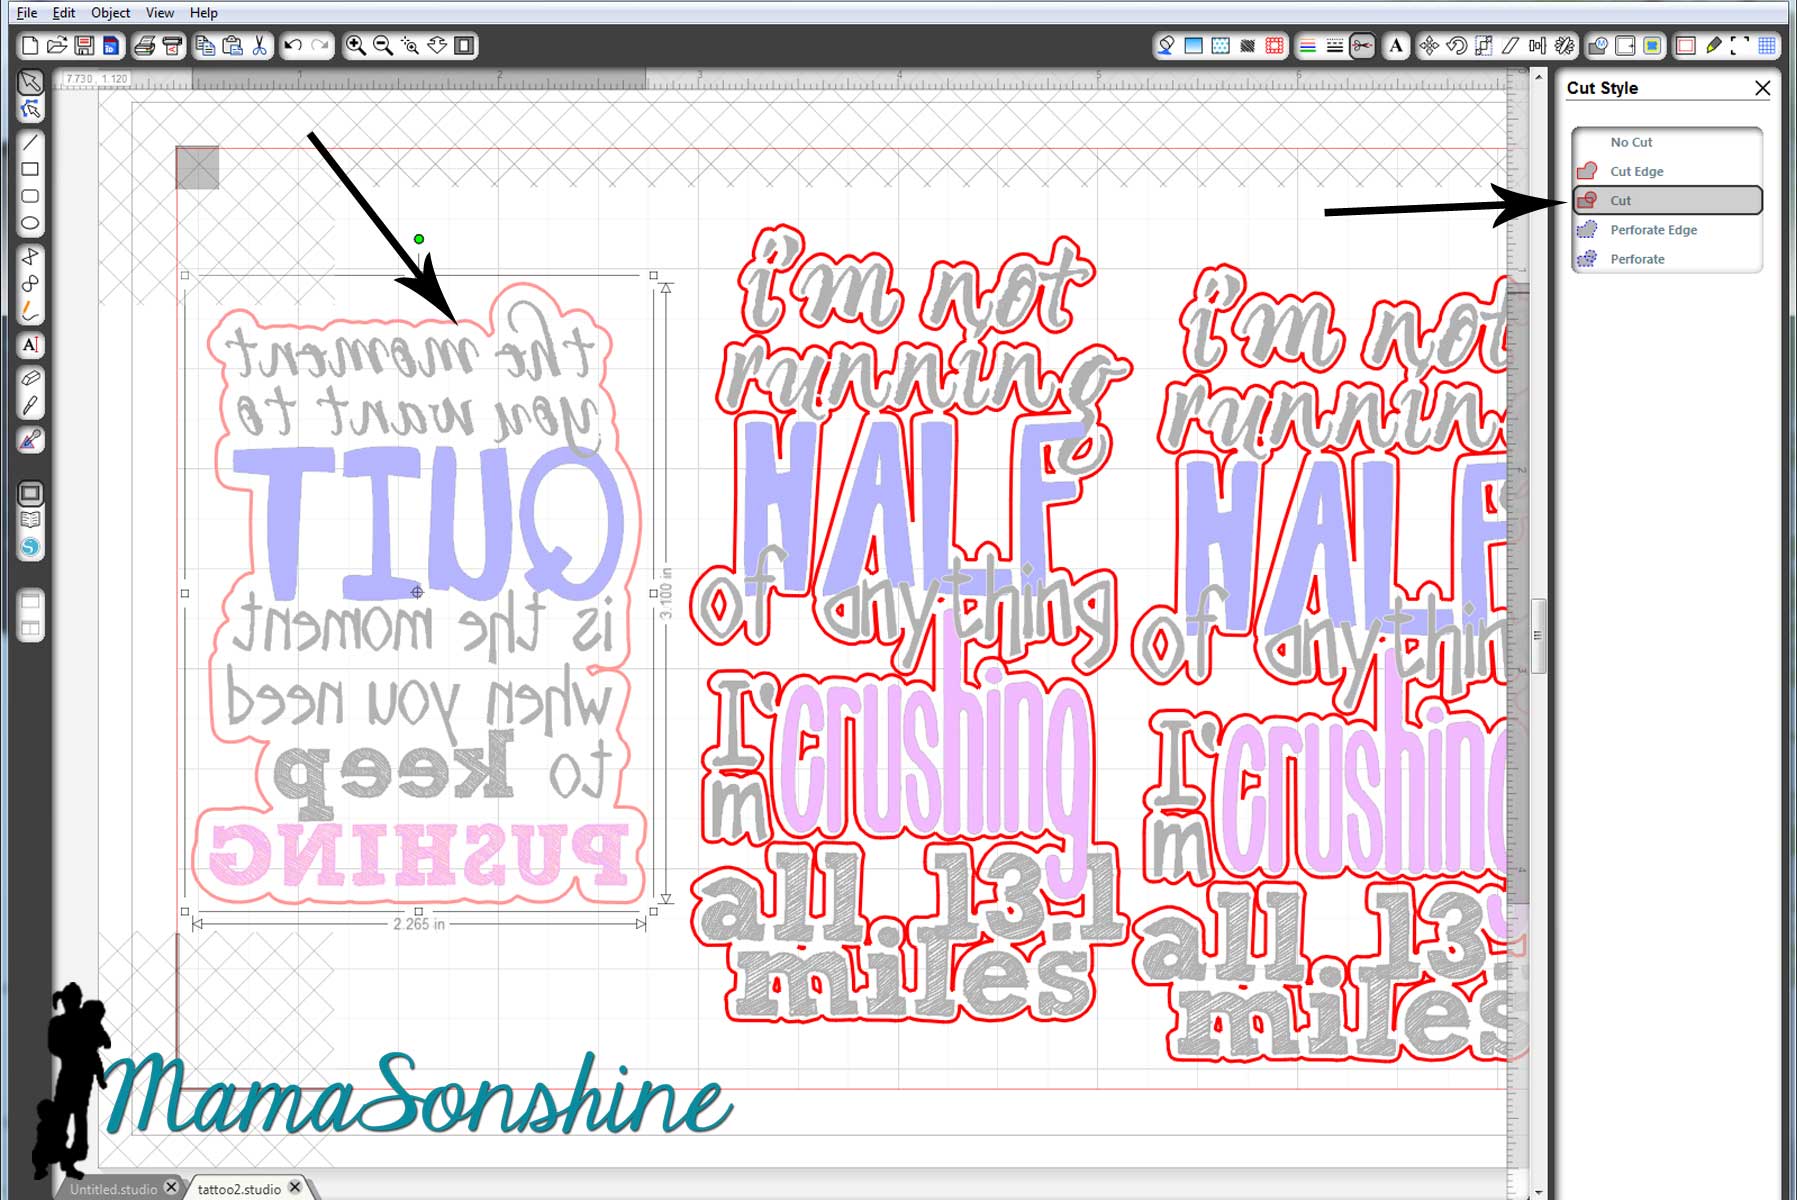
Once you have your design and cut lines all set, flip your image horizontally.  This is very important when doing something with words, or your words will be backwards.

The key to the temporary tattoos is Silhouette‘s print and cut feature using the software’s registration marks.  I don’t know about you, but when I print and cut, I change the paper to ‘letter’ (because that is the size of the paper I print on) and adjust my registration mark settings to the smallest available.  One day when I was printing something small I realized I don’t have to waste the whole piece of paper.  I say ‘waste’ because once I printed the registration marks, I couldn’t reprint (for cutting) on that same piece of paper.

So I changed the size of the paper, I know it seems like a simple statement.  But I made the paper size just larger than my image size, with the registration marks, and that left the rest of the paper blank, for use again!  So simple, yet so helpful.

MSS_Tattoo change paper size

The tattoo paper is a bit pricey, about five bucks a sheet; the pack comes with two sheets and is priced at $9.99.  You can find it on sale at Amazon, and sometimes through Silhouette.  I didn’t want to waste any of the paper, and I wasn’t ready to print out the favors for Sid’s party, so I just adjusted the size of the paper to fit my quotes.  That way I still had half a sheet of unprinted paper I could use again.

Printing.

First you want to make sure when you print, that you print the lines of the words, but do not print the lines of the offset.  (Note: this feature is different if you are using V3)

MSS_Tattoo print lines

Here is where I had the main problem that I really didn’t want to admit to anyone.  It’s a little embarrassing.

I opened the pack of tattoo paper and pulled out the first sheet on top.  The instructions say to print on shiny side then peel of green backing to apply adhesive material.  So I printed on the shiny side.

MSS_Tattoo Printing


My ink wouldn’t dry.  I left it while I went to work, when I got home it still wasn’t dry.  I wiped it off, tried different print settings, still wouldn’t dry.

MSS_Tattoo14

I googled instructions looking for a video tutorial.  Finally when watching my second video I wondered why their paper was white when my paper was clear with a green paper backing….

Maybe I have to use my own paper, but that seemed silly because the instructions talk about printing on the shiny side…

I went back to the package and looked inside it.  Behind the two pieces of clear paper with green backing was two pieces of white paper with a shiny side.

*hand hits forehead*

Start over.  Printed on the shiny side of the white paper, and ink came out dry and sharp.  MSS_Tattoo Paper Pack

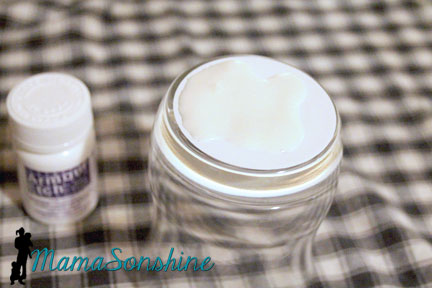
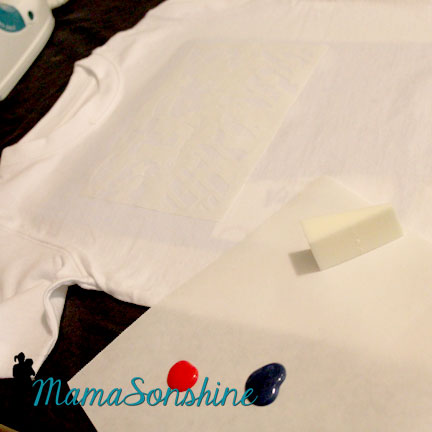
Followed directions by adding the adhesive layer.  That is the clear paper with the green backing that I was trying to print on first.

MSS_Tattoo adhesive layer

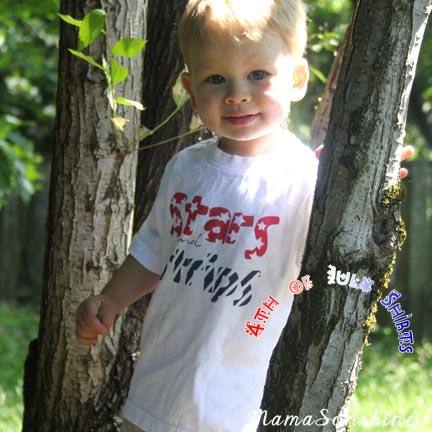
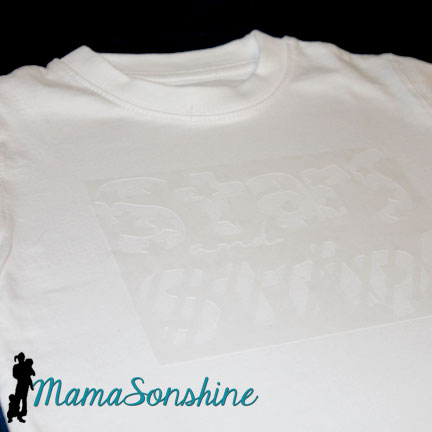
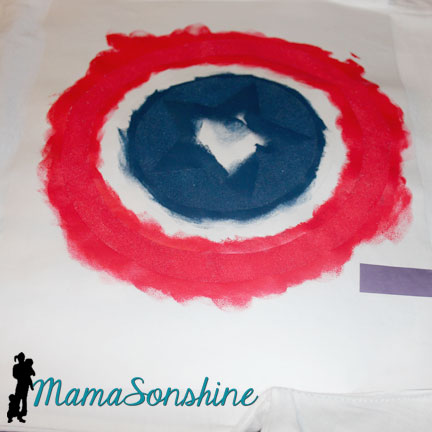
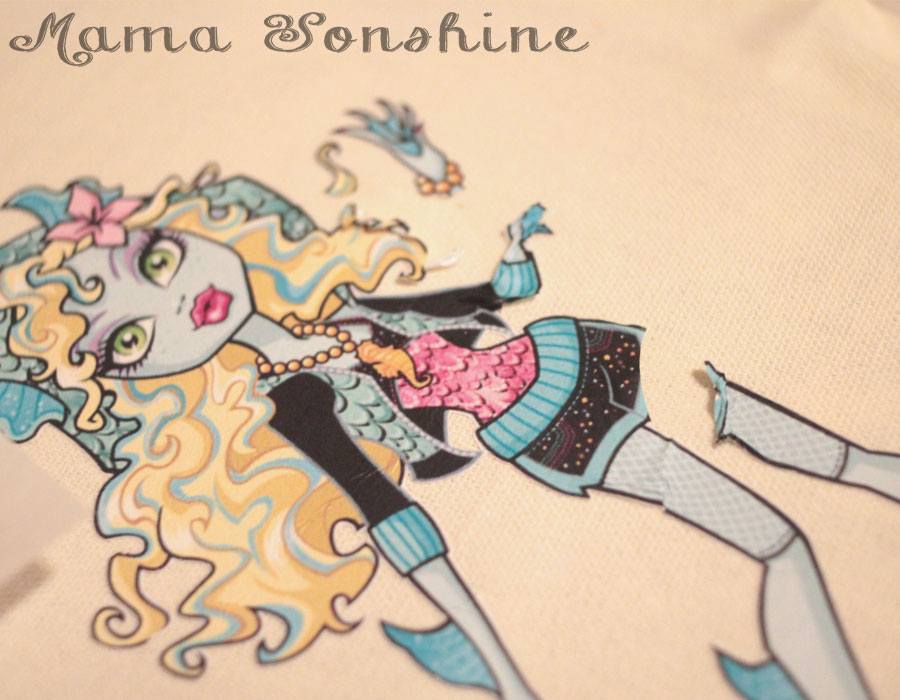
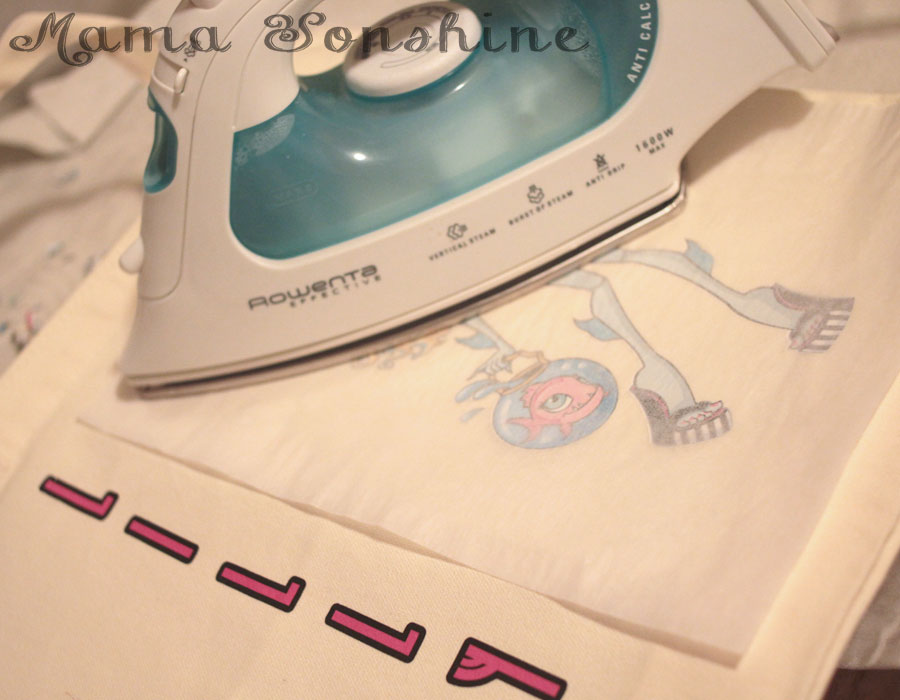
This is actually a picture of the tattoos I made for my son, but this is how you apply the adhesive layer

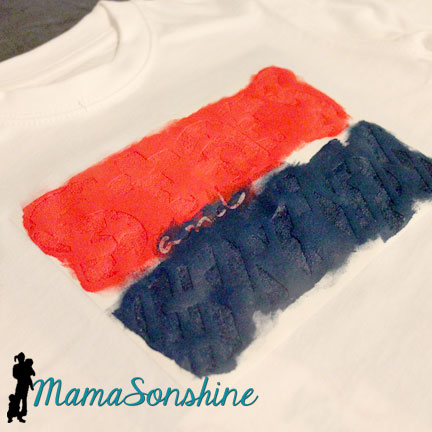
Because I wasn’t using the whole sheet of paper, I used a paper-cutter to trim down both the white sheet and the clear adhesive sheet before joining them.  Then used my Silhouette to cut out the tattoos.

MSS_Tattoo ready to cut

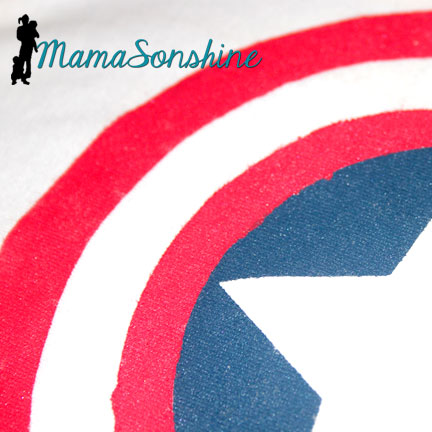
They look great and just the motivation we needed.

MamaSonshine_Tattoo


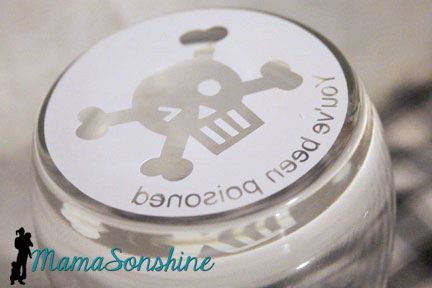
Now that I am a pro at the temporary tattoos, I made some as favors for Sid’s party.  However, I neglected to flip the image horizontally, so the words were backwards.  There is always something with me, right?  I decided to let it ride (yep, pun intended) as the guest were toddlers who really couldn’t read anyway.

MSS_Tattoos  MSS_Tattoo party favors


I am already planning my tattoos for my Halloween costume!


Dawn Marie


facebook instagram pinterest parties by mamasonshine etsy bloglovin google+ email twitter Image Map


7 Comments

Surprise at the bottom Etched Drinking Glasses

Way back in the late 90’s my sister got married and I helped her make the bridal party gifts.  She wanted to order etched beer mugs for the groomsmen and I told her we could just do it ourselves.  So we went to the craft store and bought this:

Armour Etch Starter Kit

Armour Etch Starter Kit

You see the rose wine glass?  We made those for the bridesmaids.  And the kit hasn’t changed in the almost 20 years since we bought it.

It was a pain! You tape the stencil to the glass and the etching cream bleeds through and smears and it isn’t pretty.

But guess what….I now have a Silhouette Cameo that cuts vinyl.  And vinyl makes the perfect stencil for glass etching.  They also make stencil material that has a sticky back, or you could use contact paper.

So while searching Pinterest one day I saw some glasses that state “you have just been poisoned” at the bottom of them.  I just knew I wanted to make some, and I knew the perfect machine to make a really good stencil.

You've Been Poisoned


After getting my Silhouette Cameo for Christmas I joined a Facebook group that has allowed me to learn how to use my machine, share my projects, help others learn how to use their machine and push me to try new things.

One of the events they hosted this year was a hand-made gift exchange.  Whomever in the group wanted to participate just signed up and the coordinator matched you with another group member.  You then made each other a hand-made gift.  Sounds like fun, huh?

After chatting with my gift receiver I thought she might just be the person to appreciate this fun gift.  To the Silhouette I go!

Design in Stuido

I measured the bottom of the glasses.  It is important when looking for drinking glasses that the bottom of the glass be completely flat.  Typically when etching on the outside of glass you don’t need to flip the image, but with this design it will be read through the bottom of the glass, so it needs to be flipped on the horizontal.

Cut your stencil out of vinyl, others have had success with contact paper, but I have yet to try it as a stencil.  I used the default vinyl settings and it cut perfectly.

Clean the glassware and wipe with rubbing alcohol.   When completely clean and dry apply stencil.

Stencil Applied

Follow the instructions on the glass etching cream you have purchased.  The etching process is pretty quick to apply it next you a running water source.  That way if you happen to get any on your skin you can quickly rinse it off.

Please remember this is a caustic substance and can eat away at your skin.  Be safe and use precaution and proper safety gear.  Gloves are highly recommended, as is a well ventilated work area next to running water.  If you do happen to get some on your skin rinse under high flowing cold water for at least 15 minutes.

 MSS_GlassEtching03

As per instructions I used a wooden stick to pile on a helping glob of cream and let it sit for about a minute.  I then ran it under cold water until it was all rinsed off.  If you are concerned about the cream etching your pipes, don’t be, but you can run cold water down your sink for 2-3 minutes if you want to ensure you have full diluted the cream.


Etched glass


I think they turned out pretty awesome, don’t you?

Now while these are awesome drinking glasses, I also wanted to make something a little more personal for her.  My gift exchange partner is going to school to become a forensic investigator!  What an awesome degree huh?  So I decided to make her a some artwork that encompass that goal.

MSS_GlassEtching05

I used sketch pens to draw the finger print and cut the microscope out of card-stock.  I used dimensional tabs to lift the microscope off the paper.

MSS_GlassEtching06


I framed it in a frame that had some depth to it so the microscope didn’t get all smooshed.

MSS_GlassEtching07


In return I also received a box of goodies from my exchange buddy.  Don’t you just love the “Talk Nerdy To Me” bag?

Talk Nerdy to Me Bag

This was a super fun event and I am so excited to get back into glass etching.  I can’t wait to etch my next project.


Happy Crafting

horiz_sig copy

facebook instagram pinterest parties by mamasonshine etsy bloglovin google+ email twitter Image Map

Displaying handmade.png

Check out some more projects from the talented women who participated in this event.

Displaying handmadegift exchange


10 Comments

Freezer Paper July 4th Shirts

Freezer paper is every crafters’ best friend and I can now see why.

I have made shirts for the boys before using Heat Transfer Vinyl and Printable Heat Transfer Material, but never using fabric paint.

For this month’s Silhouette Challenge the theme was patriotic.  Seriously you could go anywhere with that theme, but I decided the boys needed custom shirts to wear on the 4th of July.

I wanted to make a stencil out of freezer paper that I cut with my Silhouette Cameo.  I didn’t want the basic plain old flag, but I wanted something kinda flag related.

4th of July Shirts


So I cam up with this shirt for Sid.  It says “Stars and Stripes” and has coordinating graphics with the words.  And it was done in Red, White, & Blue.  Tots Adorbs huh?

Since I didn’t actually want them to match I decided to make Ian a Capt. America shirt.  Because who is more patriotic than Capt. America?

The process

Create and cut your design, you don’t have to use a cutting machine to make a shirt out of freezer paper but it sure is helpful.


Freezer Paper Stencil

In the cutting machine the freezer paper can be cut with shiny side up or shiny side down.  However, the shiny side is the side you will iron to your fabric, so if you cut shiny side up, you will need to mirror (flip horizontally) your design.  I used a blade of 2, speed of 3 and thickness of 10.  But there has been a variety of recommended settings on-line, so make sure to do a test cut first.

Freezer Paper Stencil Ironed on

Iron on your stencil.  Put the shiny side down on your fabric and use a dry iron on the setting for your fabric.  Use lots of pressure, and pay extra special attention to the edges.  You don’t want paint to bleed under the stencil.  Freezer paper and transfer tape don’t mix, so you will have to put all those little letter innards back by hand.  I made font decisions with this in consideration.

Use a sponge to paint

Here is a little confession.  I don’t paint much, so I didn’t have any paint sponges or foam brushes or anything at home.  You know what I did have though?  Make-up foam applicator, which worked just fine.

Make sure you place a piece of cardboard or a few pieces of cardstock between the layers of your shirt.  The paint can bleed through, and you don’t want it showing up on the back of your shirt.

Freezer Paper Shirt

Make sure you dab and lift, do not brush.  Brushing can lead to paint bleeding under your stencil.  The idea is have many thin layers of paint instead of  one thick one.  I decided I wanted the ‘and’ to be a mix of red and blue, because I didn’t want too much of one color.

Freezer Paper Shirt

Let your paint dry and peel up your stencil.  You may have to hold down the shirt to avoid stretching the newly painted fabric.

MSS_July4th_shirt09

Most fabric paint requires you to heat set it, running the iron over the design so the paint doesn’t wash off.  The fabric paint I bought did not have that on the instructions, but I did it anyway.  I ran the iron over the front of the shirt, with a pillowcase in between, after is had dried for a couple of days.  I turned it inside out and washed it after that.

If you notice above the word “stars” you can see a little smear of red pain because the frame of my stencil was too small.  I didn’t run the iron over that part, and it was mostly gone after washing it.  So I am glad I did heat set the rest of the shirt.

Stars & Strips Shirt

The Captain America shirt seemed like it was going to be easy, but I forgot about the fact that there is a red circle next to a blue circle with no white between.

So I had to paint it on two different days.

Freezer Paper Capt America

The stencils were different circles, so the inner white circle is actually two.  After all the above was dry, I removed the circle next to the blue, but left the one where it should be white.  I then added another circle to cover the blue center.  This one didn’t stick as well because I was afraid to mess up the paint, so I didn’t press to hard or long.

MSS_July4th_shirt05

This lead to some bleeding of the red paint in to the blue circle.

But it only looks bad close up.

MSS_July4th_shirt06

My older son then informed me he no longer likes Capt. America, so he wouldn’t wear the shirt for me.

MSS_July4th_shirt01

He did tell me he was a Mystic Forest Ranger Zombie Hunter though.

MSS_July4th_shirt14

At least Sid was cooperative.

MSS_July4th_shirt04


Happy Crafting

signature-black
facebook instagram pinterest parties by mamasonshine etsy bloglovin google+ email twitter Image Map


Want to Check Out More Silhouette Projects?

My Silhouette Challenge buddies and I are all sharing projects on our blogs today, so pursue the projects below for a wealth of Silhouette inspiration!

Monogrammed Patriotic Serving Tray Captain American Romper Patriotic Burlap Stars (Pottery Barn Knockoff) Patriotic Onesie {Plus Free Cut File} Patriotic Shirts with Layered Heat Transfer Vinyl DIY Patriotic Tote Bag Red, White & Blue - Patriotic Decorations How To Create DIY Temporary Tattoos Made in America Freezer Paper July 4th Shirts Red, White, and Blue Paper Star Lanterns Fourth of July Rustic Flag Paper Sparklers Pretty Patriotic Pillow Nautical Star Burlap Banner: Stencil Material Tutorial Patriotic Map Art Wooden Fire Crackers; July Silhouette Challenge DIY Chalkboard and Vinyl World Map Let's Talk about Red White and Blue! DIY 4th of July Baby Outfit How To Make A Pinwheel {+ Free Template} Patriotic Nail Art Star Jewelry Vinyl on Wood Blocks Land That I Love Red, White, and Blue Patriotic Placemats DIY Paint Splattered Patriotic Tote Bag Patriotic Mason Jar Candle Holders

1. Our Rosey Life // 2. My Mom Made That // 3. The Kim Six Fix // 4. Create & Babble // 5. The Frill of Life // 6. My Paper Craze // 7. Kate’s Paper Creations // 8. Simply Kelly Designs // 9. Dragonfly & Lily Pads // 10. Mama Sonshine // 11. Lil Mrs. Tori // 12. Tried & True // 13. It Happens in a Blink // 14. McCall Manor // 15. The Thinking Closet // 16. unOriginal Mom // 17. Sowdering About // 18. Weekend Craft // 19. The Outlandish Momma // 20. Adventures in All Things Food // 21. Practically Functional // 22. Silhouette School // 23. Please Excuse My Craftermath… // 24. Ginger Snap Craft // 25. Pineapples And Pinecones // 26. Black and White Obsession // 27. TitiCrafty // 28. Architecture of a Mom //

Enhanced by Zemanta


4 Comments

Tips for Printable Heat Transfer Material

I may have mentioned once or twice how much I love the print and cut feature on my Silhouette Cameo.

Well, I am going to bring it up again.  Only this time I will be using a Heat Transfer Material to make a gift.

There are other brands out there that sell this kind of material, but I use Avery, because I can buy it just about anywhere.

Here is the concept, you print something out on your computer, cut it out and then iron it on to something made of fabric.  And viola! Your very own custom shirt, coat, bag, pillow, blanket, etc.

I wanted to make a six-year-old girl a bag with her favorite Monster High Character.   I could have made one by layering colored heat transfer vinyl (HTV) but the characters from Monster High have sooo many coloring shades, that it would either too much work (& too munch HTV) or it wouldn’t give me the same look I was going for.

Lagoona Blue Tote Bag


I have used this material in the past, so I am very familiar with it, but as with all projects, I ran into some trouble.  I figured it would be beneficial to others if I shared my snafu, so you will not make the same mistake.

Here are a few tips for using the printable heat transfer material:

  • Know your printer.  Printer inks are different and behave differently.  If you have an ink jet printer, get the material designed for ink jet printers.  If it is a laser printer, there is a different material for that, as well as the other inks, like UV.  If you choose the wrong type your ink will not set and will either run or fade.
    • Print a test page on regular paper to see how your image will fit, and line up.  You don’t want to waste any of the transfer material.Print a test page first
  • There are two different kinds of transfer material.  One for light-colored fabrics and one for dark.
    • The one for light-colored fabrics is an actual ink transfer material.  It will transfer the ink on to your shirt, so the places in your design that are white, will be transparent, meaning the shirt will show through.  The material that it is printed on will adhere to the fabric, so there is a protective layer between the ink and the outside world.  You must also remember to flip your design on the horizontal plane when using this material.
    • The one for dark-colored fabrics is like a sticker.  It is a white material and so the white areas in your design will remain white.  Plus, there is no need to flip the design.  It is the one I like to use the best.Dark Fabric Material
    • Weed carefully, this material can tear easily.  But it is not sticky, so you can do it in sections.
    • Don’t use the shade of fabric alone to make the decision on which one to use.  Think about what you want your project to look like in the end.  I use the material for dark fabrics all the time, even on light-colored fabric like this tote bag.Light colored bag, but using dark fabric transfer material
  • Your iron must be hot and dry.  If you use this to iron out the wrinkles in your clothes, dump out the water.  Set your iron to the hottest setting.  It is also not recommended you not use an ironing board.  This could be because you don’t want an uneven surface, but it is also because of the reflective heat material under the cover.  Heat on the bottom of the material may interfere with it bonding to the fabric.  I place a folded, ironed sheet on my kitchen counter.MSS_HTM_MHbag09
  • Cool removal or not?  Some heat transfer material requires you to wait until the design has cooled before removing the transfer plastic.  If it does and you rush it, you can peel off your design with the transfer plastic, so be patient.Sometimes you have to wait for it to cool before removing protective/transfer layer
  • Don’t be discouraged when it takes longer to adhere than the instructions say.  I have held the iron in place for minutes, when the instructions say 45-60 seconds.
  • Apply constant high pressure.  You are not ironing out the wrinkles, so don’t move your iron around.  You can mess up your design, as I did.What can happen when you move your iron around
    • But not all is lost if you do.  Here is something you might not know: the heat that put it on, can take it off.
      • Apply heat back to the design and quickly use something to scrap away the design before it cools.  I first used my weeding tool to pull the design, but that was taking too long.  I then thought of my scrapping tool (a used Sil gift card), when the design was still hot I just scrapped it off.  You have to keep applying heat to small areas and scrapping, and repeating.  The scrapping doesn’t take too long, and within 10 minutes, it was gone.  There is a slight bit of ‘glue’ left, it’s not really glue, but there is a residue, it’s kind of like a shiny outline of your design.  MSS_HTM_MHbag07
    • That’s OK, because you are going to reprint your design and reapply.  This time, not moving the iron around.MSS_HTM_MHbag08


It turned out just the way I wanted it to, and the birthday girl was happy.

MSS_HTM_MHbag01


The bag went perfectly with the personalize Monster High water bottle & Lagoona Blue card I made.

MSS_HTM_MHbag11


Happy Crafting

signature-black
facebook instagram pinterest parties by mamasonshine etsy bloglovin google+ email twitter Image Map


Enhanced by Zemanta