I feel a little behind this year. Ian’s birthday is next month and I have only been working on his invitations for about a week.
Ian decided in December that he wanted a Ninja Turtle birthday party. I knew it was on the list of parties but didn’t know he wanted it this year. (He has the next six birthday’s planned, yep, he takes after me.)
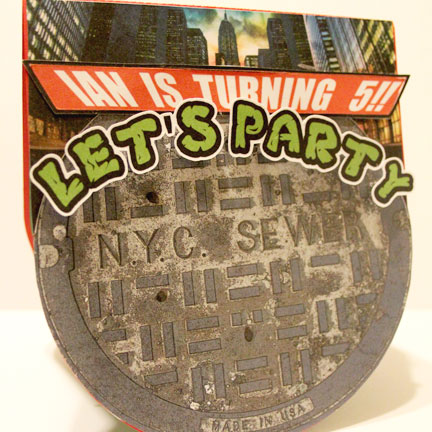
I decided I wanted his invitations to be a pop-up card with the front as a sewer cover. I designed them knowing I would need to use my favorite thing about the Silhouette. It’s Print ‘N Cut feature!
It is the main reason I got it and it just so happens that this month’s Silhouette Challenge was to make a project using this very thing I love so much.
I started with a picture of a NYC manhole cover. I used Photoshop to make the sewer cover look a little more comic-booky. I couldn’t find a TMNT one with out words on it, and while I could have altered it in Photoshop to remove the words, I just didn’t want to go the trouble, this was easier.
I had thought about having just a circle card, but the pop-up part would have been to small, or the circle card would have been too big. So I used a card template from SVG CutsHaunted Forest kit.
I needed something above the manhole cover, and I didn’t want to use a solid color so I used a picture of NYC that I found on one of the TMNT sites. Since the angle of the city is from the street it worked perfectly. For that part and the sewer cover I used the fill with pattern feature, or more accurately, I dragged and dropped the pictures into the shapes.
I used foam dimensional tabs to raise the ‘Let’s Party’ text.
I didn’t want to apply the letters individually to each invitation. I connected them with the offset tool, I made the offset as small as possible while still maintaining connections between each letter.
It was still in two parts, but that was better than 9 parts.
I made the “Ian is turning 5” part in Photoshop and traced it in Studio.
But a TMNT party invitation would not be complete with out some Ninja Turtles!
p.s. I decided to use the Old-School version from my childhood because I like them the best.
I traced a PNG copy of a picture of the four of them coming out of a sewer. This was the part that I wanted to use as a pop-up.
It is pretty amazing how close and accurately the Silhouette cuts with the print ‘n cut feature. I could even cut out the little spaces on the bottom that would have been white after printing. There is no way I would have been able to cut that out by hand.
The party information will be printed out on vellum and attached to the bottom of the inside. I decided on vellum because I didn’t want the inside to be white. I could have printed it on colored paper, but with the size of the card I couldn’t get two on one page, and I hate wasting paper.
Stay tuned for how the party turned out and all the other things I will make, although you will have to wait till a couple of months.
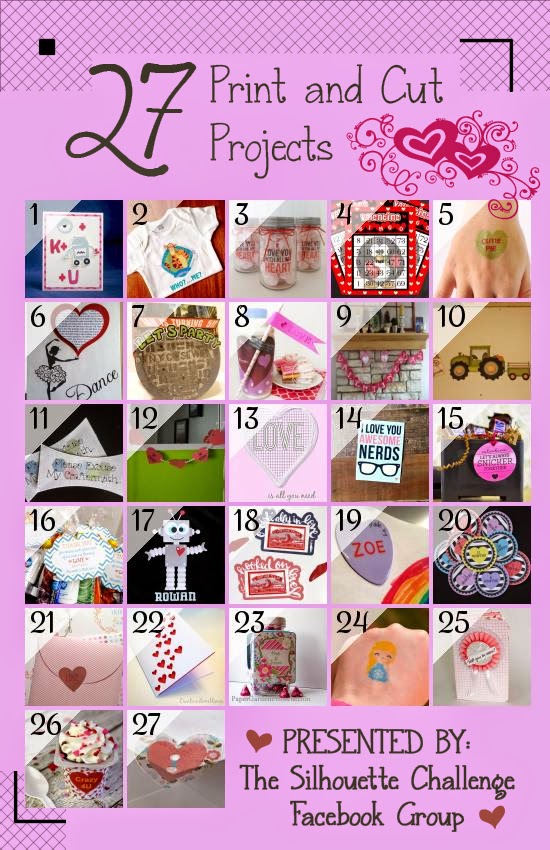
Want to Check Out More Silhouette Projects?
My Silhouette Challenge buddies and I are all sharing projects on our blogs today, so pursue the projects below for a wealth of Silhouette inspiration! With a heavy emphasis on hearts!
‘Tis the season for giving, and there is nothing better than giving someone a hand-made gift.
Except being able to giveaway a new Silhouette Portrait or Cameo, that is.
That’s right, a wonderful group of bloggers and I have gotten together to giveaway not one, but two Silhouettes. These ladies have also came up with a variety of holiday projects to make with your brand new Silhouette. Just follow the links at the end of this post for some inspiration.
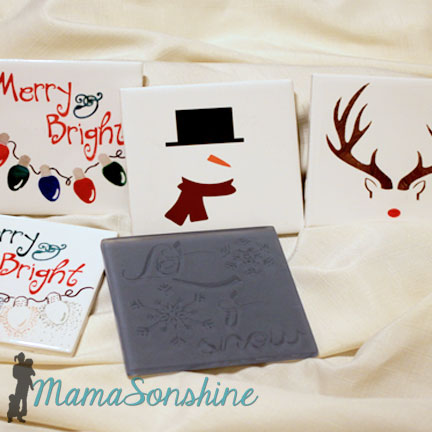
DIY Christmas Coasters
I thought I would share some of the gifts I have been making for Christmas this year.
I made some Christmas coasters from tiles using a couple different methods, including etching cream, vinyl and sharpies.
I love making etched glass items and thought how great it would work on glass tiles. I found these blue glass tiles, they are clear glass with a backing that is colored, and knew they would be perfect for a snow themed coaster.
Since the tile would be a coaster I wanted the majority of the surface to be rough with the design smooth. I cut my design out of scrap vinyl, I have been told contact paper works too, and transferred the design on to the tile.
I like to apply my etching cream right next to the sink. I lay down wax paper for a work surface, and use gloves to protect my skin. At the end of the etching time I try to scrape the etching cream back into the bottle. No need to waste! Rinse the rest of the cream off the tile under cold running water. Peel off the stencil and wash again with soap and water.
Please follow the directions on your etching cream and be safe.
Because the tile is thick glass the unetched parts refract the light and distort the design when trying to take a picture.
I absolutely love how these turned out, but the elegance of them is lost in translation. They do look lovely all wrapped up in a bow.
Did you know that etching cream will also take the glaze off ceramic tiles?
This is even harder to photograph because of how subtle it is.
My first thought was to make a minimalist snowman design with vinyl, but then I decided to take it one step further. I used a vinyl stencil for the snowman base and a few circles of falling snow. I then applied the etching cream to the entire coaster as above. This left a rough background with a shiny snowman and snow.
After etching, washing and allowing to dry for at least a day, I applied the vinyl decorations, using outdoor vinyl if I had it. I love how these turned out, they are impressive with just the vinyl but when you look close you can see the subtle outline of the snowman and snow.
But why stop there? Sharpies on ceramics are always a fun craft.
Since I am pretty sure my 4-year-old draws better than me, I use my Silhouette to cut out stencils for all my Sharpie work as well. As I did with these Rudolph coasters and they are fantastic!
After coloring I cured the ink by placing the coasters in a cold over, turning on the heat to 350°F, baking for about 30 minutes, turning the oven off and letting the coasters come back to room temperature slowly.
Using the same sharpie and stencil method I made some Christmas light coasters as well.
On one set of coasters I simply colored the lights in. On the other set I used the negative of the stencil and used scattered dots to draw the lights. I should tell you that I did not use oil based markers or ceramic pens. I cured them just as I did with the Rudolph ones.
Some of the colors (uh, all but the red and green) did not hold up as well with the curing process. *sigh, lesson learned. So, if you are going to cure them in the oven, use ceramic markers. Another option would be to seal them after coloring with a clear waterproof sealant. Sealing them is still probably a good idea anyway.
Not to worry though. They can just be recolored and then sealed. (which admittedly I have not yet done, but plan on doing)
These coaster would make great gift to with a new mug and box of hot chocolate, coffee or tea. *spoiler alert
Silhouette Giveaway!
I know, I know, here is the part of the post you are most excited about. As I said above, my Silhouette Challenge buddies in partnership with Silhouette America are hosting a mega-huge giveaway for not one…but two winners! The prizes up for grabs?
First prize: The NEW Silhouette Cameo Machine and Designer Edition Super Bundle! $406.93 value.
Silhouette CAMEO®
Designer Edition Software
Dust Cover
$25 Download Card
Four Essential Silhouette Tools (hook, spatula, scraper, pick-me-up™)
Second prize: Silhouette Portrait Machine and Rhinestone Starter Kit! $219.98 value.
Pretty sweet, huh? We want you to have the chance to get that Silhouette machine that might still be on your wish list.
To enter: just click on the image below or on this link, either will take you to the entry form. Because of my many blog friends who helped make this giveaway possible, you have 42 potential entries, which means a lot of winning power. So, hurry up and enter!
{This giveaway runs from today through Monday, December 15th at 11:59p eastern and is open to anyone 18 years of age or older with a U.S. or Canada mailing address. You can read the rest of the terms and conditions in the giveaway window. You only need to enter the giveaway on one blog.}
My Silhouette Challenge buddies and I are all sharing projects on our blogs today, so pursue the projects below for a wealth of Silhouette inspiration!
Fall is in the air, and for us, that means it’s Halloween time!
Ian loves Halloween. I mean loves it.
Not just the candy, but the costumes and decorations too. Since this month’s Silhouette Challenge theme was fall I just knew I had to make something for Halloween.
If you remember from last year I made a candy treat folder and popcorn box for the kids at Ian’s school (those are a couple free printables if you want). Well that was pre-Silhouette. Now I can make things a little more intricate.
First I created a little gift bag for the kids at Ian’s school.
I created the bag with a little spider web window, and it is the perfect size for a couple treats and some stickers.
On the back panel is the sentiment and a little pumpkin. Of course I had to make some cute little wrappers for the candy.
I really like how the window turned out, and I glued a plastic sheet inside so the web doesn’t break.
But I didn’t stop there…
I decided to make a little candy dish, perfect for Candy Corn.
I used a hot dog boat file from Oh Happy Day as the base of the dish. I extend the dish up the back so I could create a little spooky Halloween scene.
I used foam dimensional tabs to pop out the letters, the lower ghost and the pumpkin.
I love this little dish, I have visions for a few more.
I used elements from one of Just So Scrappy‘s digital scrapbooking kit as well as from SVG Cuts.
Here is to Spook-tacular Halloween!
Want to Check Out More Silhouette Projects?
My Silhouette Challenge buddies and I are all sharing projects on our blogs today, so peruse the projects below for a wealth of Silhouette inspiration!
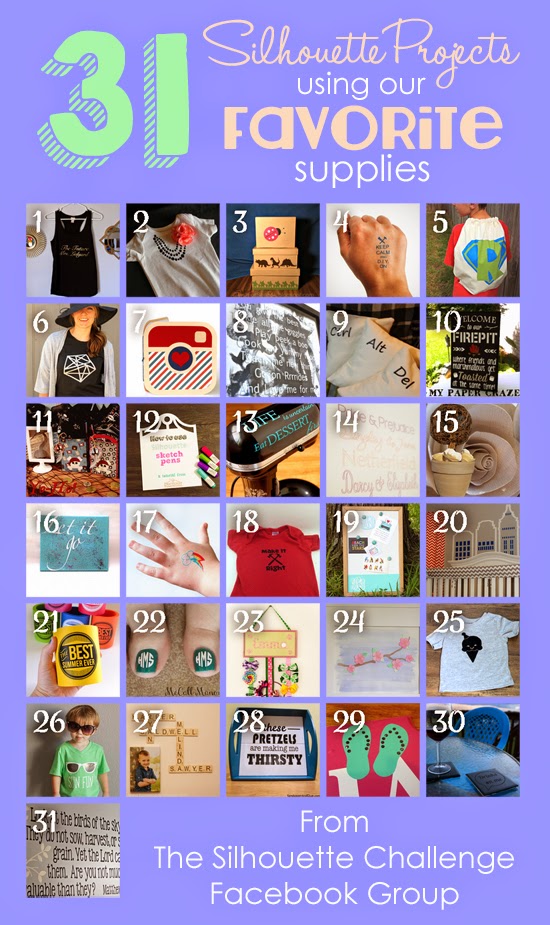
The theme for this month’s Silhouette Challenge is “my favorite things” meaning my favorite Silhouette supplies.
The main reason I got my Silhouette Cameo was to cut paper and make party decorations. I love to make party decorations and have always gone a little over board, but now that I have my Silhouette, I go hog-wild.
This past March we had my oldest son’s fourth birthday party and I just knew this month’s challenge would be the perfect opportunity to share them with you. Or should I say, the perfect opportunity to force motivate me to finally get around to writing this {wink-wink}….And let me warn you, this post is full of pictures.
Ian decided he wanted a pirate party for his birthday, so I got to work, starting in January.
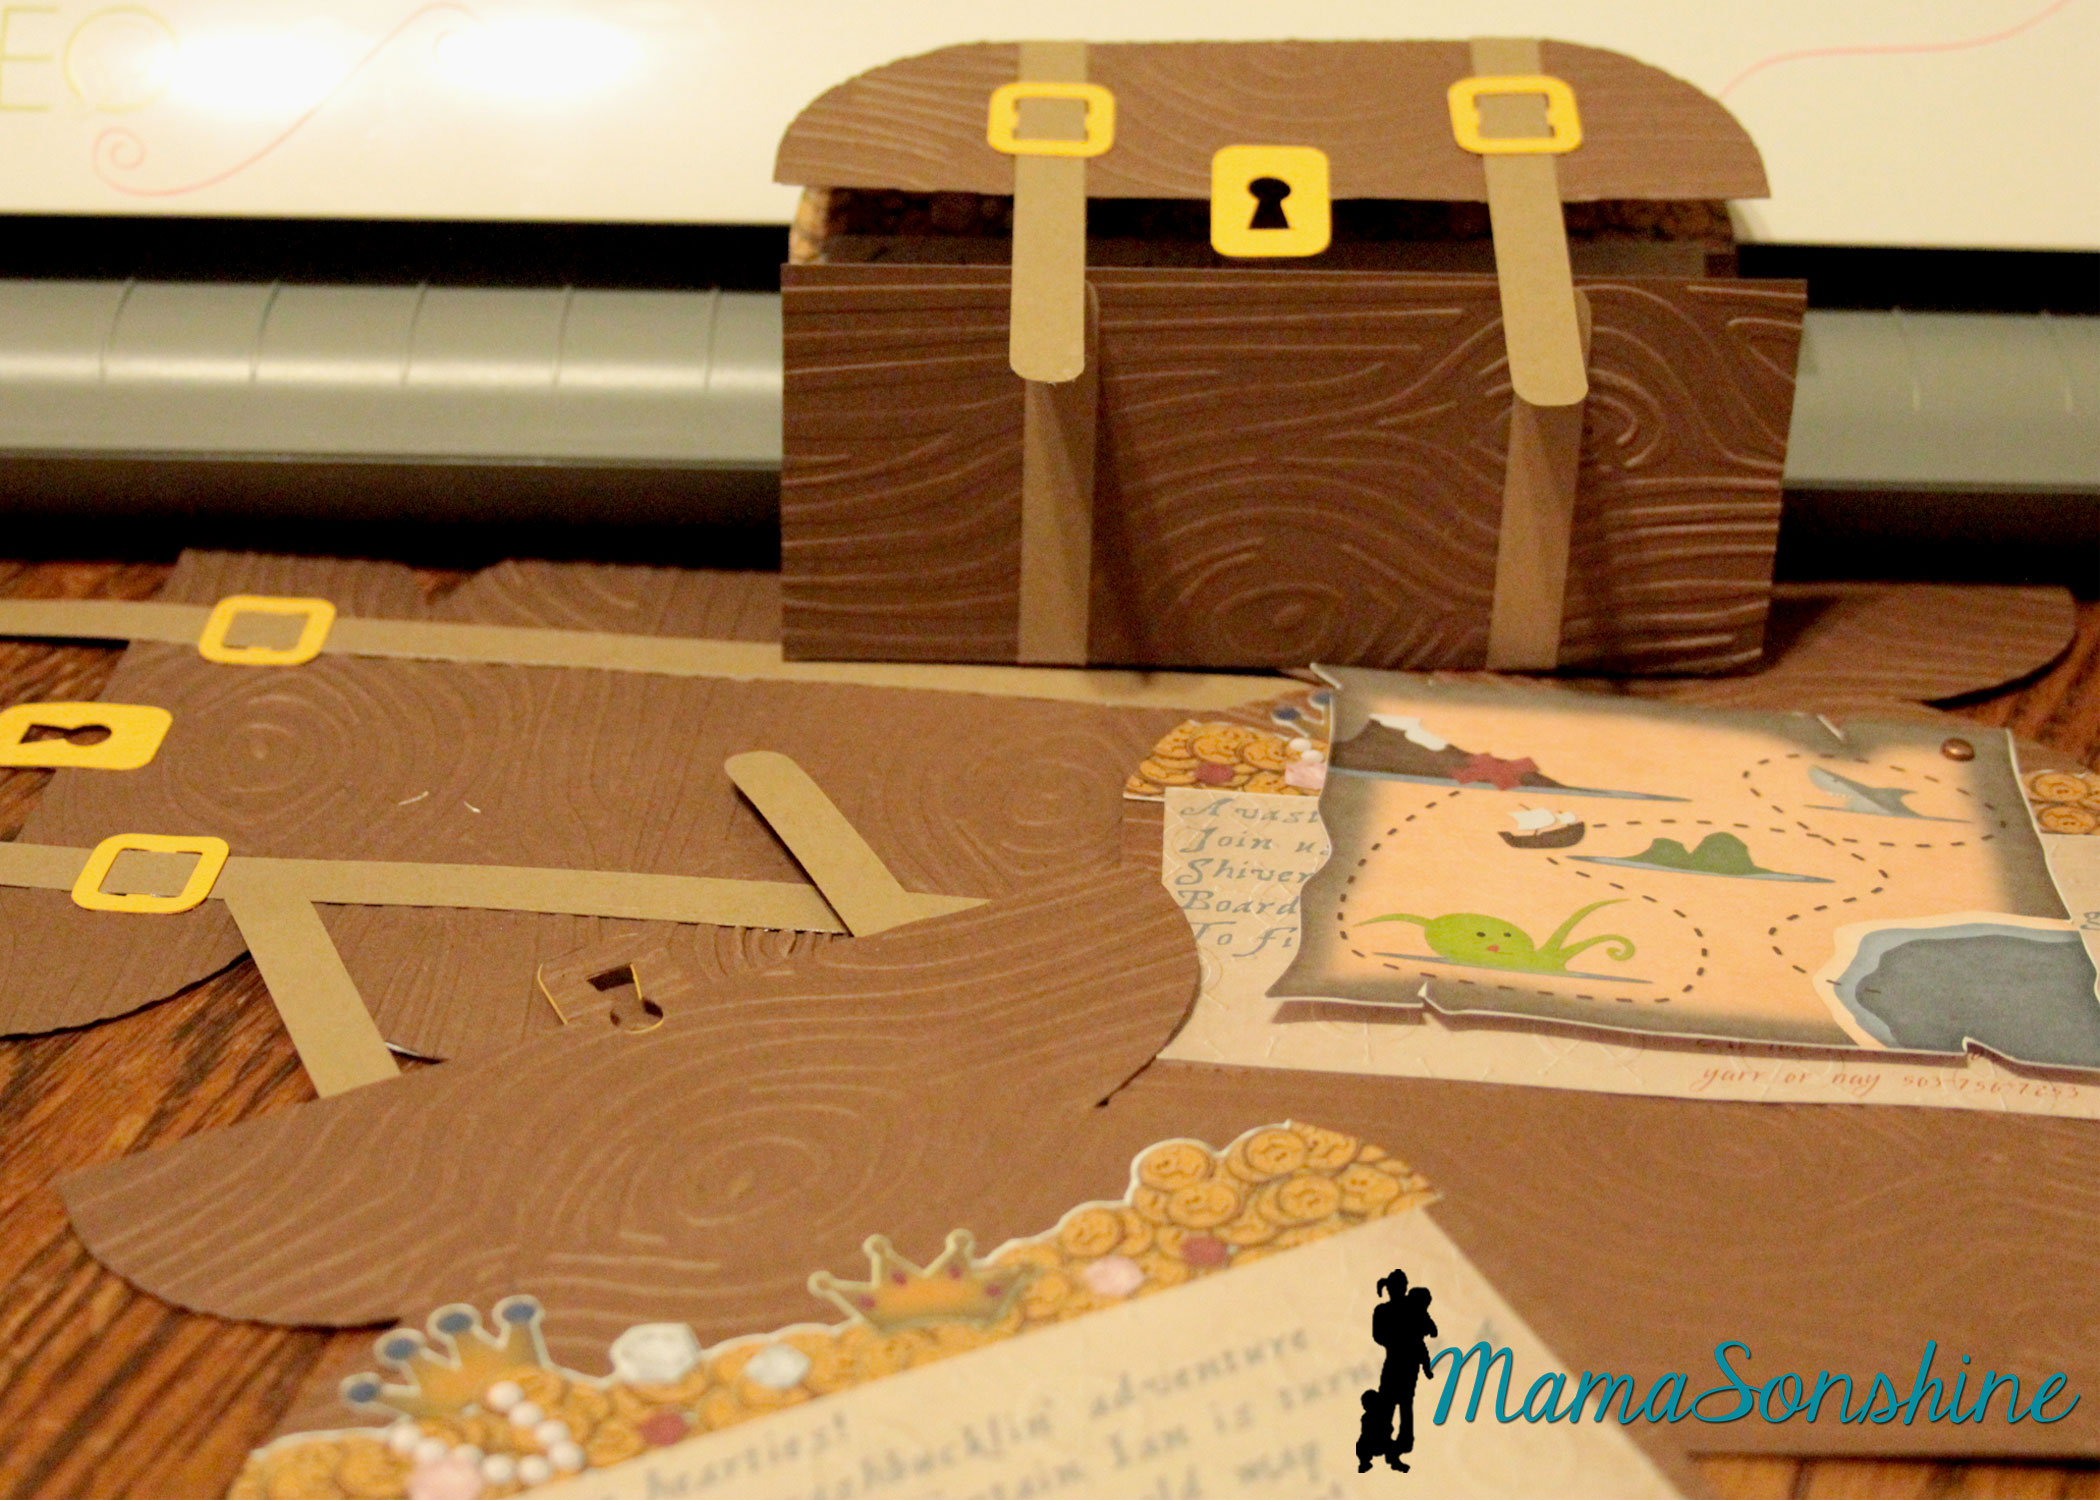
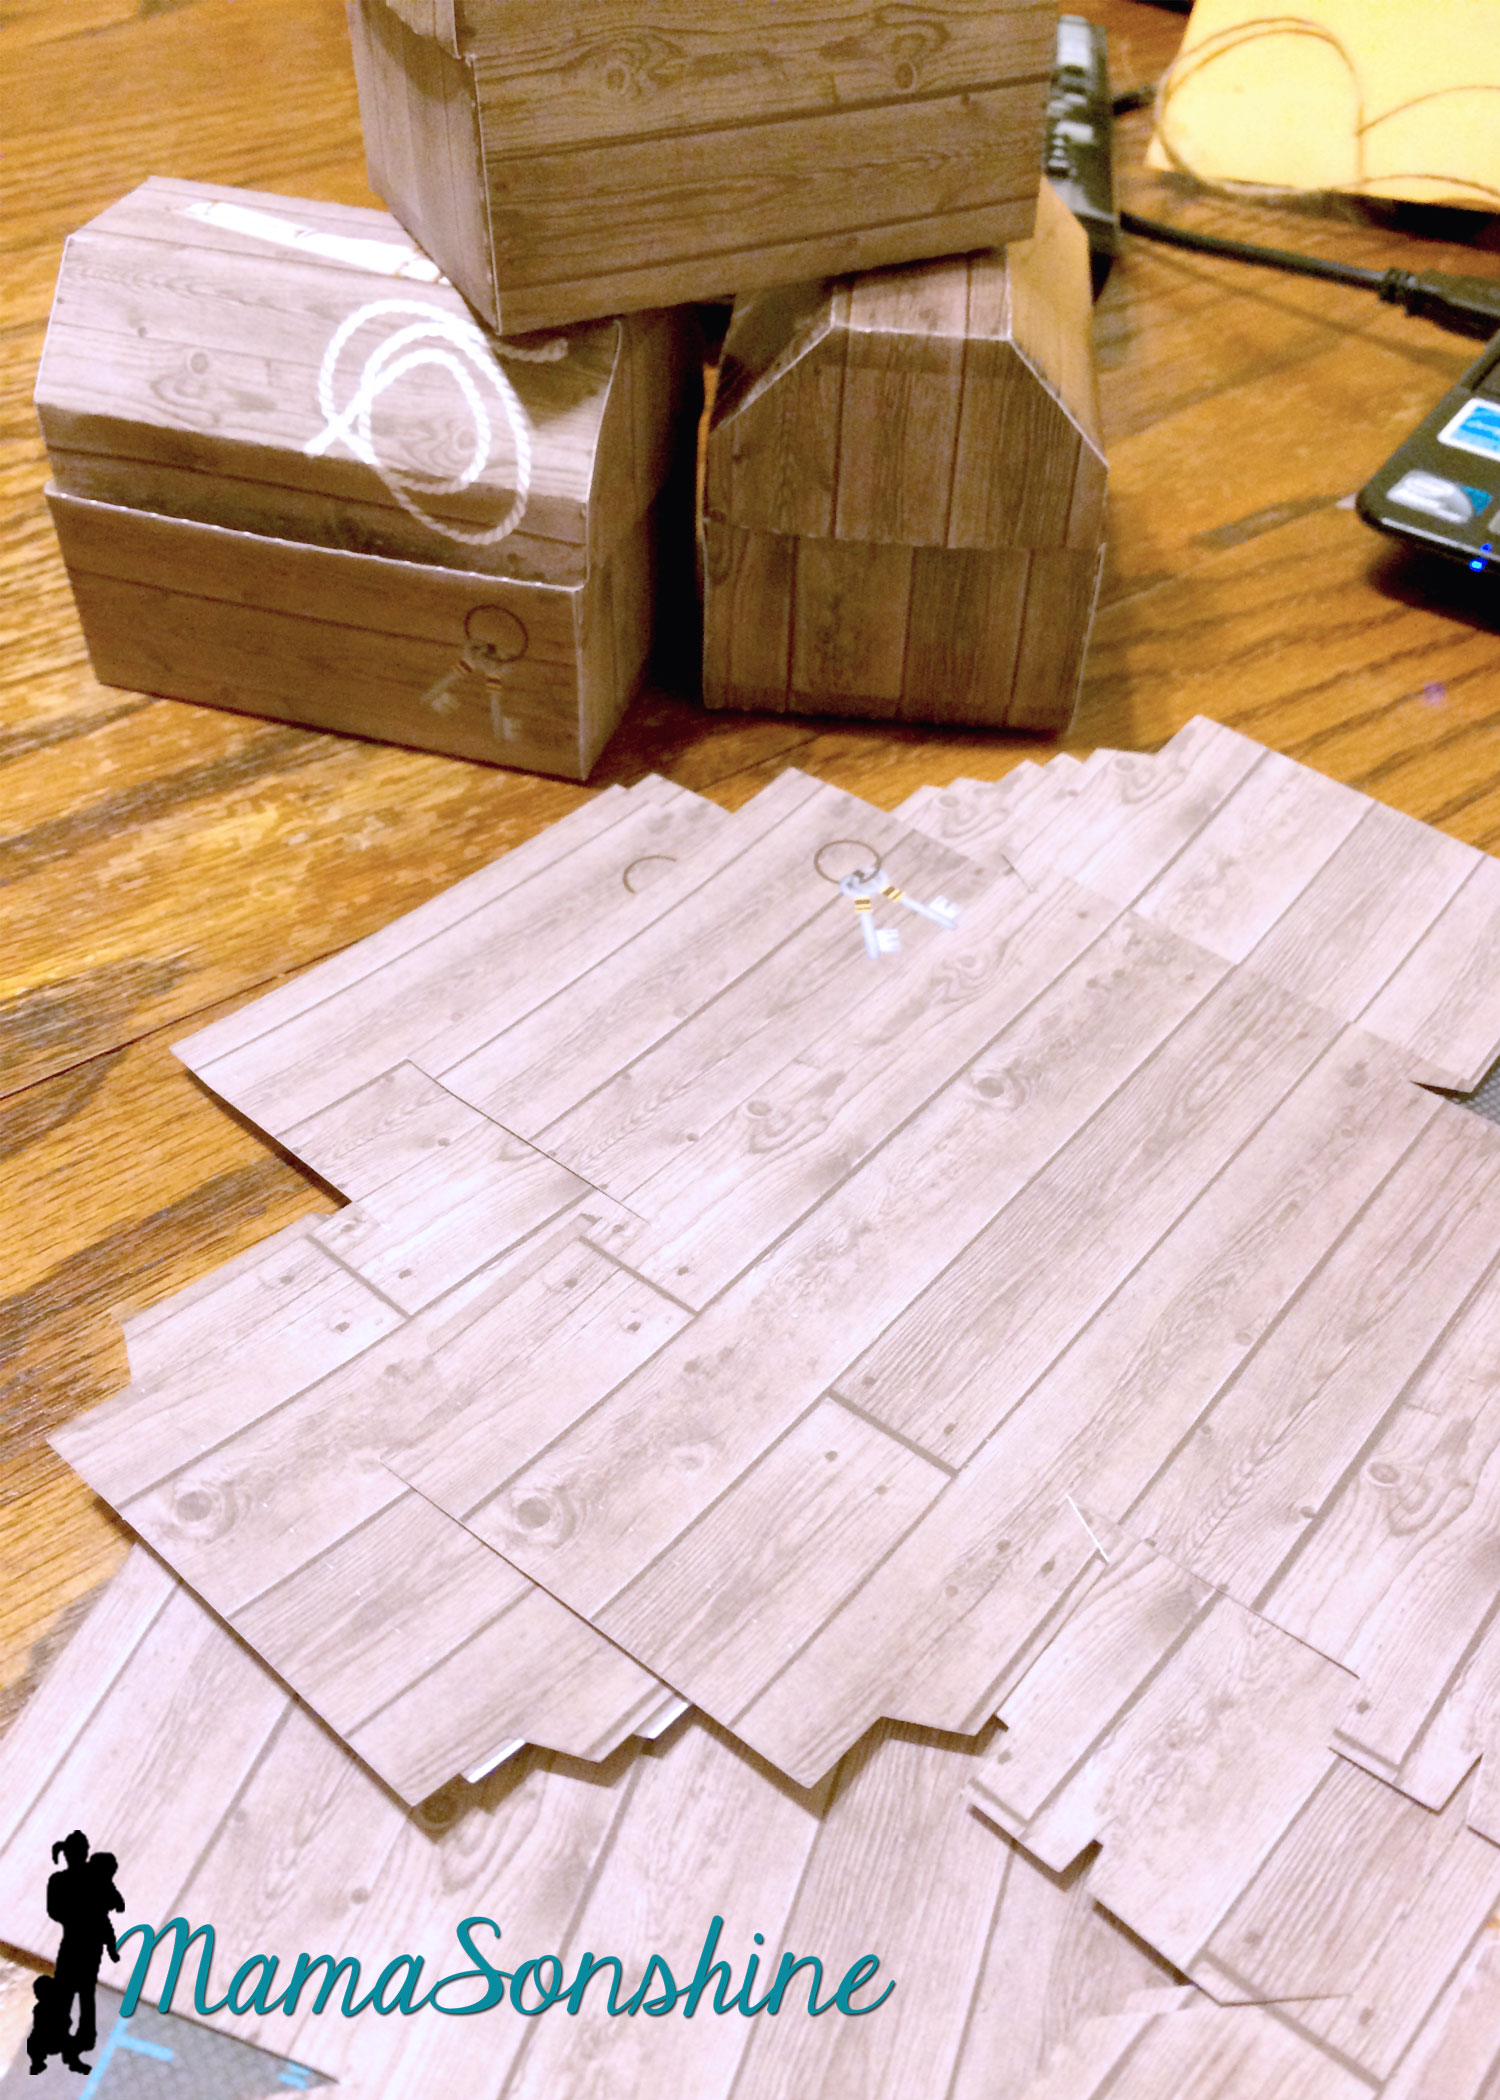
The invitations were treasure chests that opened to show a map, some treasure and the party info. The exterior of the invitation was a cut file I purchased through the Silhouette store. I used my Cuttlebug to give it the wood grain look. I used elements from Just So Scrappy’sYo-Ho Pirate digital scrapbook kit to make the map and as a background for the information section. I used graphics from this kit in almost everything I did for this party.
I designed the coin and jewel pile and used Silhouette’s print and cut option to cut them out.
I love making rosettes for parties, and this party was no exception.
This slideshow requires JavaScript.
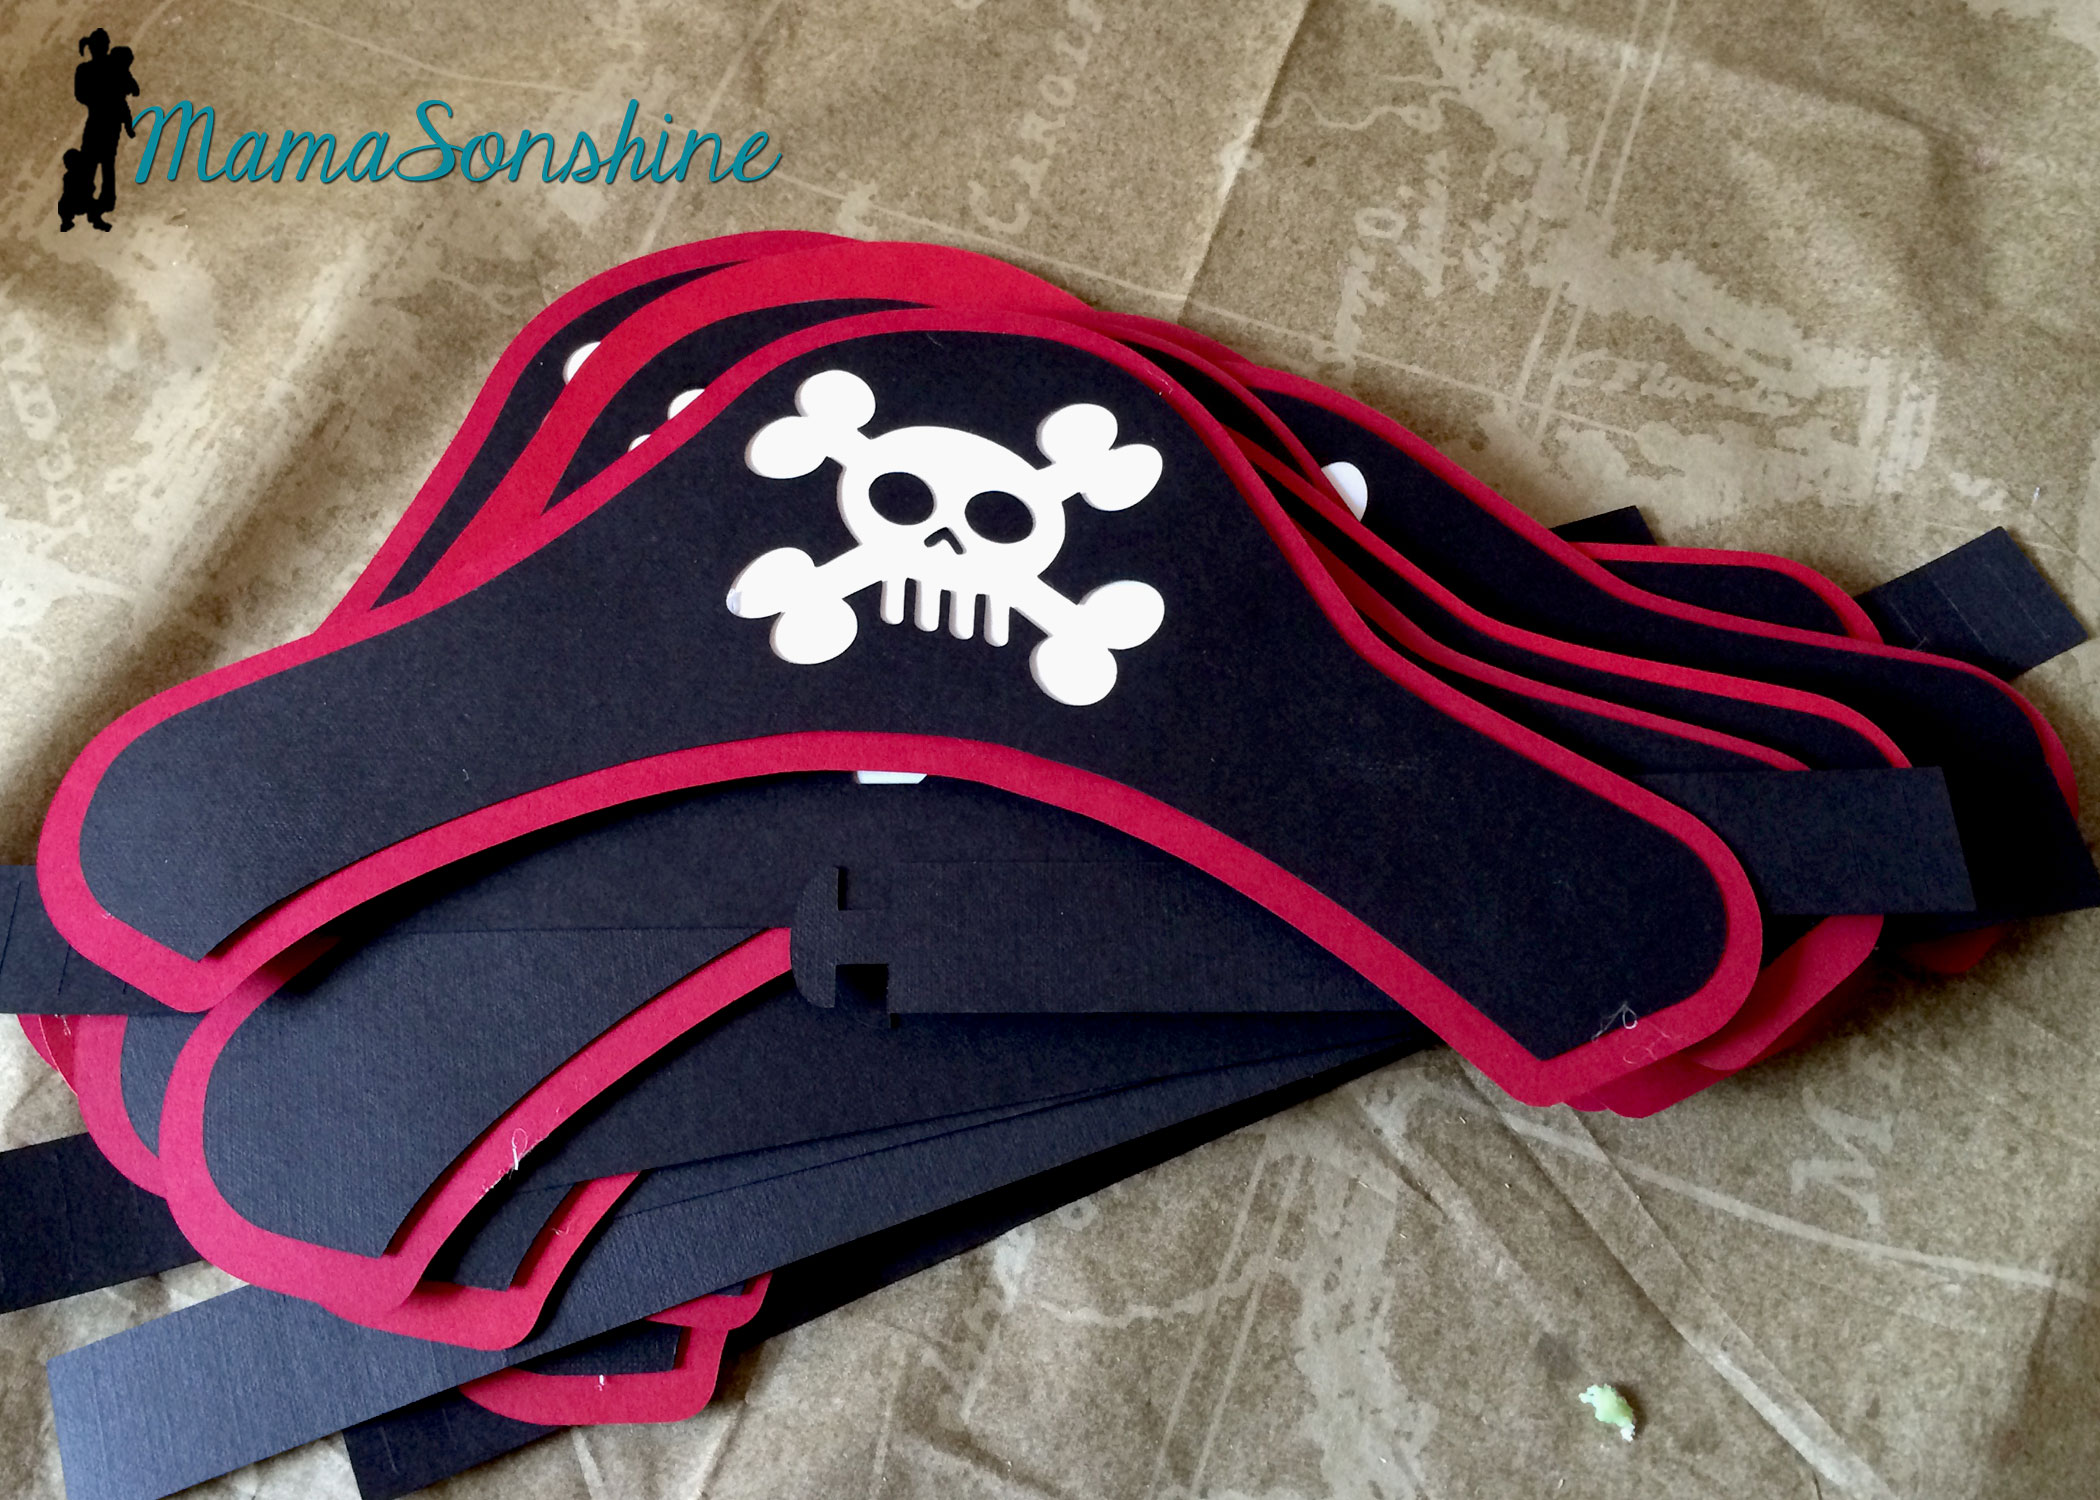
I created these party hats for the kids. This skull and cross-bones was from the a flag in the scrapbook kit. I used some of the negative skull and cross bone cut outs in other decorations, like the bunting flags (see below).
I don’t think I would have been able to make a dozen pirate party hats with out my Cameo.
I really loved these flag topiaries. I cut the flags out from the kit and used the digital papers to make the each base.
This slideshow requires JavaScript.
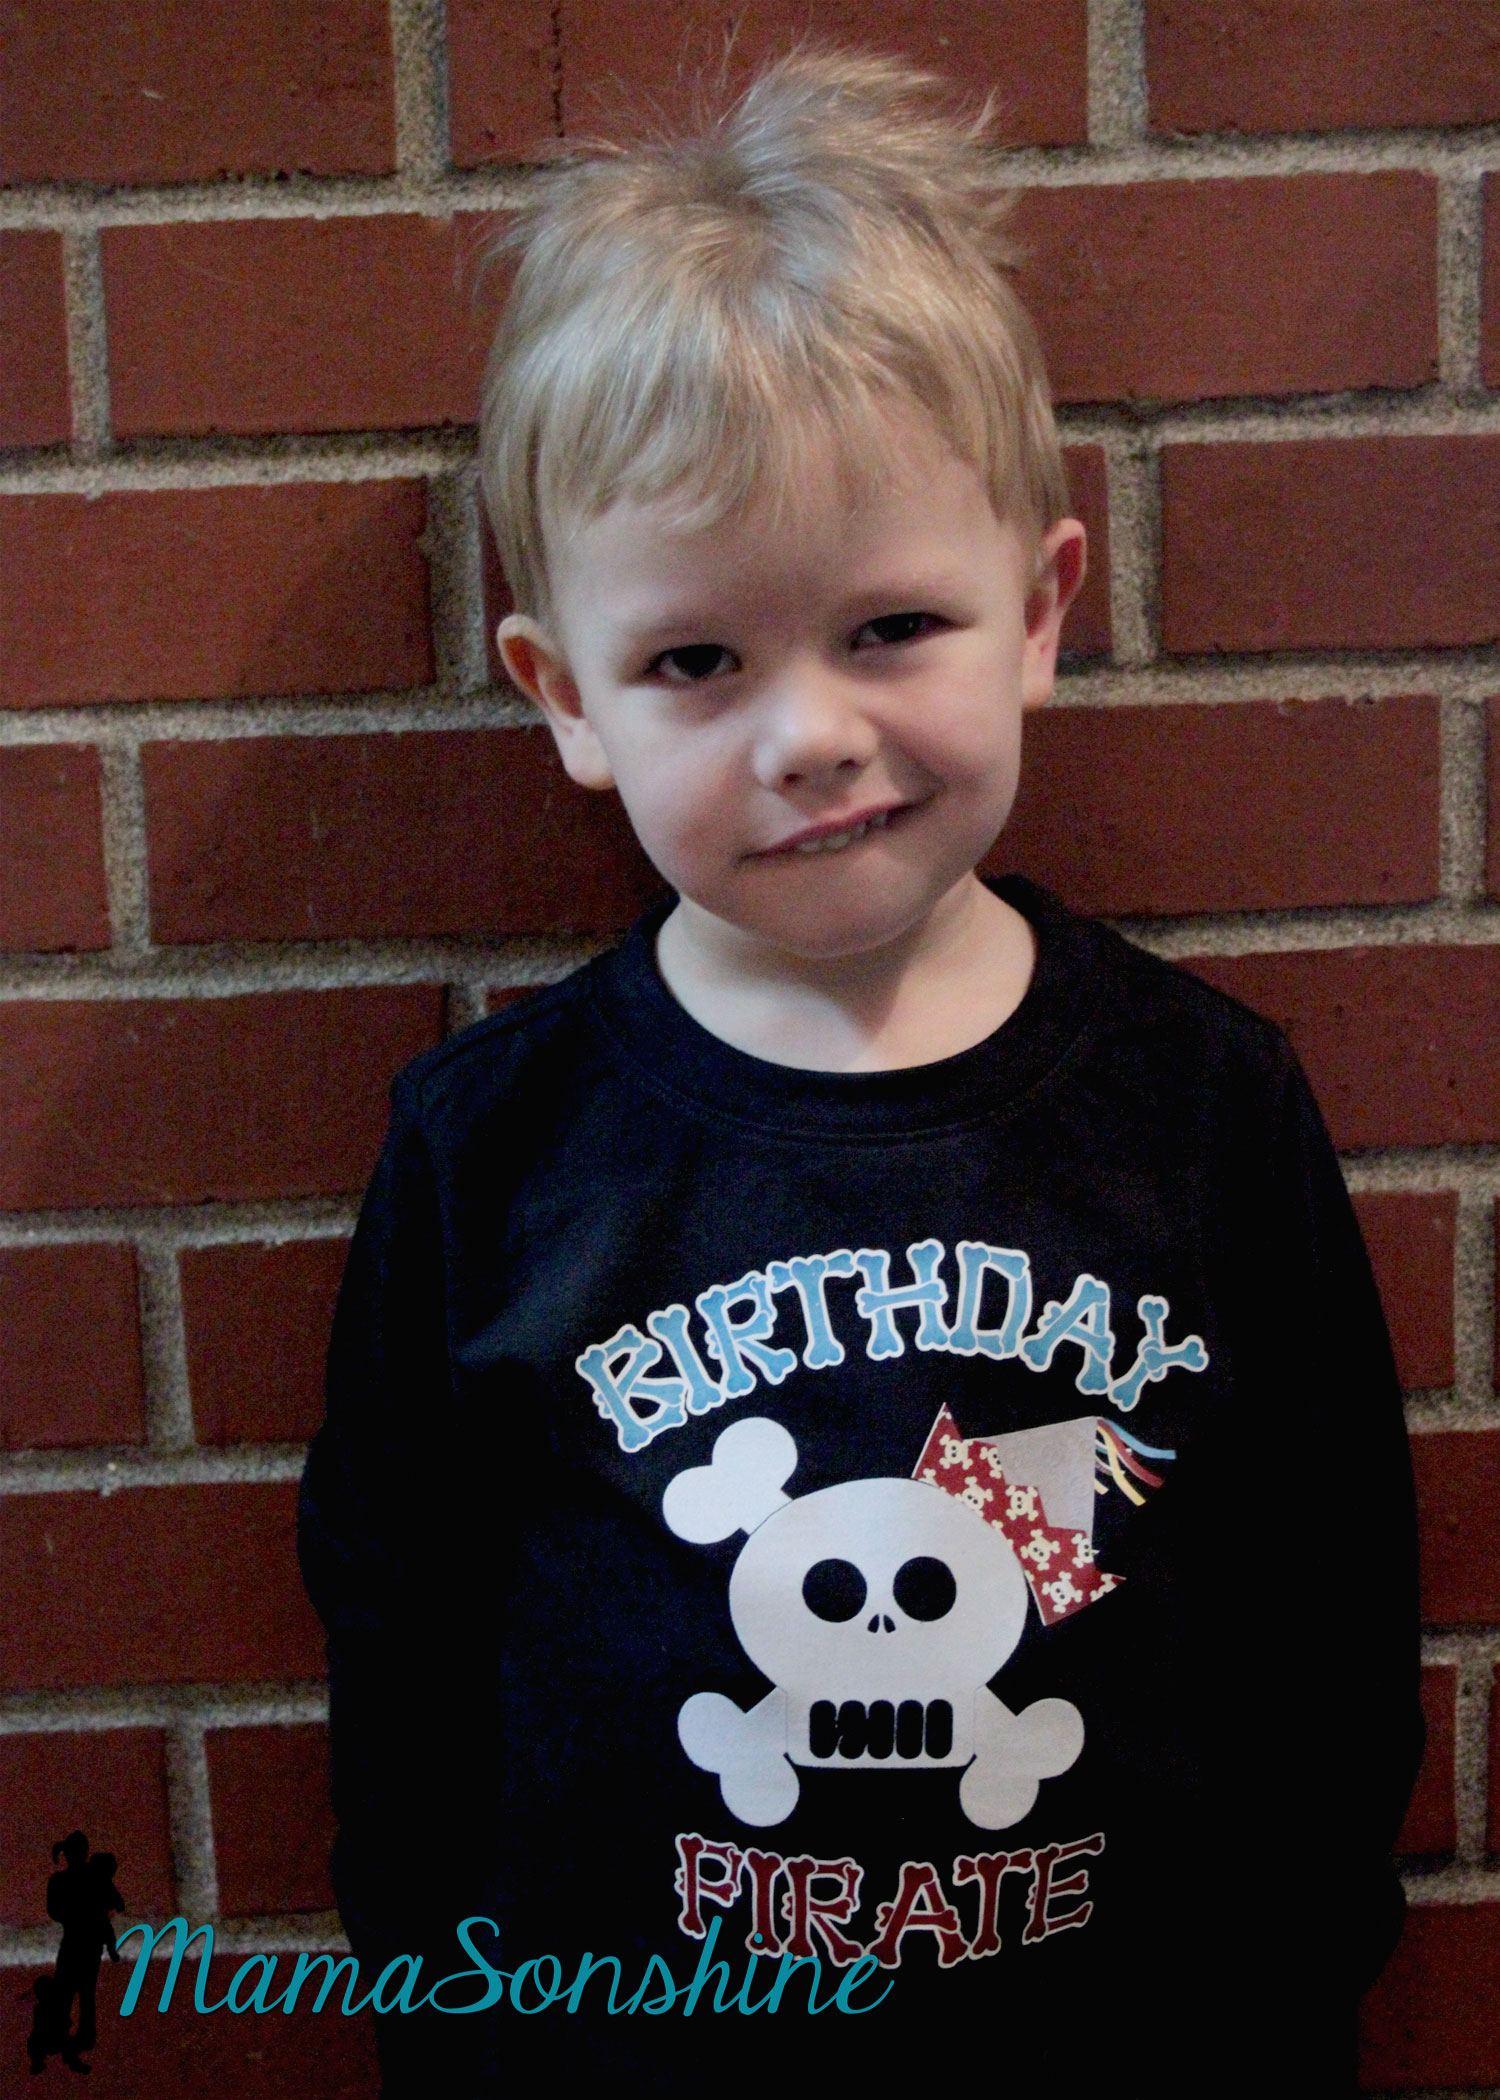
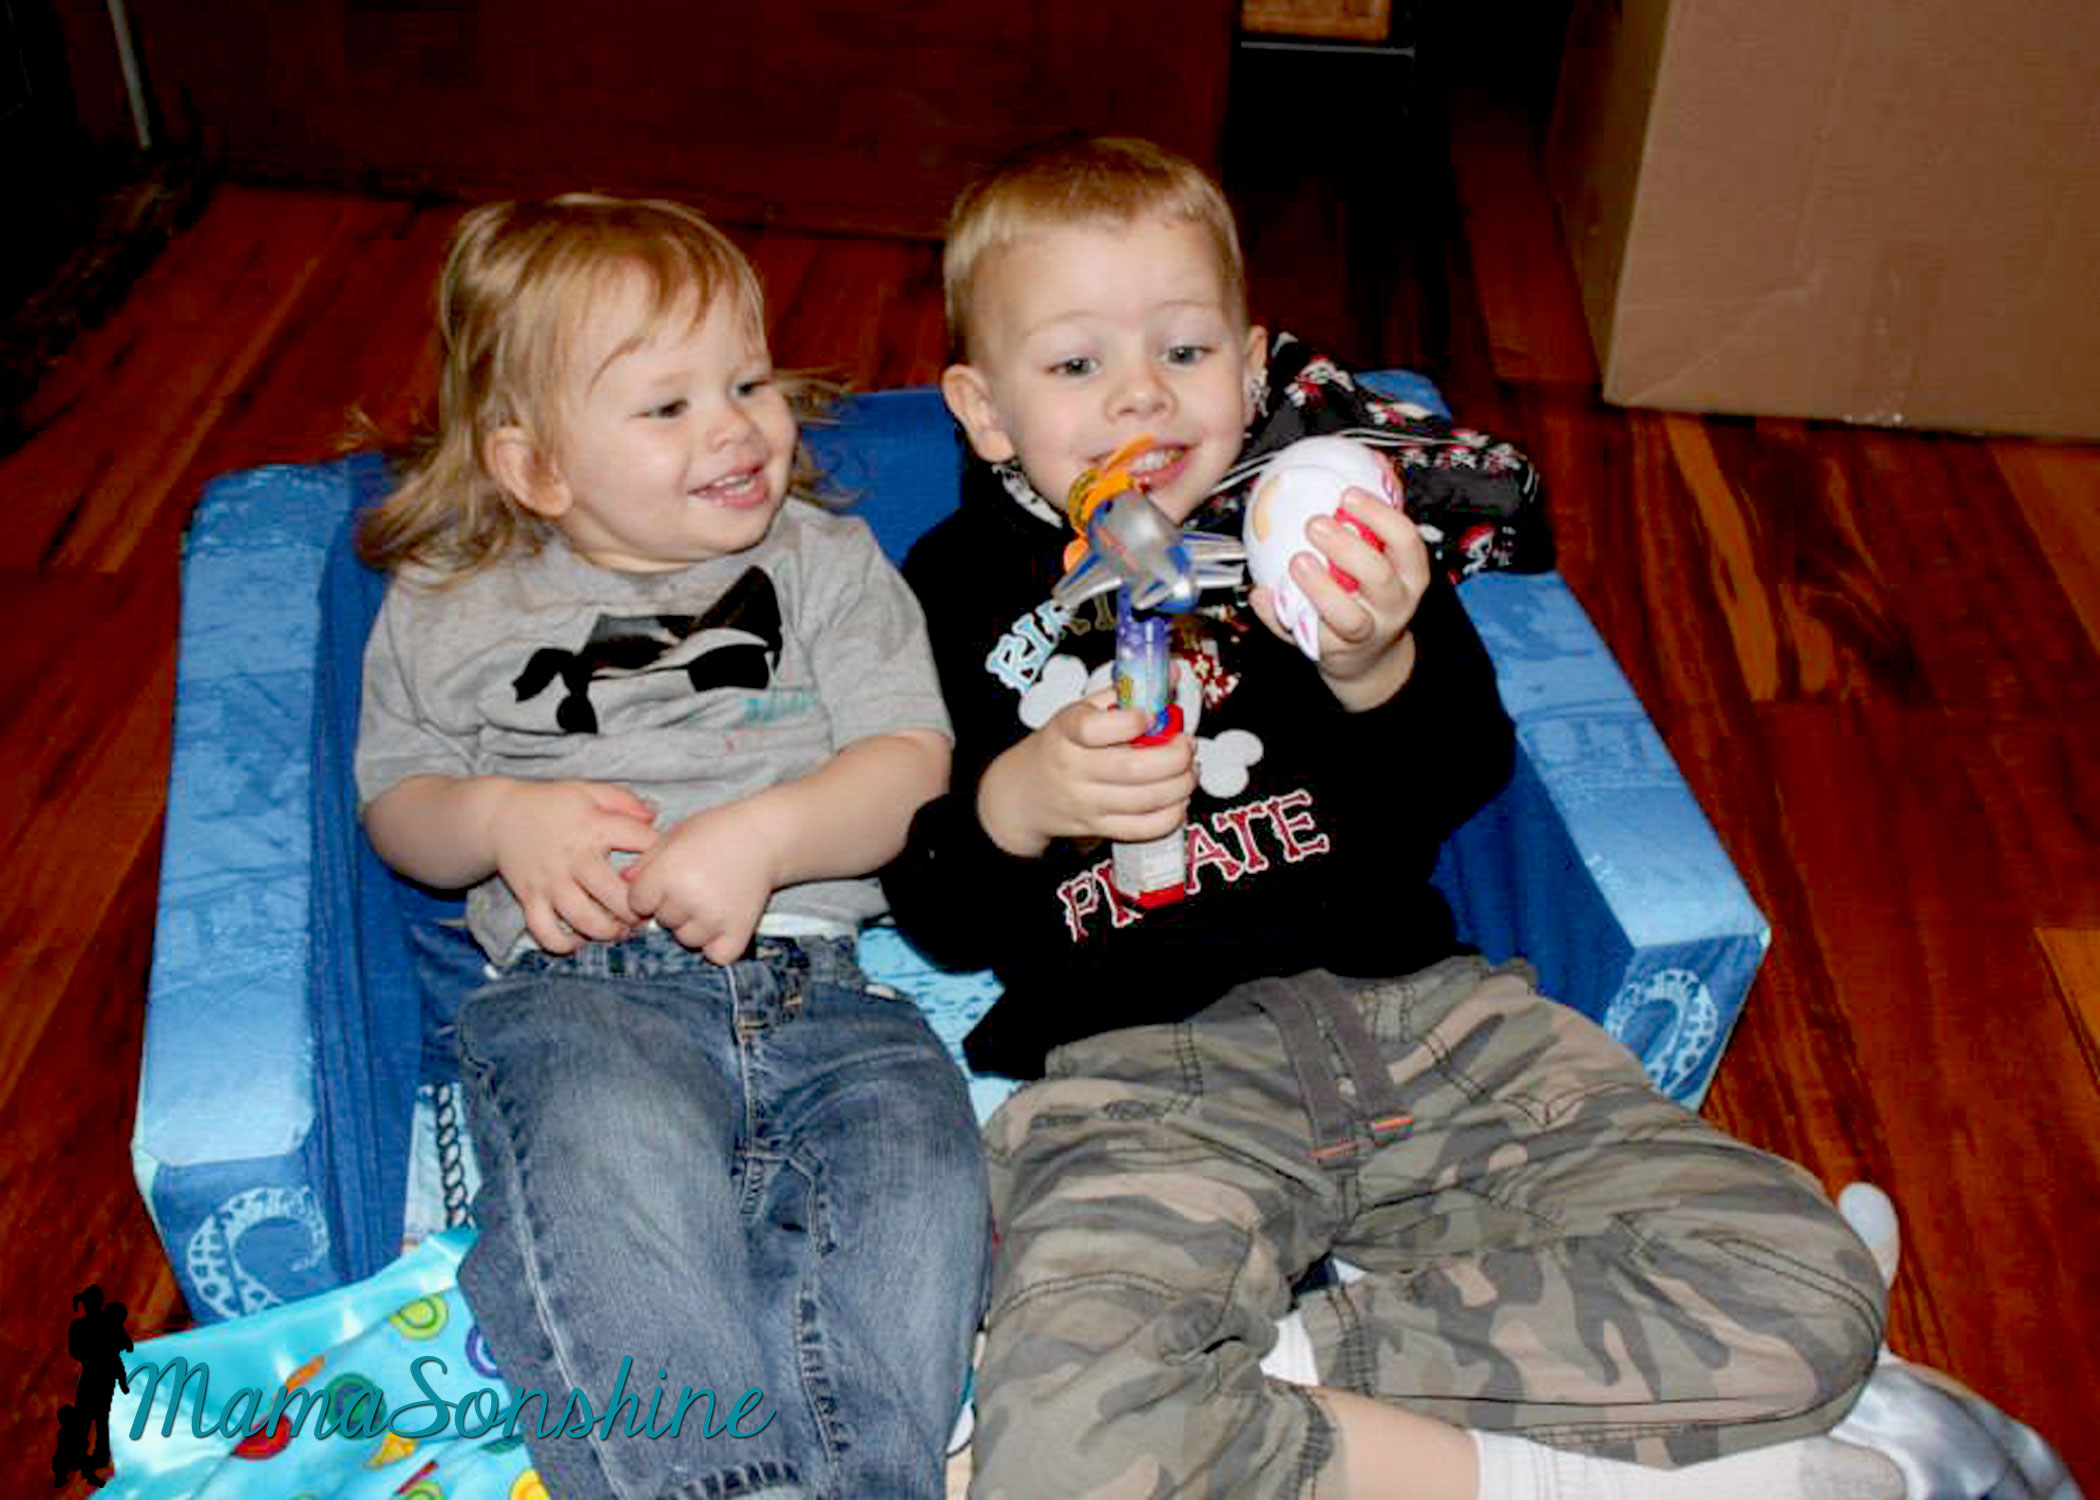
Of course there has to be a picture of the Birthday Pirate!
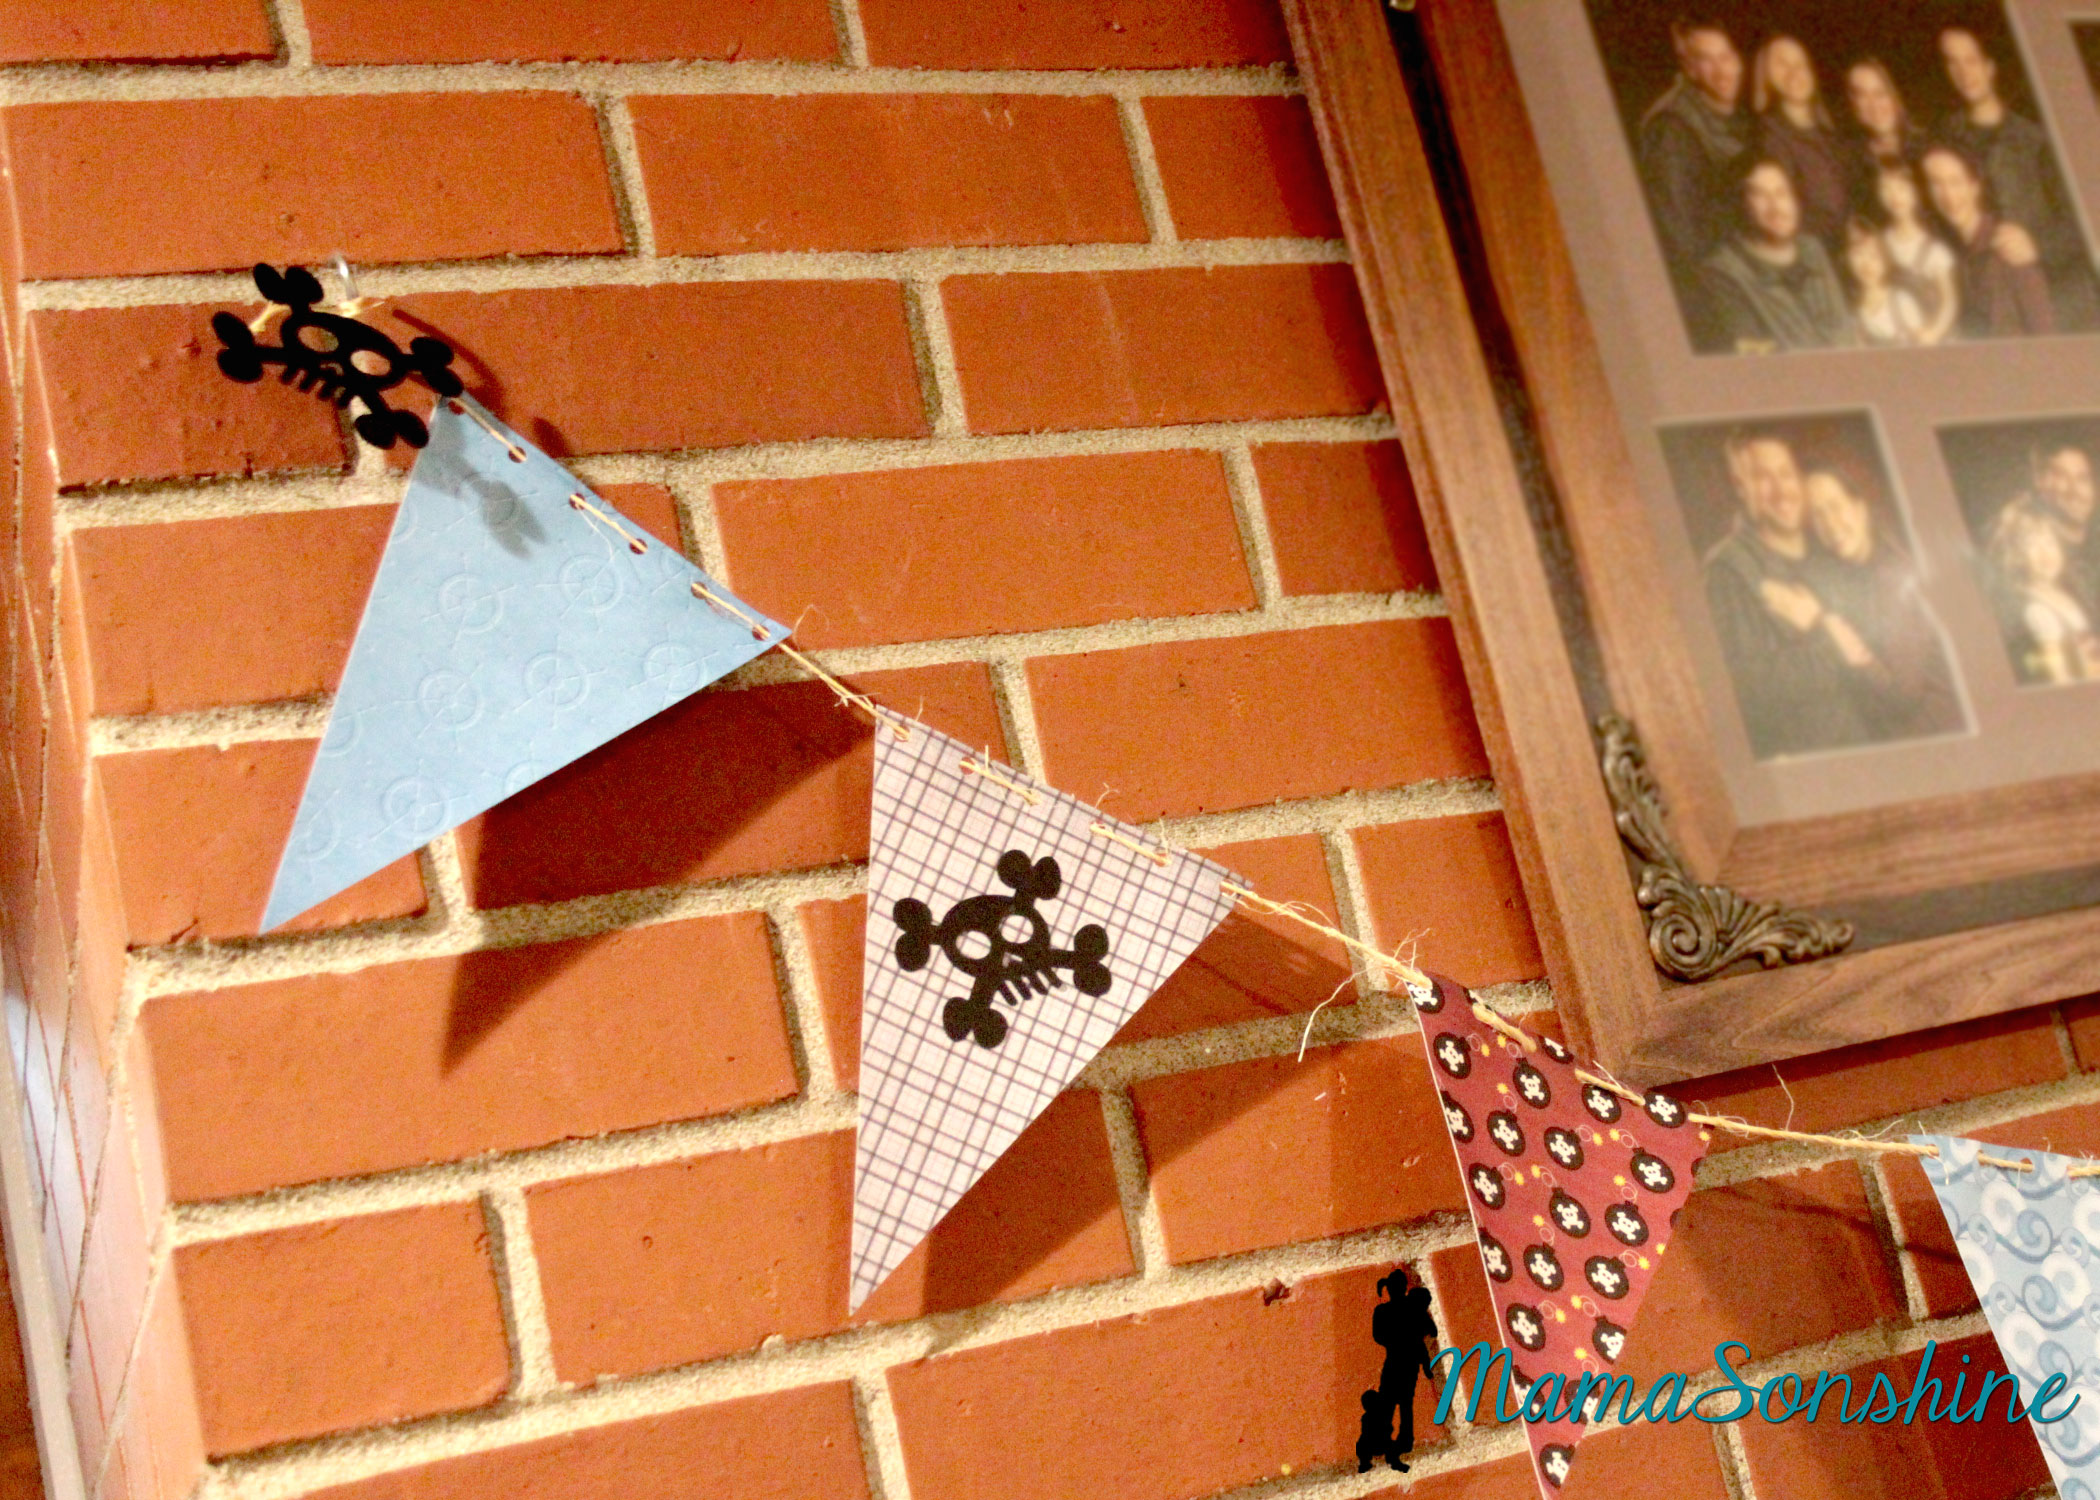
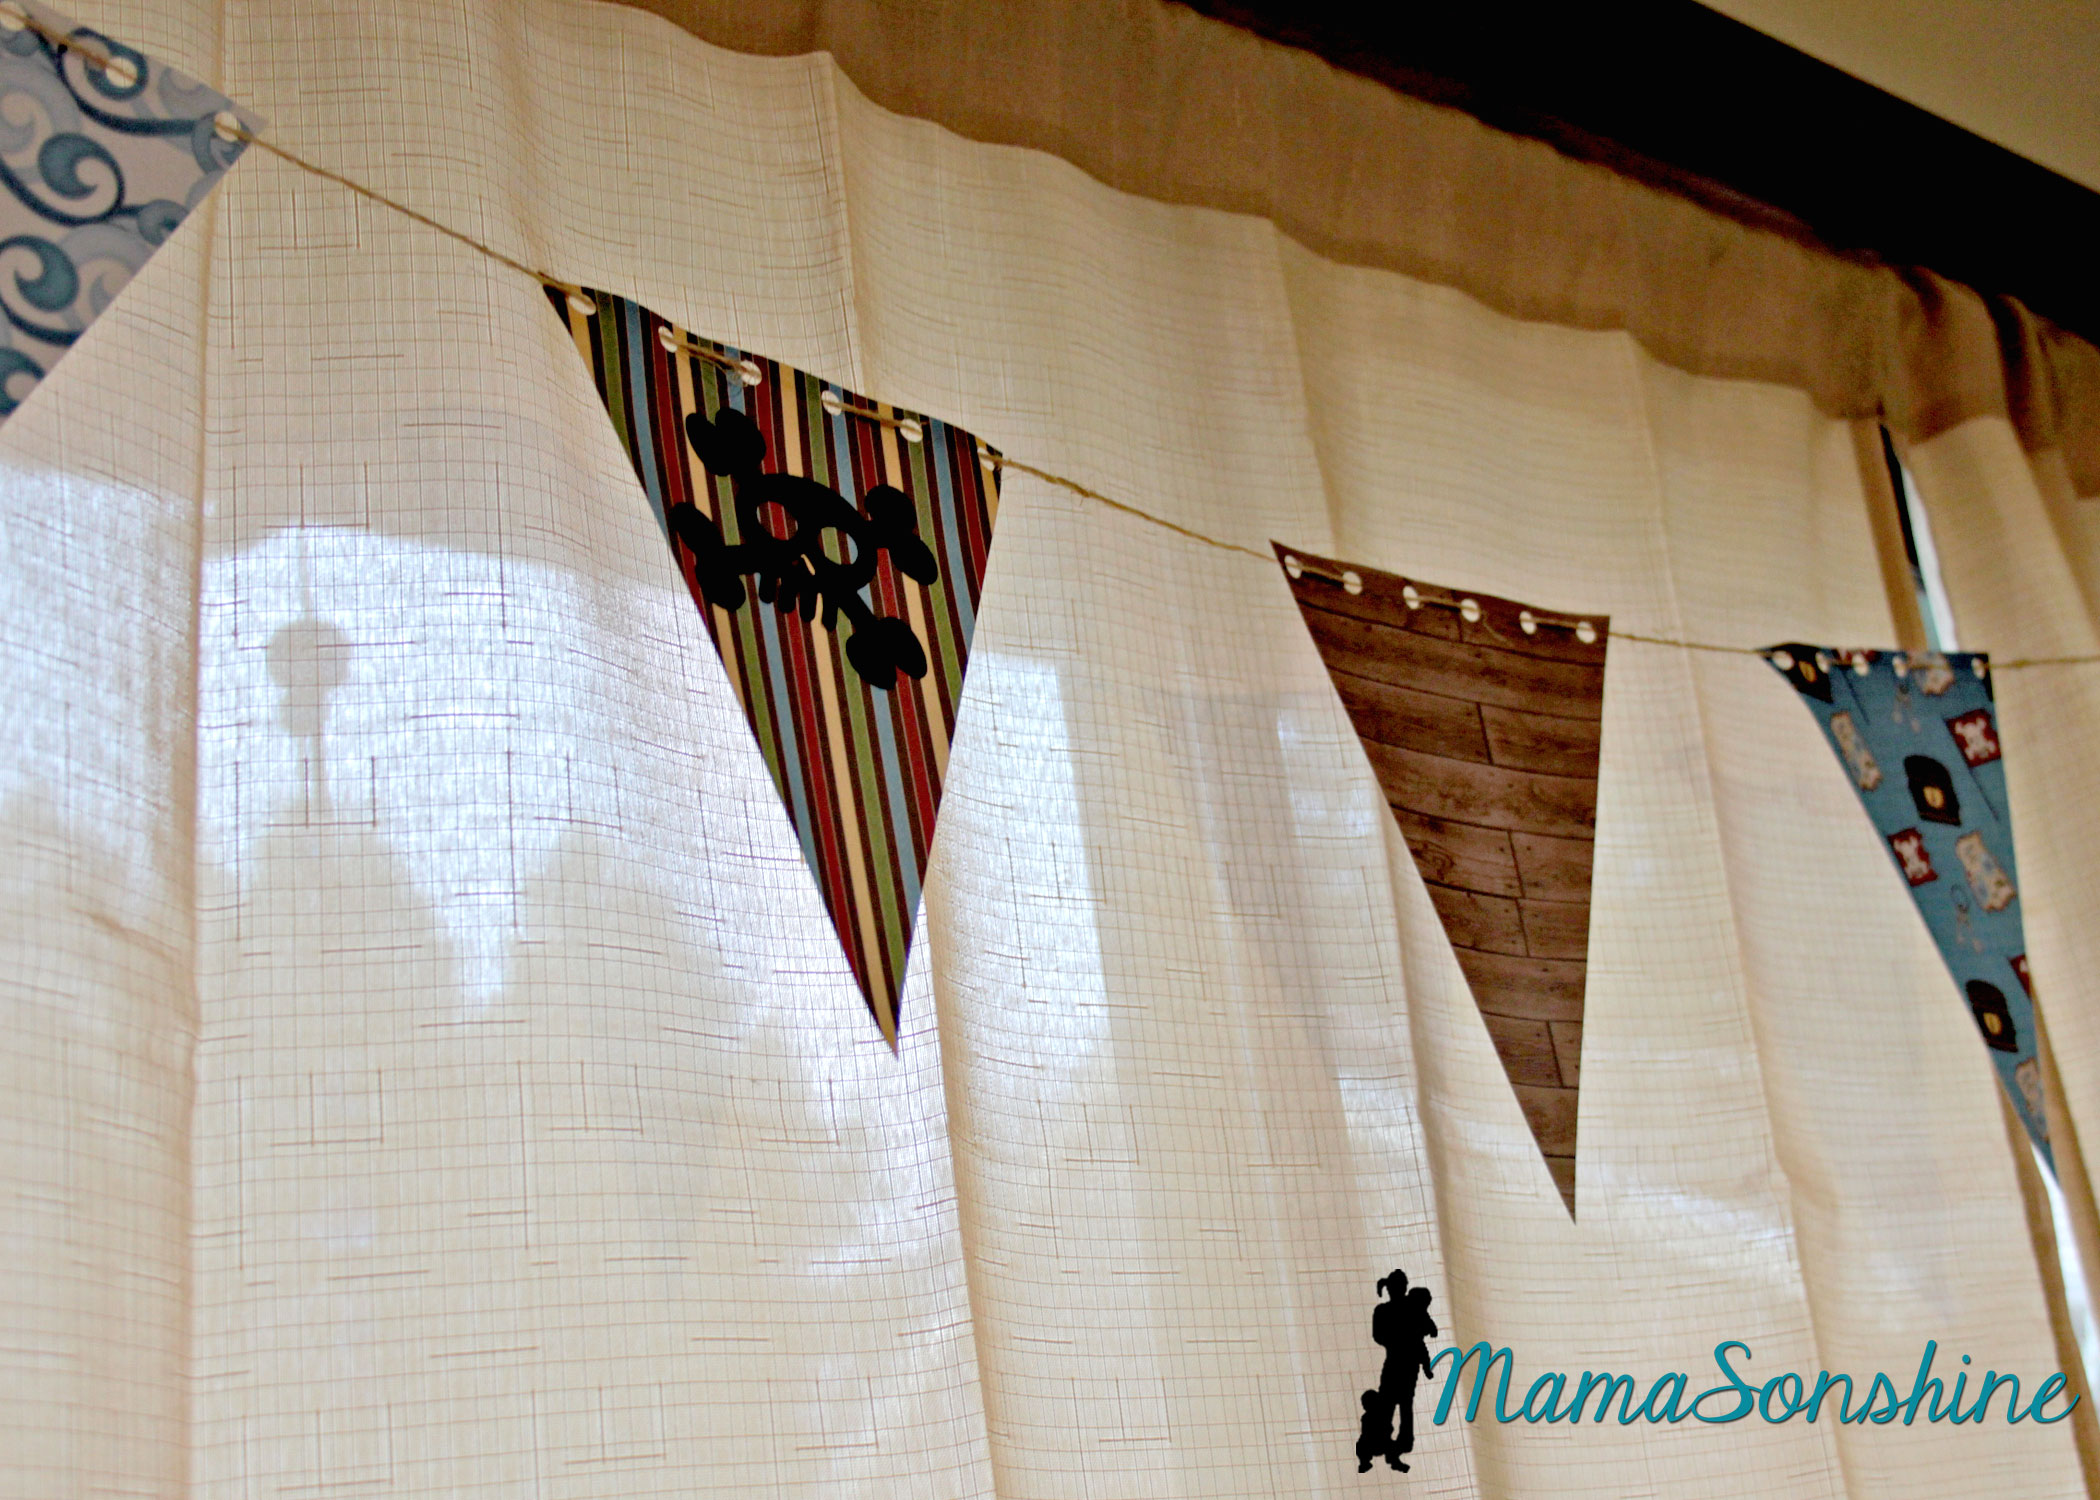
The bunting flags were made with the digital papers and cut with my cameo. I used twine to string them all together.
You can see where I added the negative skull and cross-bones from the party hats.
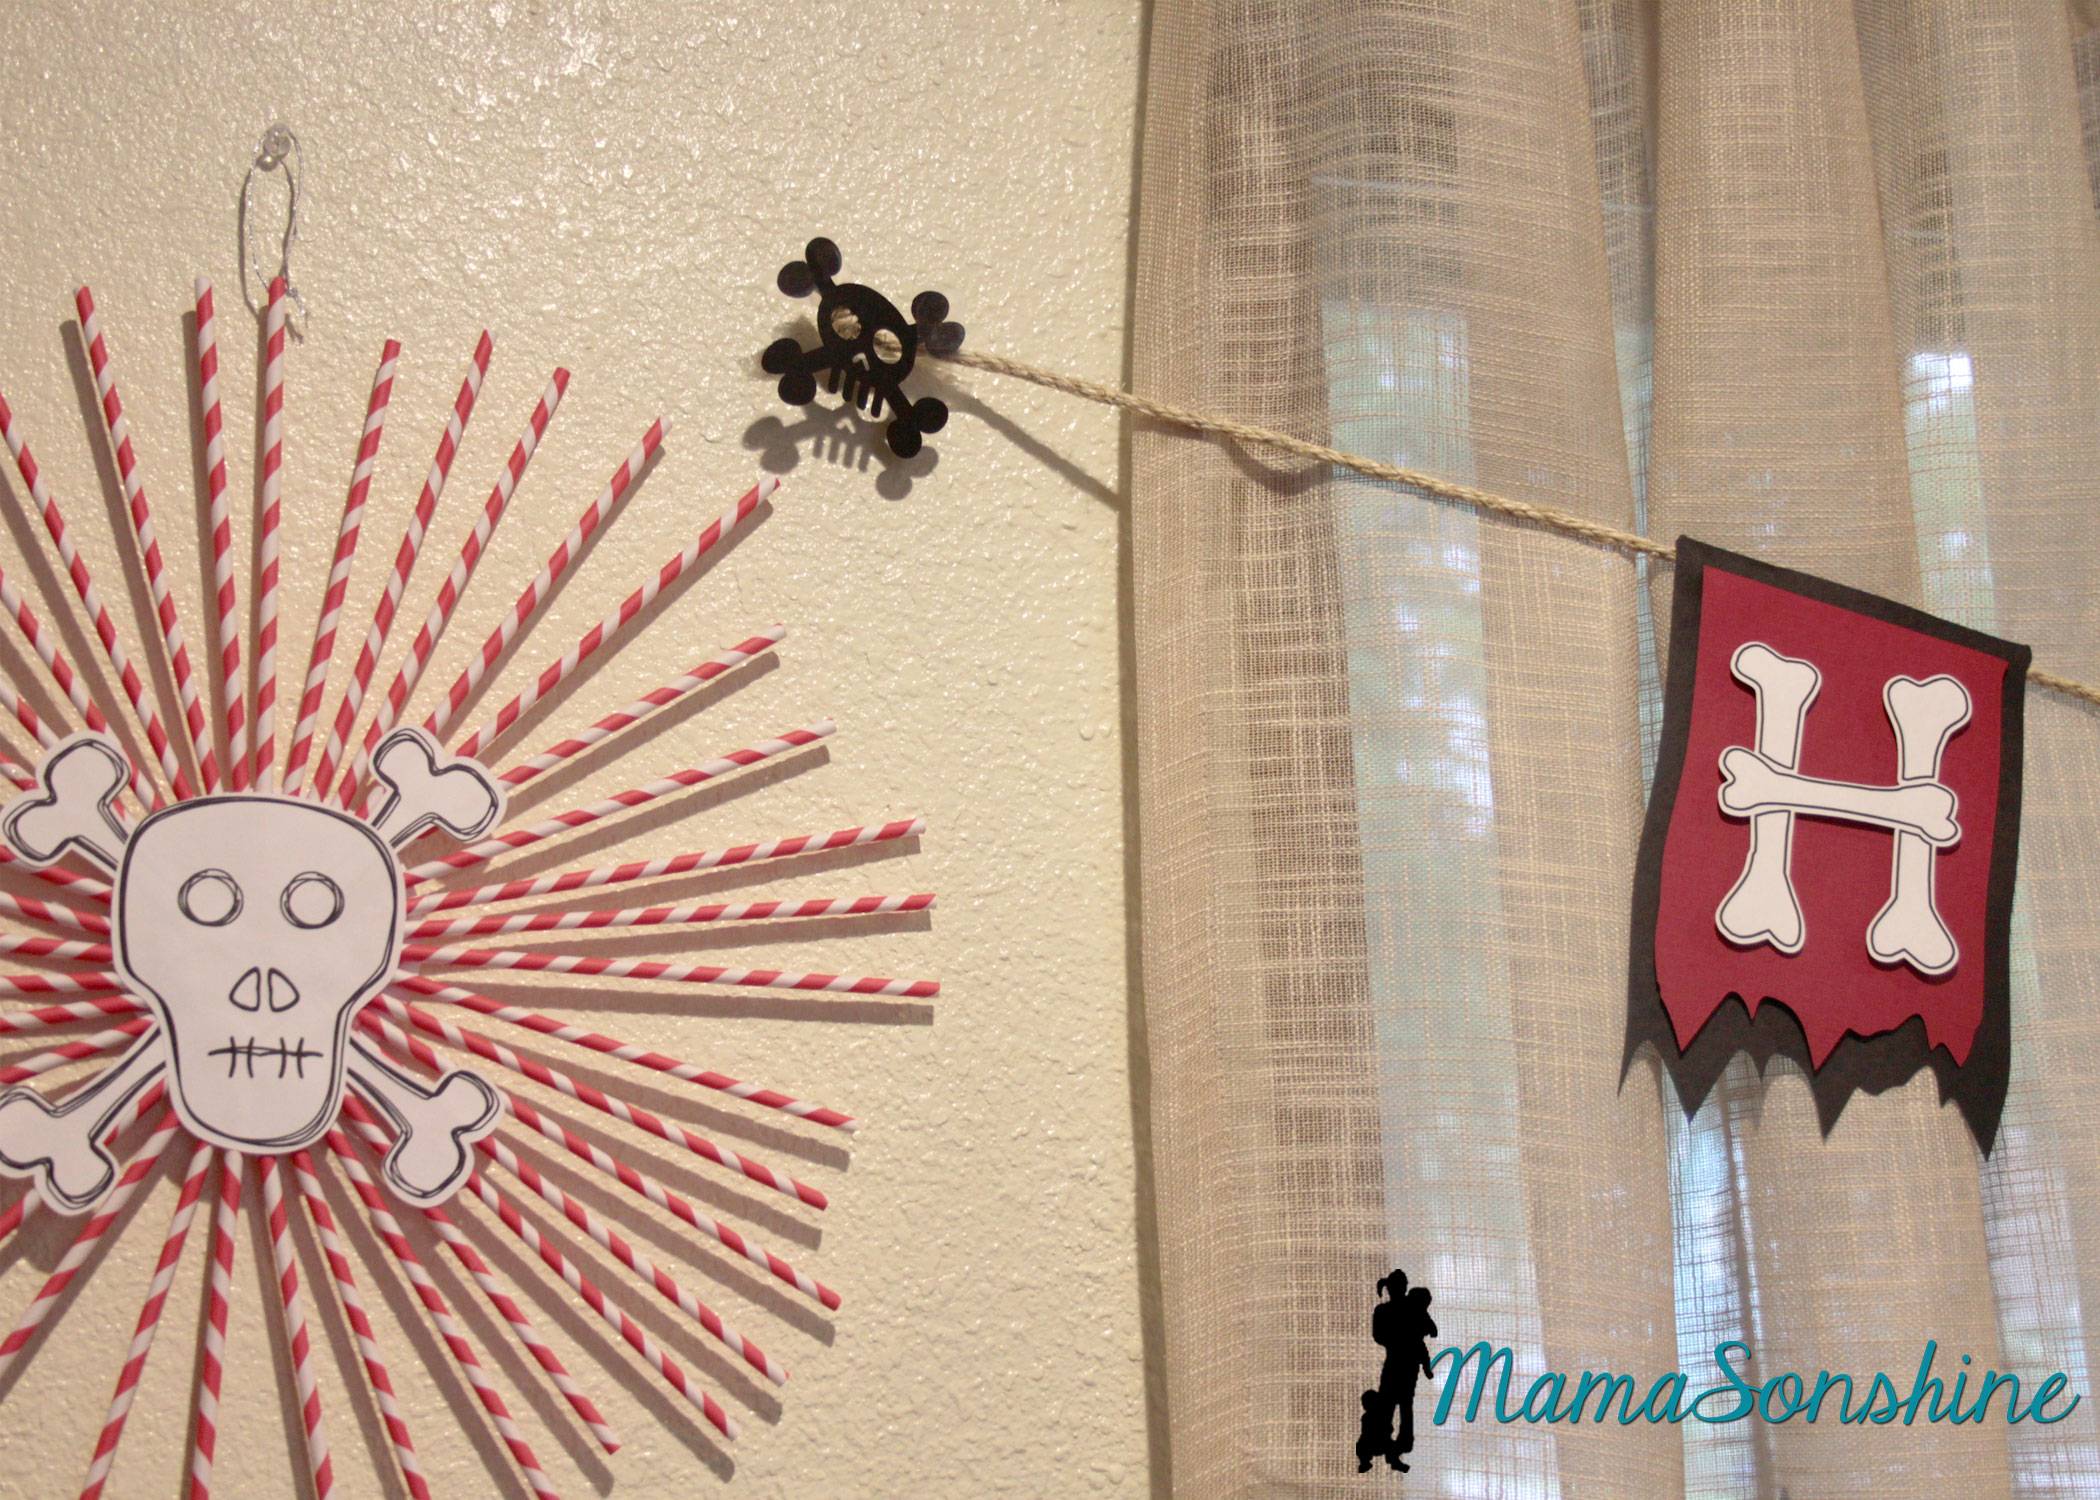
I decided to use the sketch feature in the Studio software to make the skull and cross-bones for these straw rosettes.
This slideshow requires JavaScript.
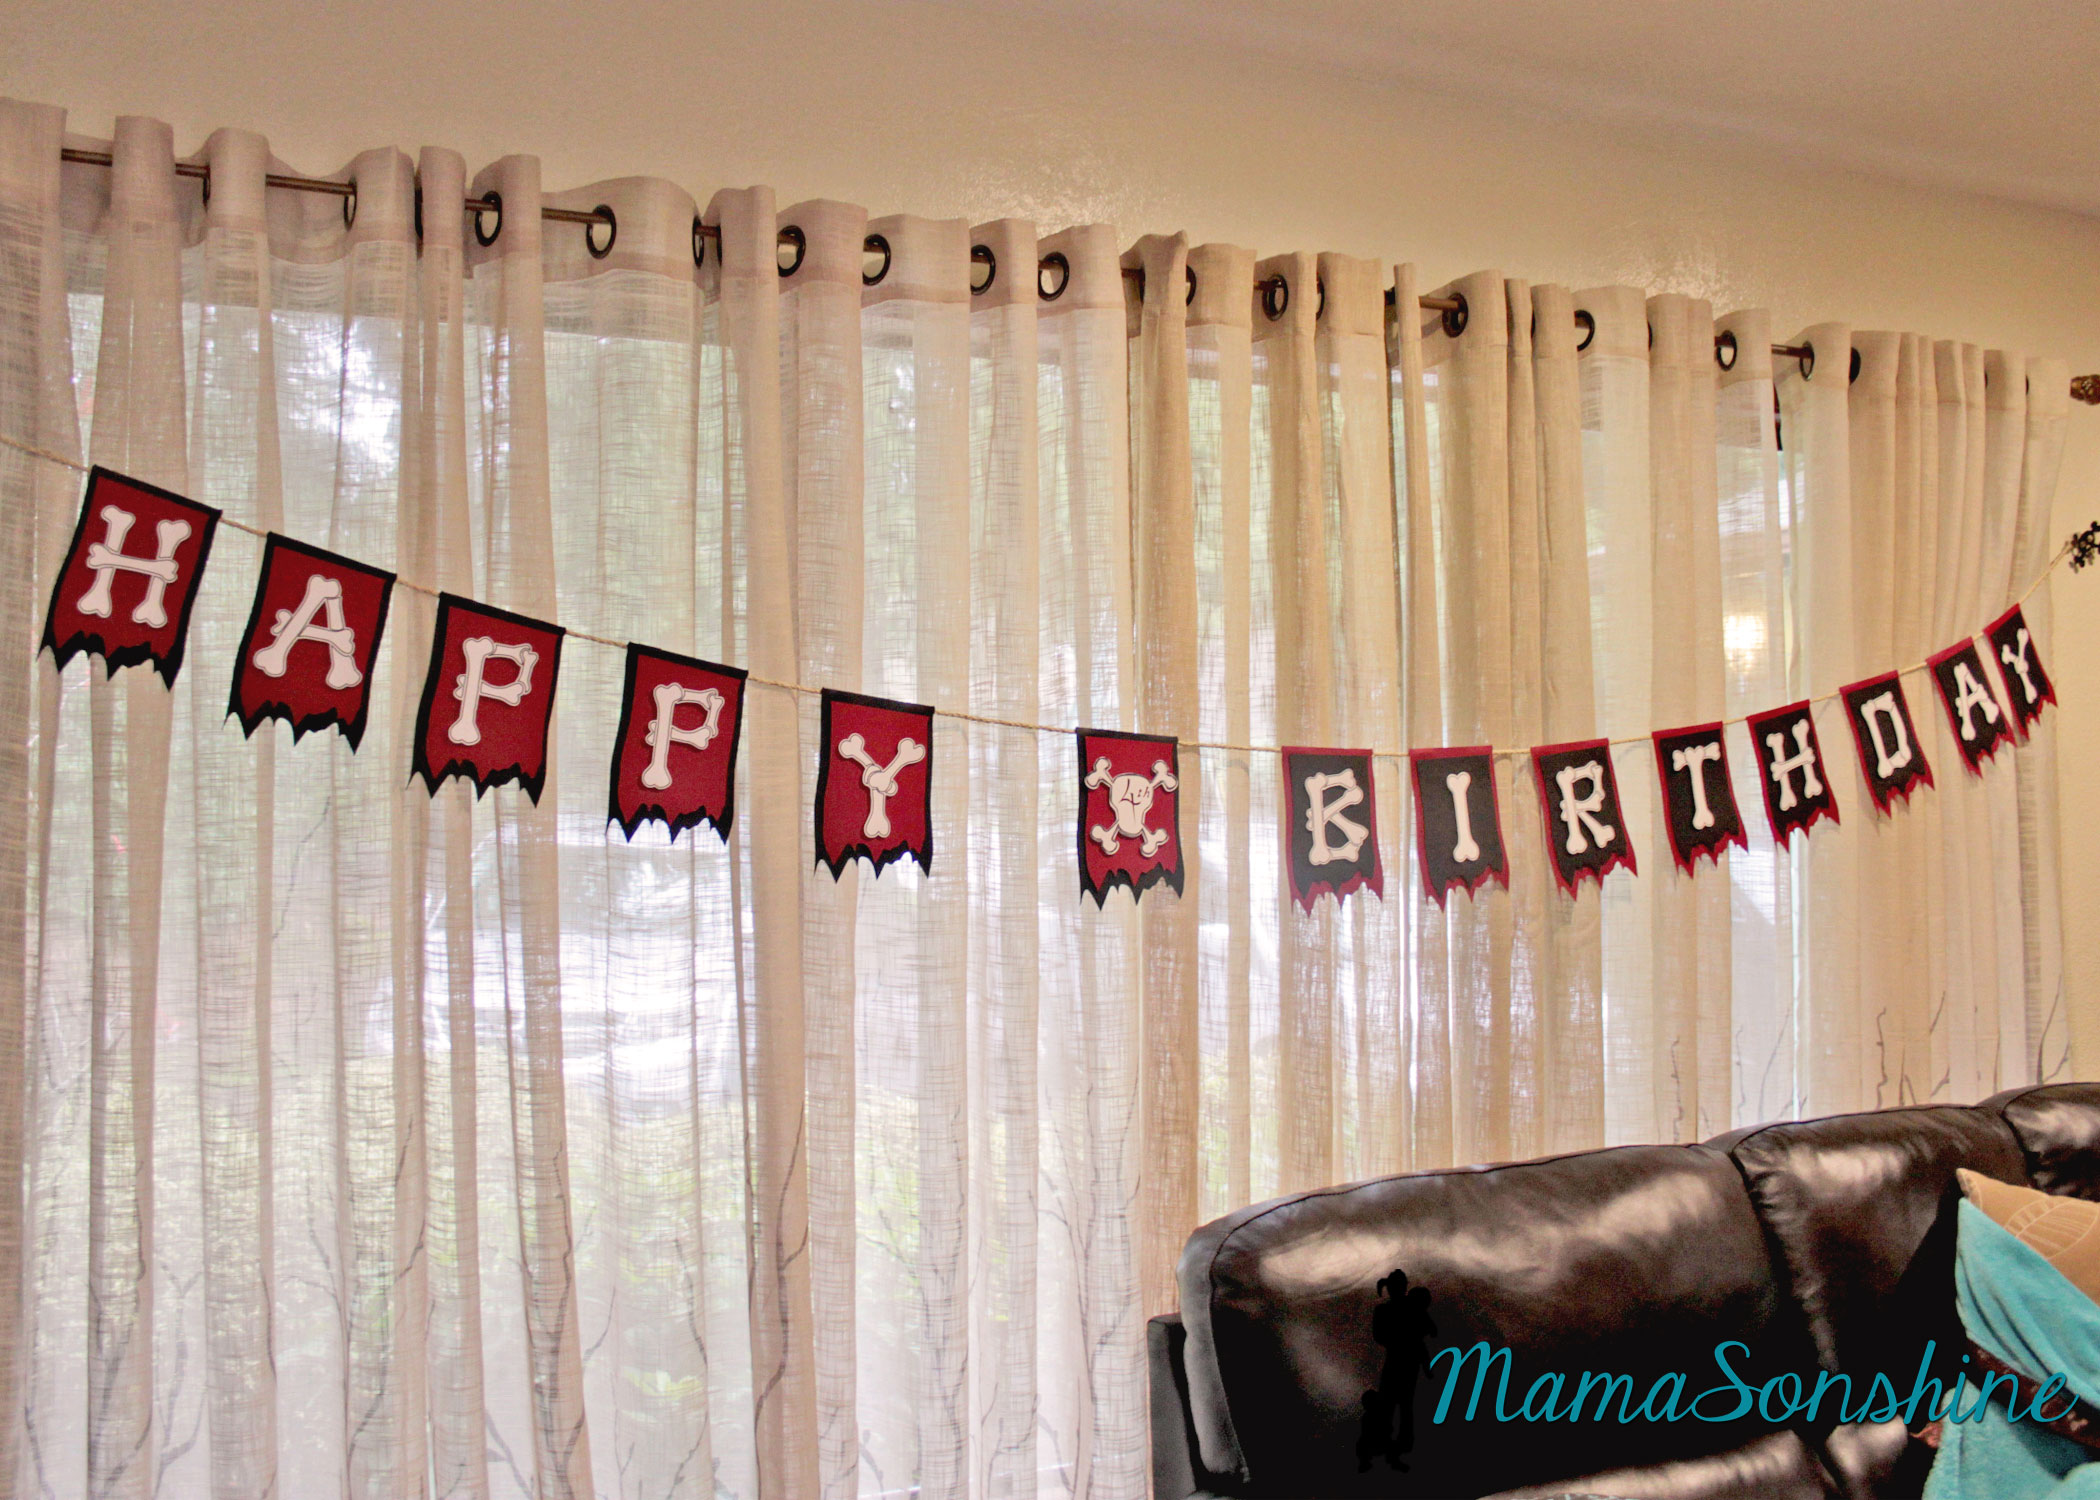
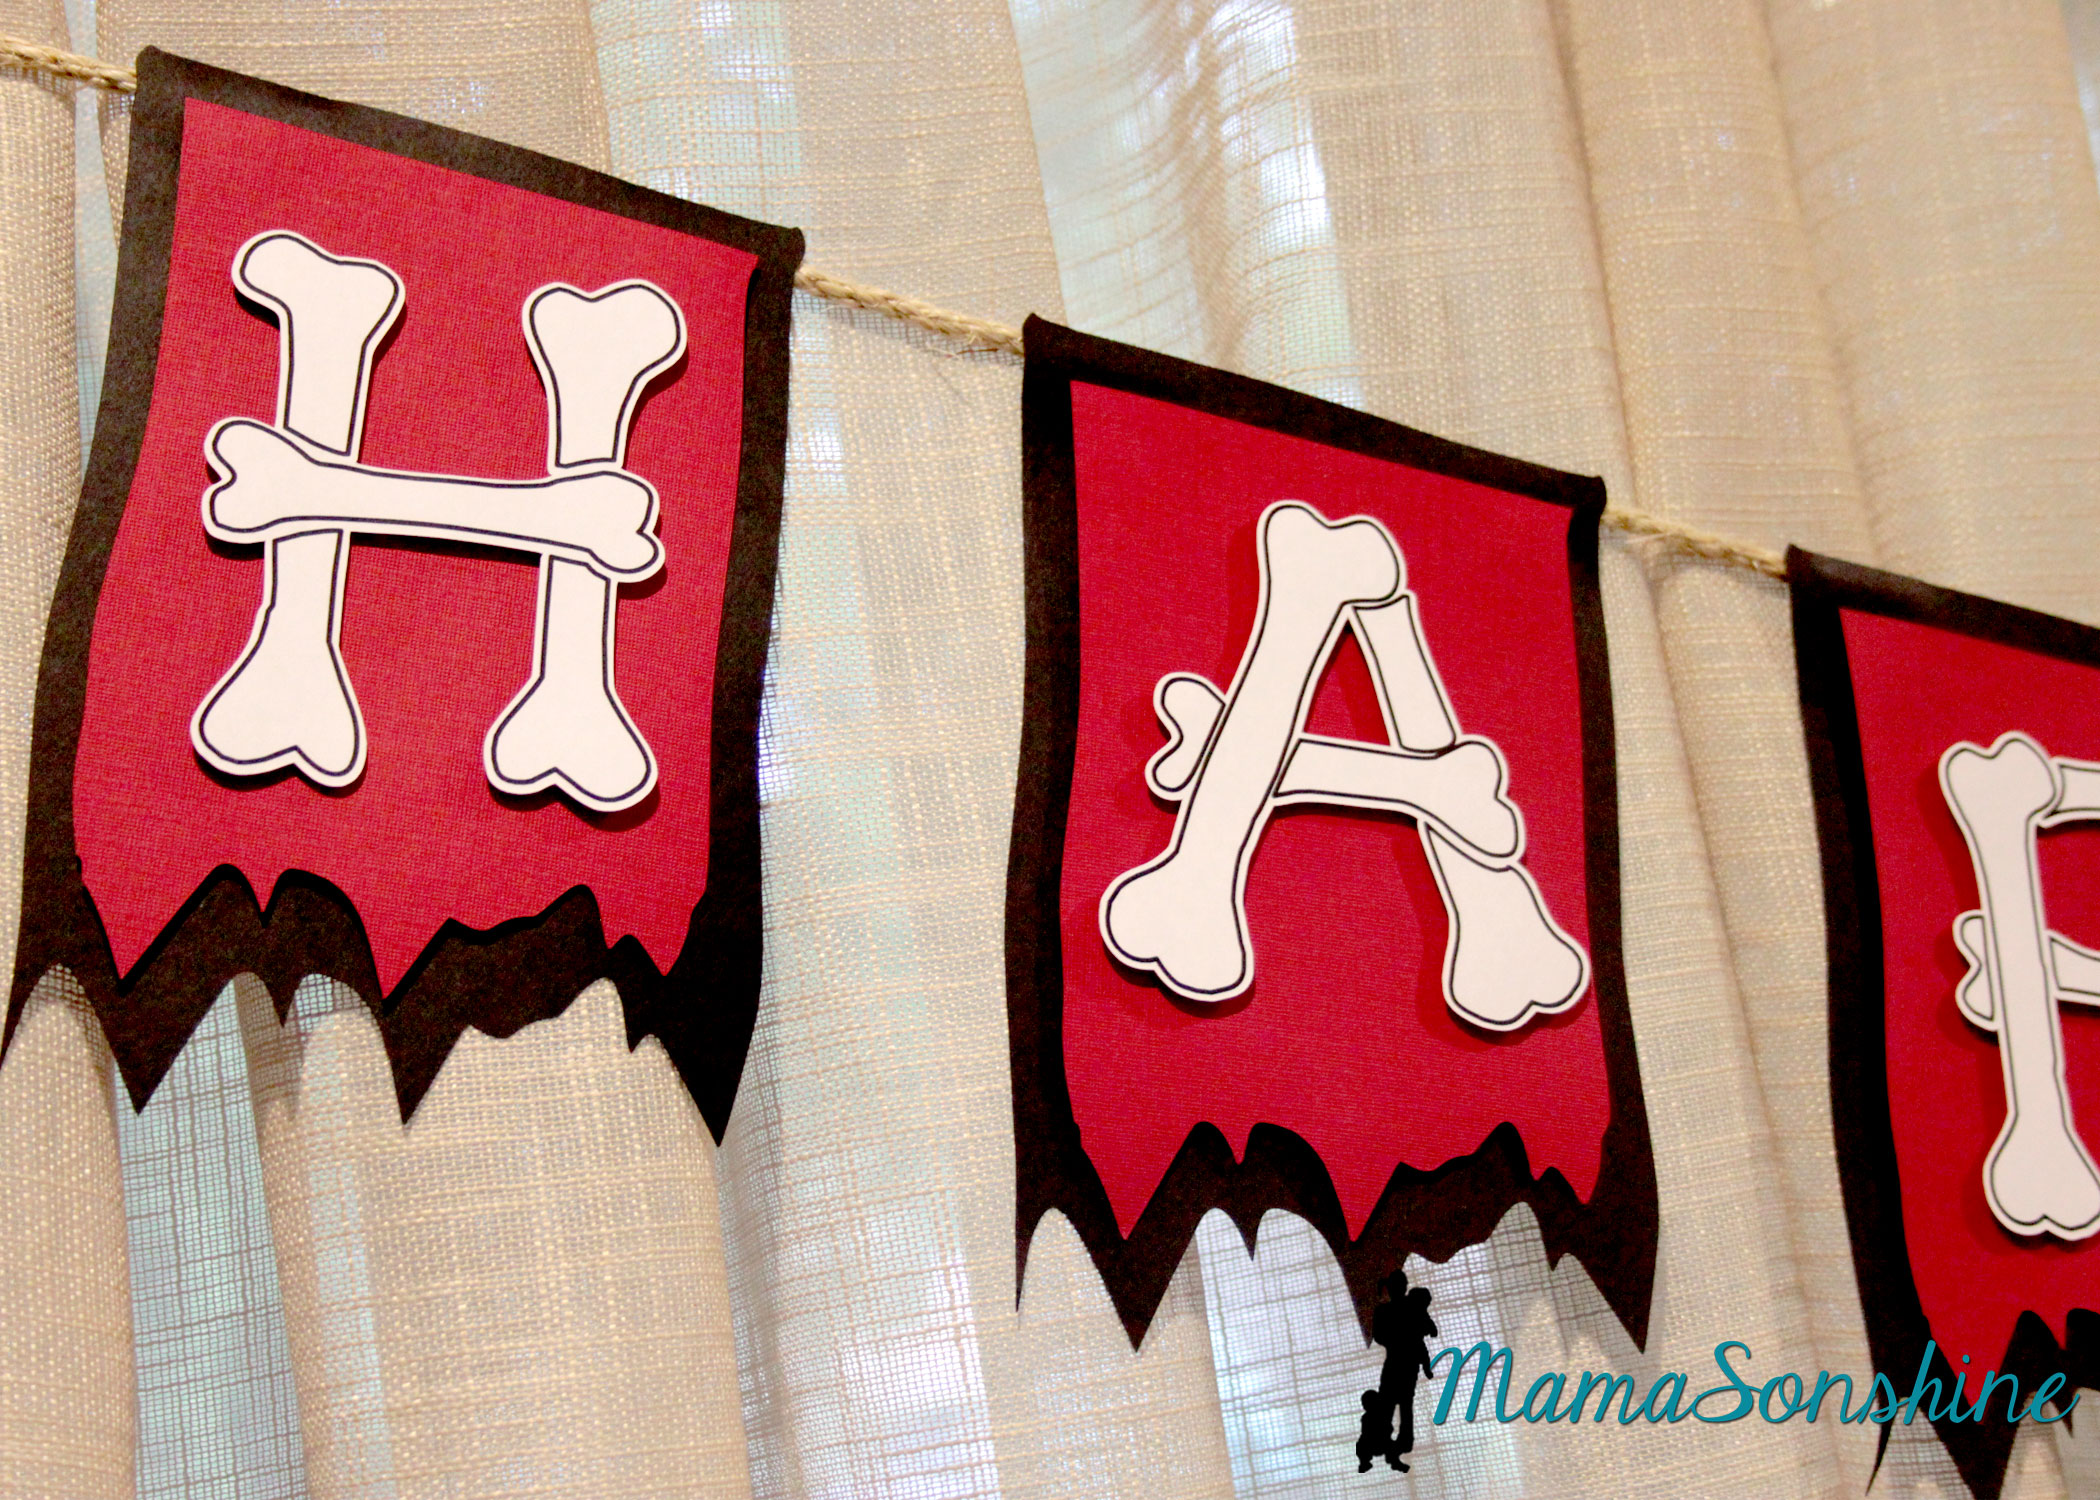
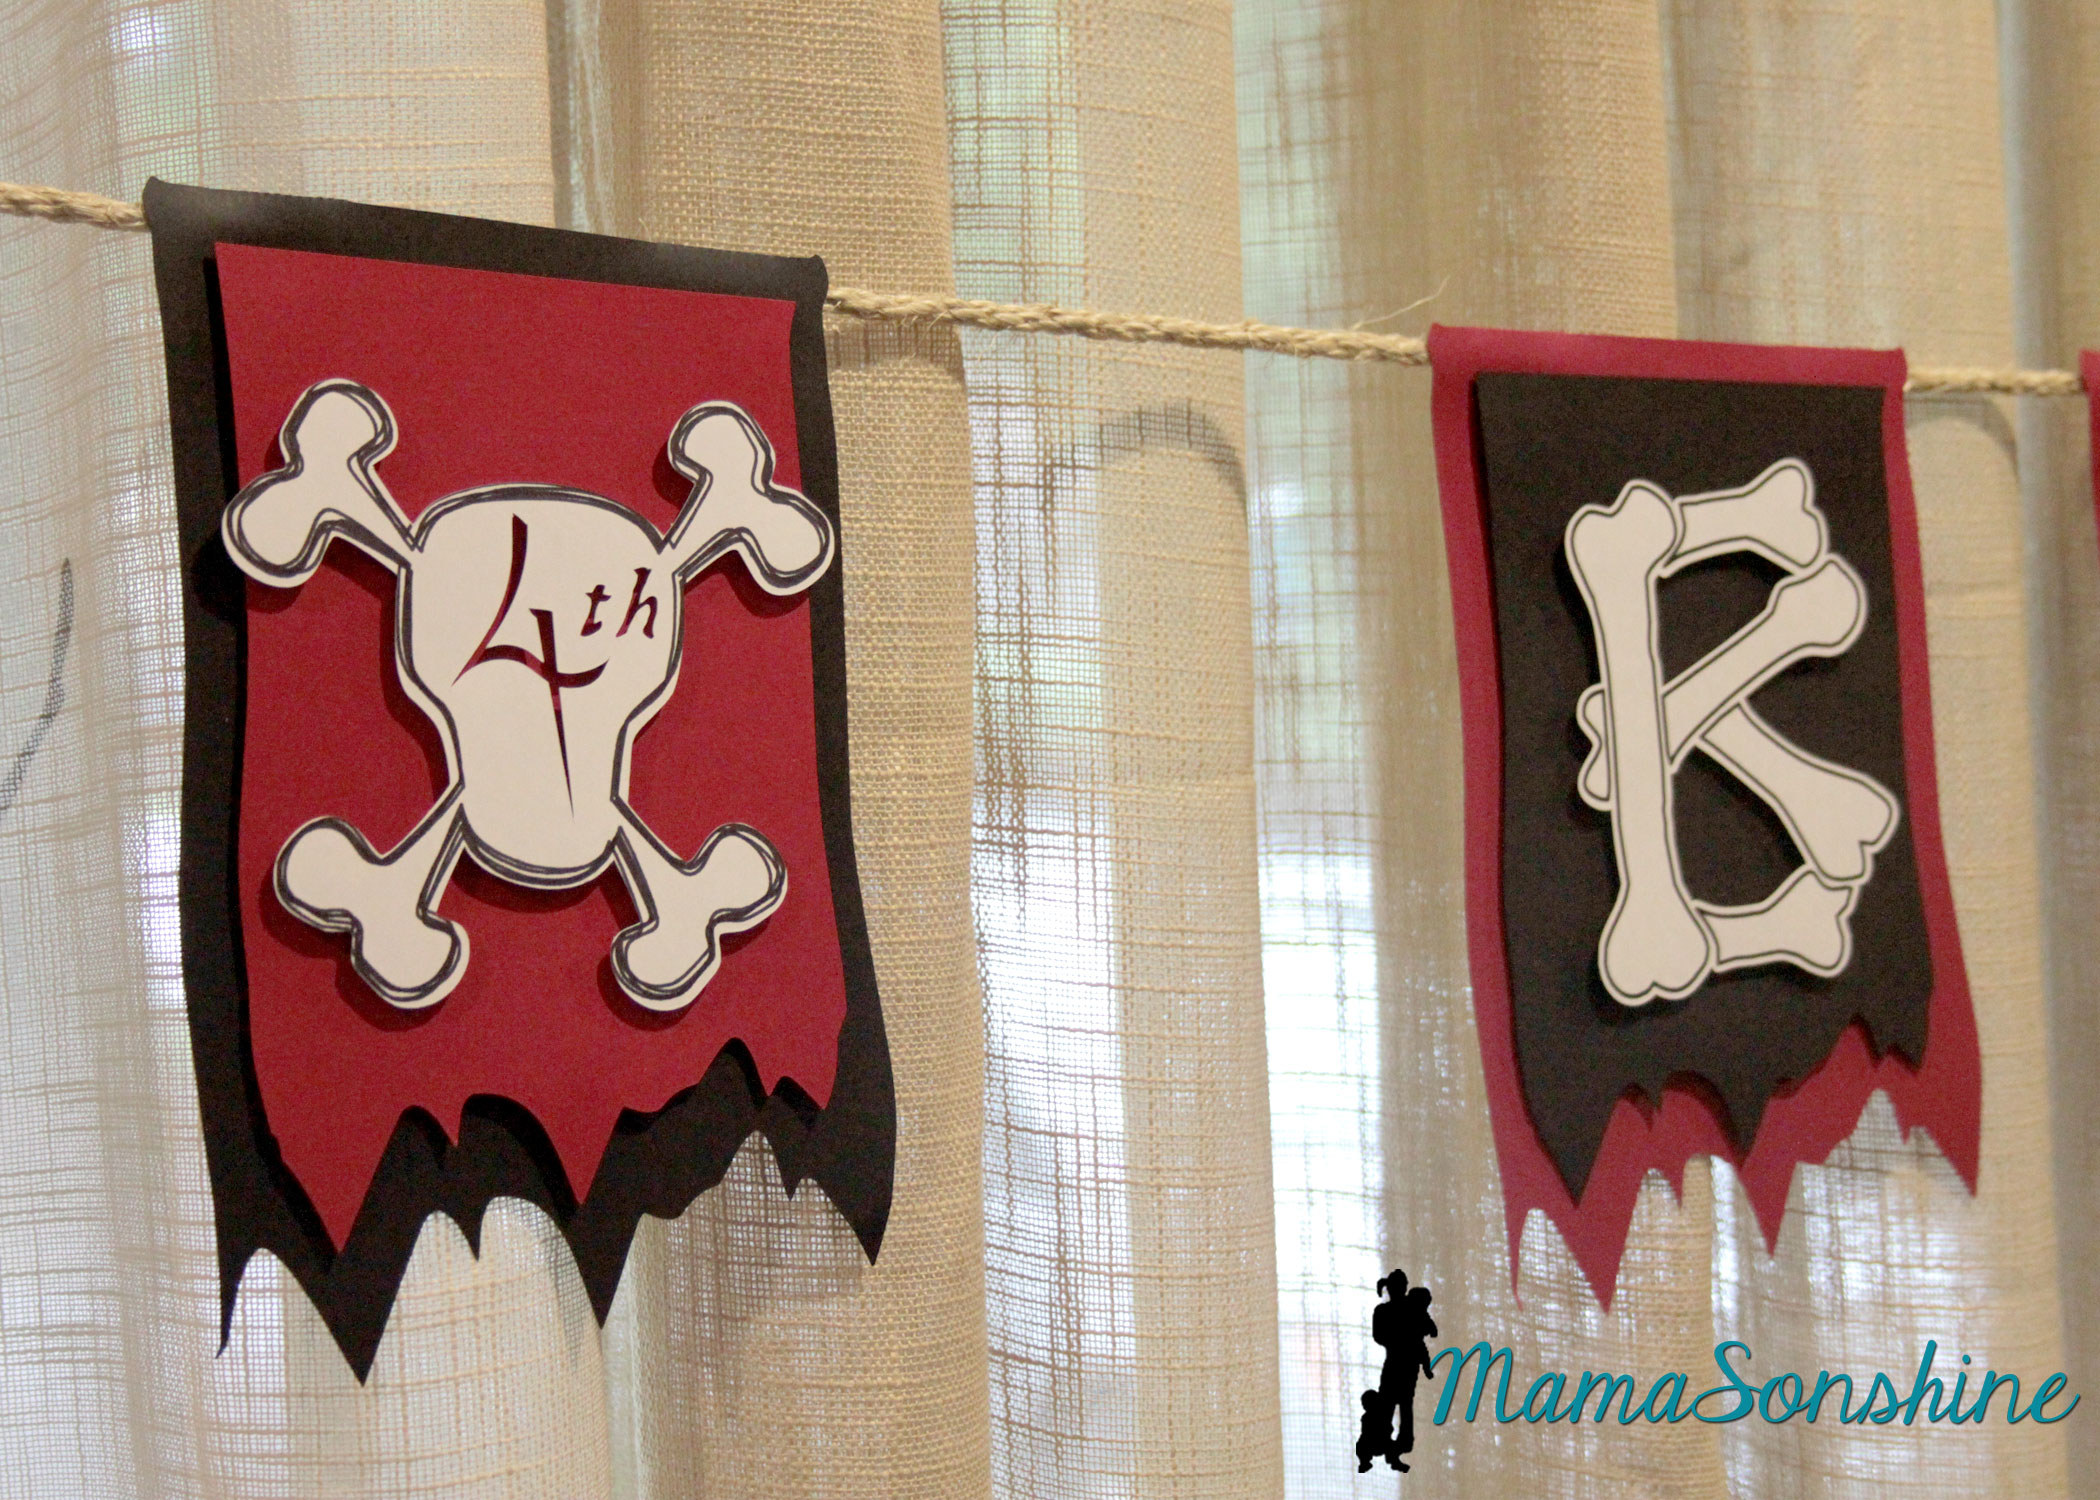
One of my favorite things from this party was the “Happy Birthday” banner.
I really like how the layered flags turned out.
I wanted to use this bone font but each piece of bone on one letter is a cut line, so I used the offset tool to cut all around the letter. I could have used a sketch pen, but I just printed them.
I used the custom design tool and the sketch feature to make the skull and cross-bones for the number part of the banner. Instead of writing the number, I cut it out, so you can see the background color. I used sisal rope to hang the banner across the window.
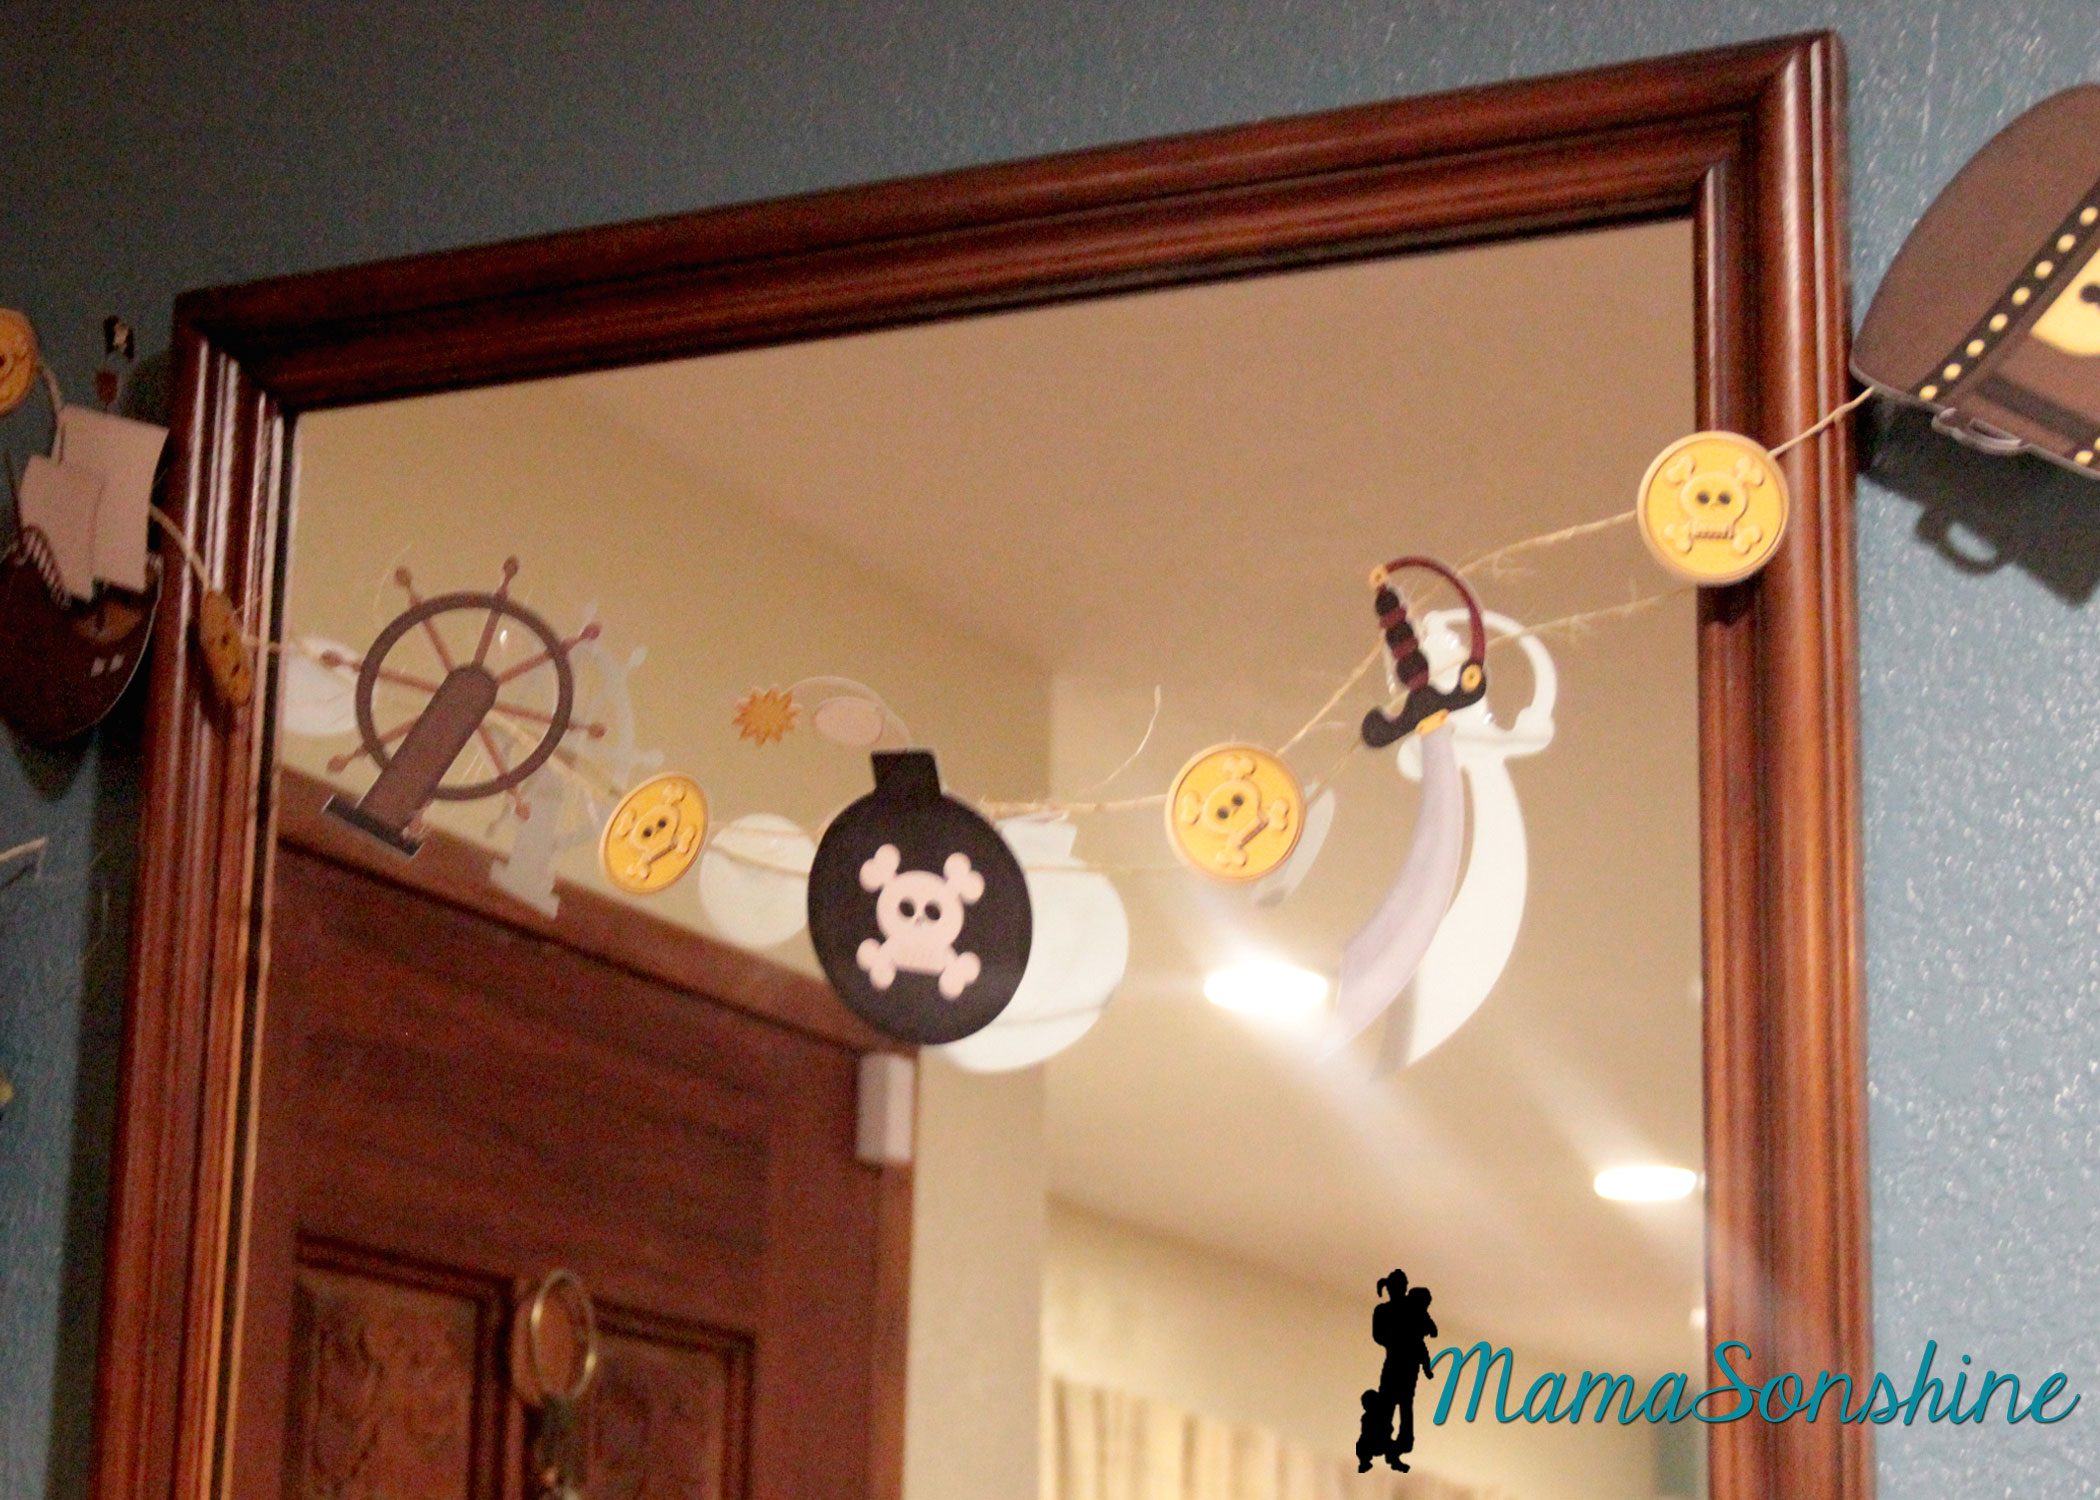
I also used the print and cut feature on the elements from the kit to make other banners.
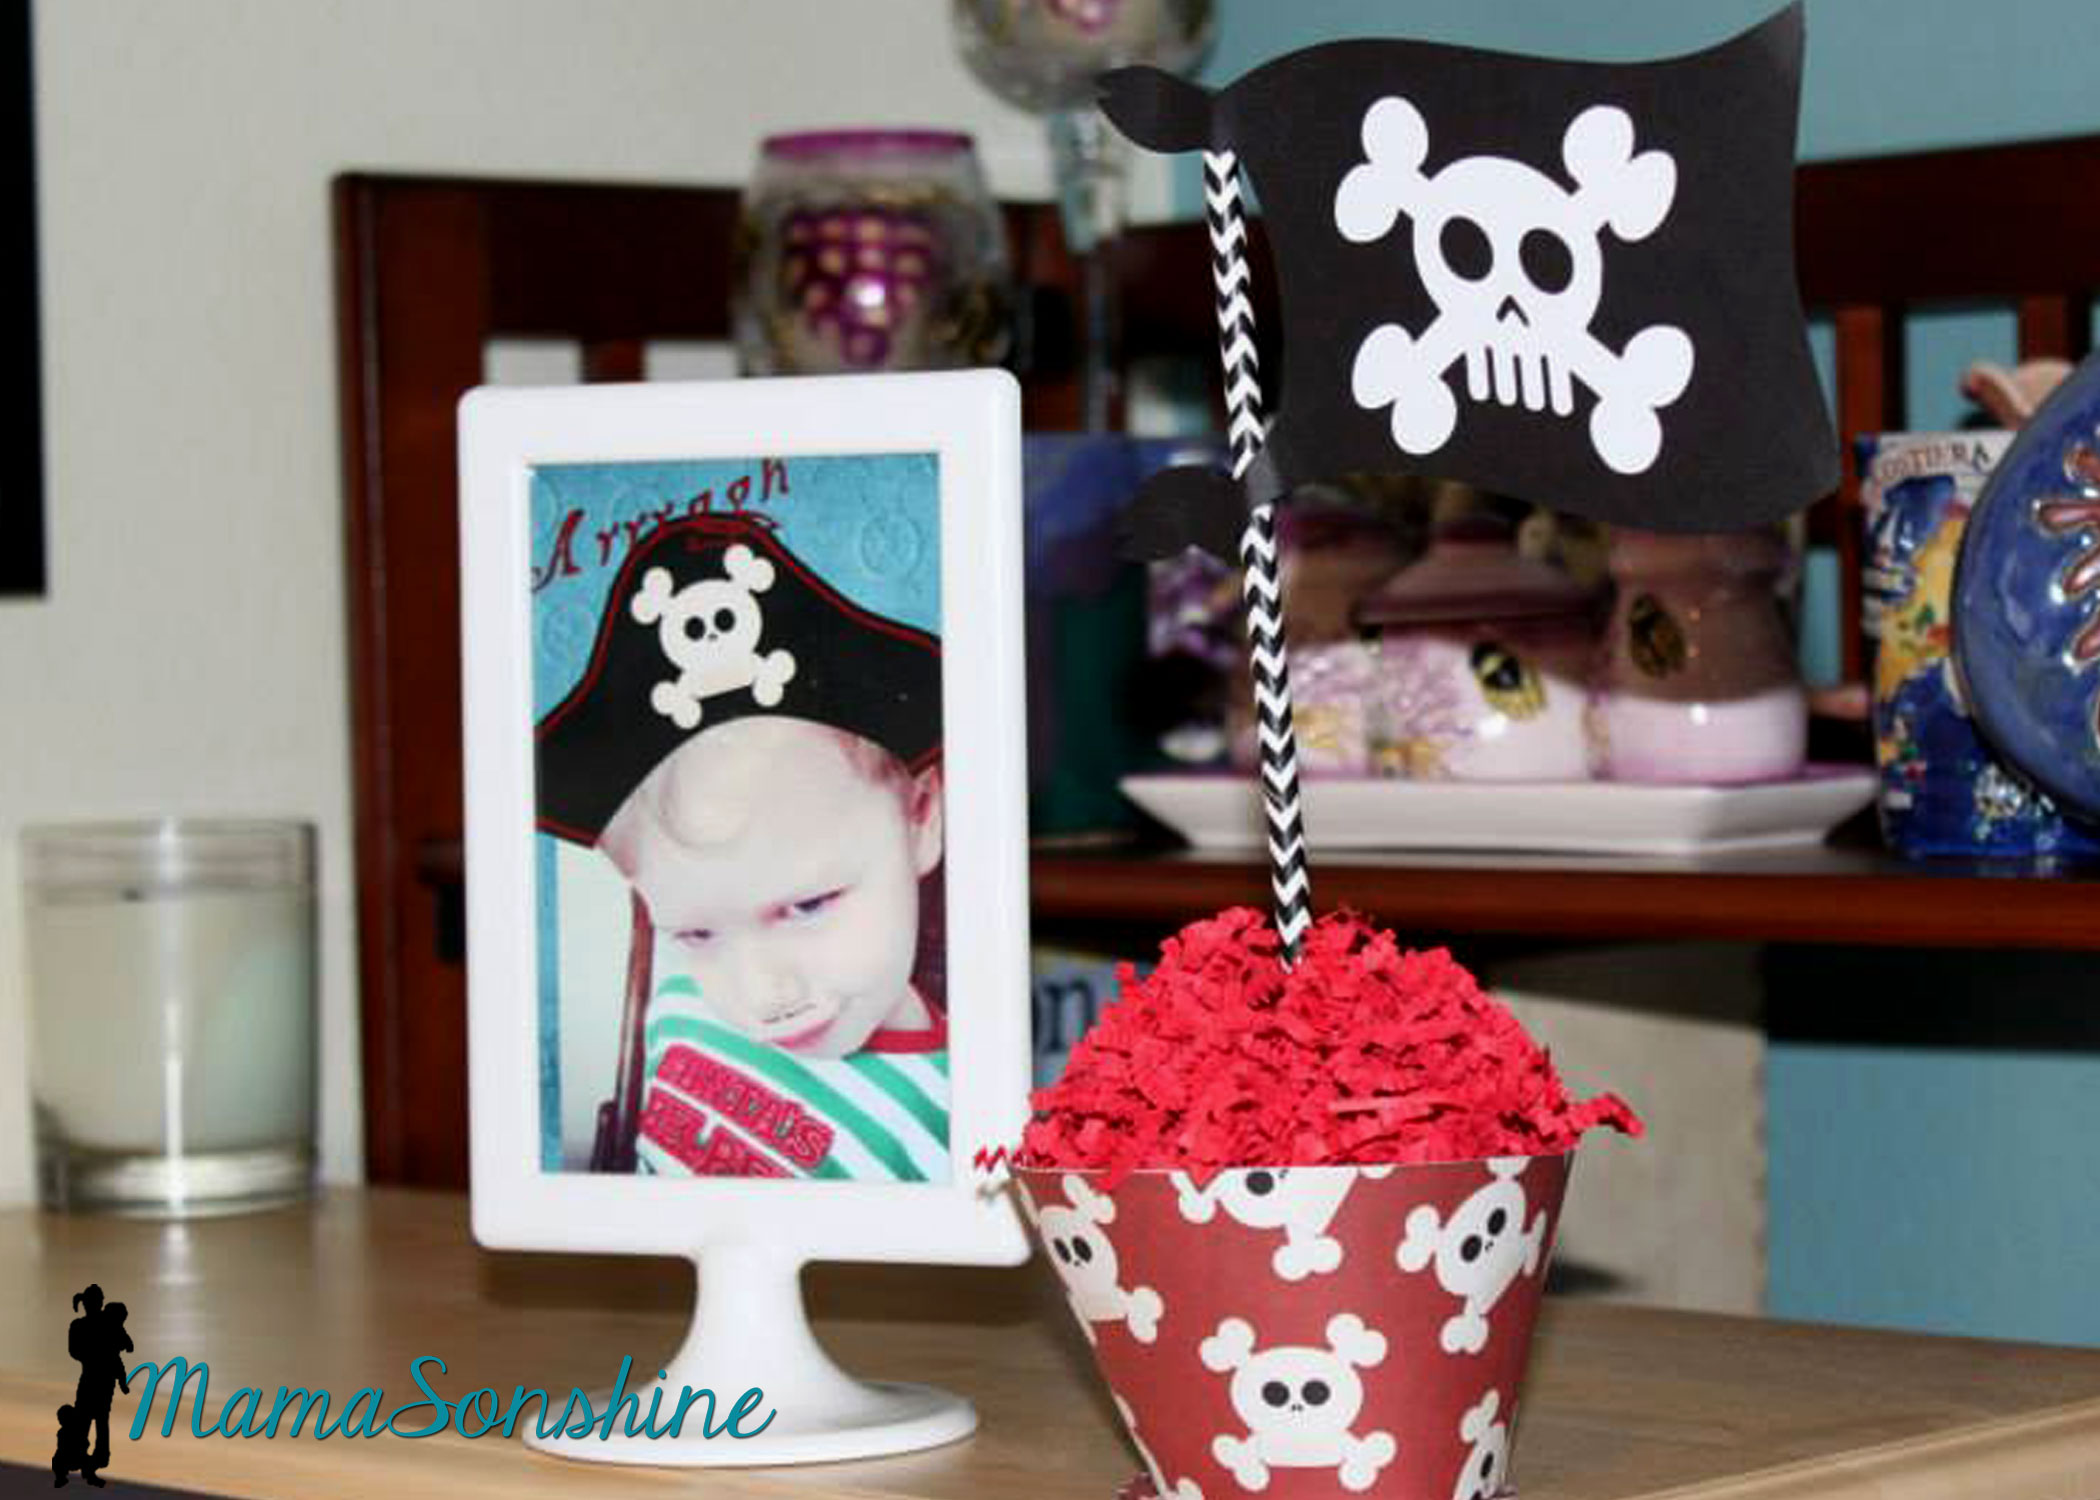
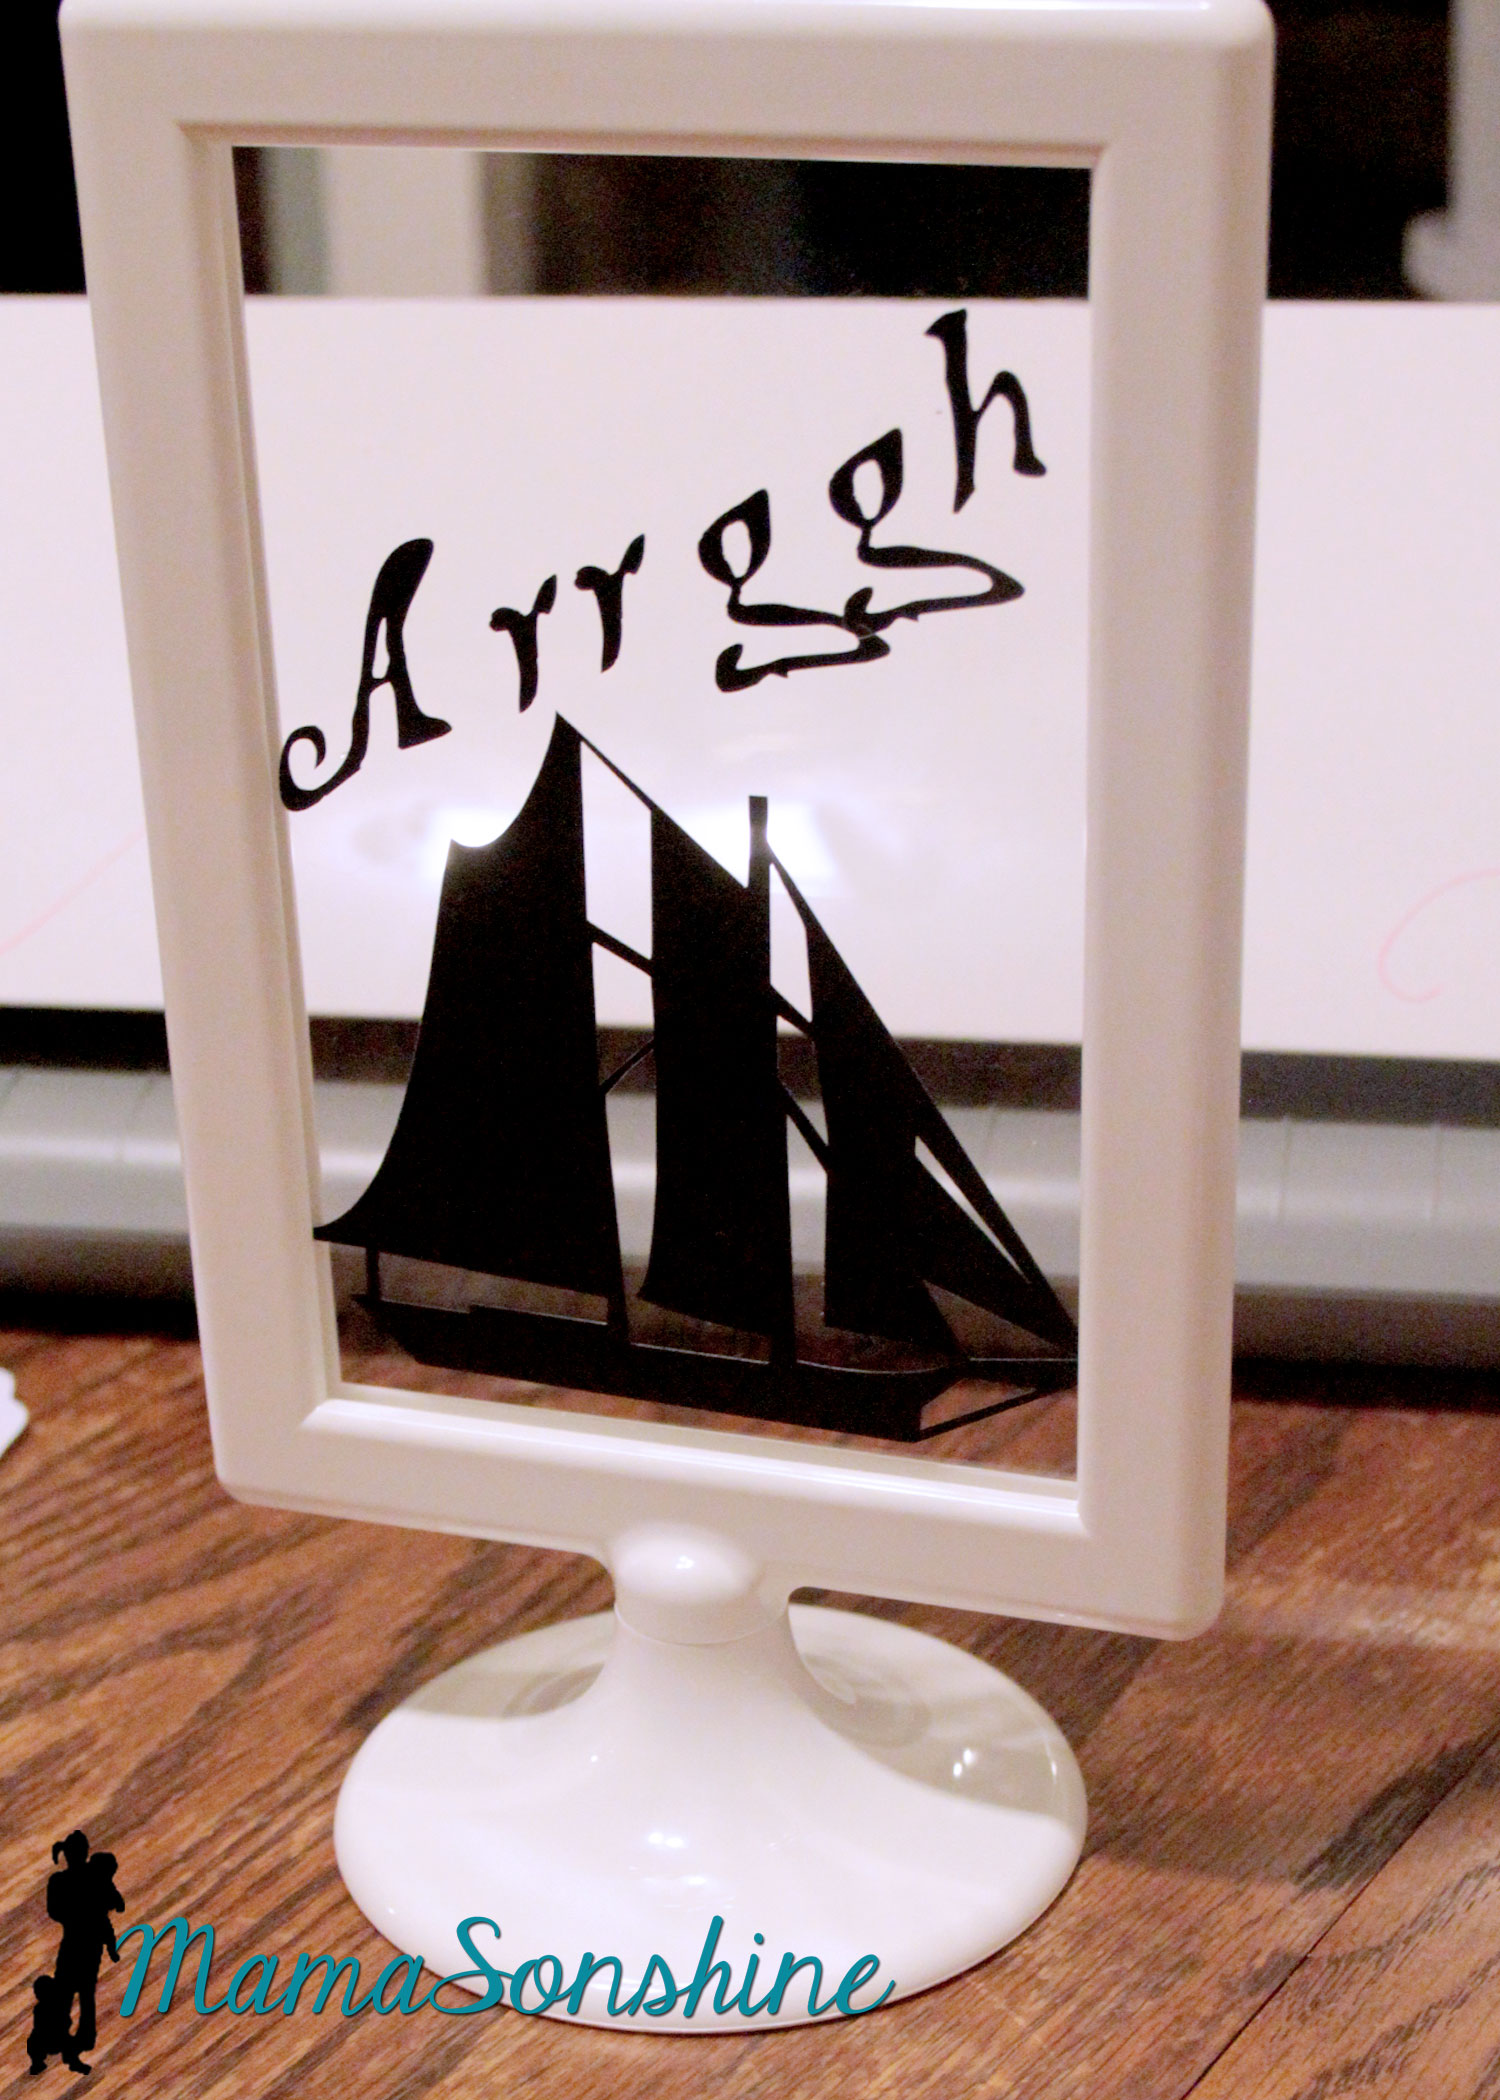
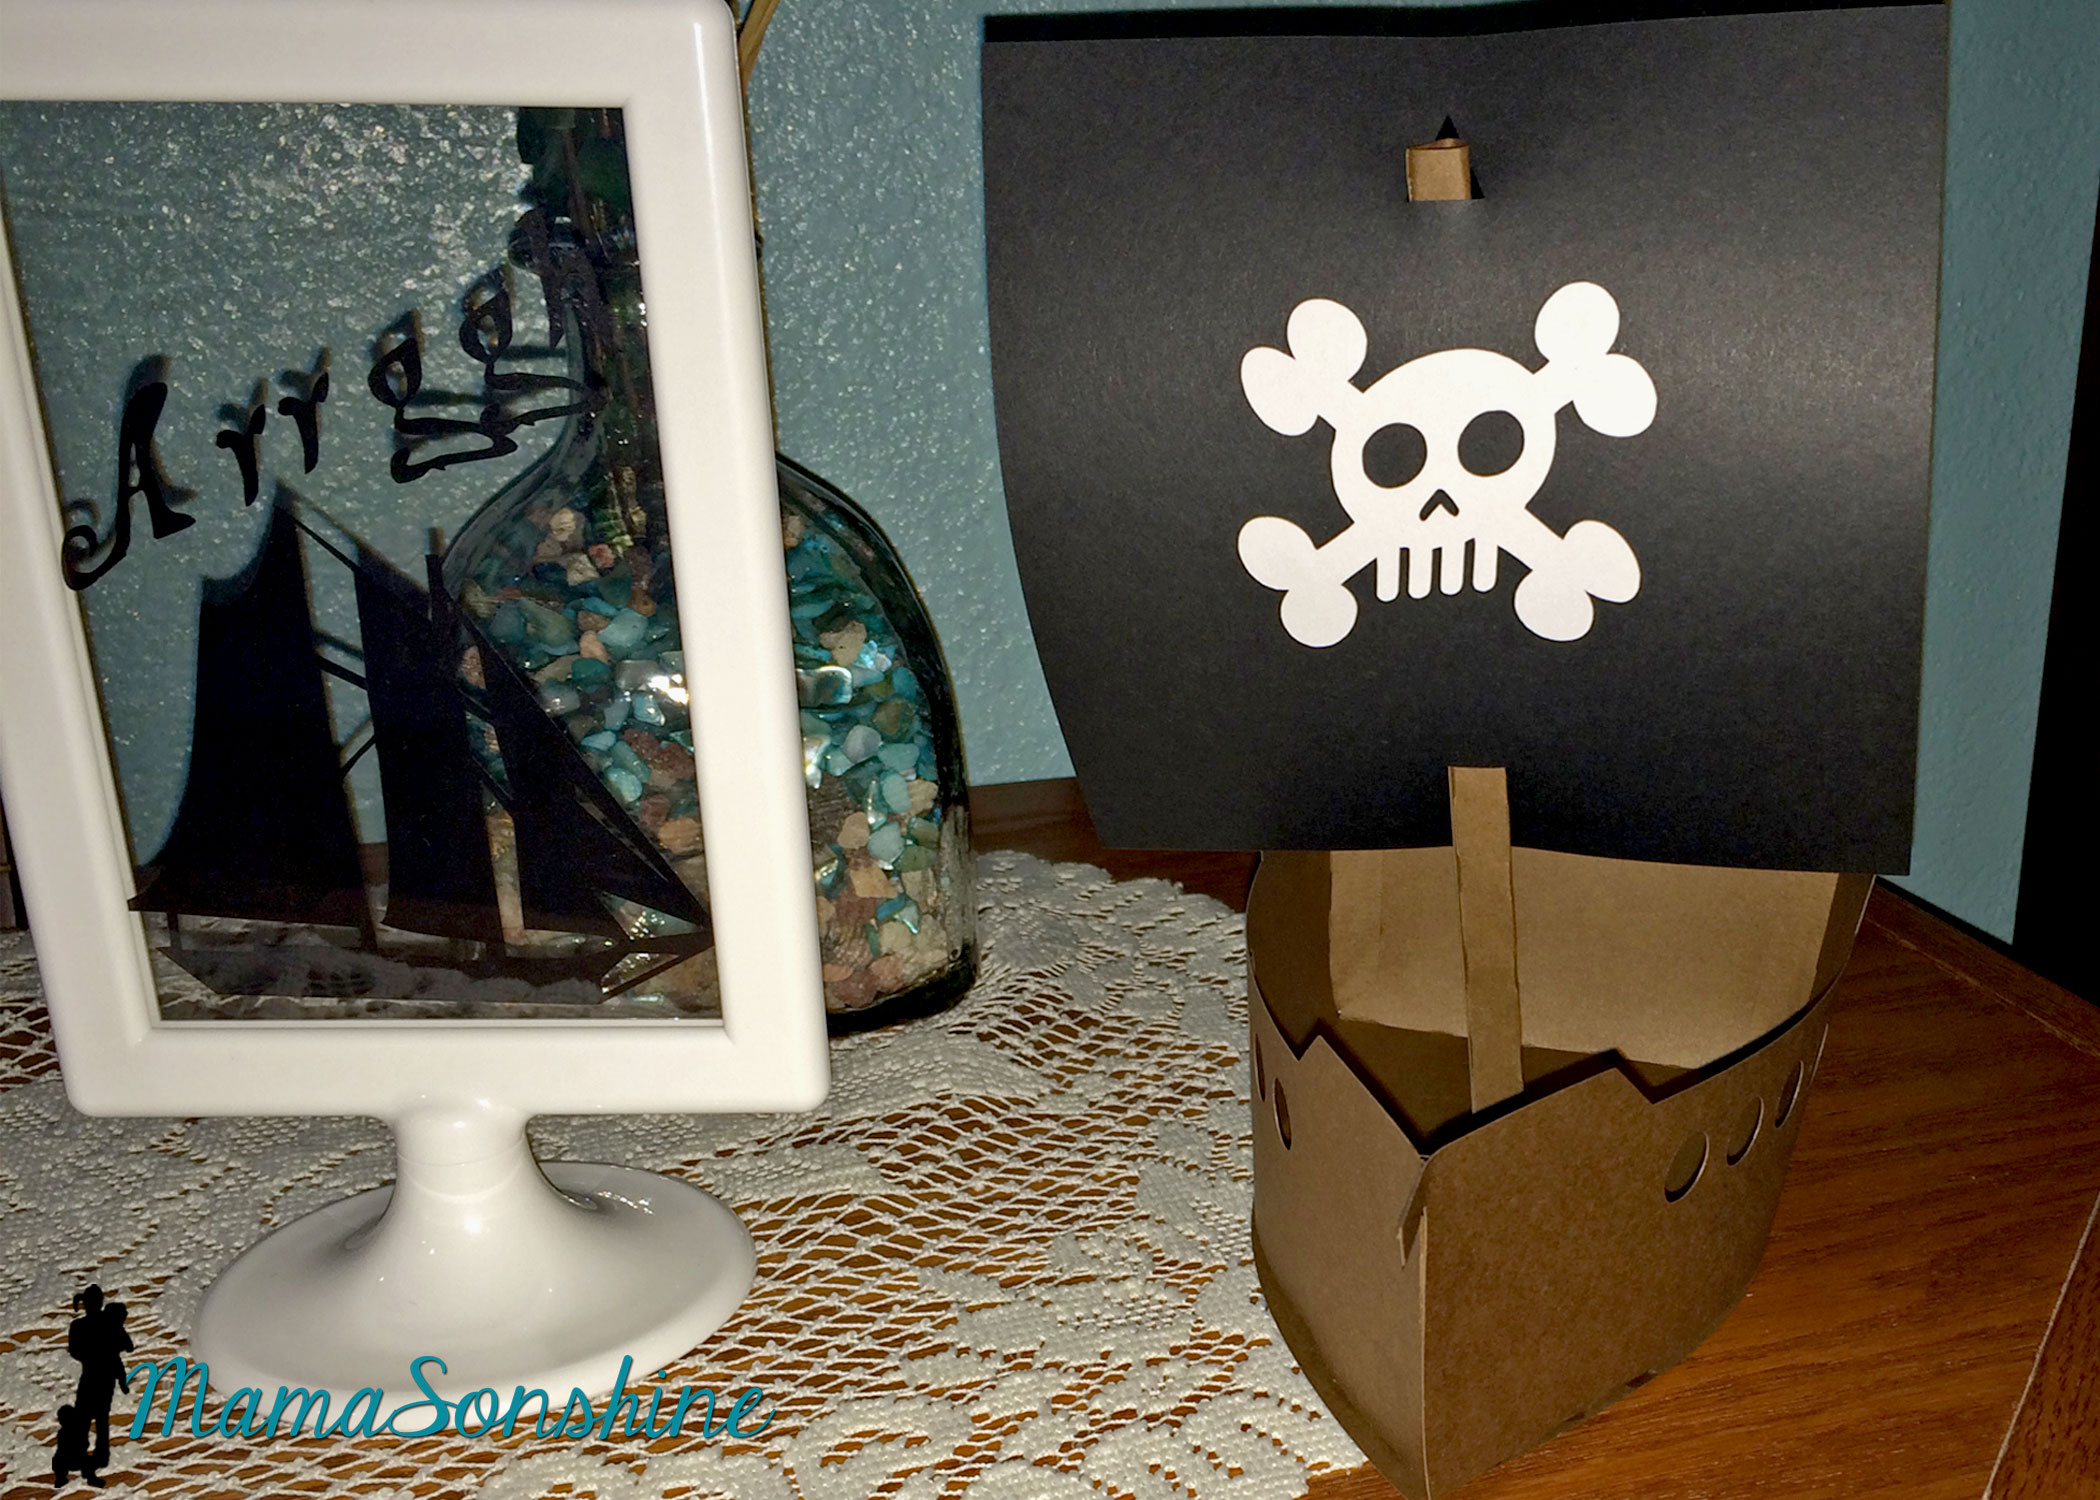
I cut out some pirate items as silhouettes and put them in these Tolsby frames from Ikea.
These are my new favorite party items, and they are really inexpensive and simple to adapt to any party.
I used black vinyl to keep the silhouette look.
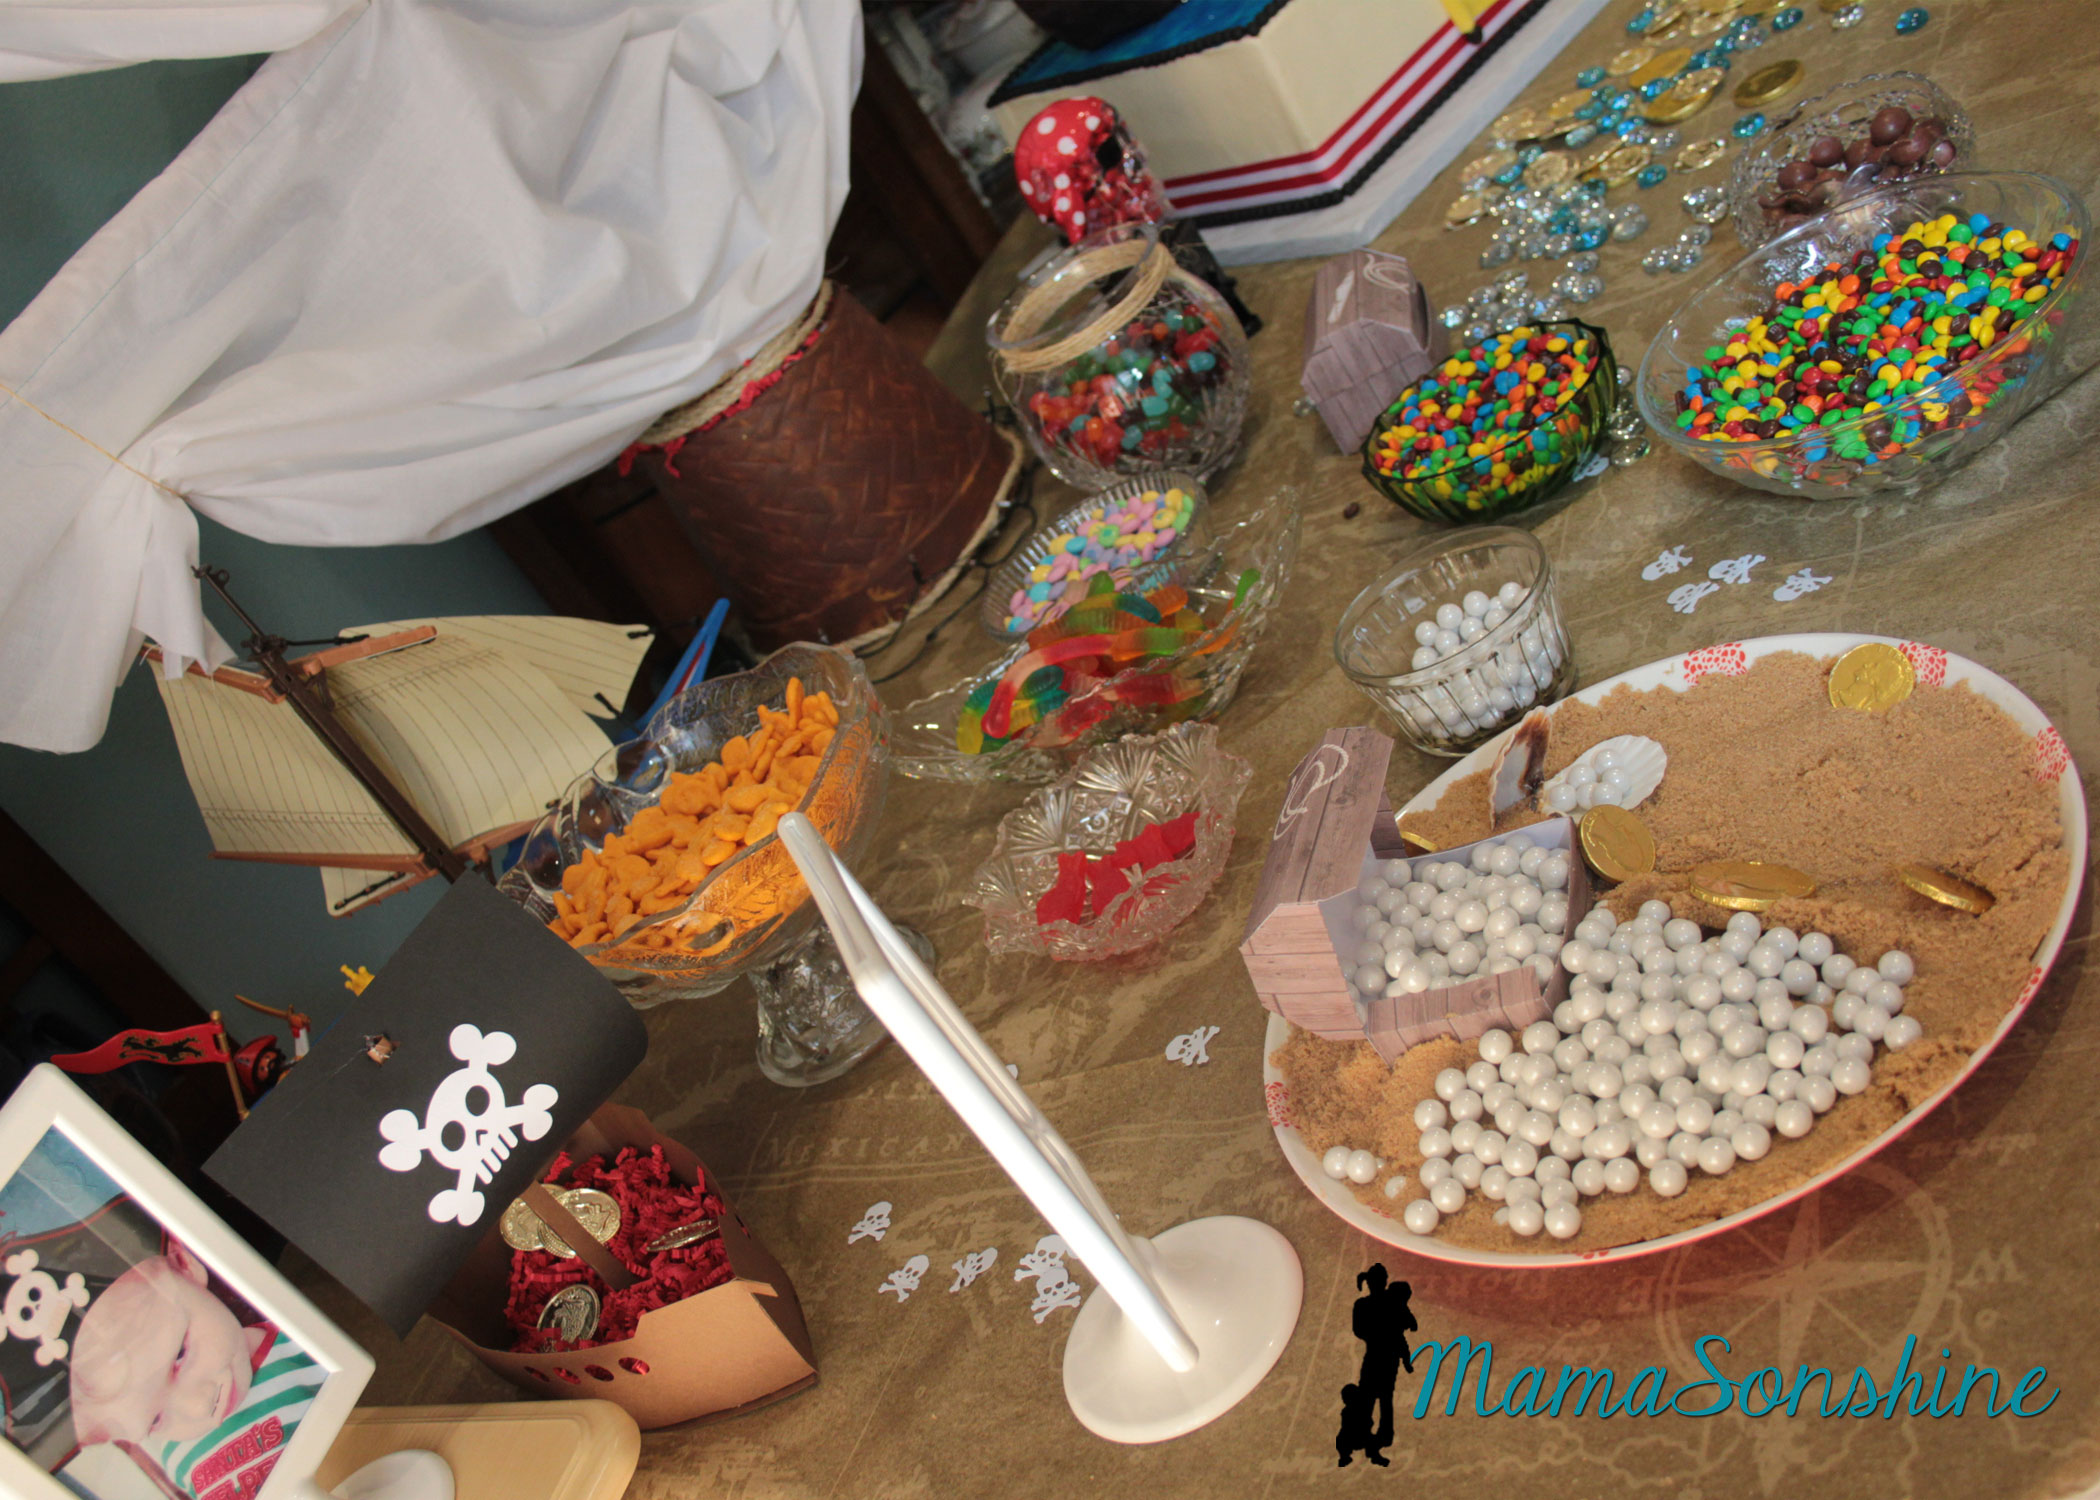
I also purchased this 3-D pirate ship, from the Silhouette store with the idea that I would enlarge it for the center piece. I had so much other work to do, that I just decided to use it as decorations.
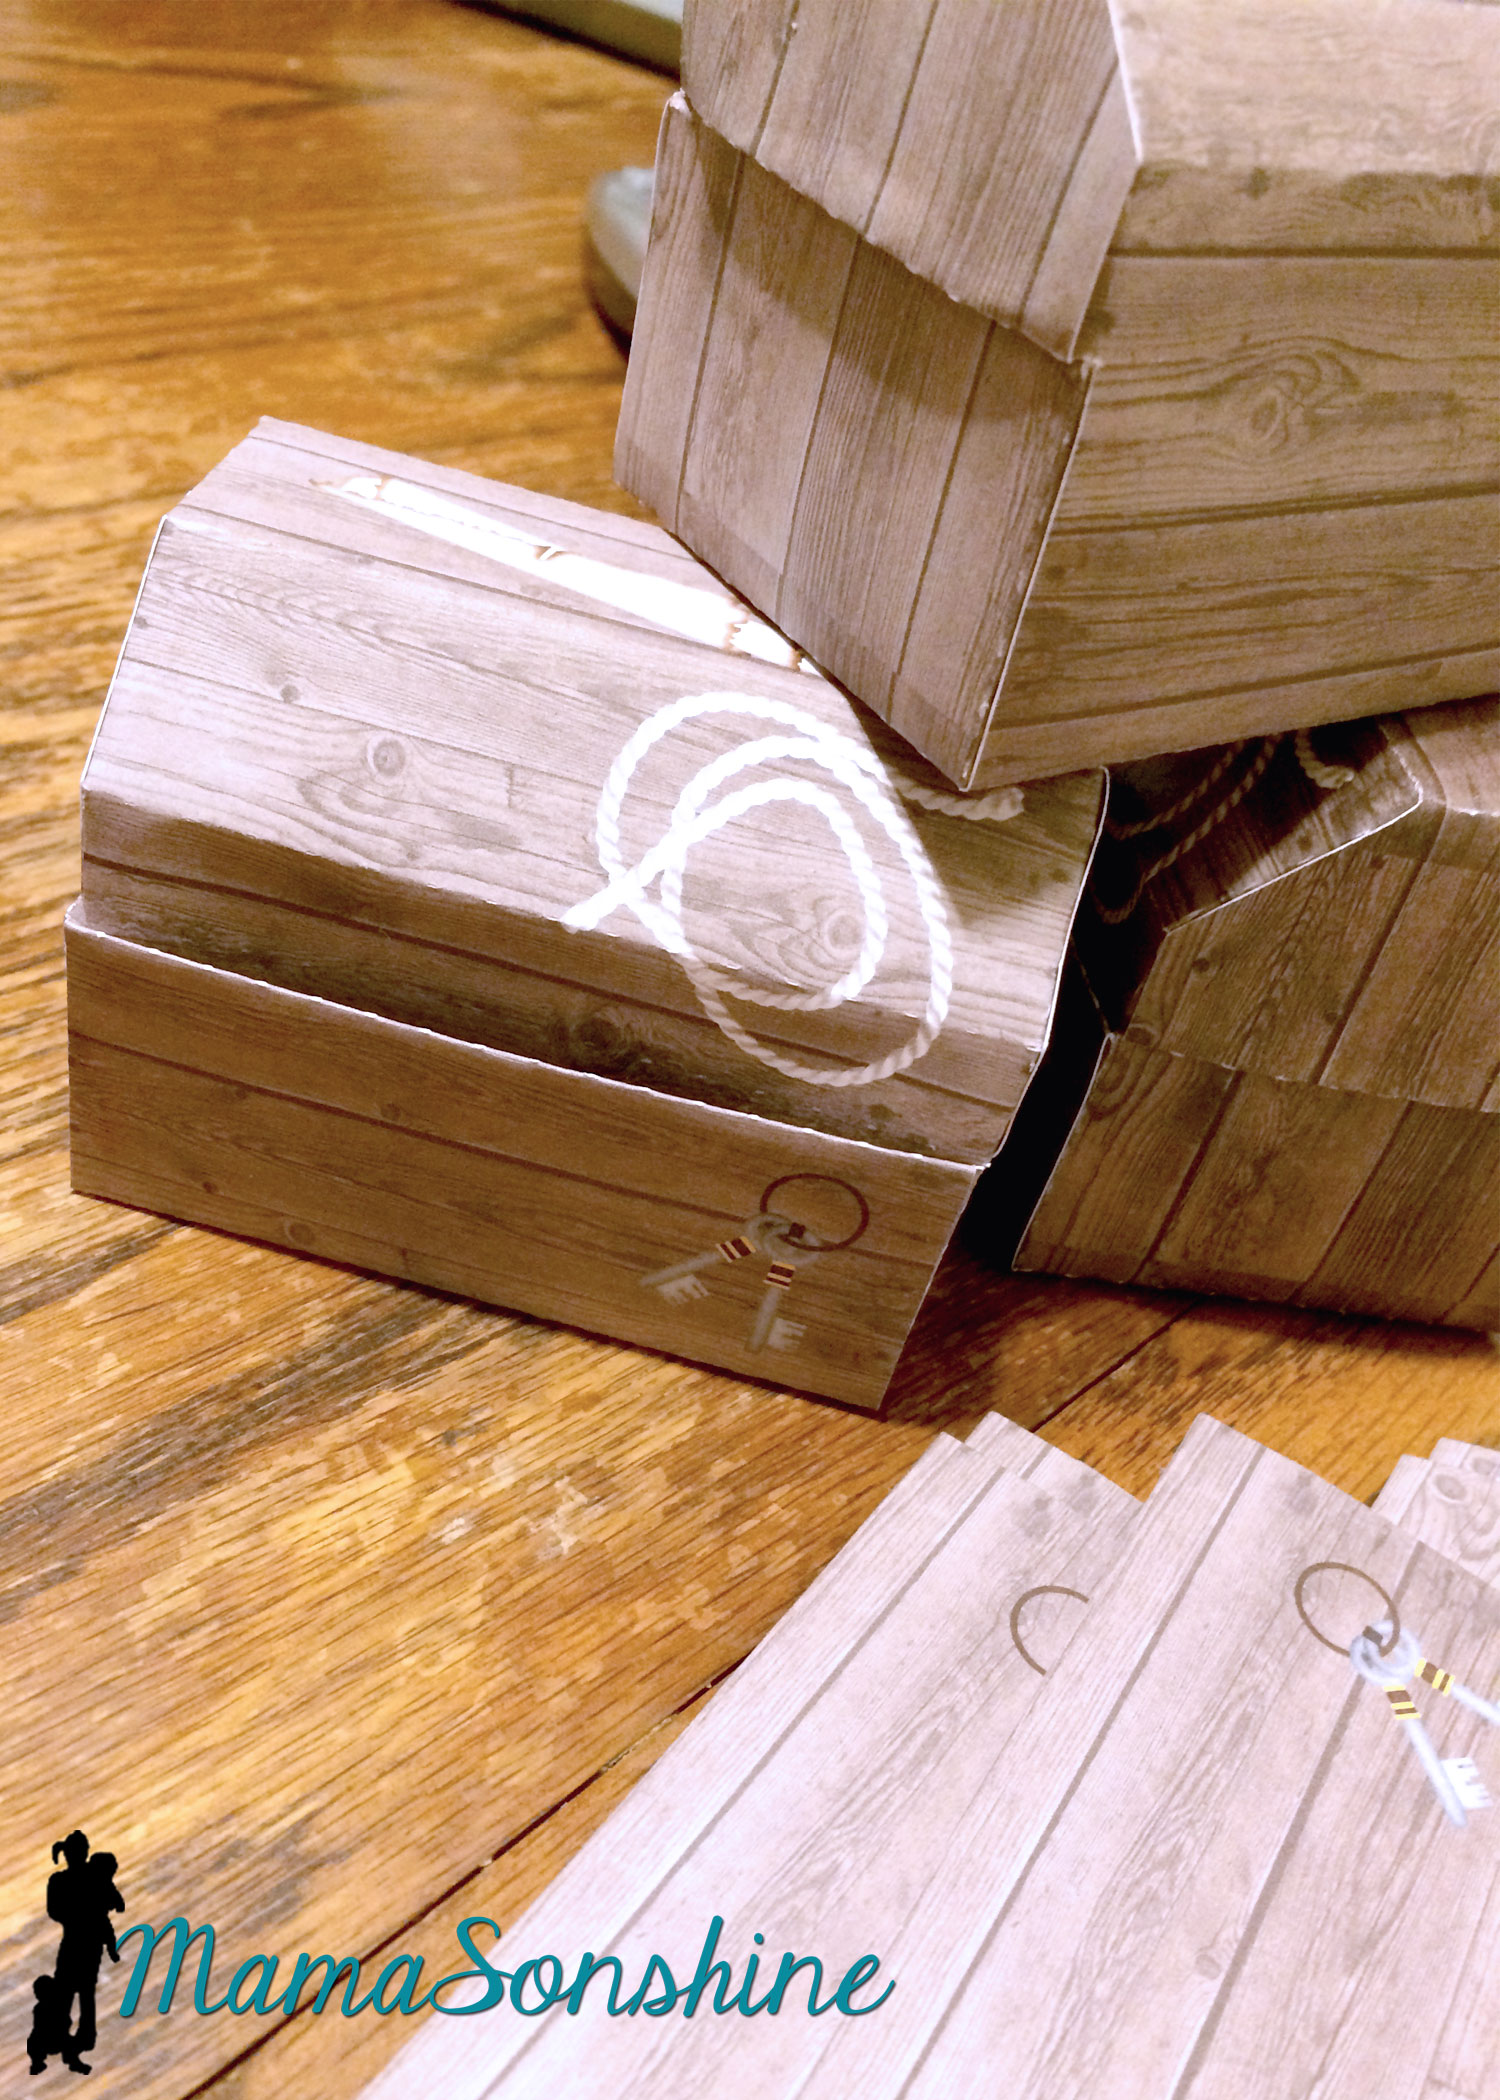
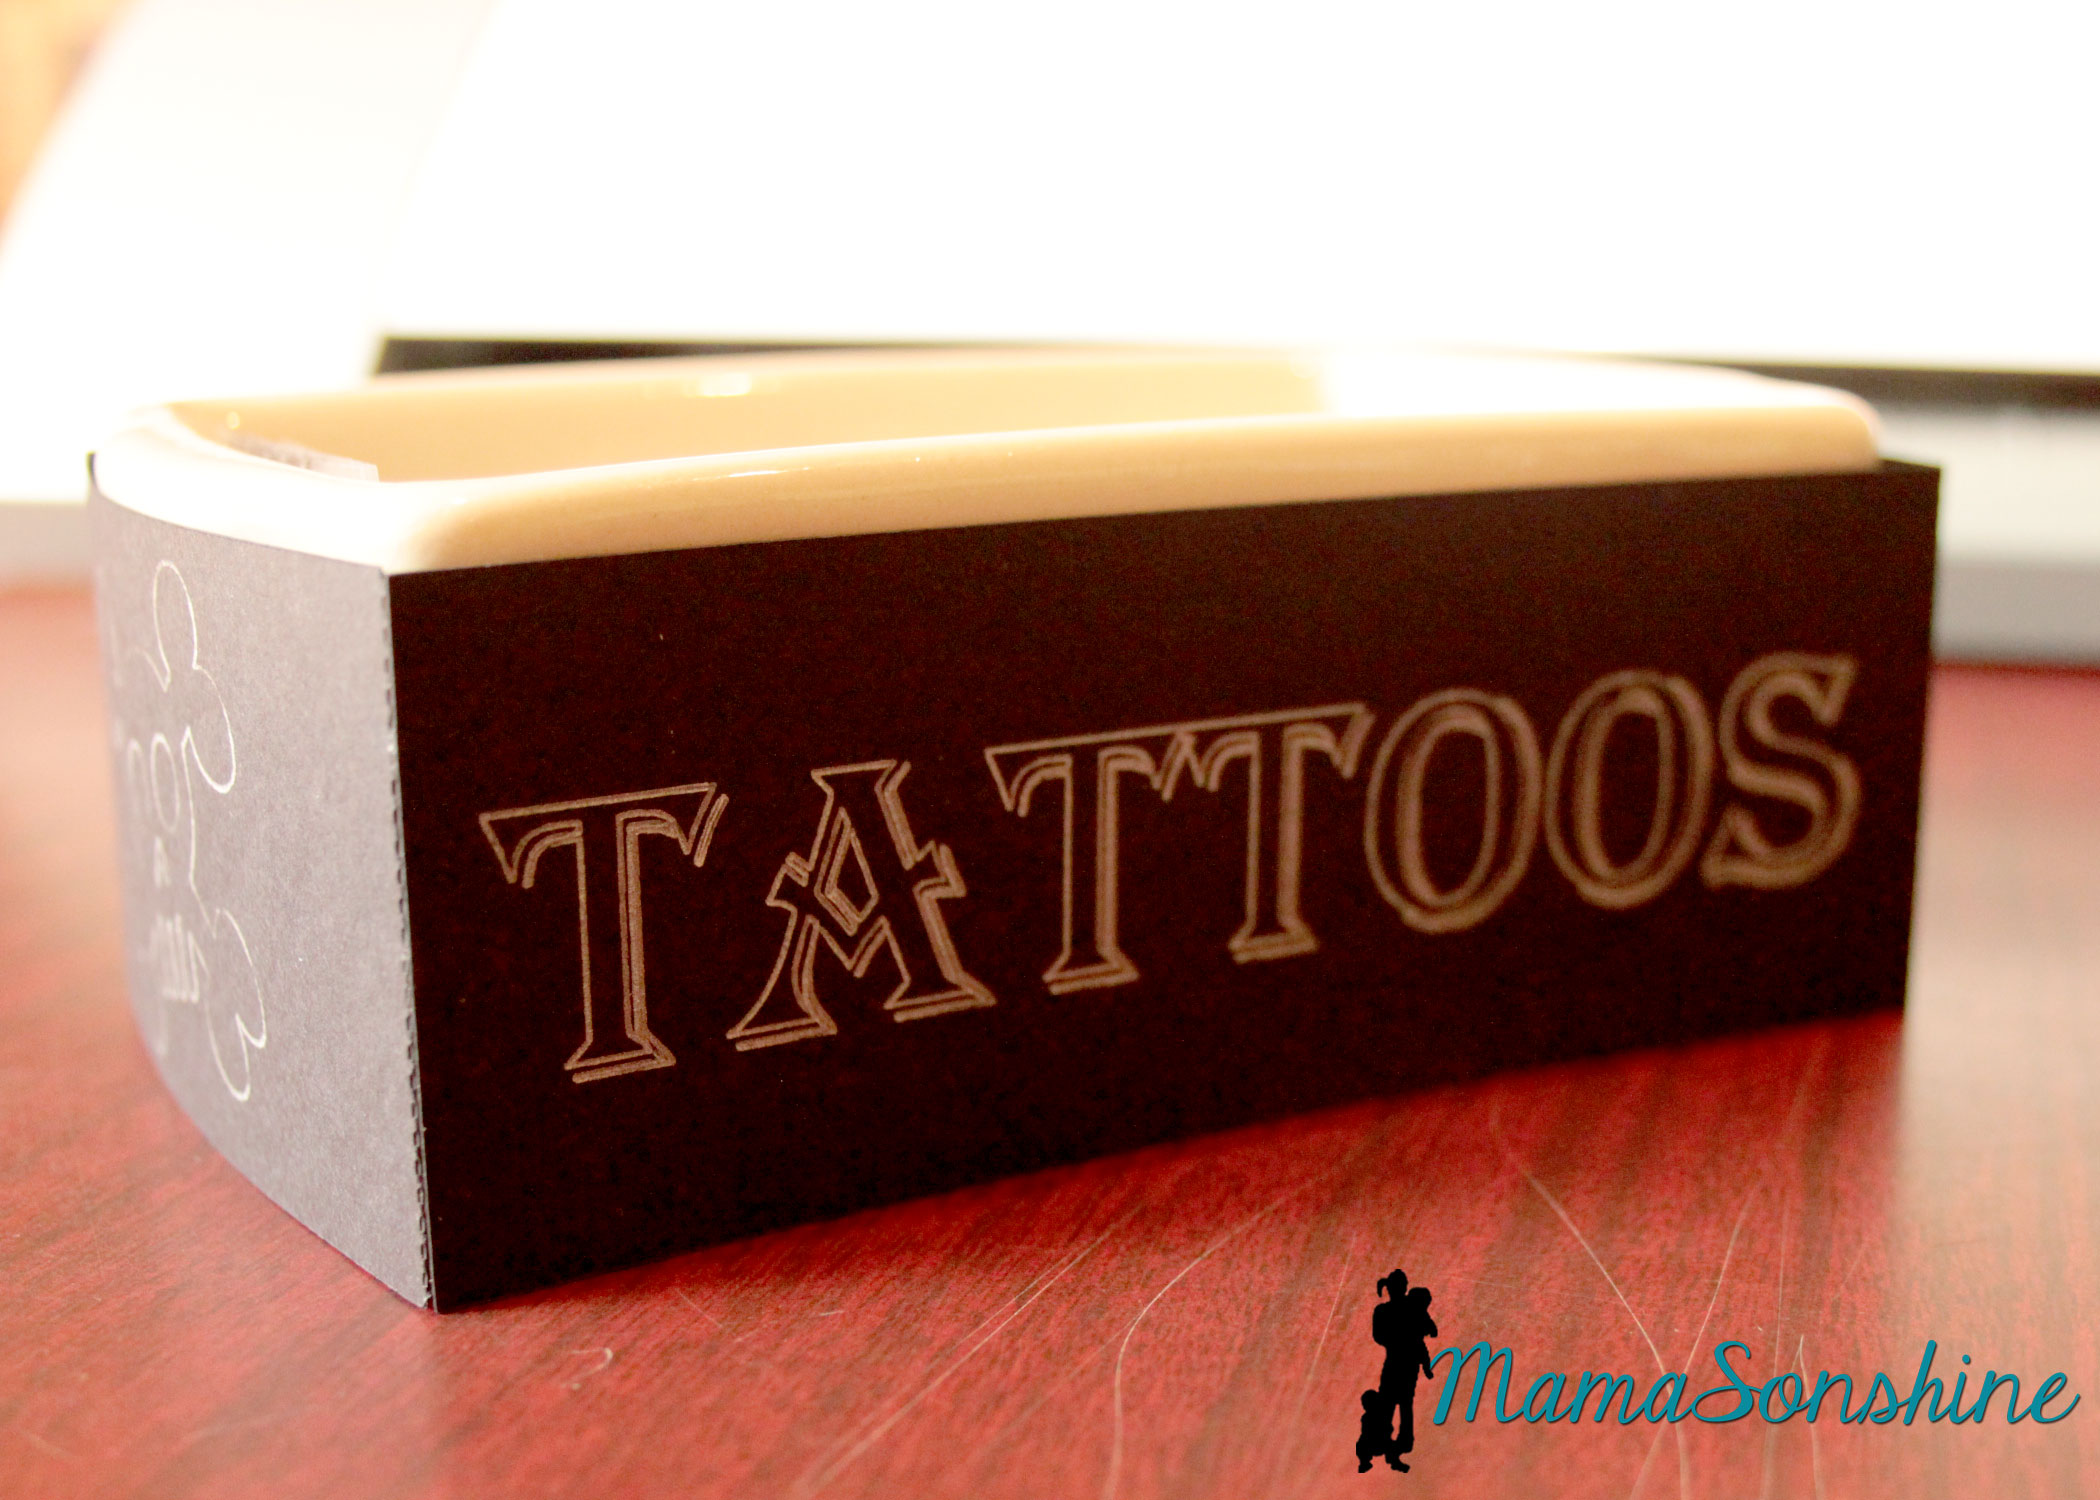
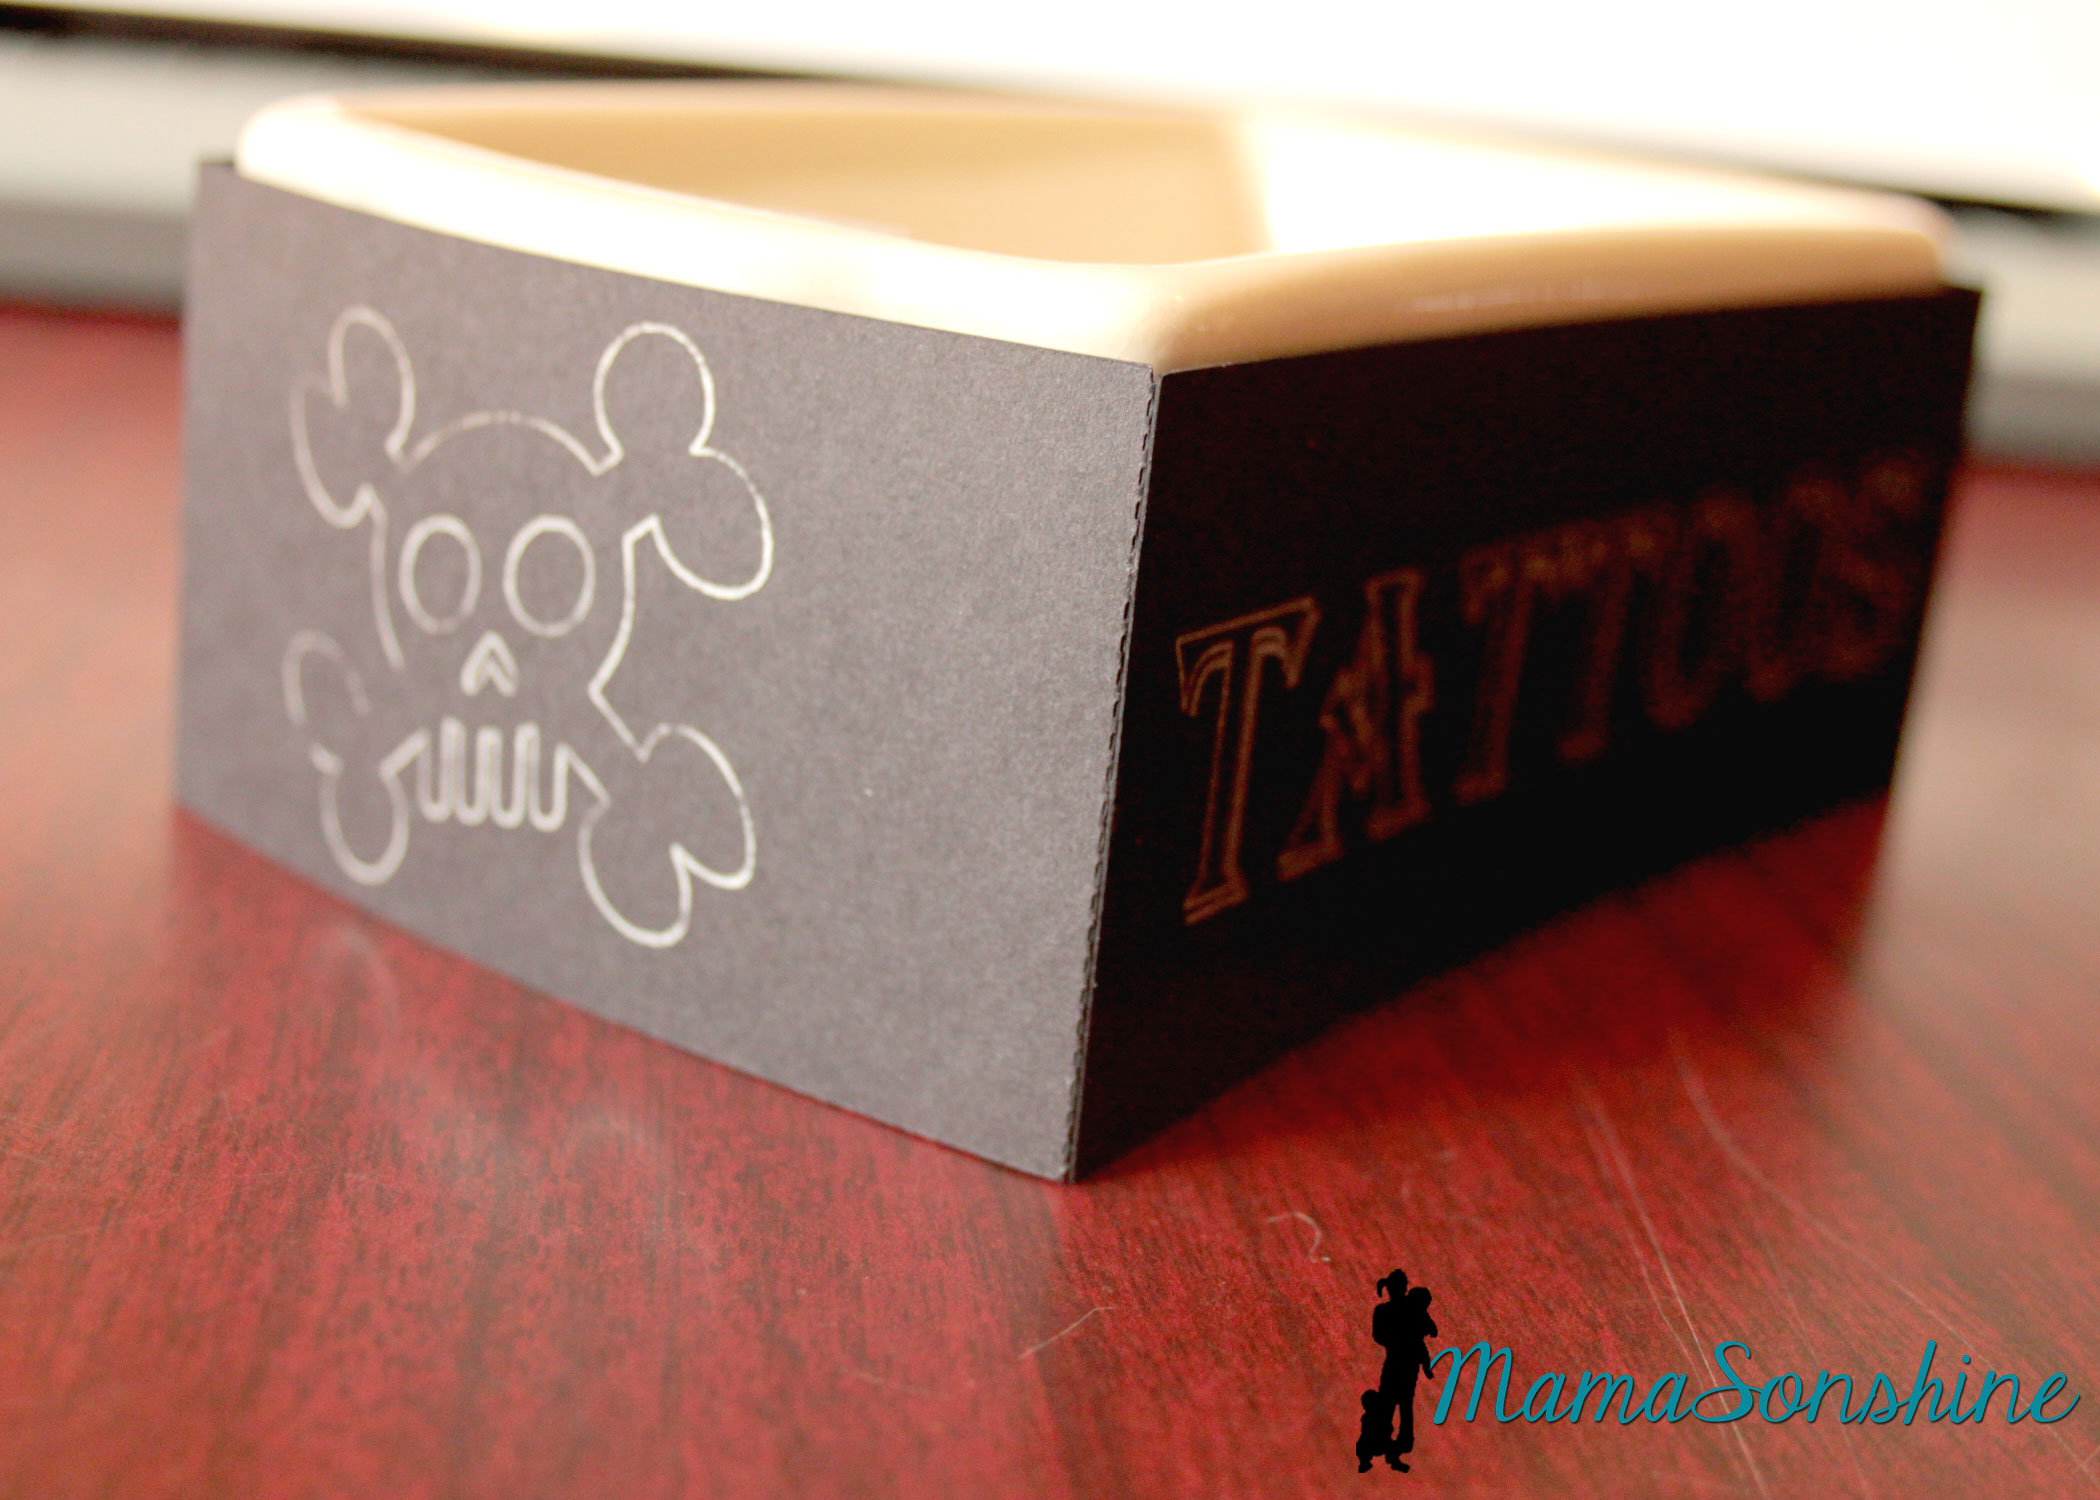
These treasure boxes were too small to be used as the gift boxes, but they made great decorations.
I filled them with glass stones and chocolate gold coins, and had them through out the house.
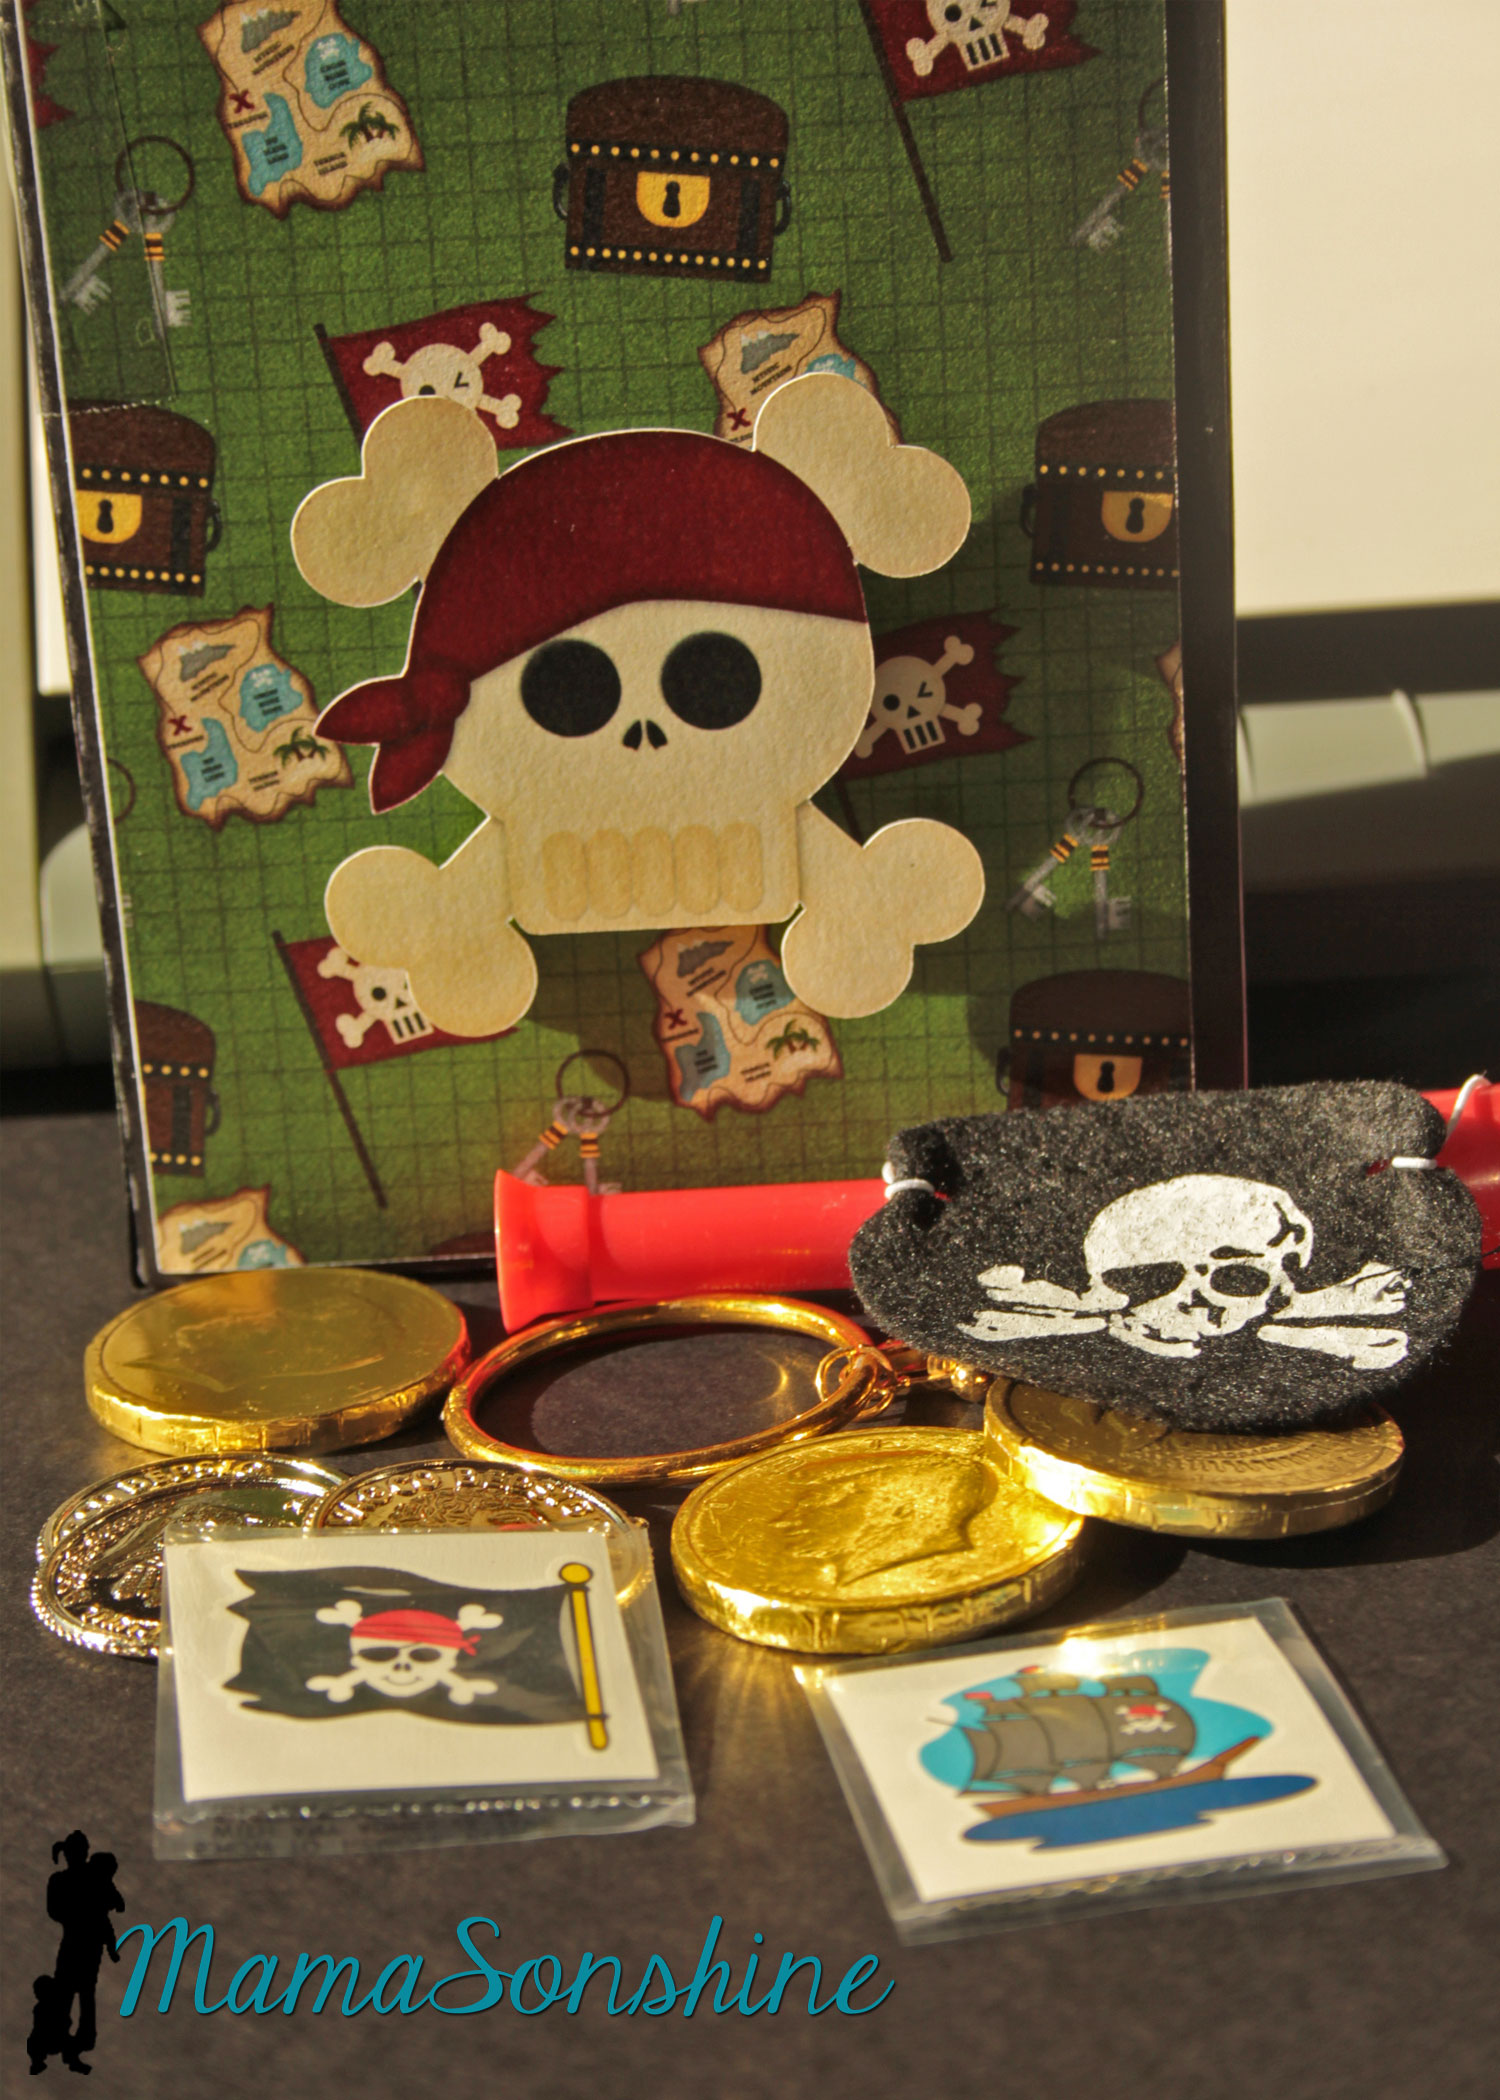
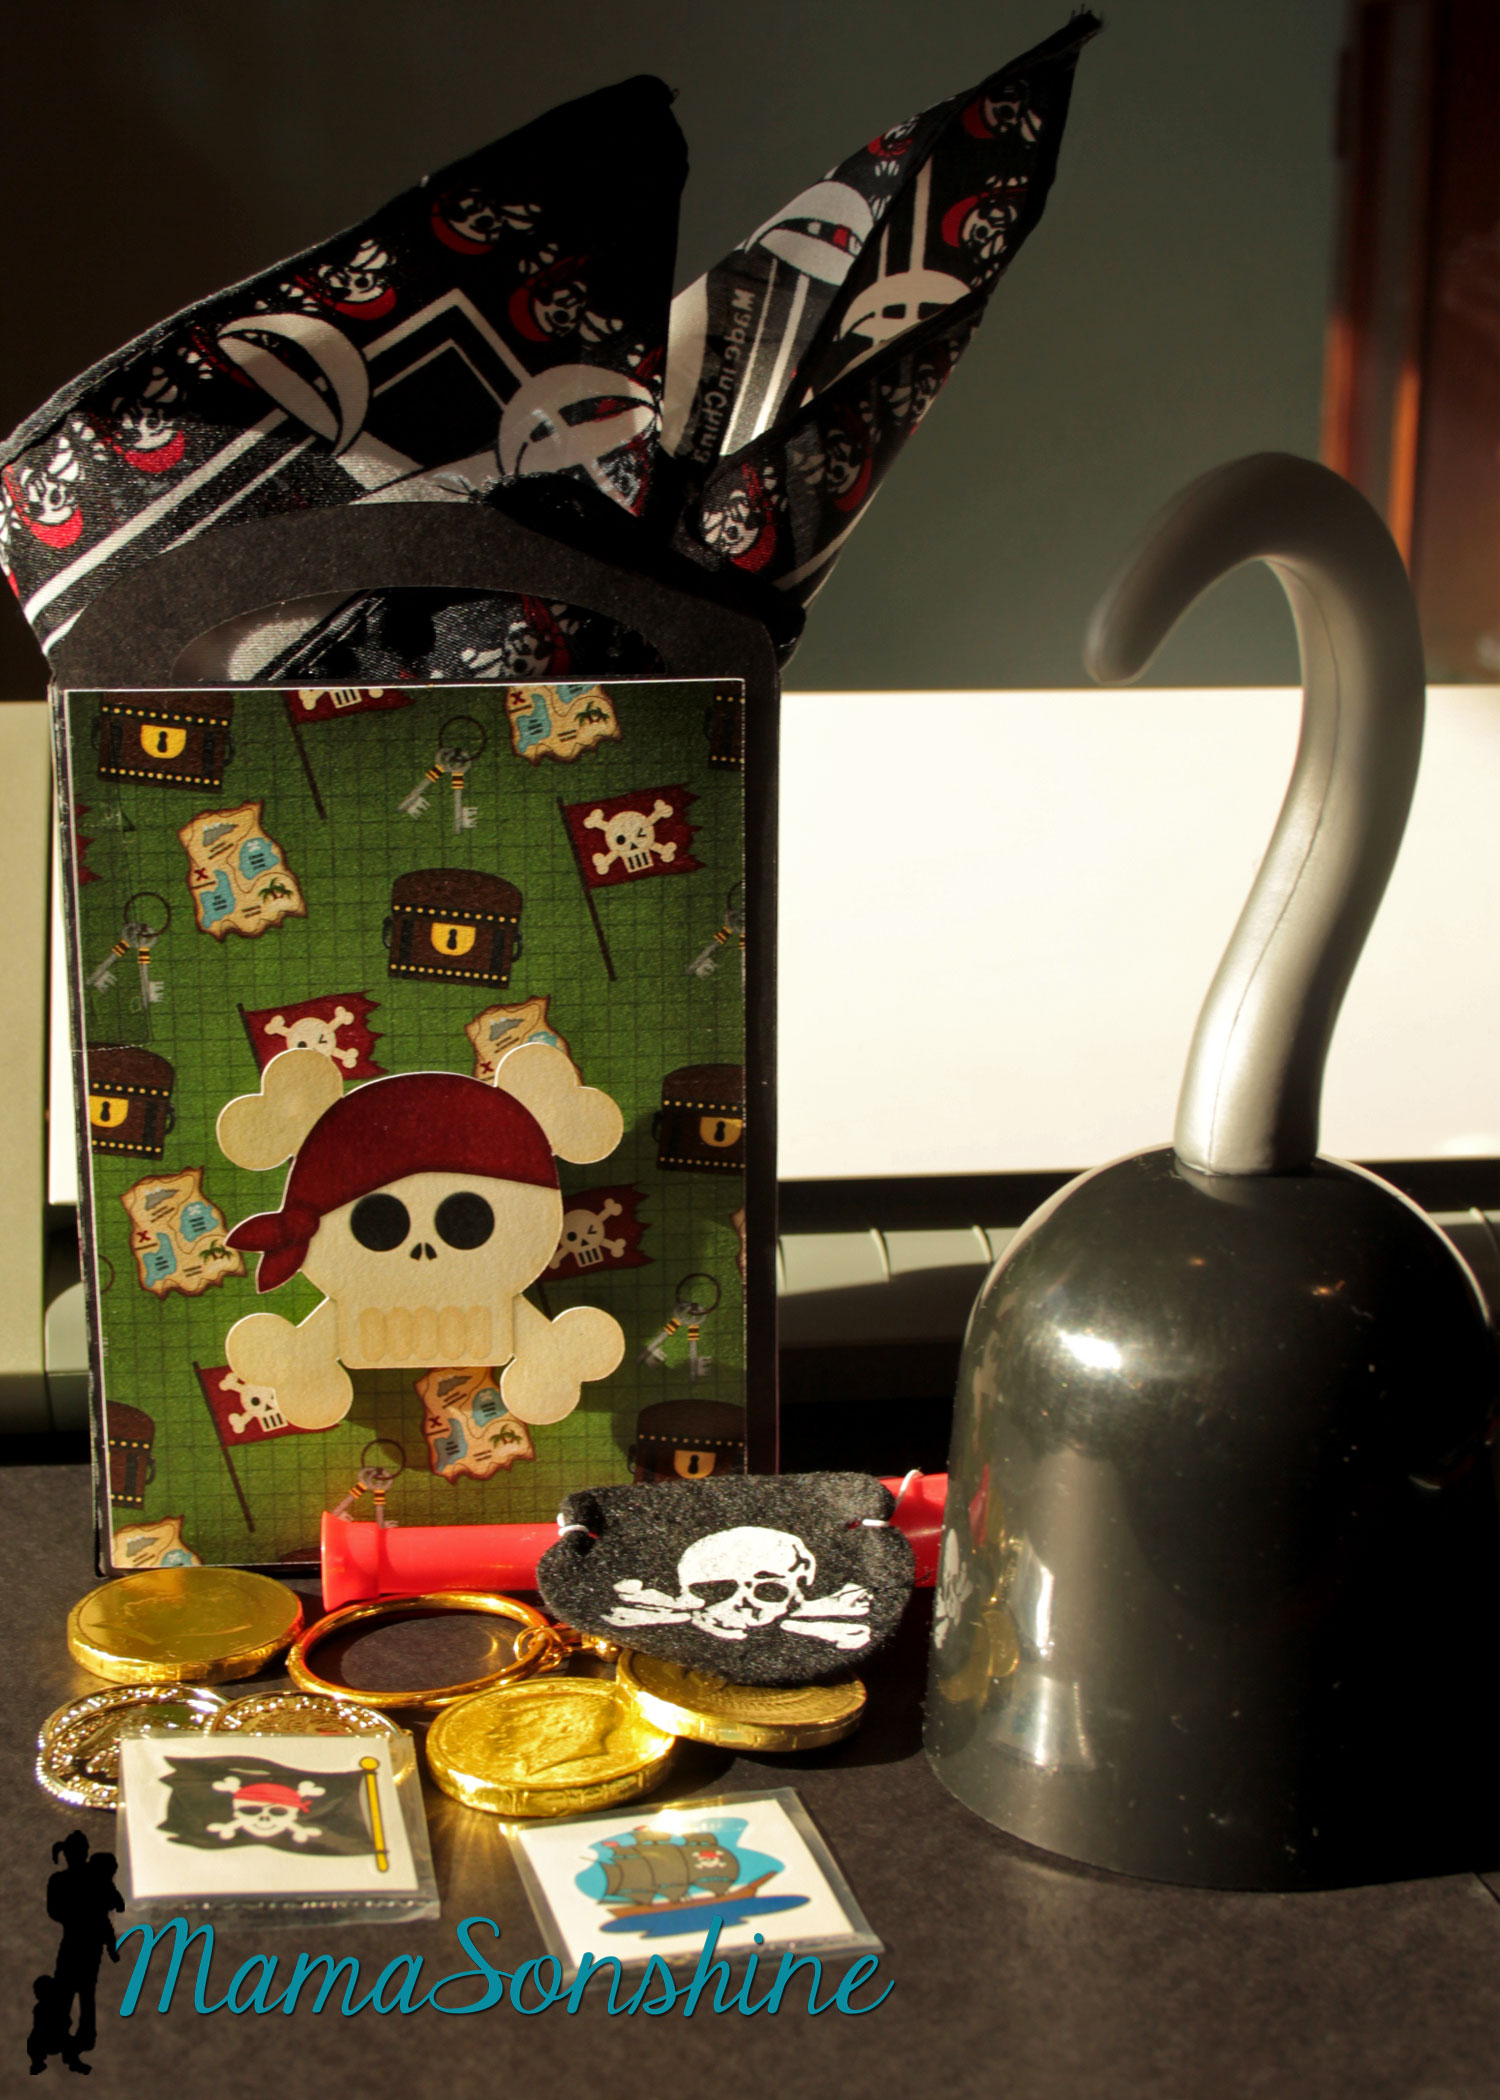
As a guest gift each kid got to take home a hook and a Thank You bag.
The tags say “Thanks me hearties!” I also made the gift bags using the digital papers as the panels for the bags and black card stock for the bag base. I used a variety of the papers included in the kit. The skull was attached with foam dimensional tabs.
Each bag had a pirate bandanna, an eye patch, a pirate ear-ring, some tattoos, cold coins, chocolate coins, and a telescope.
The hooks wouldn’t fit in the bag, so the kids got to get them out of a basket.
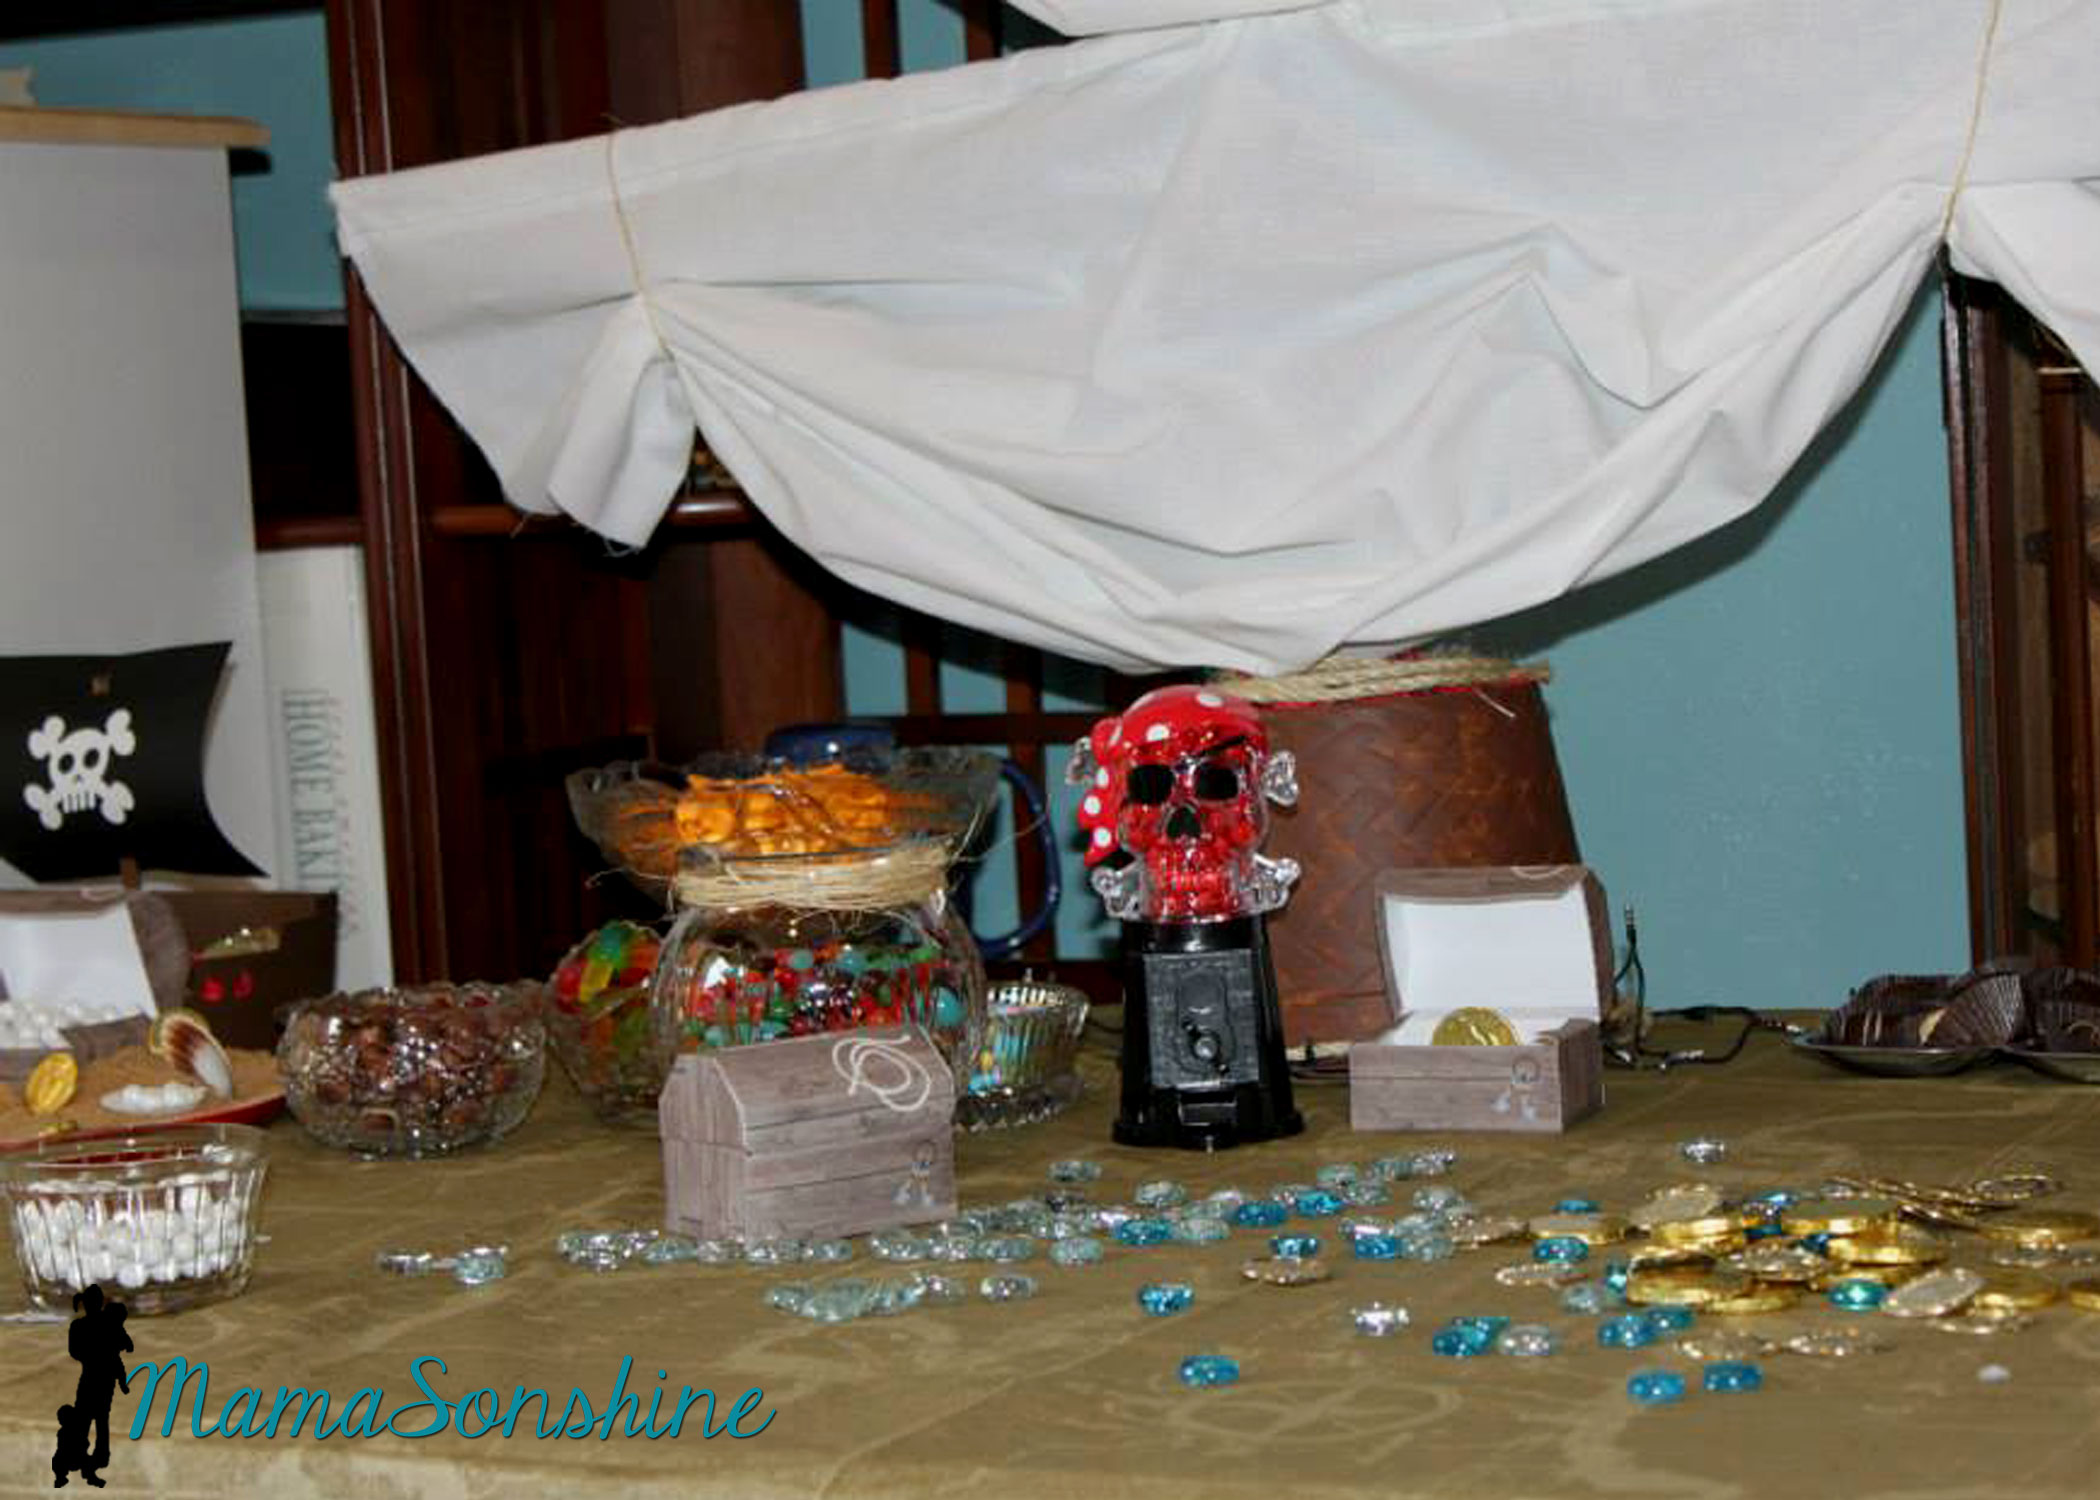
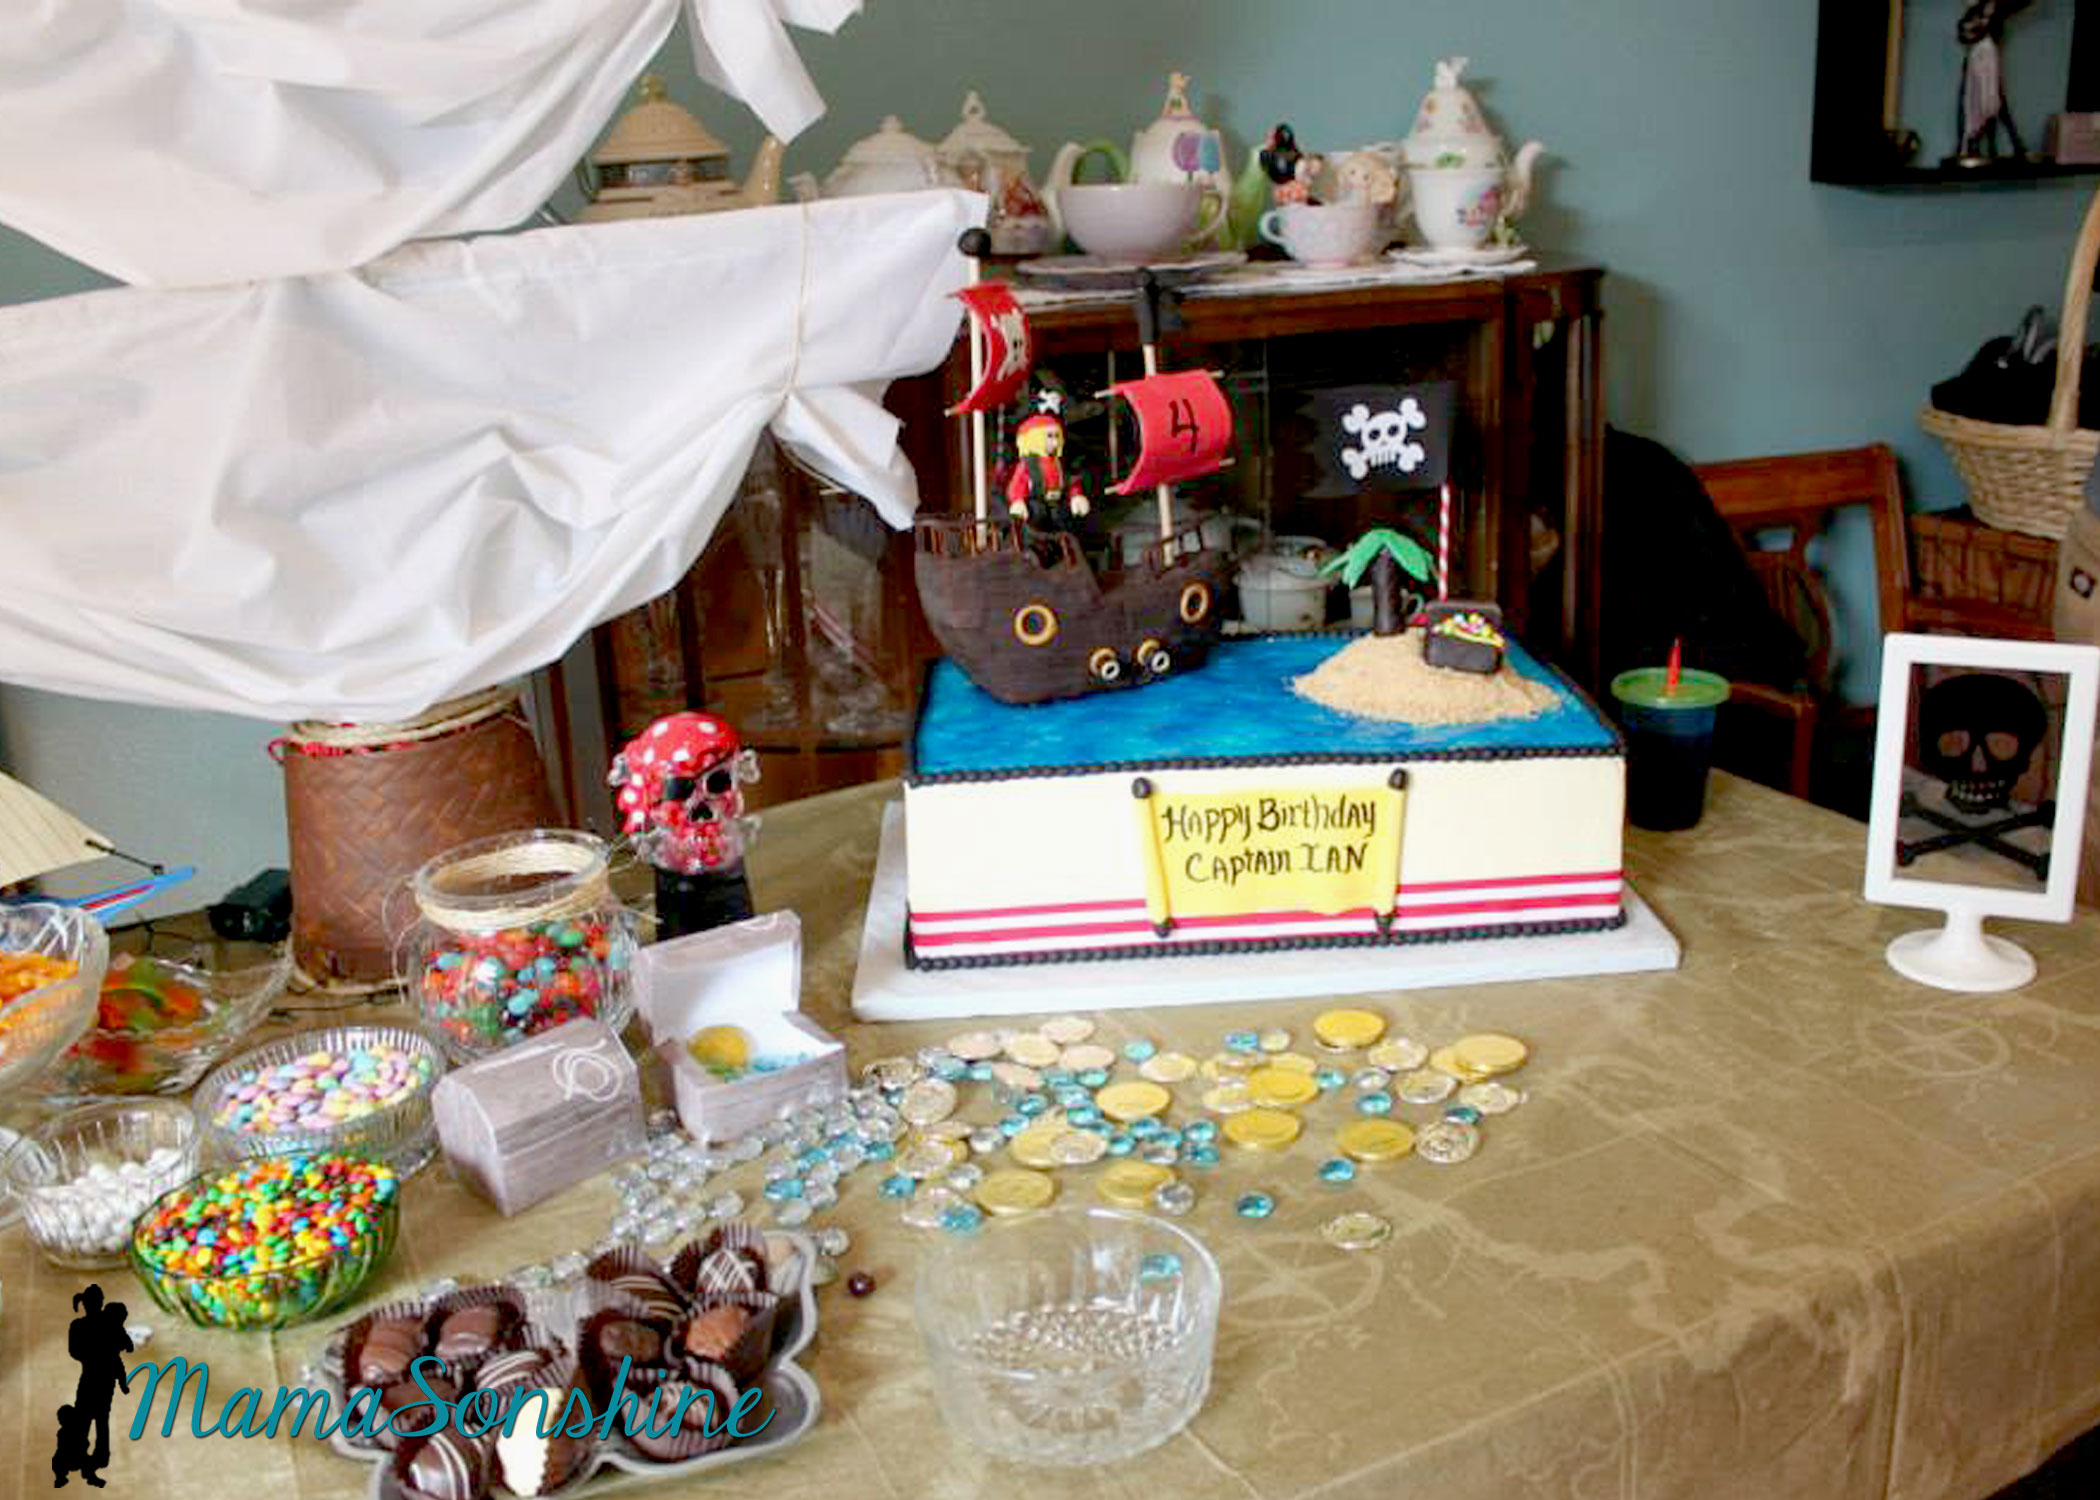
The Table
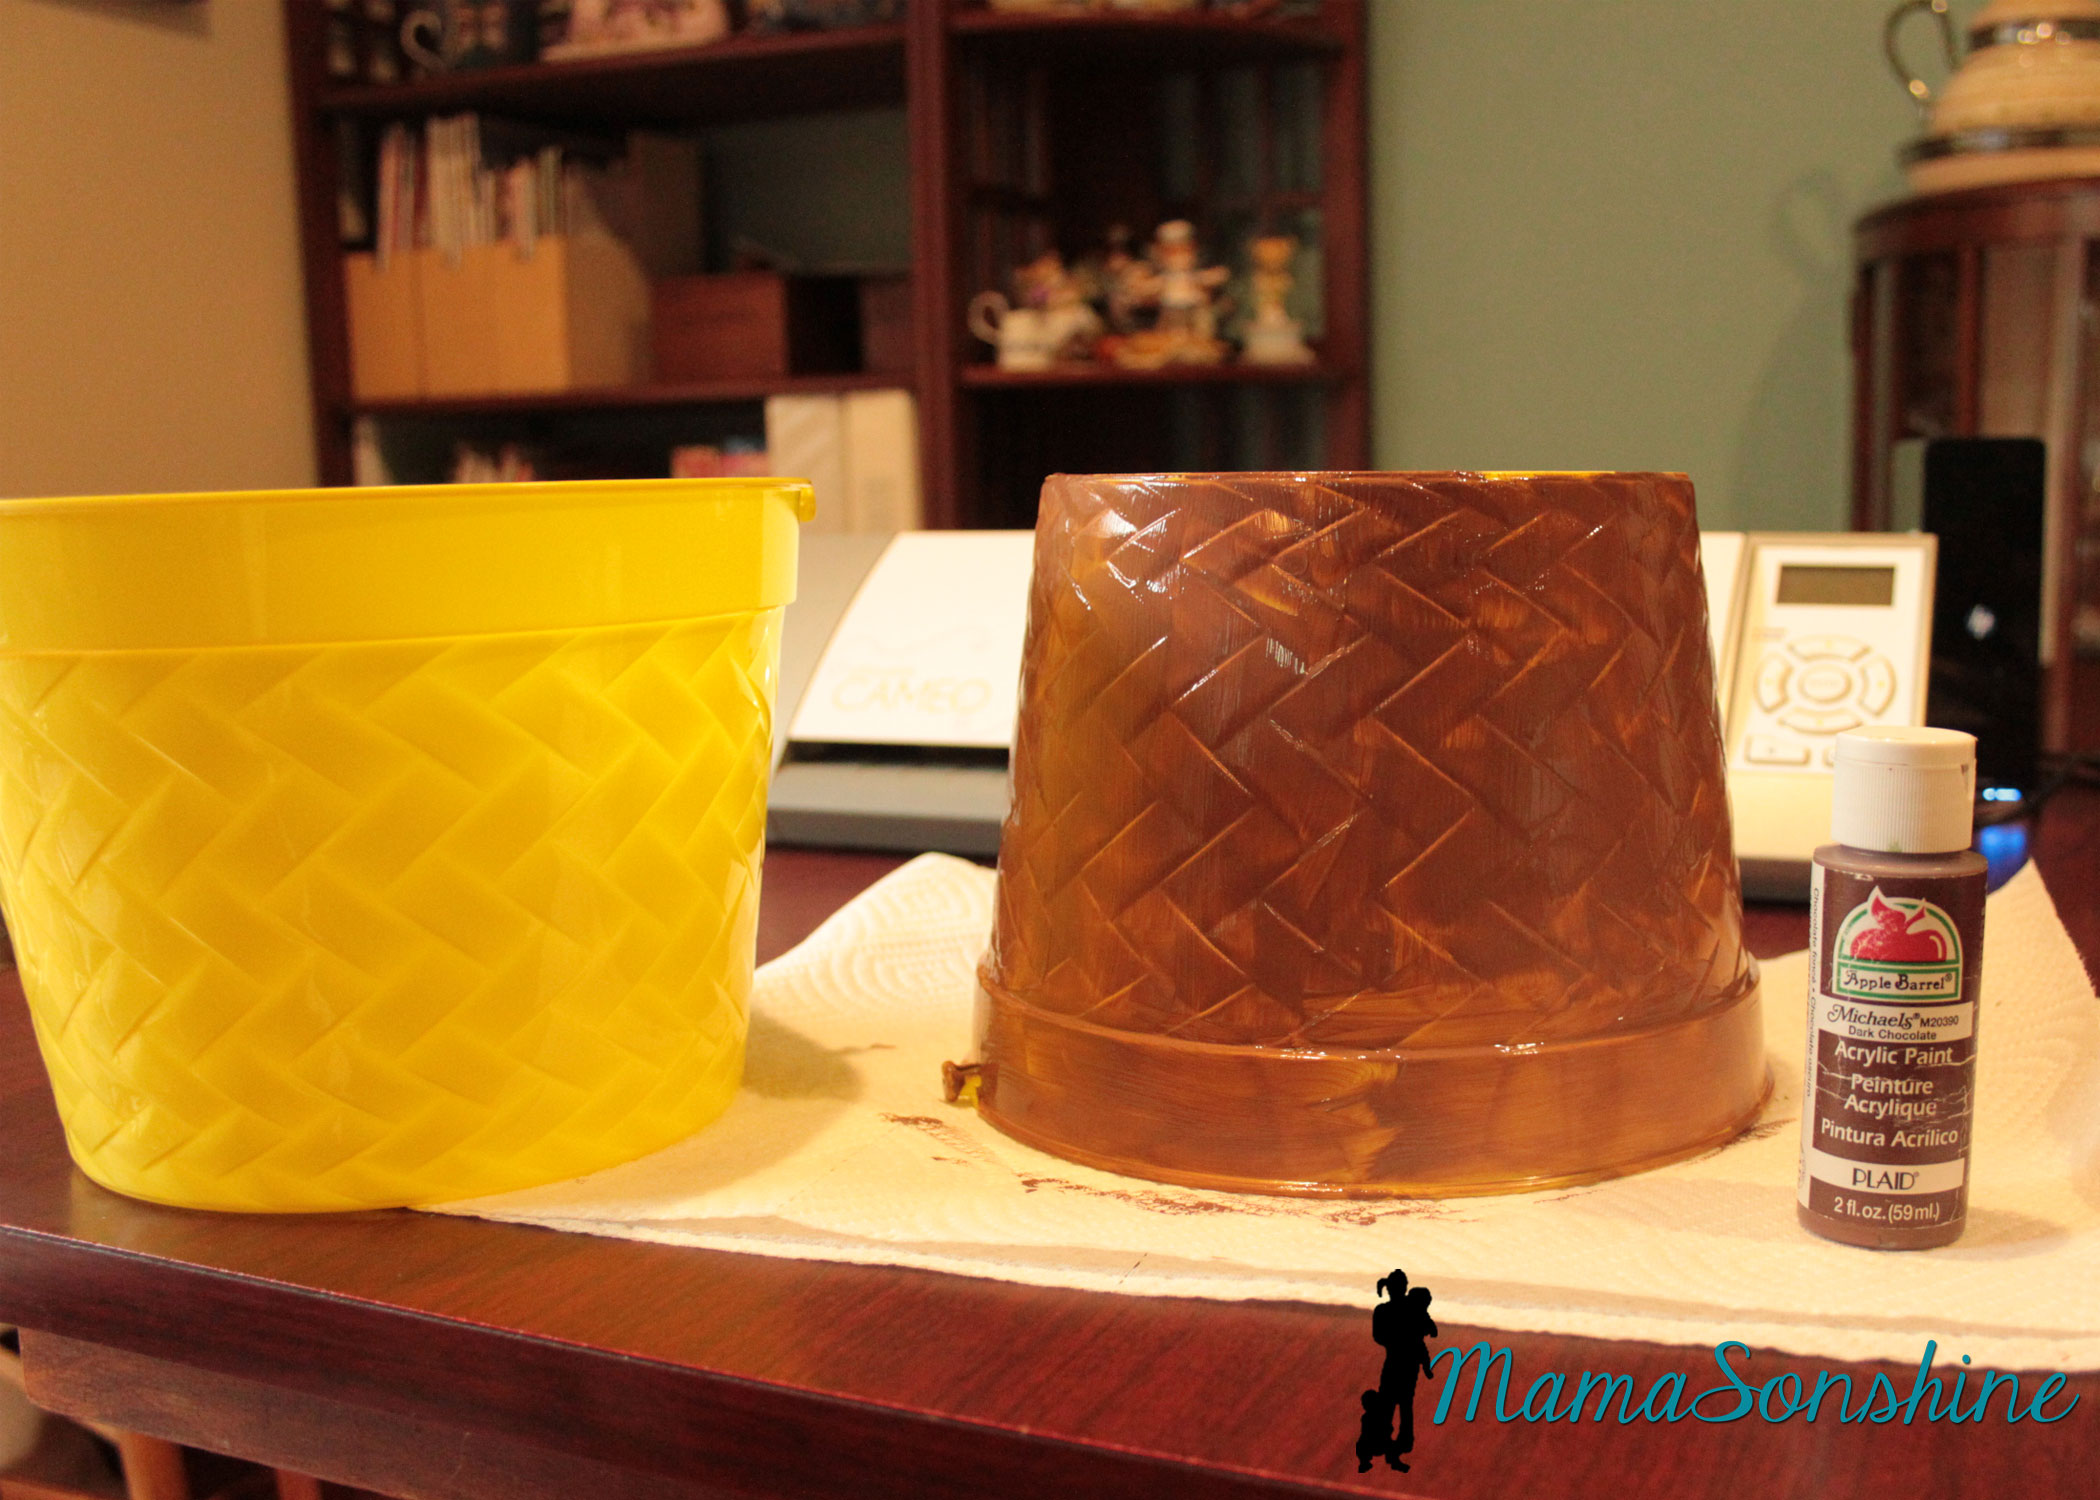
For the table center piece I took these Easter buckets I got at the dollar store and transformed them in to a mast from a boat.
I actually envisioned it much bigger, but the wooden dowels I had, limited the size.
Using the idea from Sid’s beach party, I made a plate with brown sugar sand and pearls (Sixlets) coming out of one of the paper treasure chests.
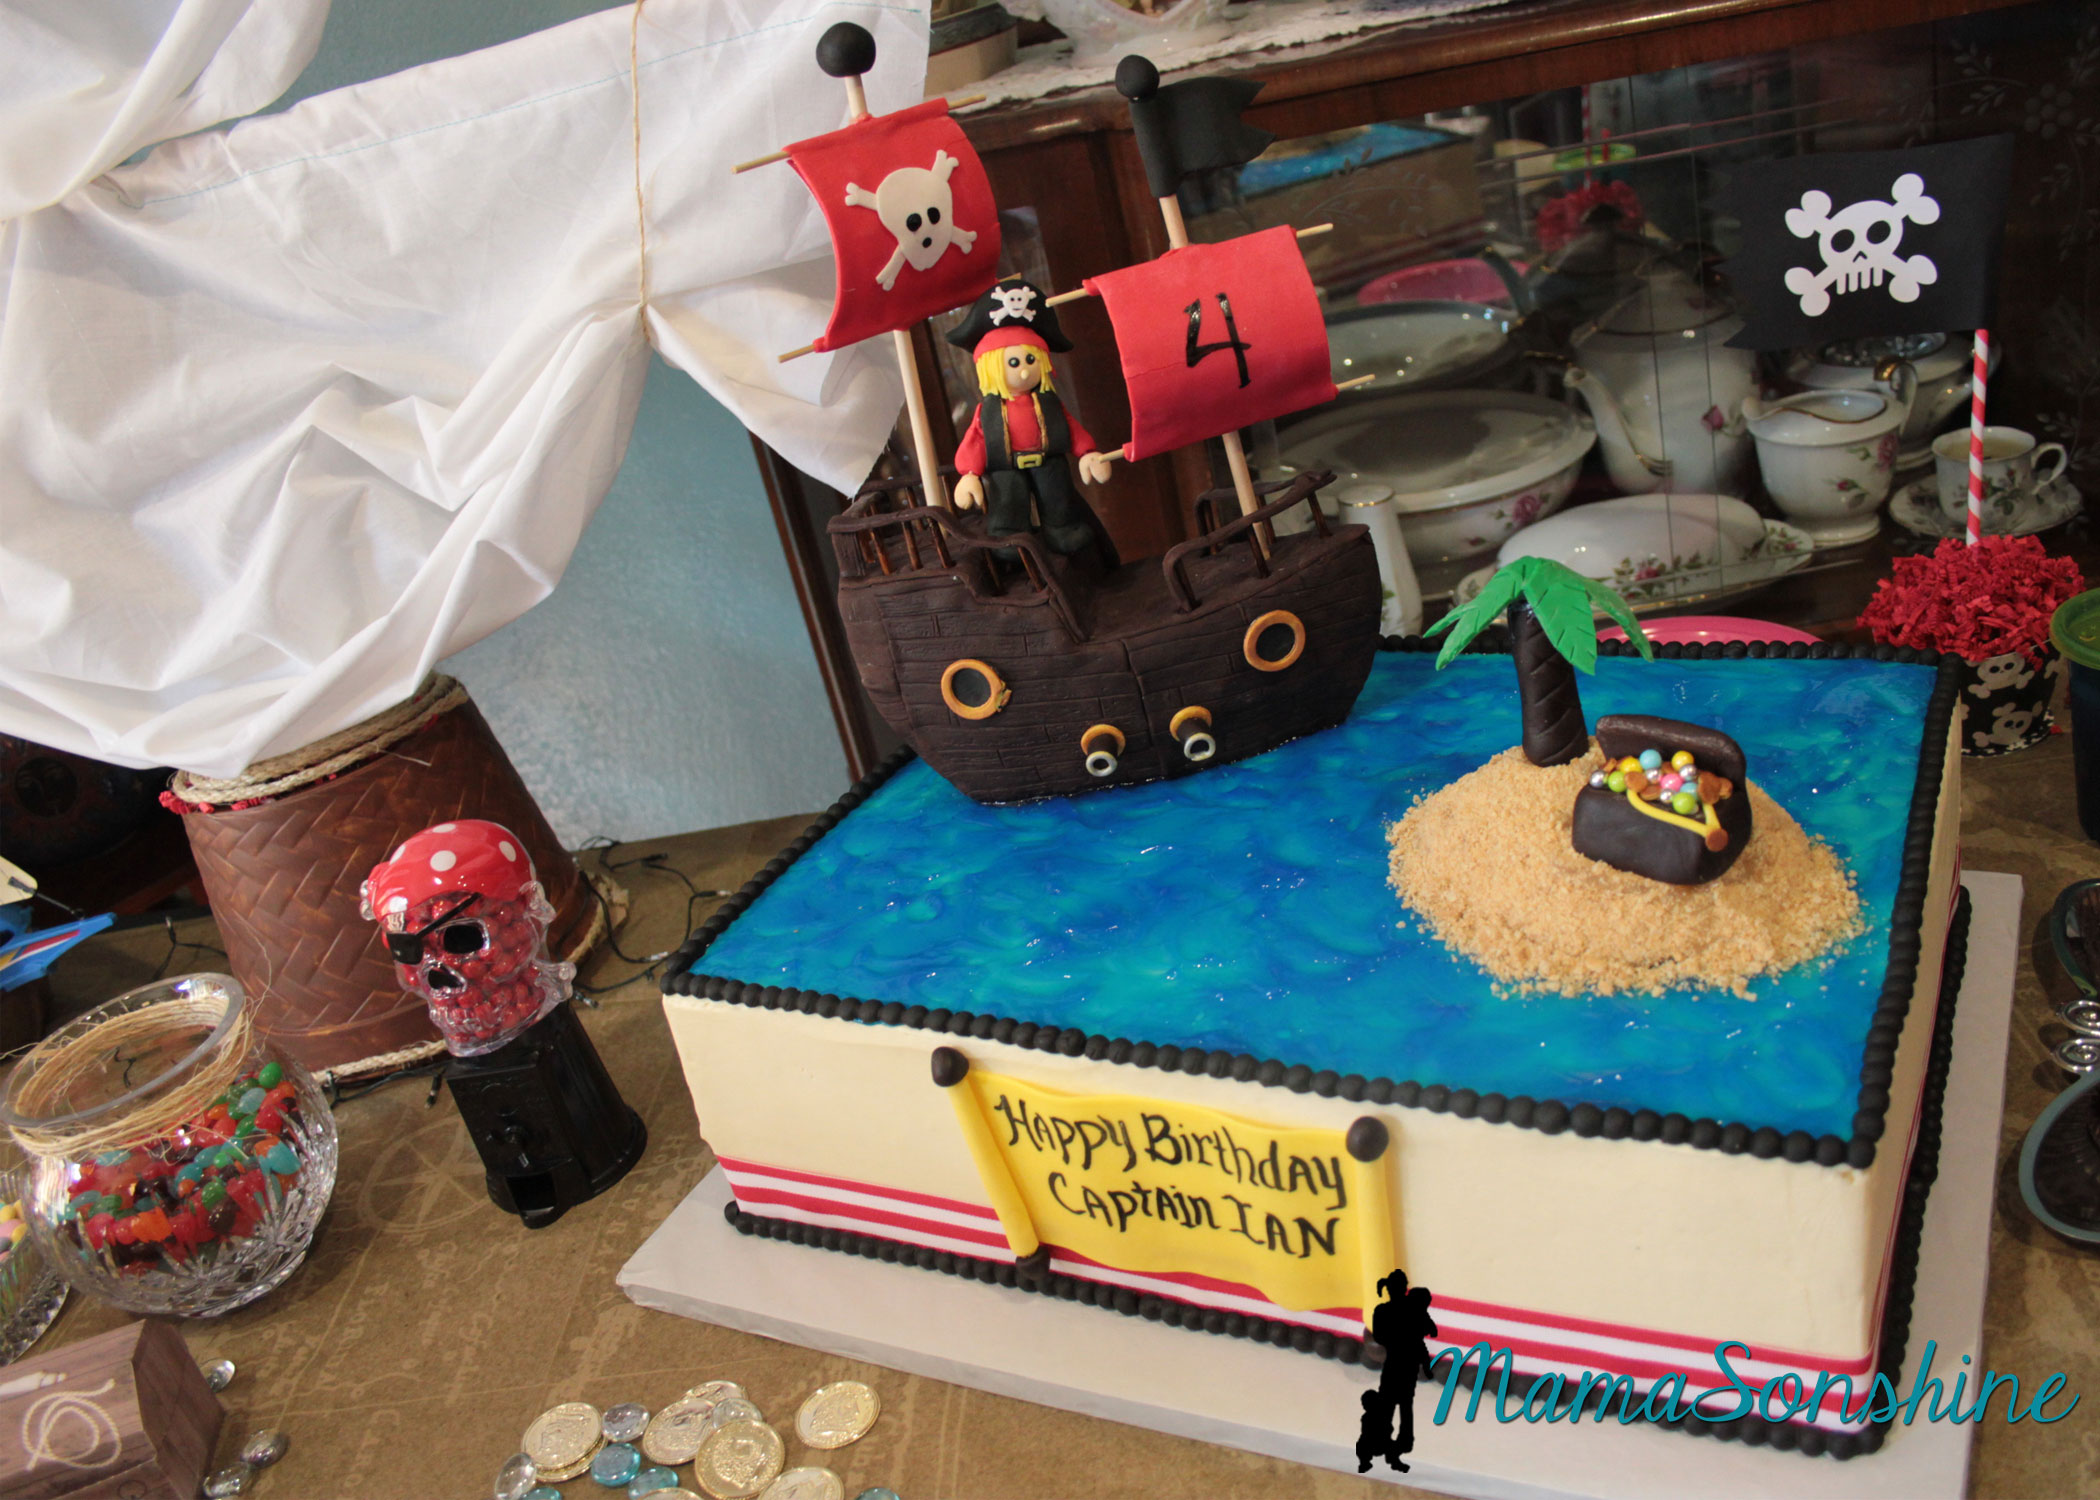
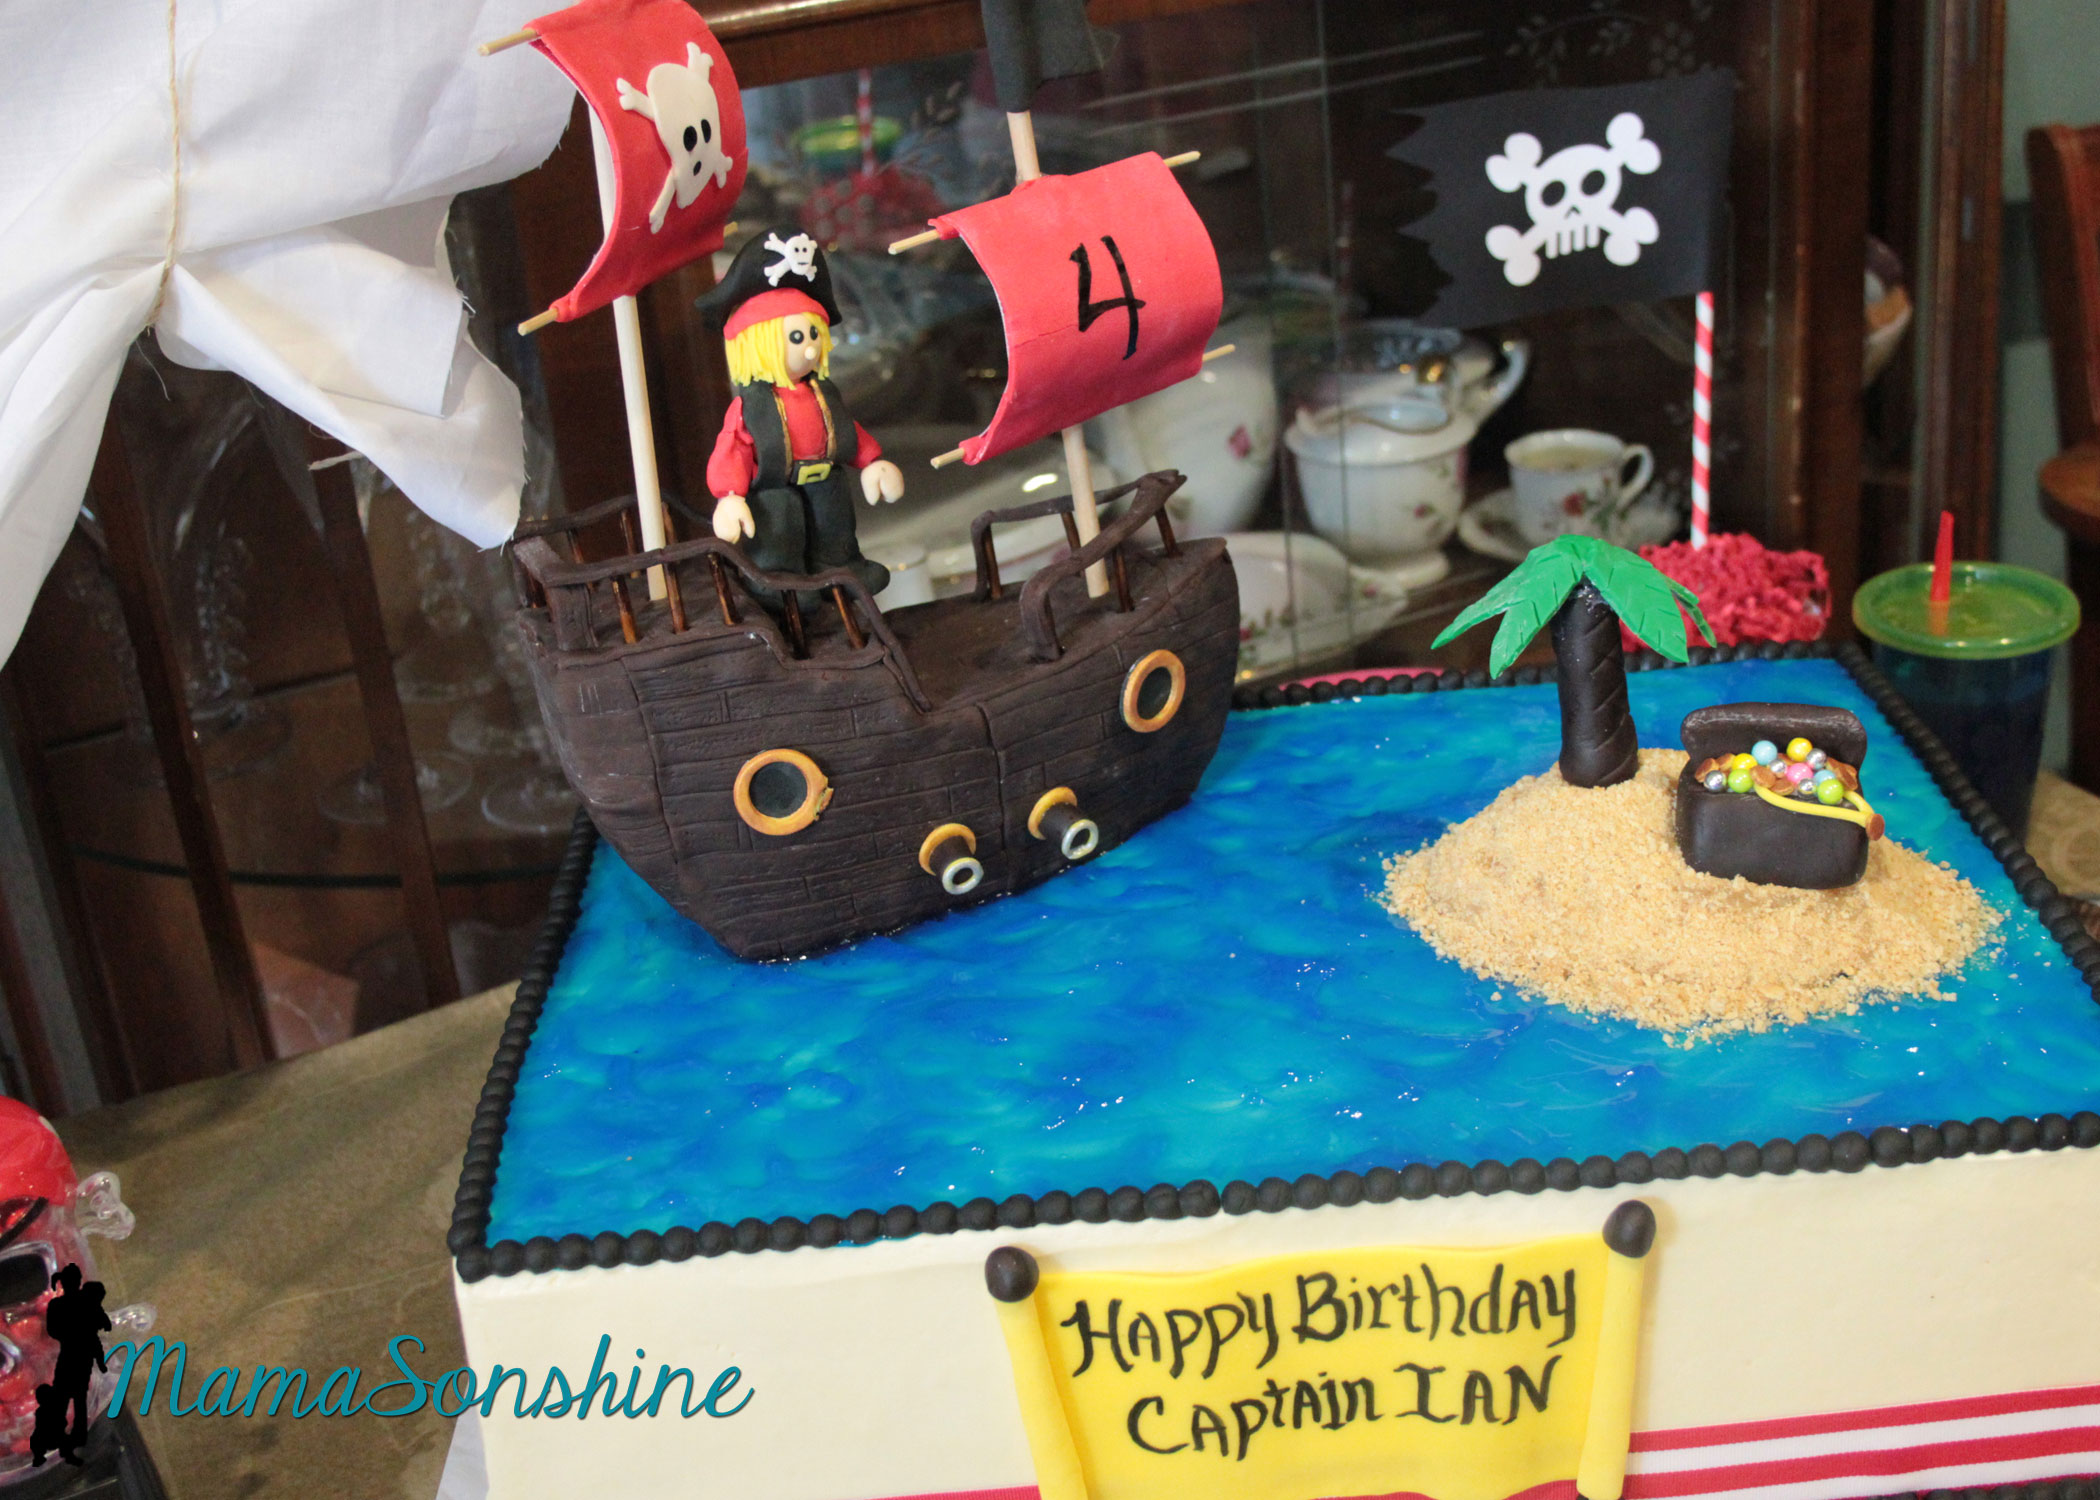
The cake
I did not make the cake, this awesome creation was made by my aunt.
This table-cloth was the most expensive paper table-cloth I have ever purchased, but I absolutely loved it. The skull candy dispenser was the one thing my son said he had to have at his pirate party.
My son likes to wear his bandana as a pirate cape.
The drink labels were also made using the Cameo’s print and cut feature. Have I told you how much I love that feature?
We had some extra tattoos so I transformed a dish my mom had.
I used the sketch pens on the cameo. It was really easy and something I did at the last-minute, but wouldn’t have if I didn’t have my Silhouette.
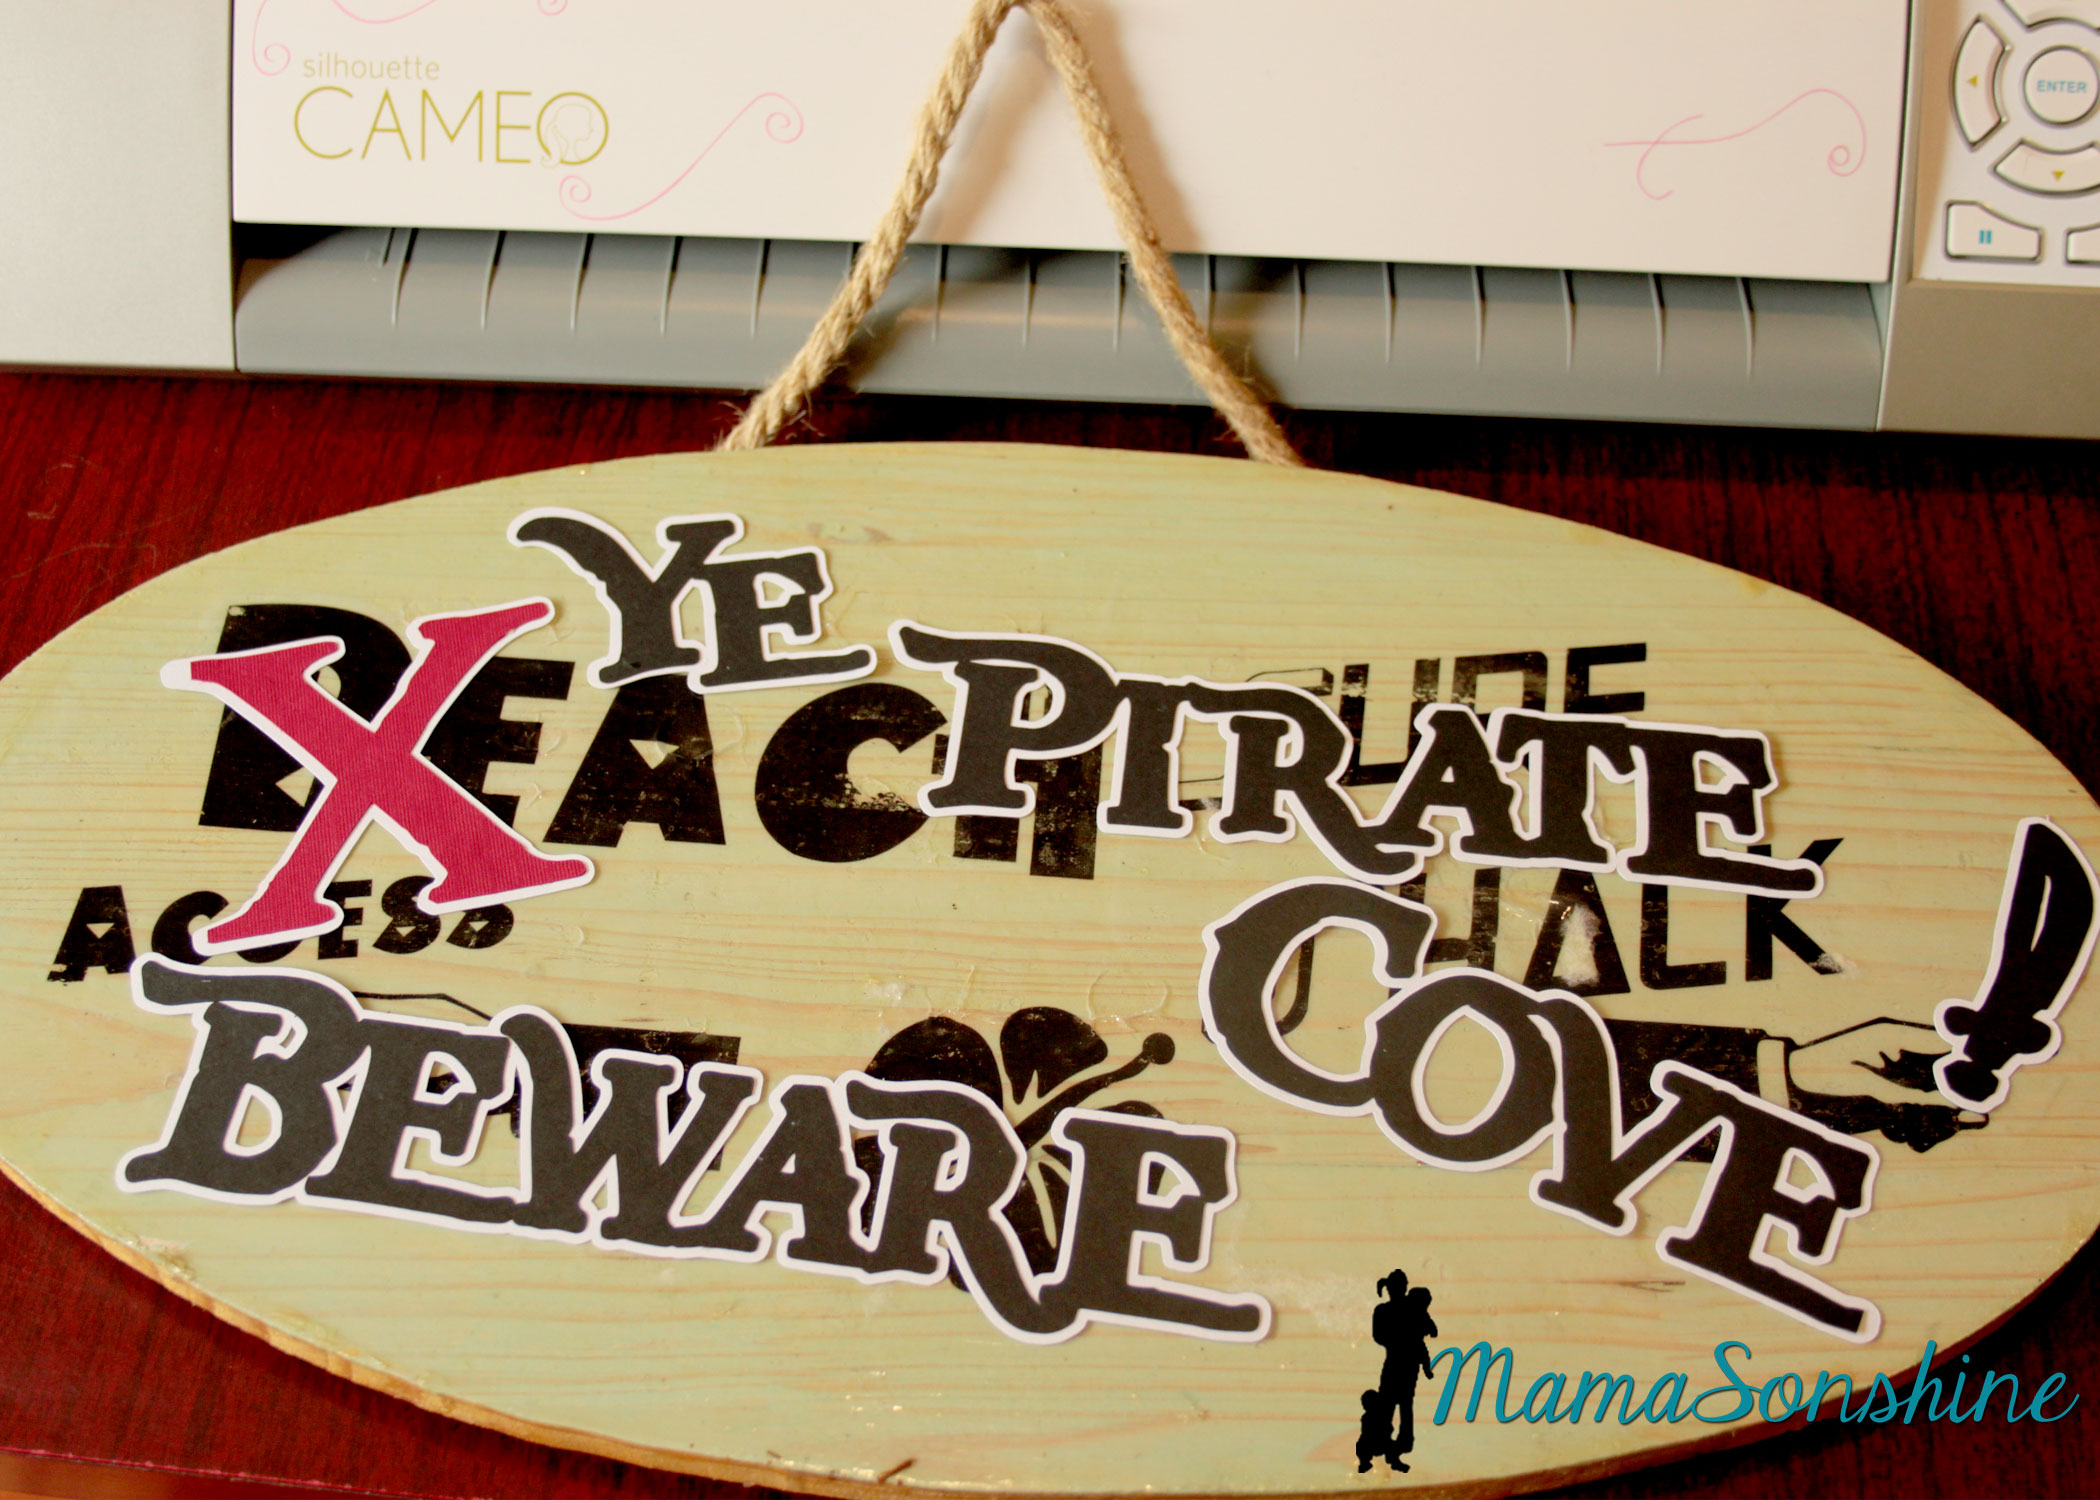
I took the sign I made for Sid’s beach party and cut out letters to make it look like Pirates had taken over the beach. I was going to redo the sign, but my mom wanted to keep the original, so I had to make something temporary. She has kept the sign up on the front of her house since Sid’s party.
Of course the night before I decided to make Sid a shirt to wear for the party. Then I realized I had to make Ian one in a similar style, even though I had already made him a birthday shirt.
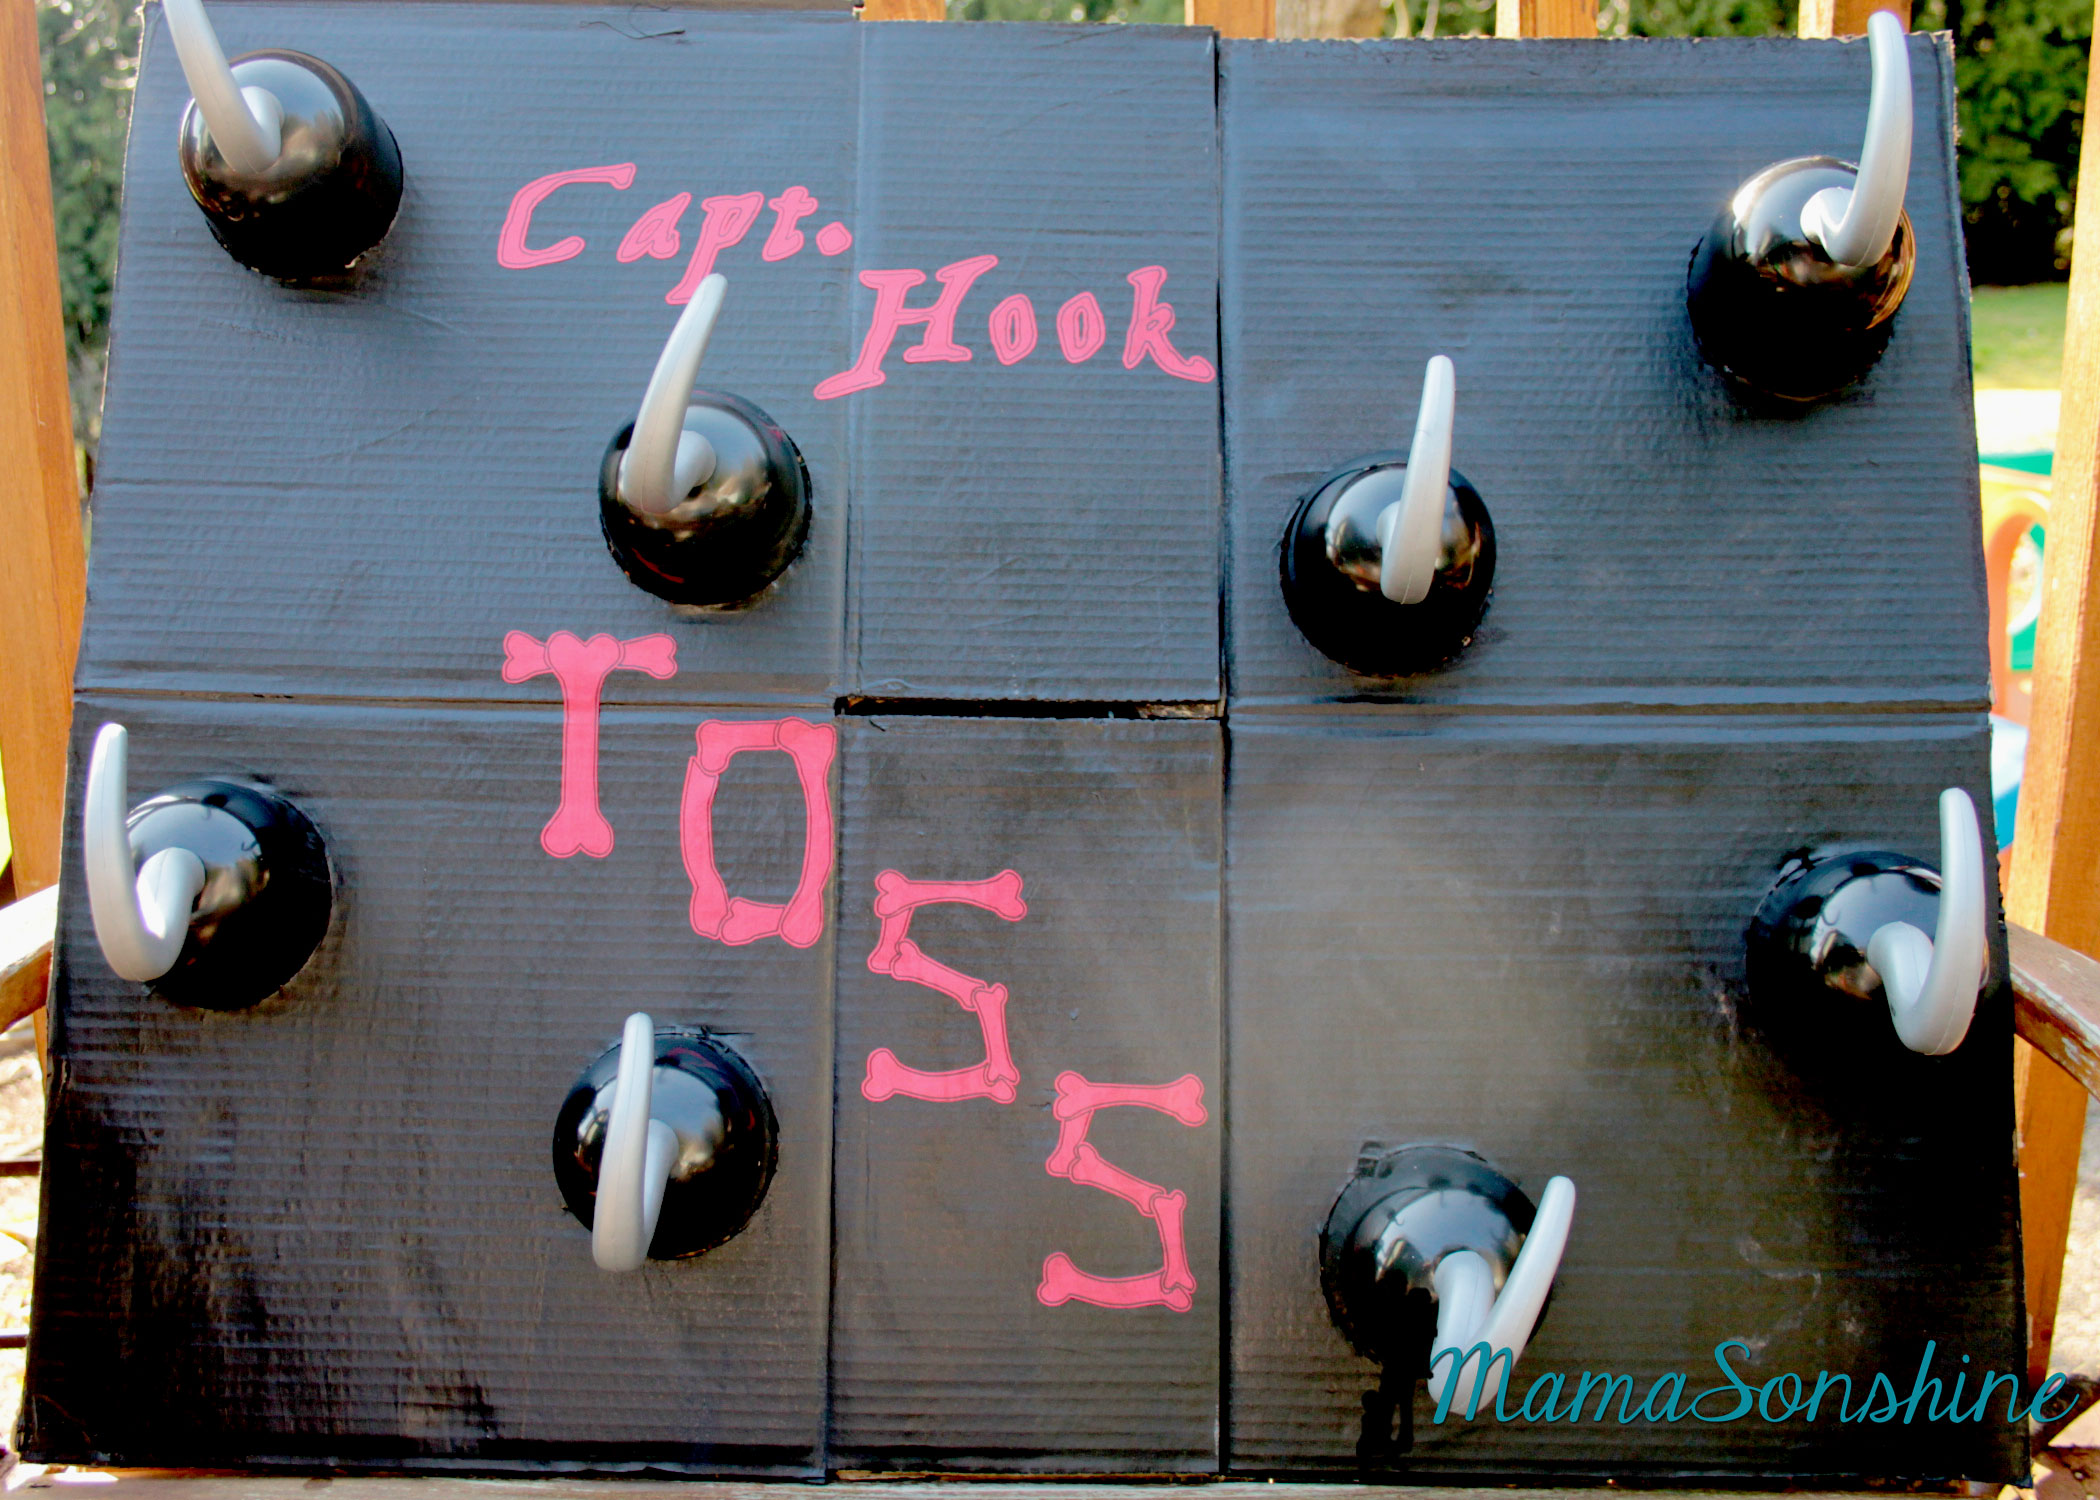
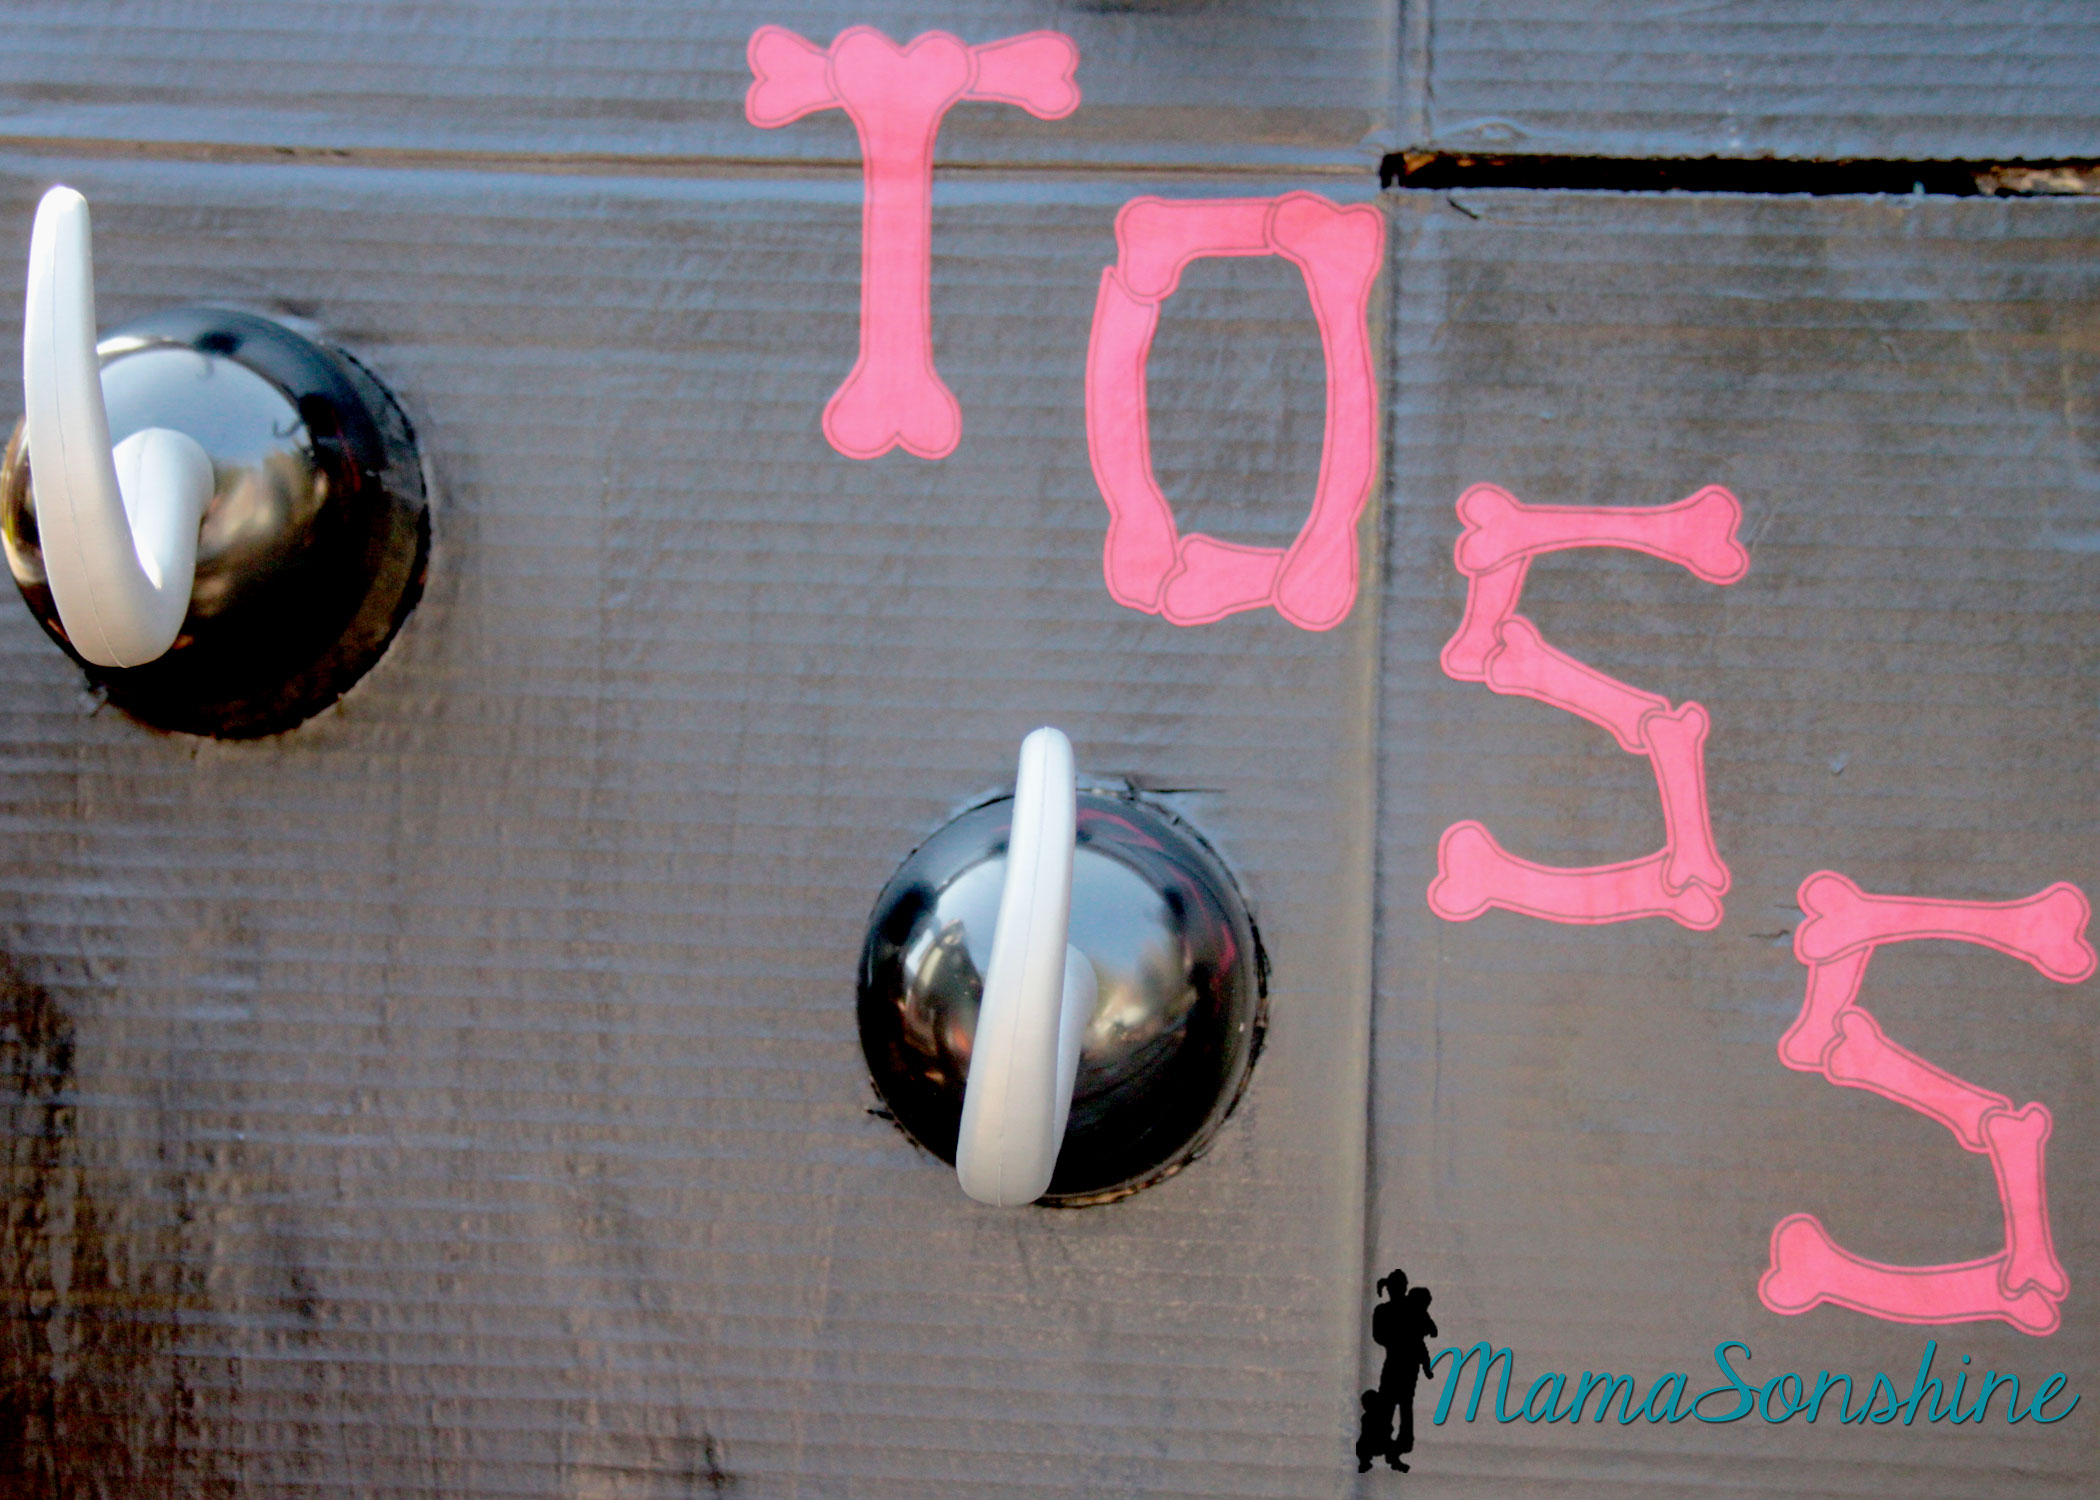
I just cut circles out of a cardboard box and painted the flattened box. I used my cameo to cut the letters out of cardstock and Mod Podge to glue them on.
Baby Sid loved playing the hook toss game.
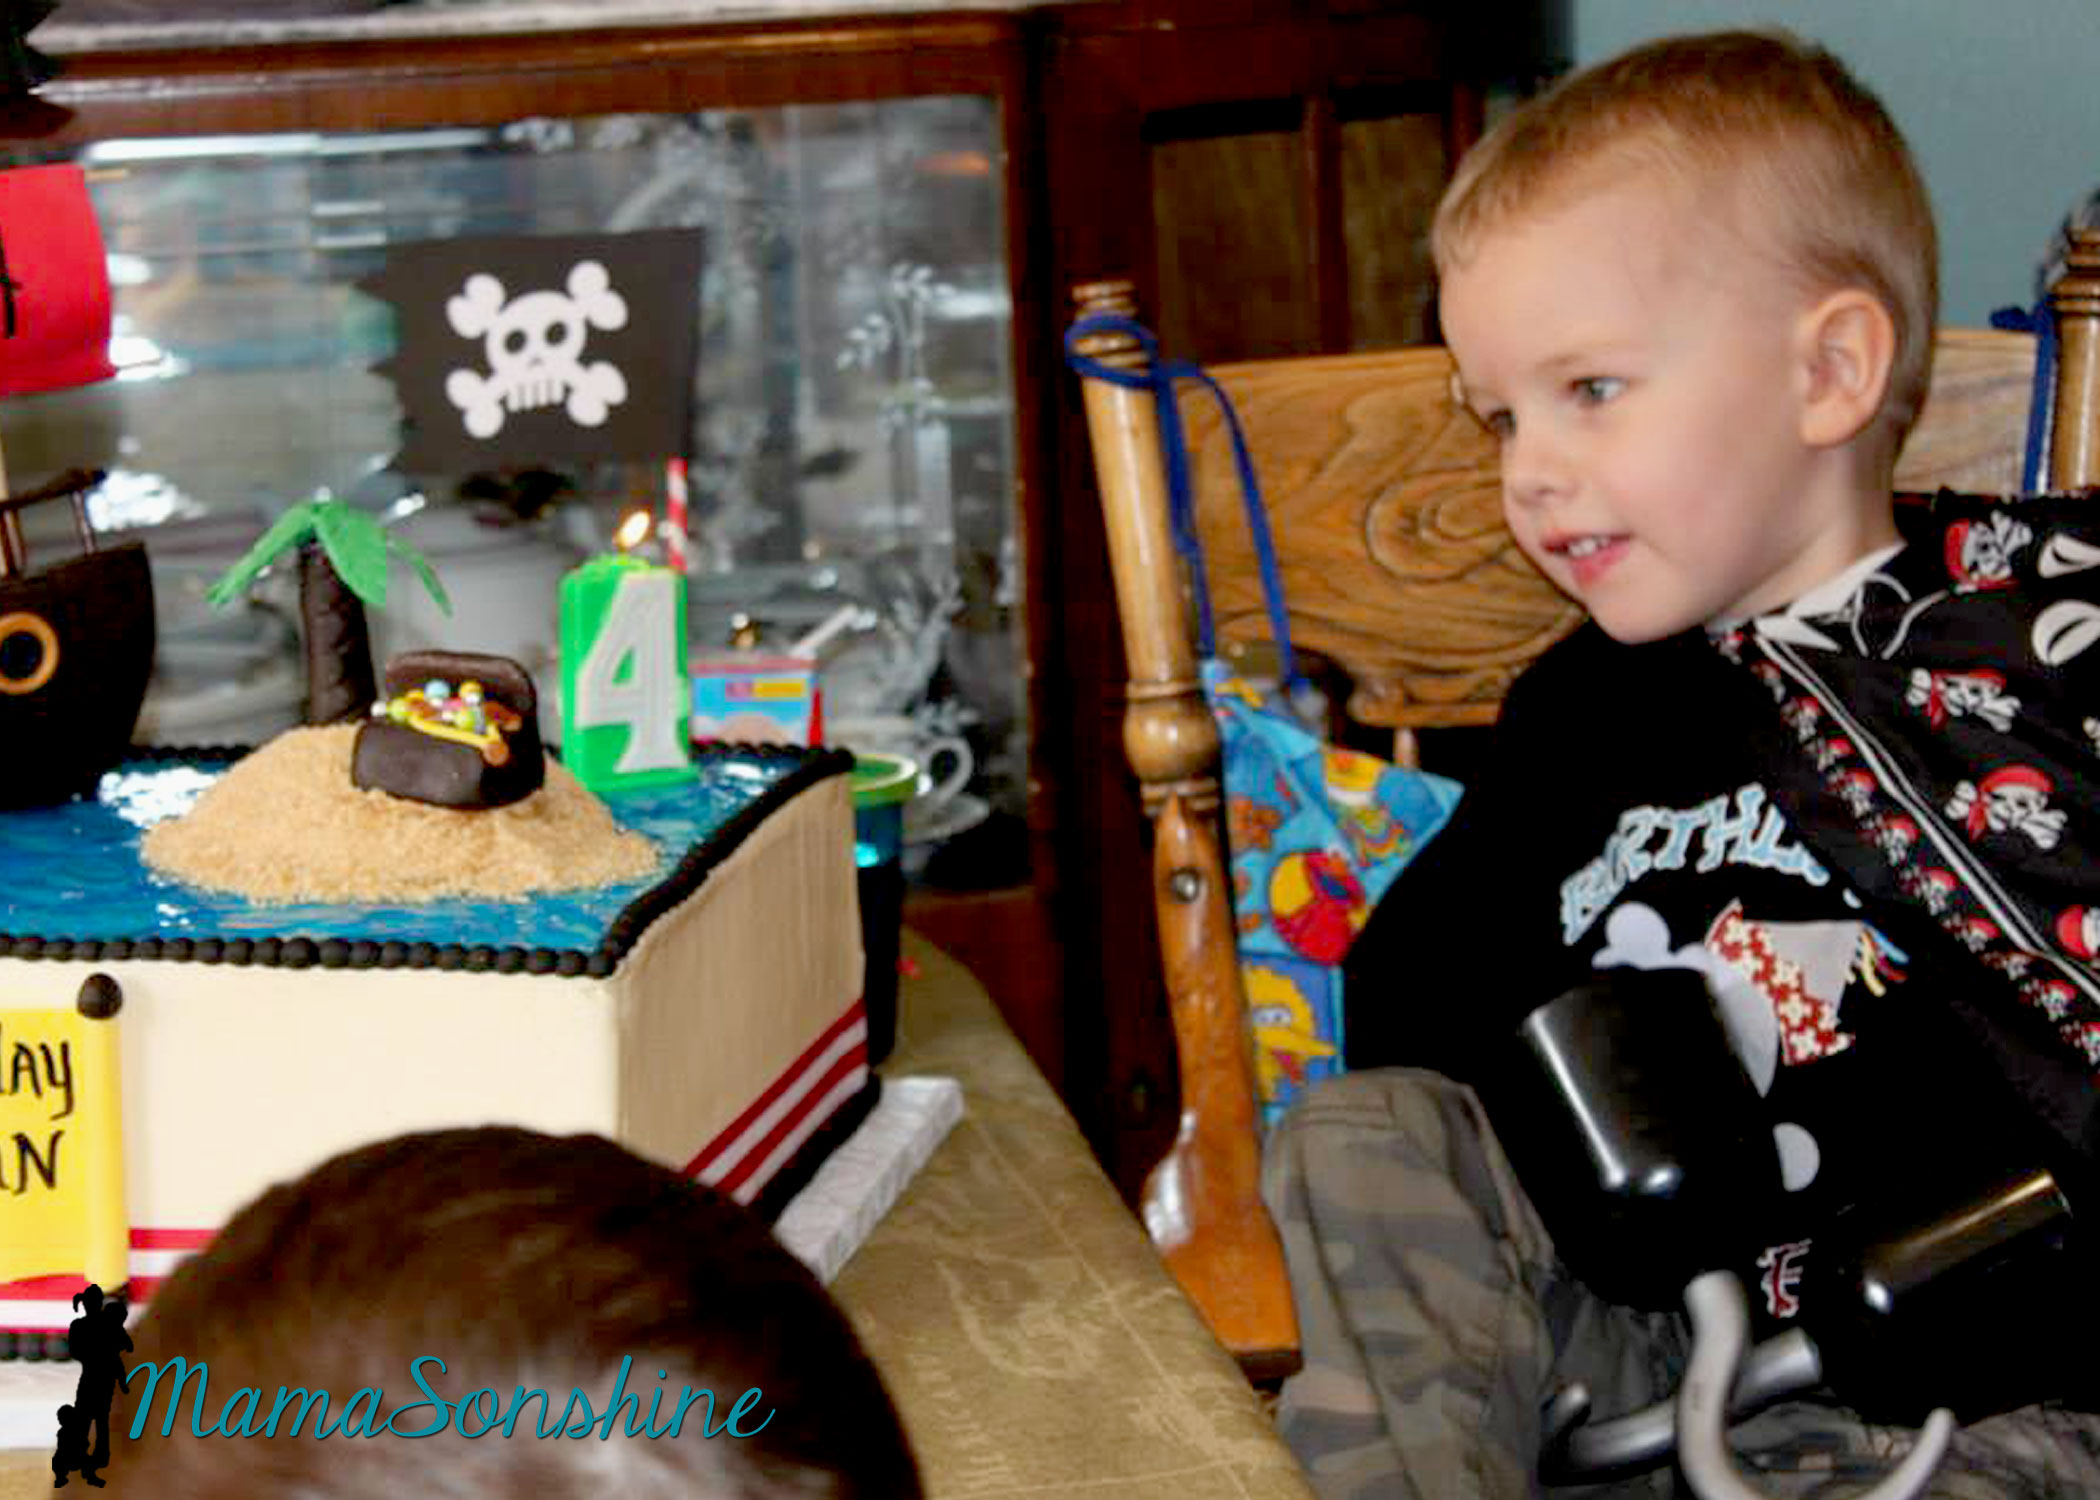
It was super difficult to get a picture of the birthday boy, he was in constant motion that day.
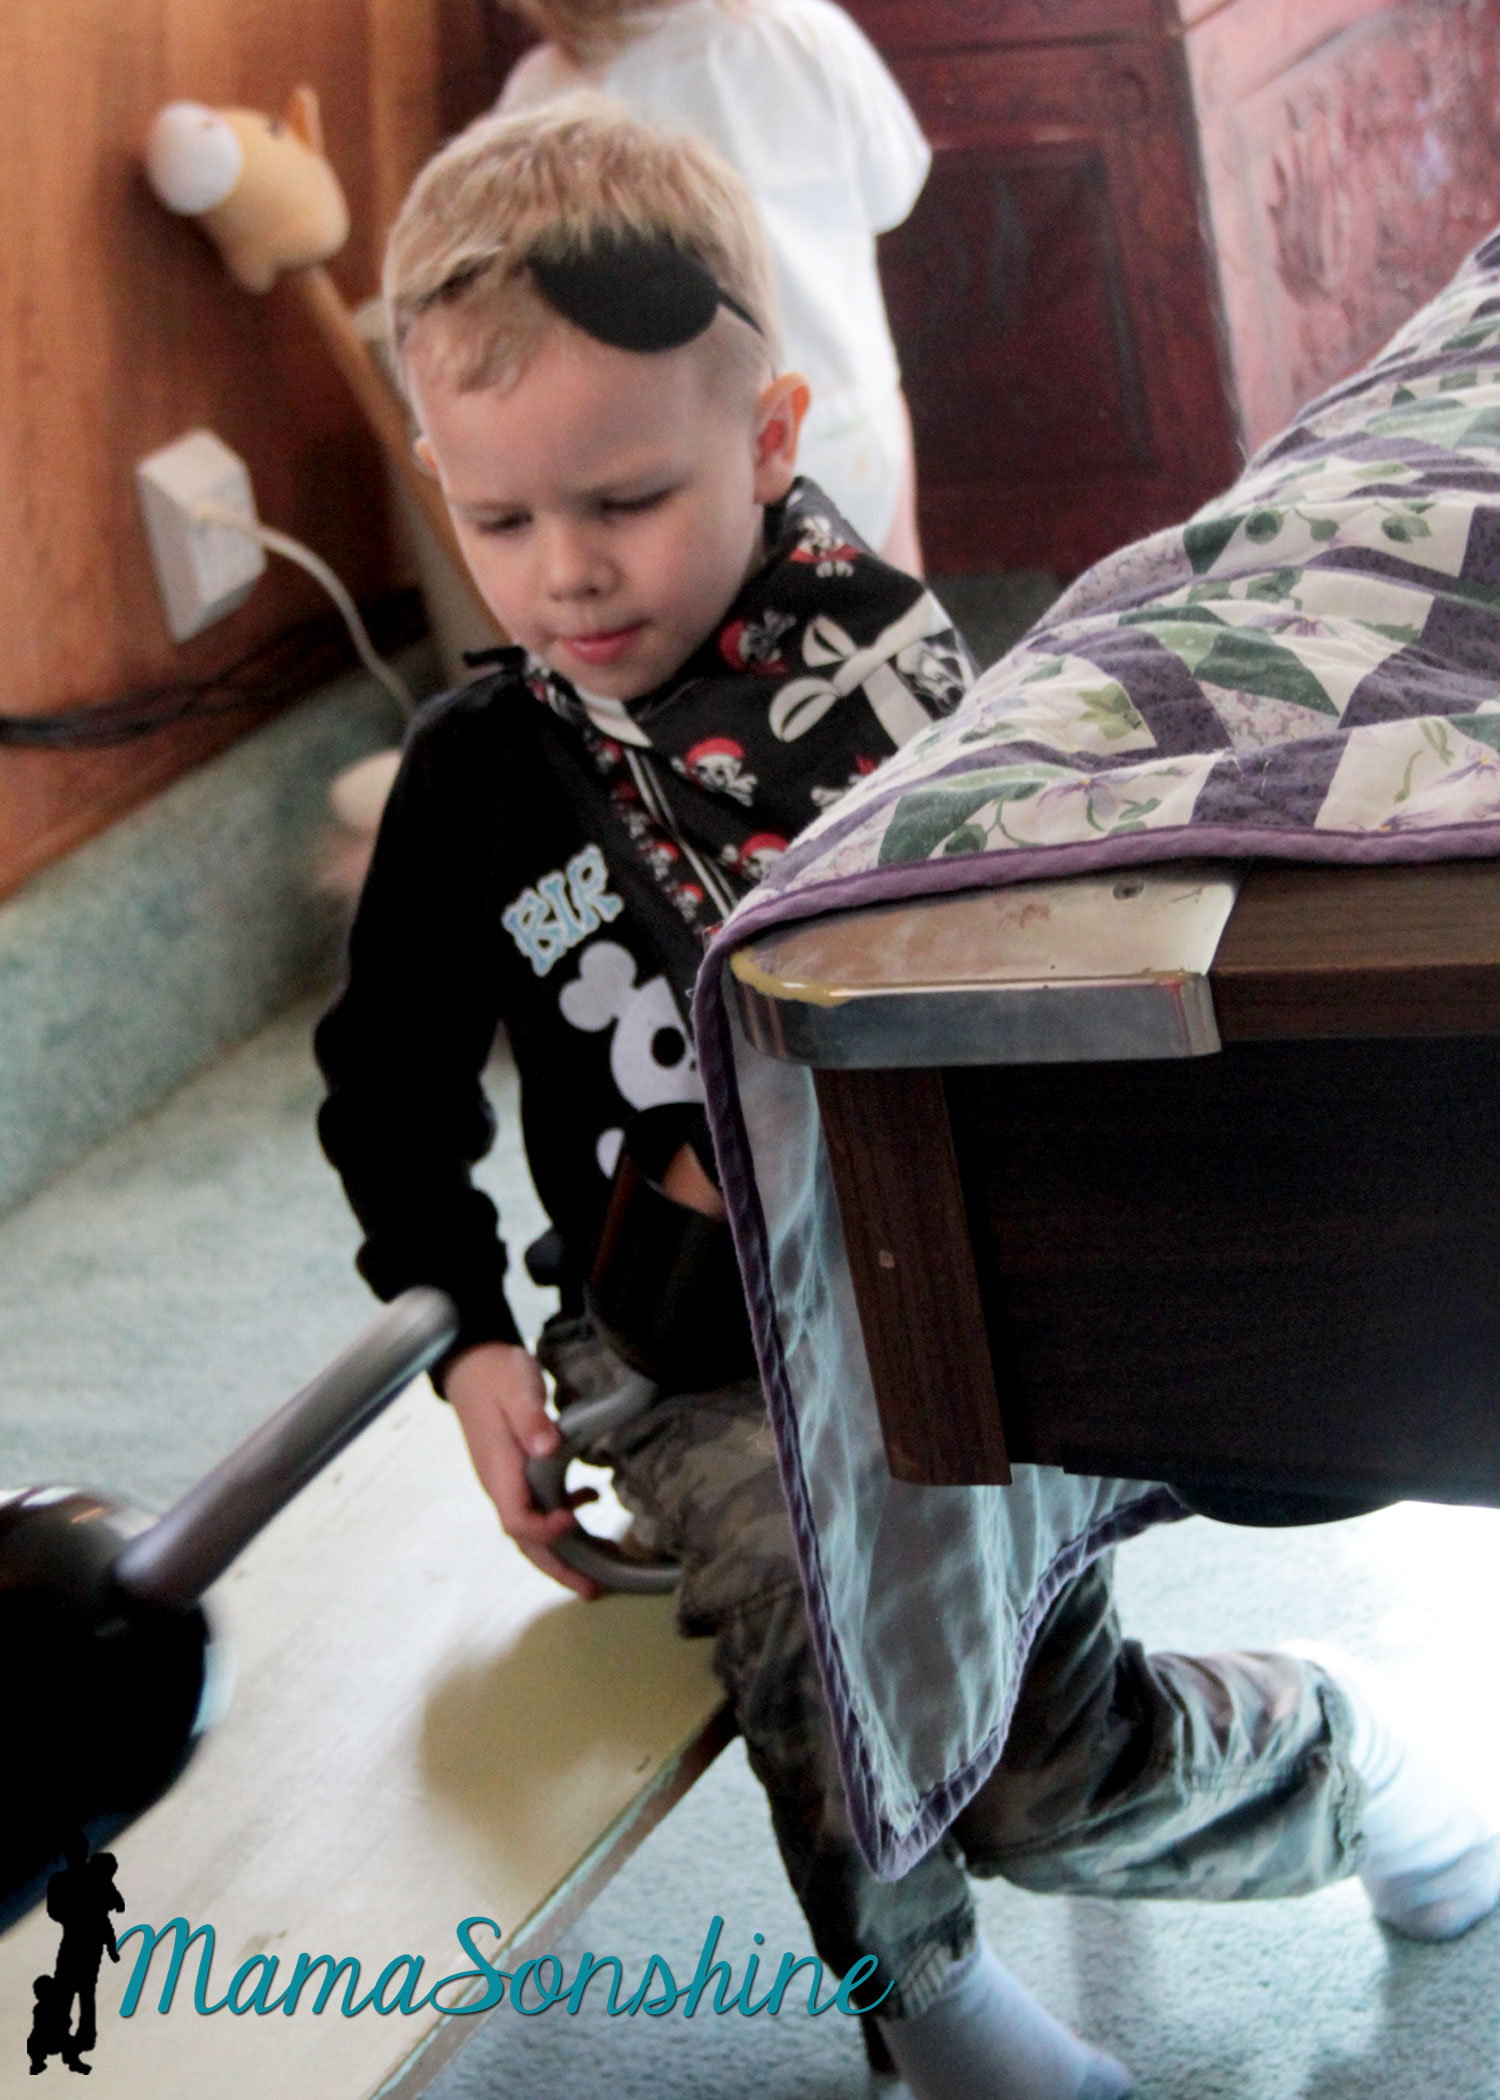
Since it was March in the Pacific Northwest, we couldn’t let the kids play outside. The kids got walk the plank in the basement. I used a wood board my mom had, some step stools and the kid pool. I thought about filling it with those plastic balls you find in a ball pit, but didn’t have time to order them.
The kids didn’t need anything to jump into. They loved the plank just the way it was.
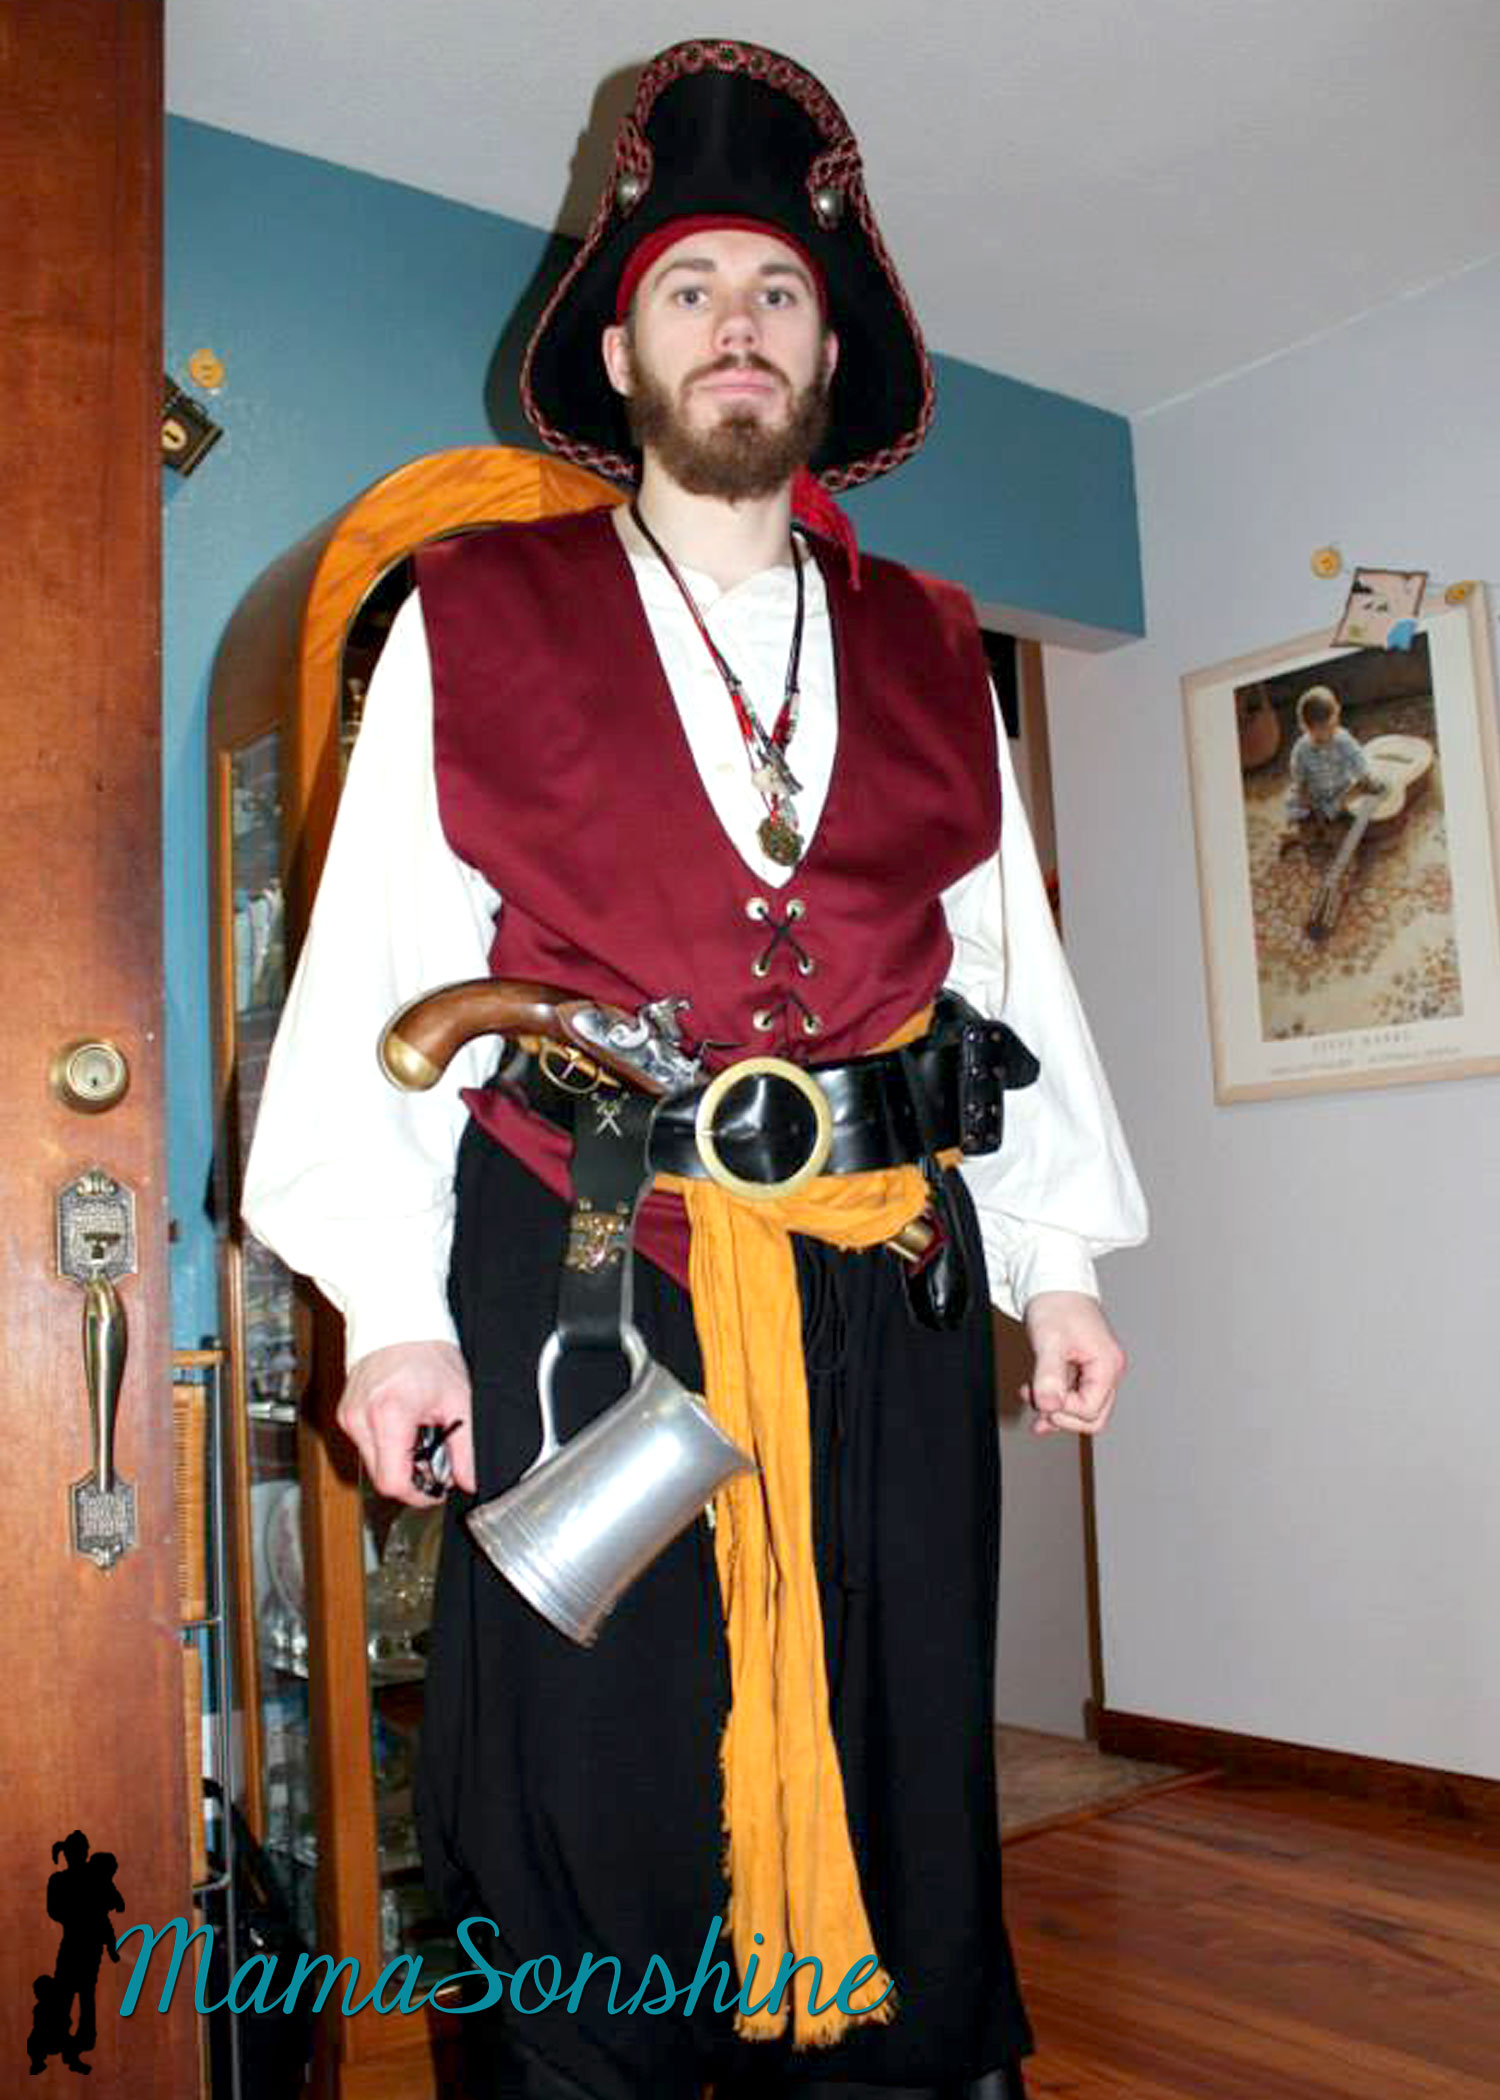
And what kind of pirate party would this be without a real pirate?
My cousin is part of a pirate group in Portland and he was kind enough to show up in full pirate grab. He was the hit of the party!
It was a busy day but Ian loved his party.
Thanks for visiting, remember to Shine On
Want to Check Out More Silhouette Projects?
My Silhouette Challenge buddies and I are all sharing projects on our blogs today, so pursue the projects below for a wealth of Silhouette inspiration!