
Freezer paper is every crafters’ best friend and I can now see why.
I have made shirts for the boys before using Heat Transfer Vinyl and Printable Heat Transfer Material, but never using fabric paint.
For this month’s Silhouette Challenge the theme was patriotic. Seriously you could go anywhere with that theme, but I decided the boys needed custom shirts to wear on the 4th of July.
I wanted to make a stencil out of freezer paper that I cut with my Silhouette Cameo. I didn’t want the basic plain old flag, but I wanted something kinda flag related.
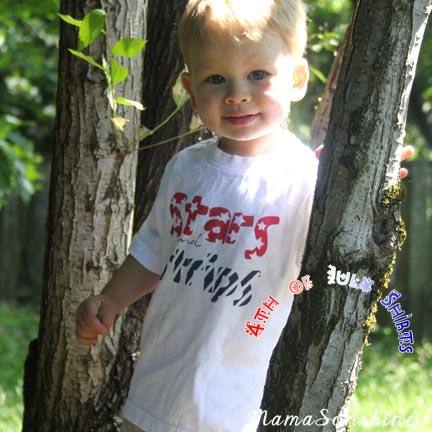
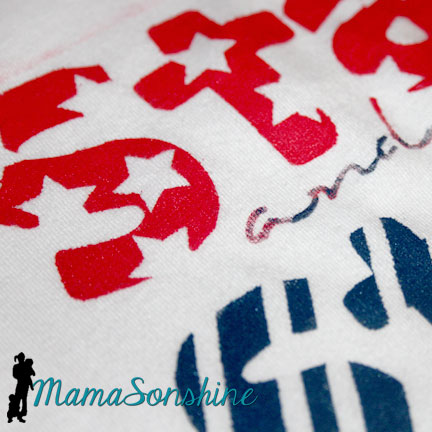
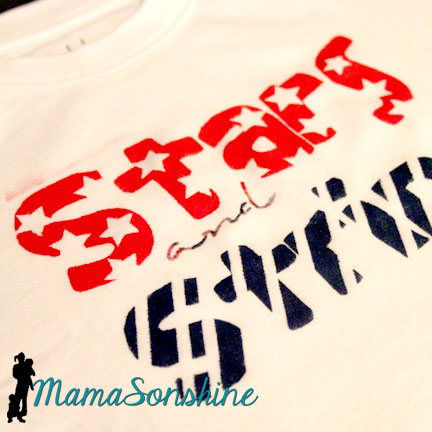
So I cam up with this shirt for Sid. It says “Stars and Stripes” and has coordinating graphics with the words. And it was done in Red, White, & Blue. Tots Adorbs huh?
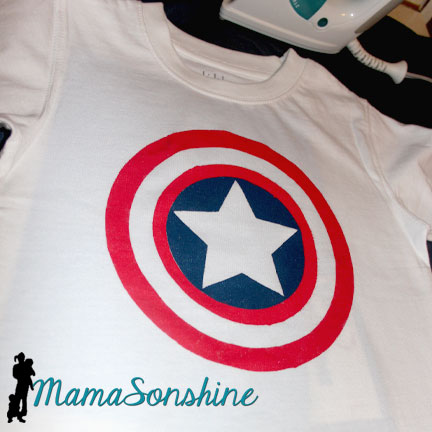
Since I didn’t actually want them to match I decided to make Ian a Capt. America shirt. Because who is more patriotic than Capt. America?
The process
Create and cut your design, you don’t have to use a cutting machine to make a shirt out of freezer paper but it sure is helpful.

In the cutting machine the freezer paper can be cut with shiny side up or shiny side down. However, the shiny side is the side you will iron to your fabric, so if you cut shiny side up, you will need to mirror (flip horizontally) your design. I used a blade of 2, speed of 3 and thickness of 10. But there has been a variety of recommended settings on-line, so make sure to do a test cut first.
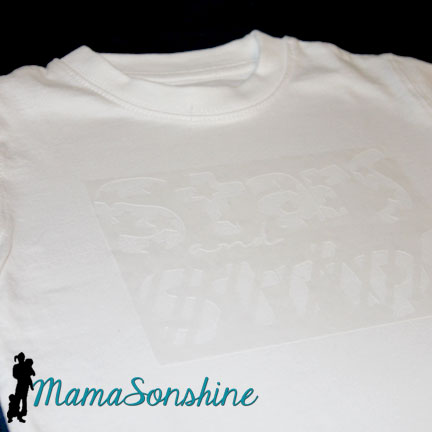
Iron on your stencil. Put the shiny side down on your fabric and use a dry iron on the setting for your fabric. Use lots of pressure, and pay extra special attention to the edges. You don’t want paint to bleed under the stencil. Freezer paper and transfer tape don’t mix, so you will have to put all those little letter innards back by hand. I made font decisions with this in consideration.
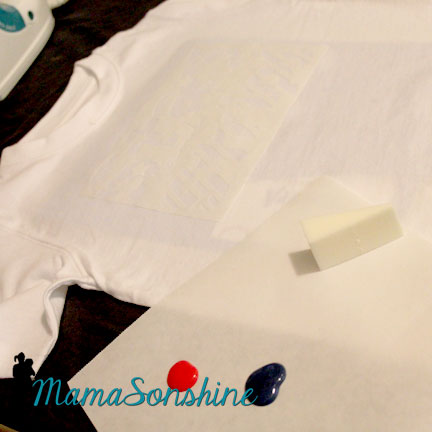
Here is a little confession. I don’t paint much, so I didn’t have any paint sponges or foam brushes or anything at home. You know what I did have though? Make-up foam applicator, which worked just fine.
Make sure you place a piece of cardboard or a few pieces of cardstock between the layers of your shirt. The paint can bleed through, and you don’t want it showing up on the back of your shirt.
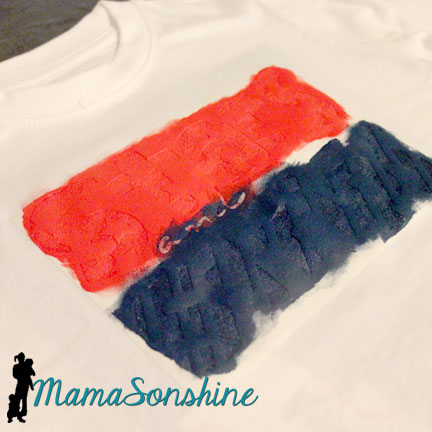
Make sure you dab and lift, do not brush. Brushing can lead to paint bleeding under your stencil. The idea is have many thin layers of paint instead of one thick one. I decided I wanted the ‘and’ to be a mix of red and blue, because I didn’t want too much of one color.
Let your paint dry and peel up your stencil. You may have to hold down the shirt to avoid stretching the newly painted fabric.
Most fabric paint requires you to heat set it, running the iron over the design so the paint doesn’t wash off. The fabric paint I bought did not have that on the instructions, but I did it anyway. I ran the iron over the front of the shirt, with a pillowcase in between, after is had dried for a couple of days. I turned it inside out and washed it after that.
If you notice above the word “stars” you can see a little smear of red pain because the frame of my stencil was too small. I didn’t run the iron over that part, and it was mostly gone after washing it. So I am glad I did heat set the rest of the shirt.

The Captain America shirt seemed like it was going to be easy, but I forgot about the fact that there is a red circle next to a blue circle with no white between.
So I had to paint it on two different days.
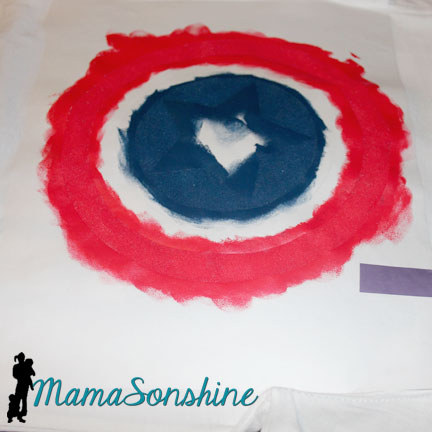
The stencils were different circles, so the inner white circle is actually two. After all the above was dry, I removed the circle next to the blue, but left the one where it should be white. I then added another circle to cover the blue center. This one didn’t stick as well because I was afraid to mess up the paint, so I didn’t press to hard or long.
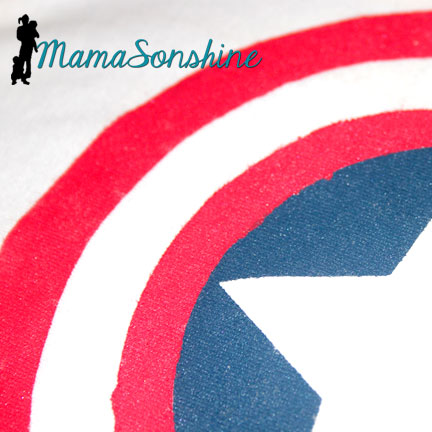
This lead to some bleeding of the red paint in to the blue circle.
But it only looks bad close up.
My older son then informed me he no longer likes Capt. America, so he wouldn’t wear the shirt for me.

He did tell me he was a Mystic Forest Ranger Zombie Hunter though.
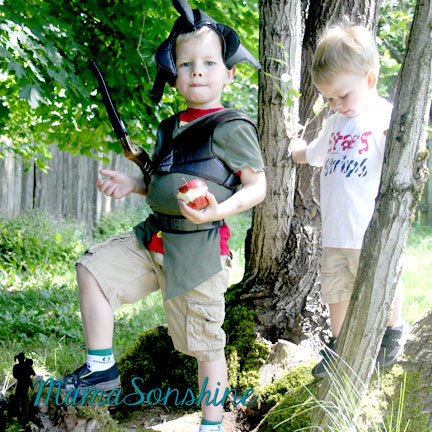
At least Sid was cooperative.

Happy Crafting


Want to Check Out More Silhouette Projects?
My Silhouette Challenge buddies and I are all sharing projects on our blogs today, so pursue the projects below for a wealth of Silhouette inspiration!
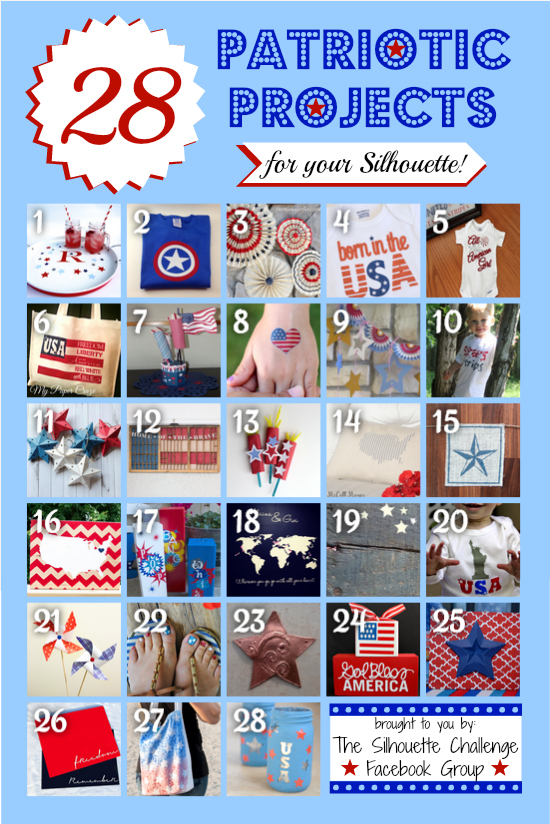
1. Our Rosey Life // 2. My Mom Made That // 3. The Kim Six Fix // 4. Create & Babble // 5. The Frill of Life // 6. My Paper Craze // 7. Kate’s Paper Creations // 8. Simply Kelly Designs // 9. Dragonfly & Lily Pads // 10. Mama Sonshine // 11. Lil Mrs. Tori // 12. Tried & True // 13. It Happens in a Blink // 14. McCall Manor // 15. The Thinking Closet // 16. unOriginal Mom // 17. Sowdering About // 18. Weekend Craft // 19. The Outlandish Momma // 20. Adventures in All Things Food // 21. Practically Functional // 22. Silhouette School // 23. Please Excuse My Craftermath… // 24. Ginger Snap Craft // 25. Pineapples And Pinecones // 26. Black and White Obsession // 27. TitiCrafty // 28. Architecture of a Mom //


June 9, 2014 at 7:56 am
I’m sure he’ll like Captain America again eventually. 😉 I love the shirts though, and great problem solving by using your makeup applicators! I might have to pick some of those up just for crafting!
June 9, 2014 at 9:37 am
cute shirts!!
June 9, 2014 at 8:46 pm
So cute! My bigger kid is the same way, no cooperation with the photos these day!
June 9, 2014 at 10:49 pm
The makeup sponges thing is SO SMART. I am always digging though the craft closet looking for a foam brush, but the sponges are right there. Genius
June 12, 2014 at 2:28 am
Thanks for the lovely comment you made on my blog. I love these shirts and what a brilliant idea to use freezer paper for the stencil!! TFS and have a great rest of the week.
June 12, 2014 at 9:59 pm
You did a great job on those shirts! I haven’t used freezer paper before, I always use contact paper, but after your post i might try freezer paper!
June 22, 2014 at 9:30 pm
Your shirts turned out fabulous and your boys are adorable! I really like the seal you get from freezer paper on fabric. Great tutorial. Sorry I’m so slow commenting but I have the grandkids now since school is out and it’s total chaos. Have a great week.
July 15, 2014 at 9:44 am
Thanks for the kind words Glenna! (as you can see, I’m kinda slow on commenting too)
July 22, 2014 at 6:33 am
I do a lot with stencils too but I make mine out of Fellows Binding Covers (they’re usually with the laminating machines) and I use Indoor/Outdoor Krylon paint – the stencils are reusable and the spray paint only takes one coat and wait two days to let it fully set without any ironing. I also put a piece of cardboard inside the shirts and never have bleed through. The Krylon paint is cheaper and faster to put on than regular fabric paint and when washed comes out as soft as the rest of the shirt. The two day wait is the trick to the paint staying on good.
Pingback: How To Make A Pinwheel {+ Free Template}