I had thought I was very cleaver making my four-year old a Capt. America shirt for him to wear on July 4th.
Till I showed him and he said “I don’t yike Capt. America now”
hmmm….
OK back to the drawing board.
This time around I decided to take a sailors approach to the flag. Because I saw Lauren’s post (The Thinking Closet) about her Nautical Star Banner. I just loved the nautical star and thought it would look great on a shirt. But I didn’t want plain old boring stripes….
hmm….what to do….
Then my son picks these out at the store. “I’m a SHARK! dana dana dana”
So my brain clicked and this shirt was born. Just in the nick of time.
My original plan was to do the stencil with freezer paper, because it makes a tighter seal and crisper lines.. But the cuts are too intricate for my dull blade. So I used vinyl, and as you can see some of the detail, like the gills was lost, and the edges are a little blurred.
The tricky part to this shirt is all the small pieces, I didn’t want to lay every little piece of freezer paper down one at a time. I thought I would share how I connected all the parts to make one complete stencil. Lauren also talks about how to do this in her afore-mentioned post.
First find the FREE images you want to use and trace them. (Please be mindful of copyright laws, and other people’s art work)
Draw lots of little rectangles using the rectangle tool. Place them on top, over the two parts you want connected. Select everything, go to the modify window and click on subtract. Then select everything again and click on make, under compound path.
If you go to the color fill tool box and fill your shape with a color, you can easily see you now have a star that has missing parts. The parts that are colored is what will be painted on the shirt.
After tracing the shark, we do the same thing. Make rectangles, go to modify and click subtract.
Then, under compound path, click make (after selecting all parts of the shark). You will see that when I traced the shark, I made sure that the gills and eye were part of the white portion. This eliminates a bunch of little eyes having to be added after the stencil is laid down.
Draw a large rectangle, the size that you want your flag. Use the replicate and alignment tool boxes to fill the rectangle with your stars and stripes.
The row of … and column of…were especially useful in this design. As was the space vertically and space horizontally tools in the alignment tool box.
Now select everything, the outer rectangle, all the sharks and all the stars, go to the modify window and click on makecompound path.
Of course this removes all the fill colors you have used, but that’s ok.
If you click on a fill color now, you will see that all the parts that will be your stencil are now colored. These are the parts that the shirt will show through.
You can look closely and see all the parts are connected and will come off in one piece.
Cut, apply to shirt, paint, etc. You know the drill.
Got all that?
Well don’t worry, I decided to just let you download this cut file. For free. Yep. Go ahead and make your own. Tonight. Cause the fourth is coming soon.
Hey Dad, your cards are in this post, so if you keep reading you will see them. Because, like always, they are not in the mail. OK, I don’t know if the one my sister is sending you is in the mail yet or not, but I do know mine has not yet shipped.
Love you!
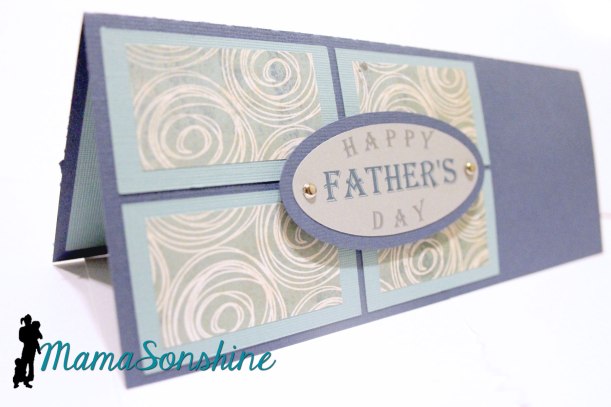
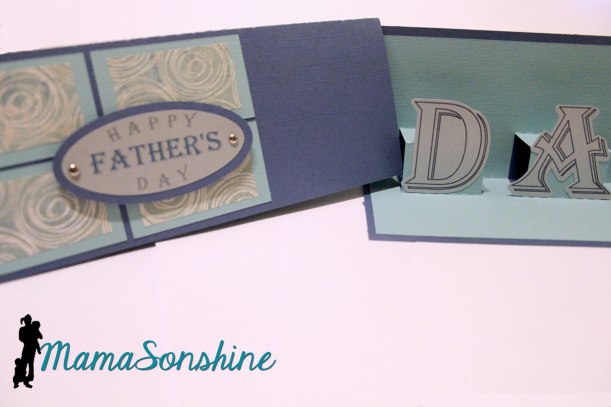
I made this card for my cousin to give her dad.
This is just a basic card for dads, there is no theme, but I really like it.
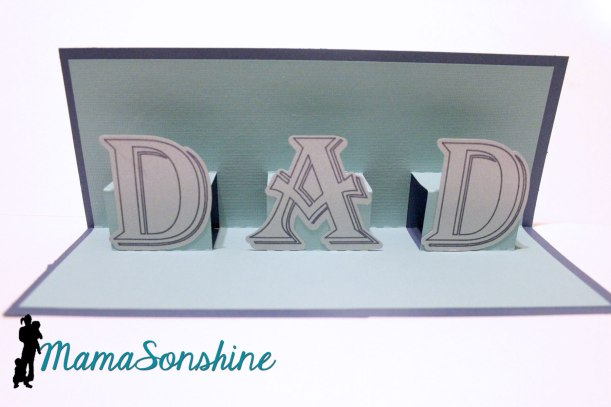
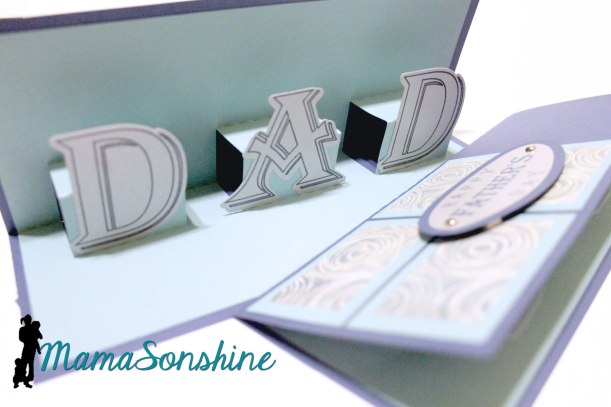
Inside is a simple pop-up that says “Dad” so from front to inside it reads “Happy Father’s Day Dad”
I really like the way the front turned out. I just used colored card-stock and a patterned scrapbook paper. I made sure there was no distance between the rectangles when cutting the patterned paper. I used Silhouette‘s print and cut feature for the front sentiment.
I used sketch pens on the letters before cutting them out.
I think the card is elegant and still masculine.
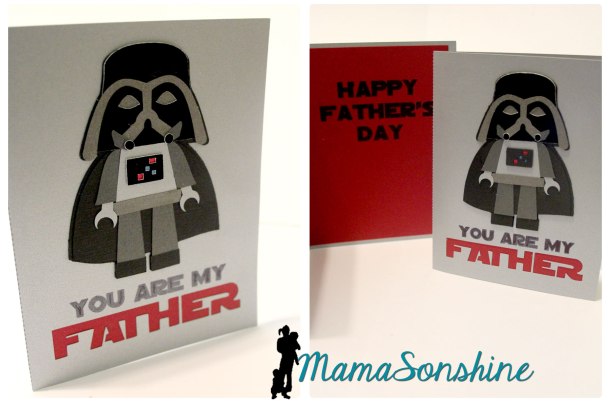
My sister asked me to make a card for our dad, but she requested it be different from the one I would give him.
So I made this one for her to send. I think it fits her and her family pretty good, as they are (well, really, we all are) huge Star Wars & LEGO fans.
The LEGO Darth Vader was also part of the blog hop I talked about here.
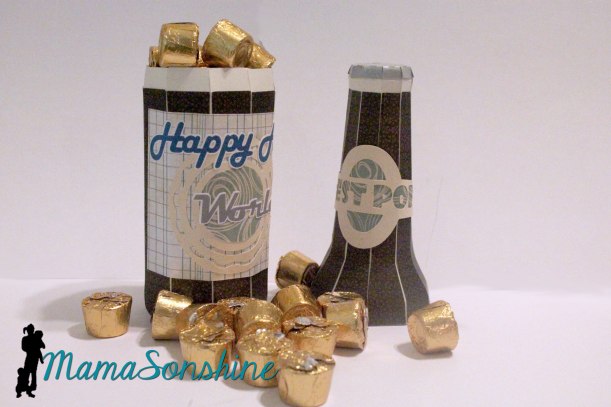
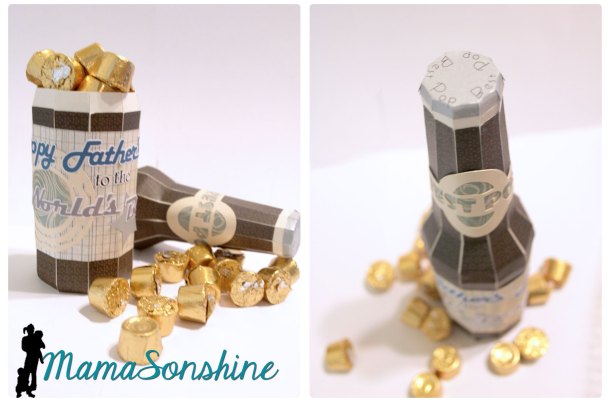
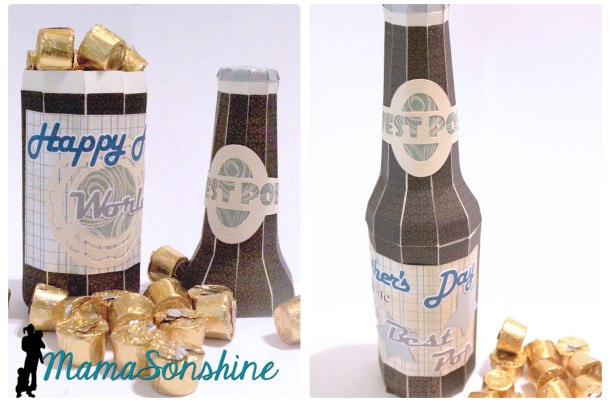
I wanted to do something different for my dad, than just another card. I have seen all the fun puns on Pinterest saying “World’s Best Pop” attached to a soda bottle. But my Dad lives out-of-town, and really I didn’t want to give him some soda.
At SVG Cuts I found this soda bottle in their Surf Shack kit and knew it would be perfect.
Using the bottle, I made a custom label, for the base and the neck. I also used the print and cut feature to decorate the bottle top.
The base label says “Happy Father’s Day to the Worlds Best Pop” which I again used the print and cut feature. I filled it with candy for him to enjoy.
I think it is quite a unique card and I had a blast making it.
Freezer paper is every crafters’ best friend and I can now see why.
I have made shirts for the boys before using Heat Transfer Vinyl and Printable Heat Transfer Material, but never using fabric paint.
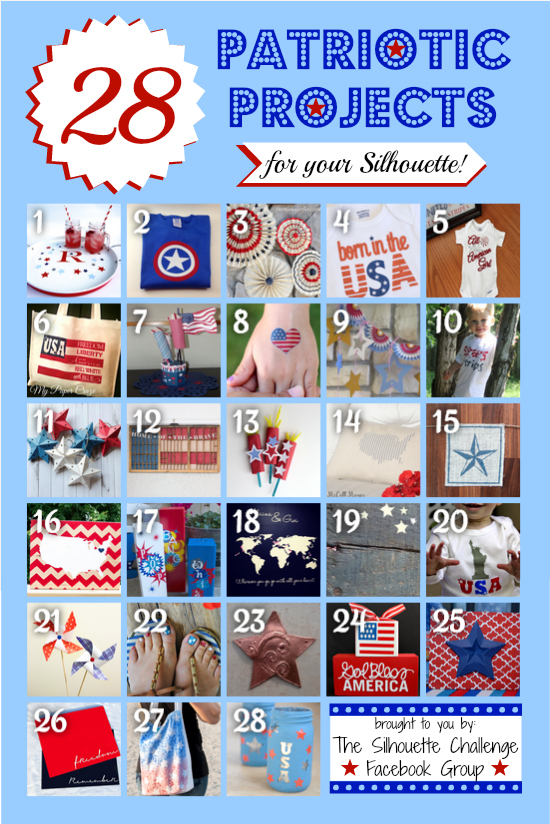
For this month’s Silhouette Challenge the theme was patriotic. Seriously you could go anywhere with that theme, but I decided the boys needed custom shirts to wear on the 4th of July.
I wanted to make a stencil out of freezer paper that I cut with my Silhouette Cameo. I didn’t want the basic plain old flag, but I wanted something kinda flag related.
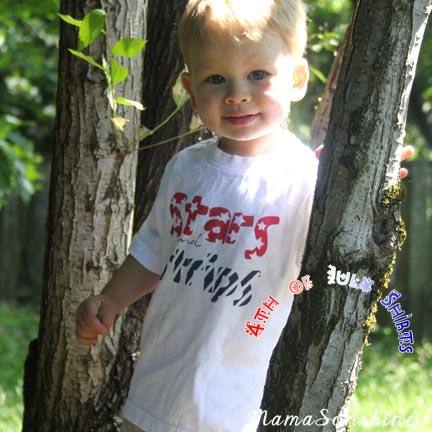
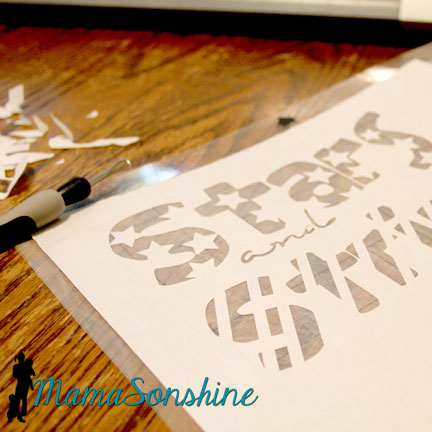
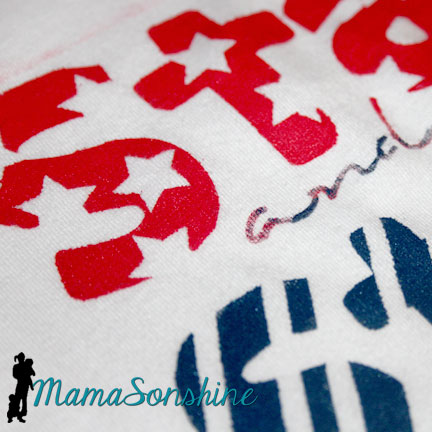
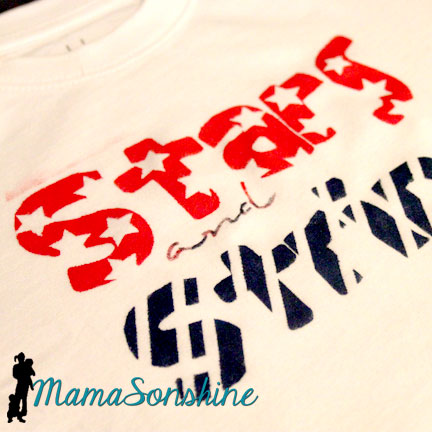
So I cam up with this shirt for Sid. It says “Stars and Stripes” and has coordinating graphics with the words. And it was done in Red, White, & Blue. Tots Adorbs huh?
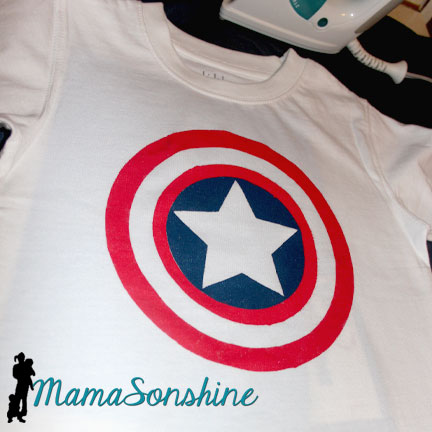
Since I didn’t actually want them to match I decided to make Ian a Capt. America shirt. Because who is more patriotic than Capt. America?
The process
Create and cut your design, you don’t have to use a cutting machine to make a shirt out of freezer paper but it sure is helpful.
In the cutting machine the freezer paper can be cut with shiny side up or shiny side down. However, the shiny side is the side you will iron to your fabric, so if you cut shiny side up, you will need to mirror (flip horizontally) your design. I used a blade of 2, speed of 3 and thickness of 10. But there has been a variety of recommended settings on-line, so make sure to do a test cut first.
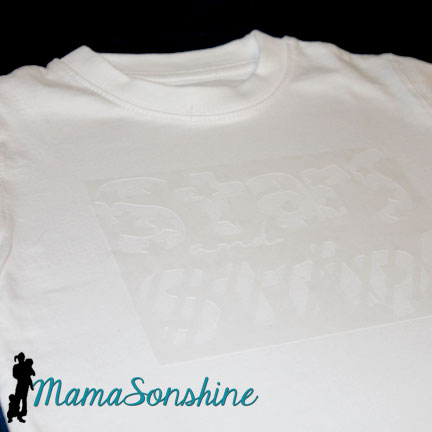
Iron on your stencil. Put the shiny side down on your fabric and use a dry iron on the setting for your fabric. Use lots of pressure, and pay extra special attention to the edges. You don’t want paint to bleed under the stencil. Freezer paper and transfer tape don’t mix, so you will have to put all those little letter innards back by hand. I made font decisions with this in consideration.
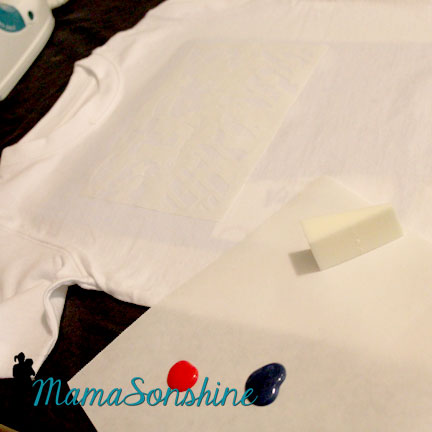
Here is a little confession. I don’t paint much, so I didn’t have any paint sponges or foam brushes or anything at home. You know what I did have though? Make-up foam applicator, which worked just fine.
Make sure you place a piece of cardboard or a few pieces of cardstock between the layers of your shirt. The paint can bleed through, and you don’t want it showing up on the back of your shirt.
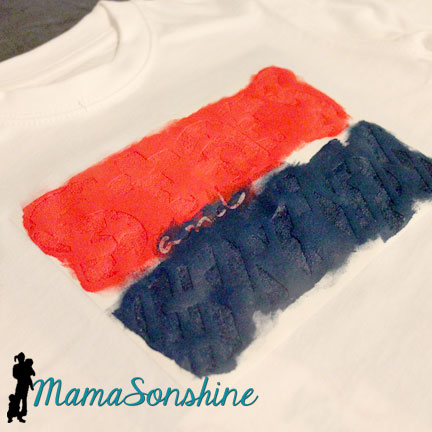
Make sure you dab and lift, do not brush. Brushing can lead to paint bleeding under your stencil. The idea is have many thin layers of paint instead of one thick one. I decided I wanted the ‘and’ to be a mix of red and blue, because I didn’t want too much of one color.
Let your paint dry and peel up your stencil. You may have to hold down the shirt to avoid stretching the newly painted fabric.
Most fabric paint requires you to heat set it, running the iron over the design so the paint doesn’t wash off. The fabric paint I bought did not have that on the instructions, but I did it anyway. I ran the iron over the front of the shirt, with a pillowcase in between, after is had dried for a couple of days. I turned it inside out and washed it after that.
If you notice above the word “stars” you can see a little smear of red pain because the frame of my stencil was too small. I didn’t run the iron over that part, and it was mostly gone after washing it. So I am glad I did heat set the rest of the shirt.
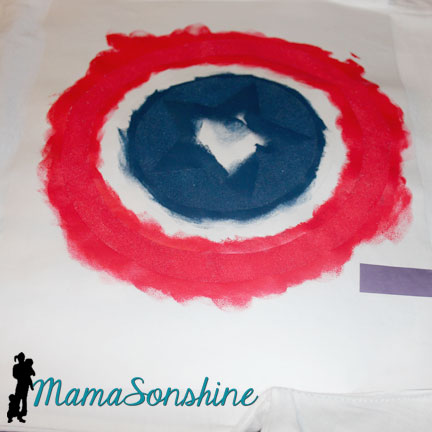
The Captain America shirt seemed like it was going to be easy, but I forgot about the fact that there is a red circle next to a blue circle with no white between.
So I had to paint it on two different days.
The stencils were different circles, so the inner white circle is actually two. After all the above was dry, I removed the circle next to the blue, but left the one where it should be white. I then added another circle to cover the blue center. This one didn’t stick as well because I was afraid to mess up the paint, so I didn’t press to hard or long.
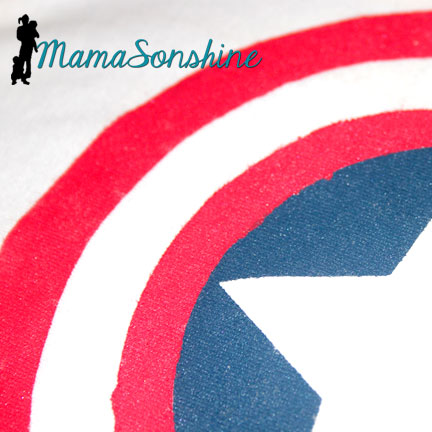
This lead to some bleeding of the red paint in to the blue circle.
But it only looks bad close up.
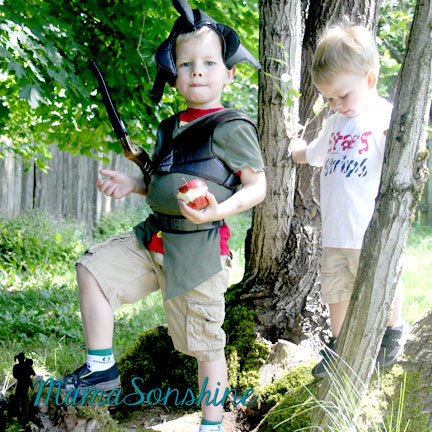
My older son then informed me he no longer likes Capt. America, so he wouldn’t wear the shirt for me.
He did tell me he was a Mystic Forest Ranger Zombie Hunter though.
At least Sid was cooperative.
Happy Crafting
Want to Check Out More Silhouette Projects?
My Silhouette Challenge buddies and I are all sharing projects on our blogs today, so pursue the projects below for a wealth of Silhouette inspiration!