As some of may have noticed I love to make party decorations.
This is great, as both my kids are young and have many more birthday for me to decorate.
Ian’s birthday is in March and I make him start deciding on a theme in December and verify it in January. This might seem difficult for a 4 (soon to be 5!) year old boy…..But Ian is different. Basically when he decides something, that’s it. He picks his Halloween costumes out 3 months in advance and doesn’t change his mind. So I know that if he decides he wants a Teenage Mutant Ninja Turtle party for his 5th birthday, that’s the party he is going to get.
I loved TMNT growing up and I love that Ian does too. Now they are different and I am not entirely sold on them yet, but it’s the thought right?
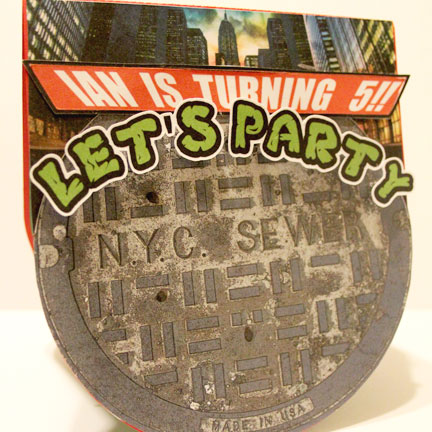
I couldn’t wait to share all the projects I made for Ian’s birthday and this months Silhouette Challenge “Party” fit so perfectly. I already shared how I made his pretty awesome invitations so I am not going to go into that again.
Here are the decorations from the party we had in March, I know….March was moths ago, don’t judge. (I will warn you, this post is heavy with pictures)


I actually had plans to make rosettes with all the turtles, but only got Mikey done. I was really please how the turtle head turned out after tracing and cutting with my Silhouette Cameo.

For Ian’s Superhero Party I made a city-scape backdrop for the food table, which of course I didn’t keep. Since I had to make a new one, I used my Silhouette and cut a stencil out of contact paper. It made painting the building super easy.

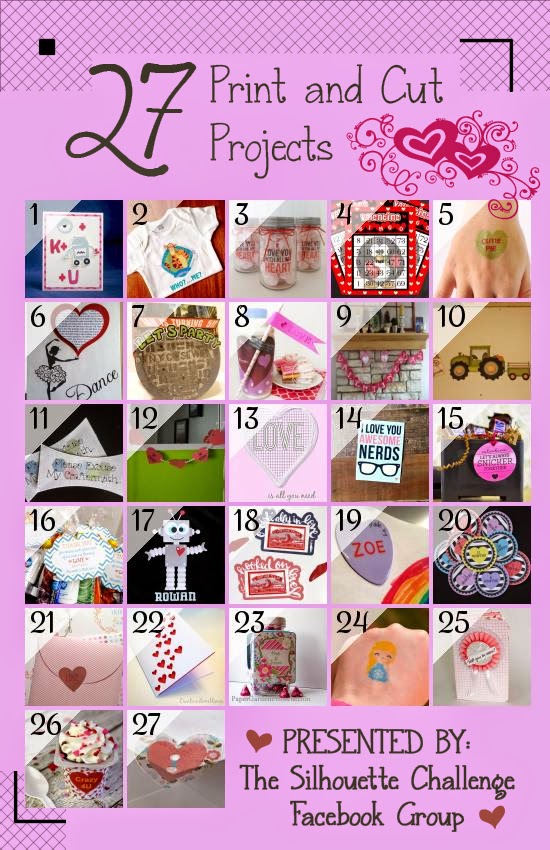
I just used white duck tape for the road lines on the black table cloth. The sewer grate and decorations on the colored circles hanging down were made with the Print and Cut feature.

I had this grand idea for the food labels, instead of using the table tents, like I normally do. I would make them like large cupcake toppers and just stick them in the food.

This is where planning ahead is important. I already had my menu planned, so it was easy to print and cut the food labels prior to the party.

My idea mostly worked, but a few things needed giant marshmallows as stands.


I was really happy how my pennant banner turned out. I used the sketch pens to draw the face before cutting out the triangle and then used the Print and Cut feature for the masks.

For Ian’s “Happy Birthday” Banner I wanted to use the same face as I did for the giant rosette. I ended up adding the black outer layer to give it more dimension. I just had to trace the image in three parts.

The pieces that had letter on them did not get the black outline, or white eyes. I didn’t want to take away from the letters.

Since there are four turtles I wanted to have all of them up there, so I made a turtle shell to go in between happy & birthday.

Because the number of letters in my banner is odd, I didn’t have a symmetrical color pattern. Don’t look too closely.

The turtles all started with some toxic ooze so we needed a warning sign. Using a wood sign, scrapbook paper, and distressing ink I made a sign for the vinyl letters and danger symbols.

I was going to use vinyl for the green ooze, but decided to try some paint. After painting on the drips, I just went ahead and let the paint drip down the sign. It was one of those “umm…why didn’t I do this earlier? because it is so much easier” moments.

It gets hung on the front of my mom’s house (Party Local), which is where I hang all my party signs.

When Ian decided to have a TMNT party I was at Target and they had these buckets in the dollar spot. I decided not to wait till the month of his party to buy them. So glad I did, cause they were gone the next time I went. We filled them with stickers, candy, TMNT fruit snacks, little pens, and Toxic Ooze (of course).

With my Silhouette I made “Thanks for shell-abrating” tags for the buckets.

The stickers for the ooze were made with Silhouette’s clear sticker paper. I had the kids all help make the ooze and fill the cups.

I bought this cute little pizza box design from the Silhouette store and used the Print and Cut feature to cut them out. I put all the stickers for their buckets in the pizza boxes.

We also made masks & turtle shells for all the kids to wear and take home.

The windows on the box buildings were cut using my Silhouette. I was trying to decided between a stencil and paper, and the paper was easier.

My wonderful aunt who makes our birthday cakes was sick, so we went with cupcake for this party. I didn’t have time to make all the cupcake wrappers but there was about a dozen that had them.

I had been collecting the mini-pizza boxes to use at the party and we put some of the cupcakes in them.

For the top cupcake I made a big topper with Ian’s favorite turtle. I also used some plastic TMNT cups that I bought as center pieces. I cut out designs and inserted them in the cups with florist foam. Unfortunately I don’t have a great picture of them.

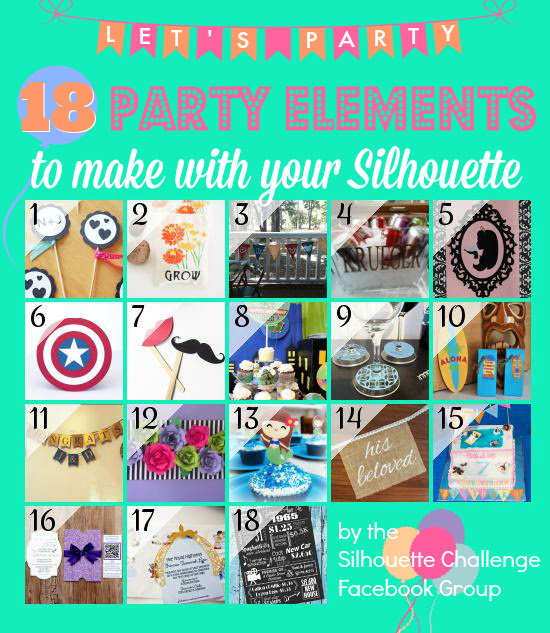
Want to Check Out More Silhouette Projects?
My Silhouette Challenge buddies and I are all sharing projects on our blogs today, so peruse the projects below for a wealth of Silhouette inspiration!
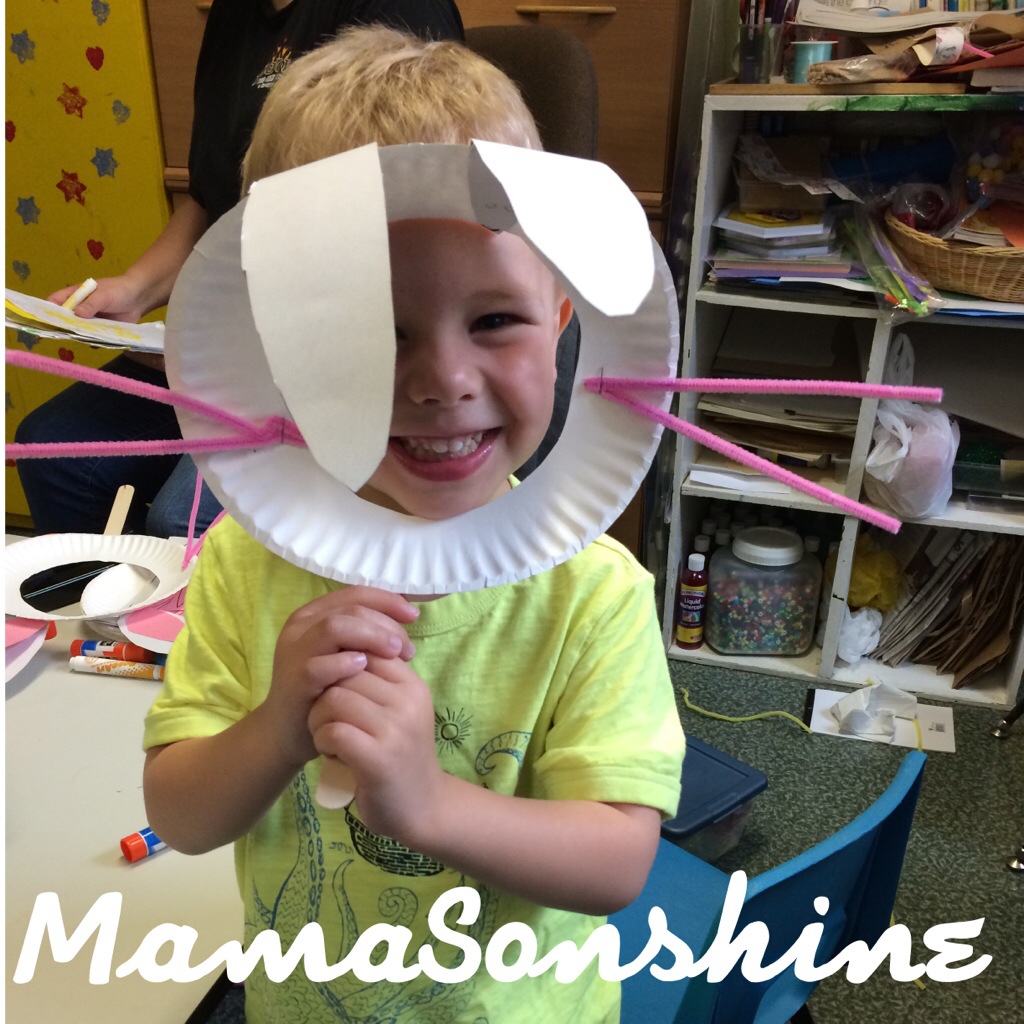
1. Two Purple Couches // 2. Practically Functional // 3. Crafty Bonds // 4. Dragonfly & Lily Pads // 5. From Whine to Whine // 6. Simply Kelly Designs // 7. unOriginal Mom // 8. MamaSonshine // 9. Get Silvered // 10. Made in a Day // 11. Weekend Craft // 12. Little Blue’s Room // 13. The Stamp Doc // 14. The Thinking Closet // 15. Cupcakes&Crowbars // 16. Where The Smiles Have Been // 17. DIYJustCuz // 18. My Paper Craze
Just a reminder that with my running I am raising money for St. Jude’s Hospital, click on the picture below to donate.

Be a HERO by clicking picture and donating today.