It’s the most wonderful time of the year!
I know it’s hard to talk about Christmas before Thanksgiving but us crafters need to be prepared. In order to be ready with our DIY Christmas Gifts and new decor we need to start early. In all honesty we probably start thinking about Christmas in the summer.
If you are still in the process of making gifts, or items to sell at craft fairs or online you will love this design bundle! It is full of Christmas fonts, monogram frames, holiday cut files and so much more! As with all the design bundles from DesignBundles.net your purchase comes with personal and commercial licenses. So you are able to use all the wonderful elements in all your projects.
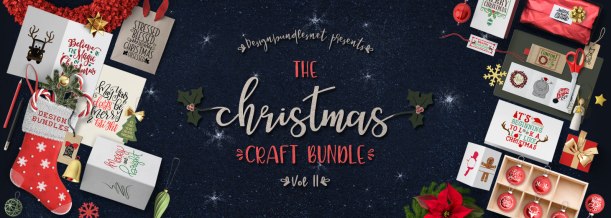 https://designbundles.net/the-christmas-craft-bundle-ii
One of the fonts I am super excited about is the Gingerbread font
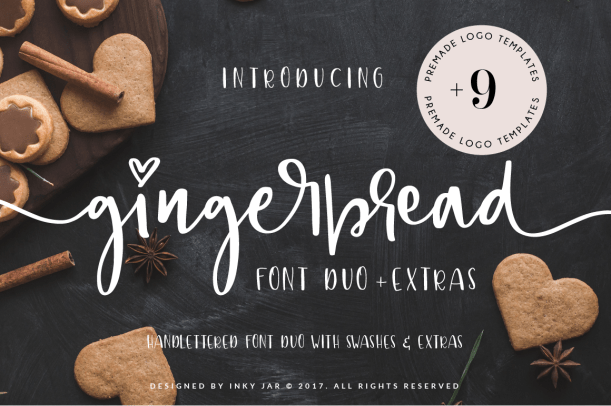
Handlettered fonts are so lovely and they are great for gift tags and cards. I love this one with all the swooshes.
If you are making loads of Christmas ornaments you will find loads of cut files to use on them.
They have also been kind enough to add a floating ornament template. Easy to cut out using your Silhouette (or Cricut).

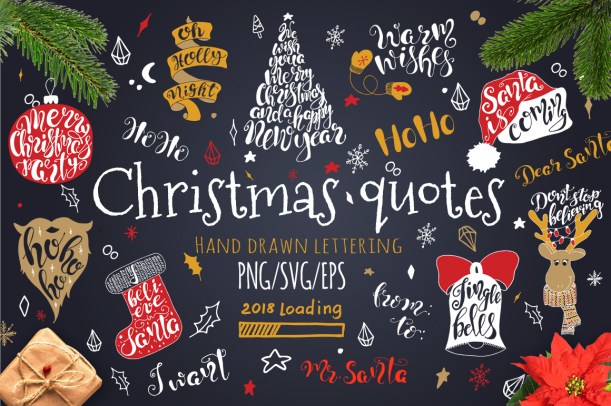
Hand lettering quotes to use as stencils on chalkboard, or even just printed will make quick DIY decorations. Any number of these would also be great on shirts for the family.
And we all love a good monogram for the holidays! These would work well on those glass ornaments too.

There is so much more to be found in this bundle. You really need to go see it for yourself. Follow this link https://designbundles.net/the-christmas-craft-bundle-ii
The most amazing thing about this it the price! Product from over 40 designers are in this bundle. There are so many items I can’t even list them all. Individual items range in price from $3-$18, so in total this bundle is worth over $300! But Desingbundles.net is offering it to you for the discounted price of $24!
A 93% discount. But this discount won’t last forever. Get it before the time runs out, and so you still have time to get your gifts made.
Happy crafting!

Dawn Jennings
![]()


 Seriously, these are great.