Want to know what I had to make for dinner on Father’s day?
I asked him what he wanted and he told me to ask Ian. I said that Ian would pick spirals (Kraft Mac & Cheese, the spiral noodle version). Which he somehow confused with spaghetti-o’s, and decided that was what he wanted. Some spaghetti-o’s. Yep, that’s right. I had to go buy some spaghetti-o’s for him.
I made some Annie’s organic star soup for the boys, and grilled cheese for all plus broccoli & carrots. Except me, I had some cheesy shells.
But after spending the day organizing and rearranging things, that simple meal was perfect for me.
Ian’s first snow cone of the season
I have been on a one course meal lately. This week is no exception.
I don’t just want casseroles, but I don’t want to think about making two things for dinner plus a vegetable. I don’t want a meat and a side, just everything together.
Way back in the late 90’s my sister got married and I helped her make the bridal party gifts. She wanted to order etched beer mugs for the groomsmen and I told her we could just do it ourselves. So we went to the craft store and bought this:
Armour Etch Starter Kit
You see the rose wine glass? We made those for the bridesmaids. And the kit hasn’t changed in the almost 20 years since we bought it.
It was a pain! You tape the stencil to the glass and the etching cream bleeds through and smears and it isn’t pretty.
But guess what….I now have a Silhouette Cameo that cuts vinyl. And vinyl makes the perfect stencil for glass etching. They also make stencil material that has a sticky back, or you could use contact paper.
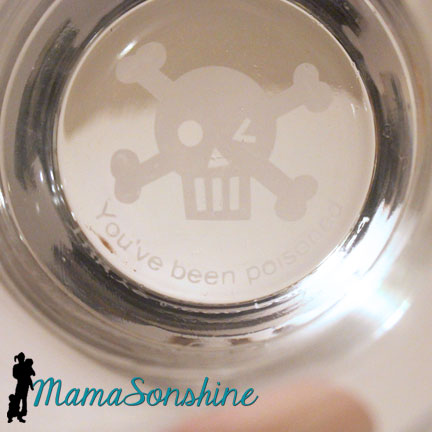
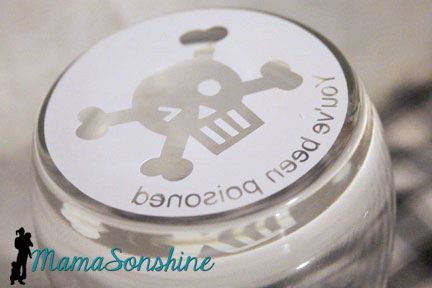
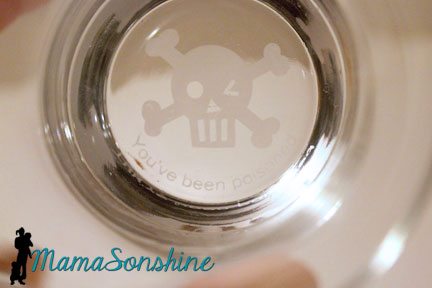
So while searching Pinterest one day I saw some glasses that state “you have just been poisoned” at the bottom of them. I just knew I wanted to make some, and I knew the perfect machine to make a really good stencil.
After getting my Silhouette Cameo for Christmas I joined a Facebook group that has allowed me to learn how to use my machine, share my projects, help others learn how to use their machine and push me to try new things.
One of the events they hosted this year was a hand-made gift exchange. Whomever in the group wanted to participate just signed up and the coordinator matched you with another group member. You then made each other a hand-made gift. Sounds like fun, huh?
After chatting with my gift receiver I thought she might just be the person to appreciate this fun gift. To the Silhouette I go!
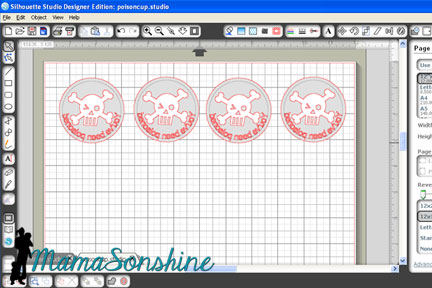
I measured the bottom of the glasses. It is important when looking for drinking glasses that the bottom of the glass be completely flat. Typically when etching on the outside of glass you don’t need to flip the image, but with this design it will be read through the bottom of the glass, so it needs to be flipped on the horizontal.
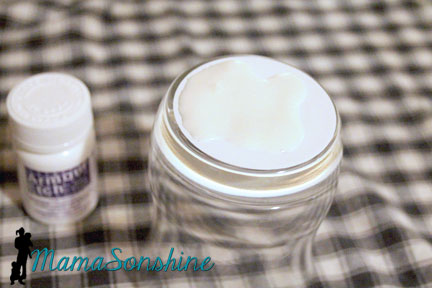
Cut your stencil out of vinyl, others have had success with contact paper, but I have yet to try it as a stencil. I used the default vinyl settings and it cut perfectly.
Clean the glassware and wipe with rubbing alcohol. When completely clean and dry apply stencil.
Follow the instructions on the glass etching cream you have purchased. The etching process is pretty quick to apply it next you a running water source. That way if you happen to get any on your skin you can quickly rinse it off.
Please remember this is a caustic substance and can eat away at your skin. Be safe and use precaution and proper safety gear. Gloves are highly recommended, as is a well ventilated work area next to running water. If you do happen to get some on your skin rinse under high flowing cold water for at least 15 minutes.
As per instructions I used a wooden stick to pile on a helping glob of cream and let it sit for about a minute. I then ran it under cold water until it was all rinsed off. If you are concerned about the cream etching your pipes, don’t be, but you can run cold water down your sink for 2-3 minutes if you want to ensure you have full diluted the cream.
I think they turned out pretty awesome, don’t you?
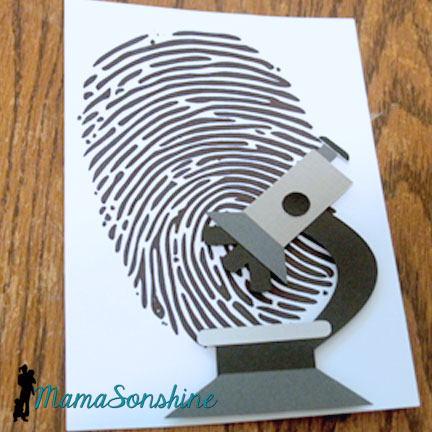
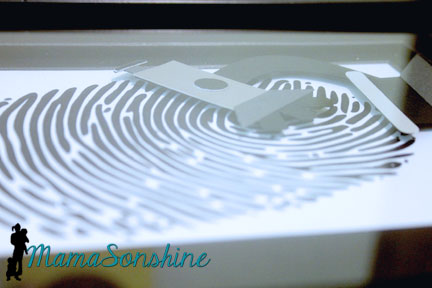
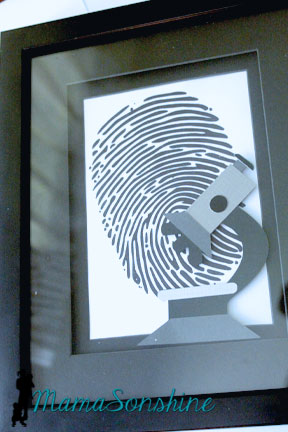
Now while these are awesome drinking glasses, I also wanted to make something a little more personal for her. My gift exchange partner is going to school to become a forensic investigator! What an awesome degree huh? So I decided to make her a some artwork that encompass that goal.
I used sketch pens to draw the finger print and cut the microscope out of card-stock. I used dimensional tabs to lift the microscope off the paper.
I framed it in a frame that had some depth to it so the microscope didn’t get all smooshed.
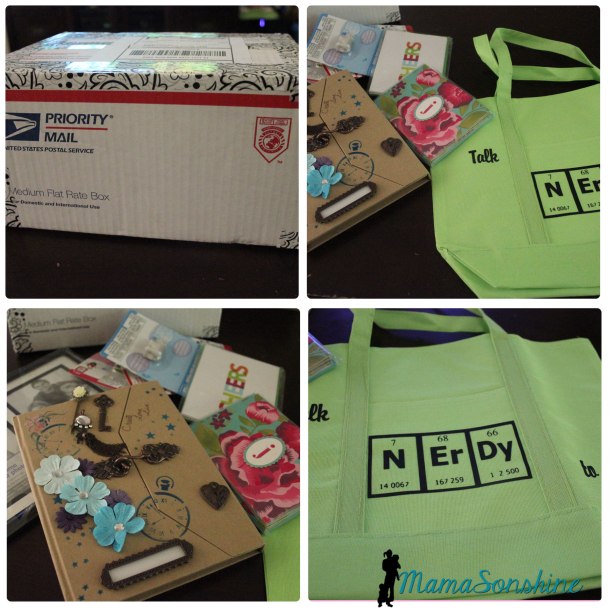
In return I also received a box of goodies from my exchange buddy. Don’t you just love the “Talk Nerdy To Me” bag?
This was a super fun event and I am so excited to get back into glass etching. I can’t wait to etch my next project.
Happy Crafting
Check out some more projects from the talented women who participated in this event.
Hey Dad, your cards are in this post, so if you keep reading you will see them. Because, like always, they are not in the mail. OK, I don’t know if the one my sister is sending you is in the mail yet or not, but I do know mine has not yet shipped.
Love you!
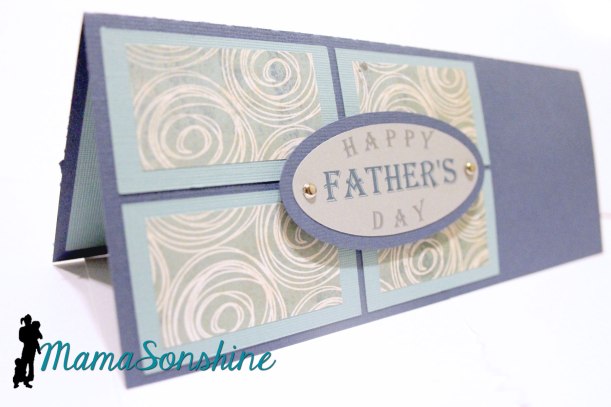
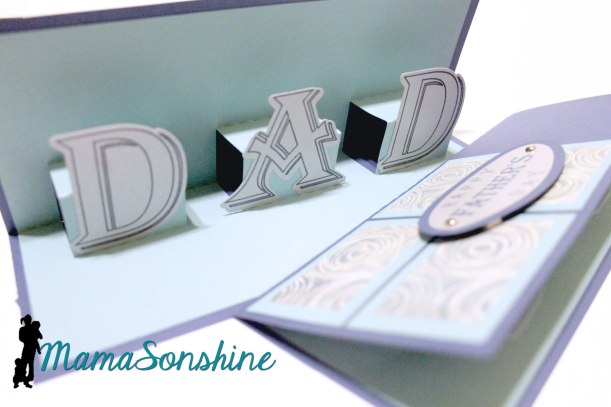
I made this card for my cousin to give her dad.
This is just a basic card for dads, there is no theme, but I really like it.
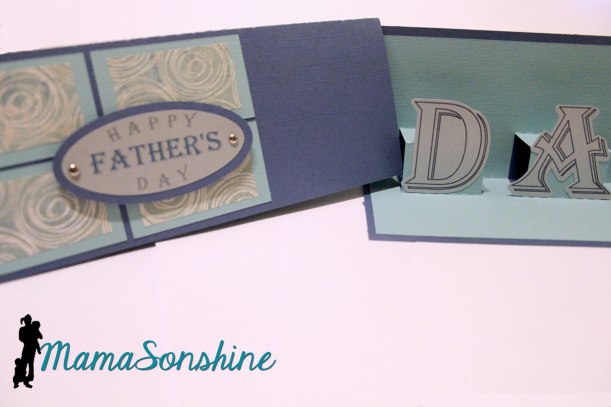
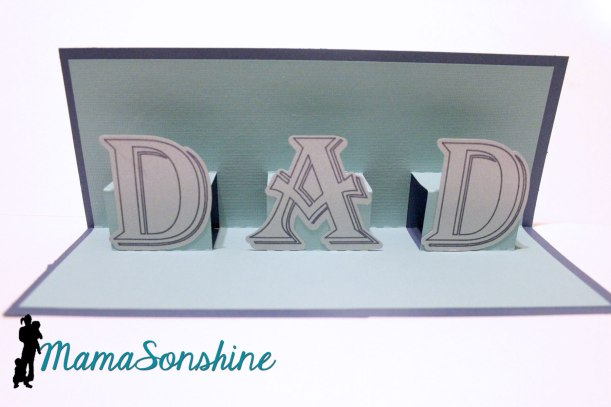
Inside is a simple pop-up that says “Dad” so from front to inside it reads “Happy Father’s Day Dad”
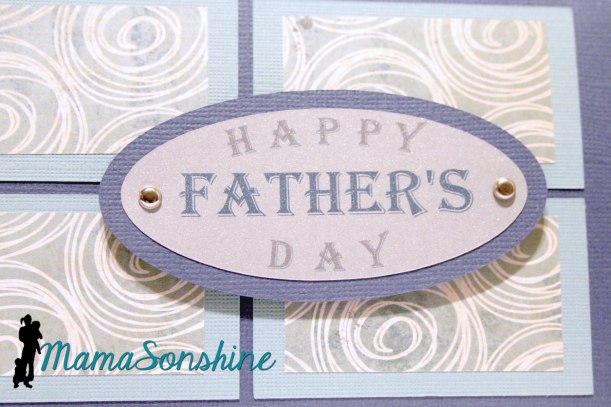
I really like the way the front turned out. I just used colored card-stock and a patterned scrapbook paper. I made sure there was no distance between the rectangles when cutting the patterned paper. I used Silhouette‘s print and cut feature for the front sentiment.
I used sketch pens on the letters before cutting them out.
I think the card is elegant and still masculine.
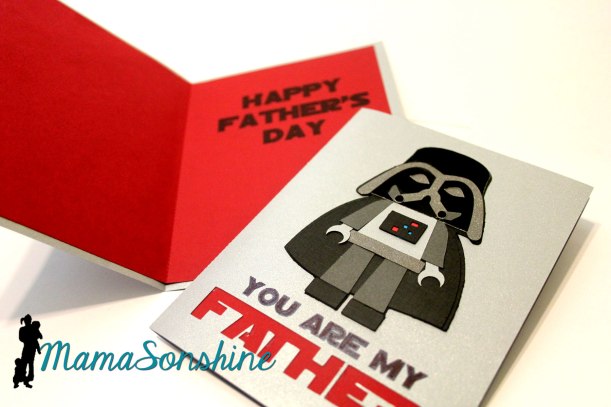
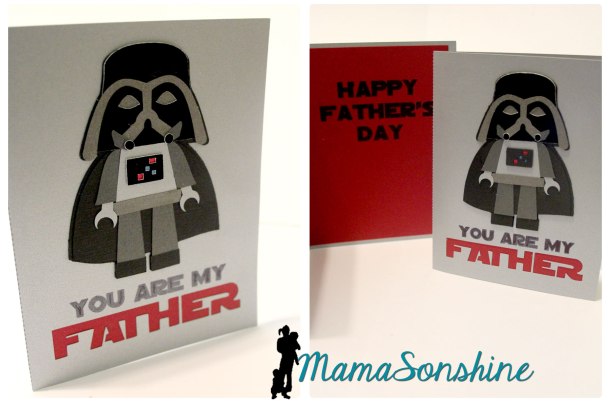
My sister asked me to make a card for our dad, but she requested it be different from the one I would give him.
So I made this one for her to send. I think it fits her and her family pretty good, as they are (well, really, we all are) huge Star Wars & LEGO fans.
The LEGO Darth Vader was also part of the blog hop I talked about here.
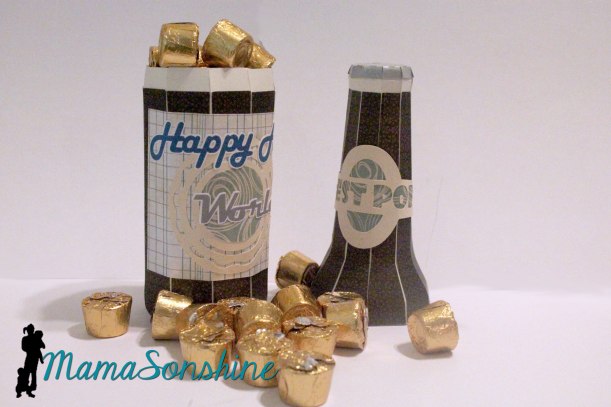
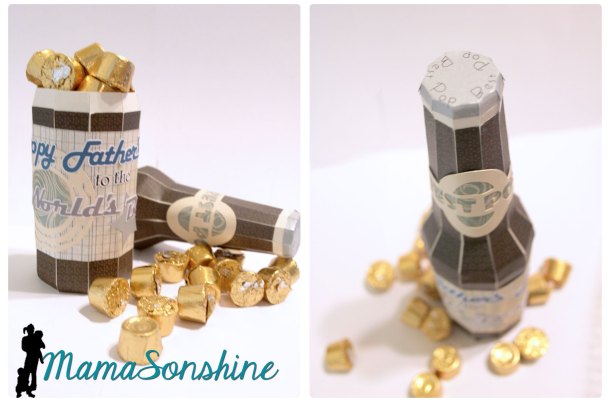
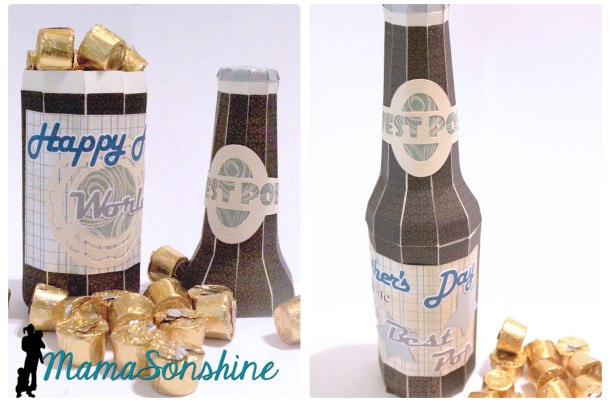
I wanted to do something different for my dad, than just another card. I have seen all the fun puns on Pinterest saying “World’s Best Pop” attached to a soda bottle. But my Dad lives out-of-town, and really I didn’t want to give him some soda.
At SVG Cuts I found this soda bottle in their Surf Shack kit and knew it would be perfect.
Using the bottle, I made a custom label, for the base and the neck. I also used the print and cut feature to decorate the bottle top.
The base label says “Happy Father’s Day to the Worlds Best Pop” which I again used the print and cut feature. I filled it with candy for him to enjoy.
I think it is quite a unique card and I had a blast making it.
I had an older brother who loved Star Wars, so I too, loved Star Wars.
When you are the youngest sibling and your older sibling becomes obsessed with something, you will go one of two ways. You will either loath it or love it. I went with the latter option.
We watched, we played with the action figures, ate off the dishware, wore the underoos, slept with the stuffed animals on the sheets, and reenacted our favorite scenes. When you love Star Wars, you always love Star Wars. It doesn’t fade with time, it actually gets stronger.
As a result my siblings and I have passed on this love to our children. My eldest son could name all the main characters before he was two.
But let me clarify something, while we all love Star Wars, we are not fanatics. I do not know all things Star Wars, nor do I know the names of obscure characters or their back histories. We’re not that bad.
Thanks to the internet and media there is now a ‘holiday’ for Star Wars. It is May 4th, why you ask (as if you don’t already know), because when you say “May the Fourth” it sounds like “May the Force“. I know, I know, geekdome at its highest.
As a result a SVG company (SVG Cutting Files) hosted a May the Fourth blog hop, and I received some fun Star Wars cutting files from them. (The hop was only the one day, so you can no longer participate or receive the files, sorry).
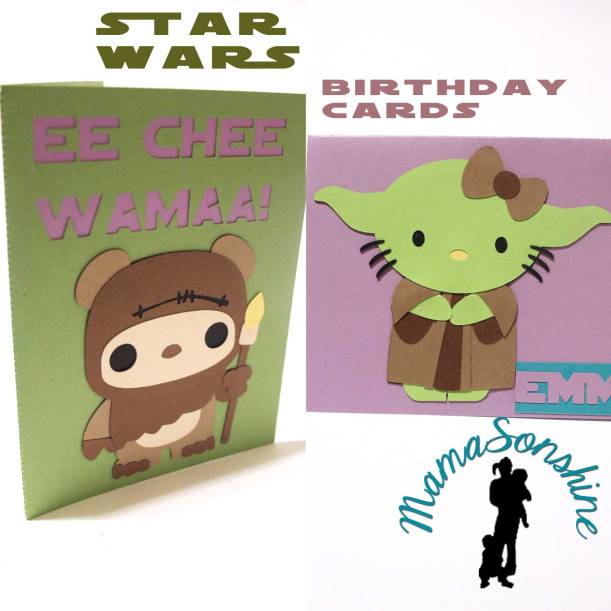
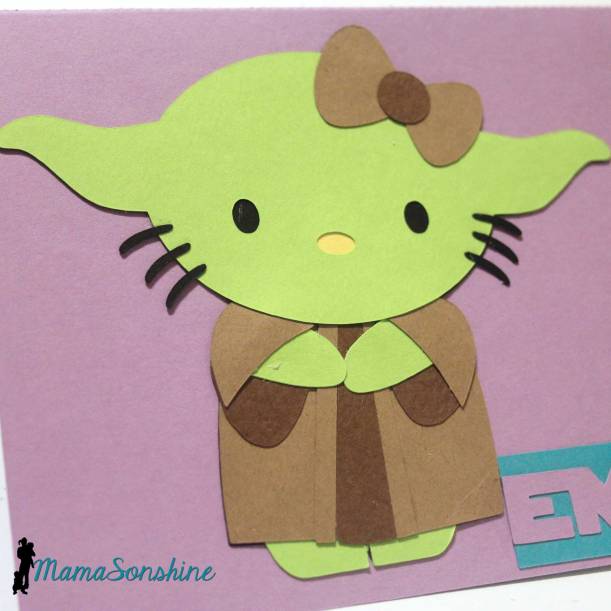
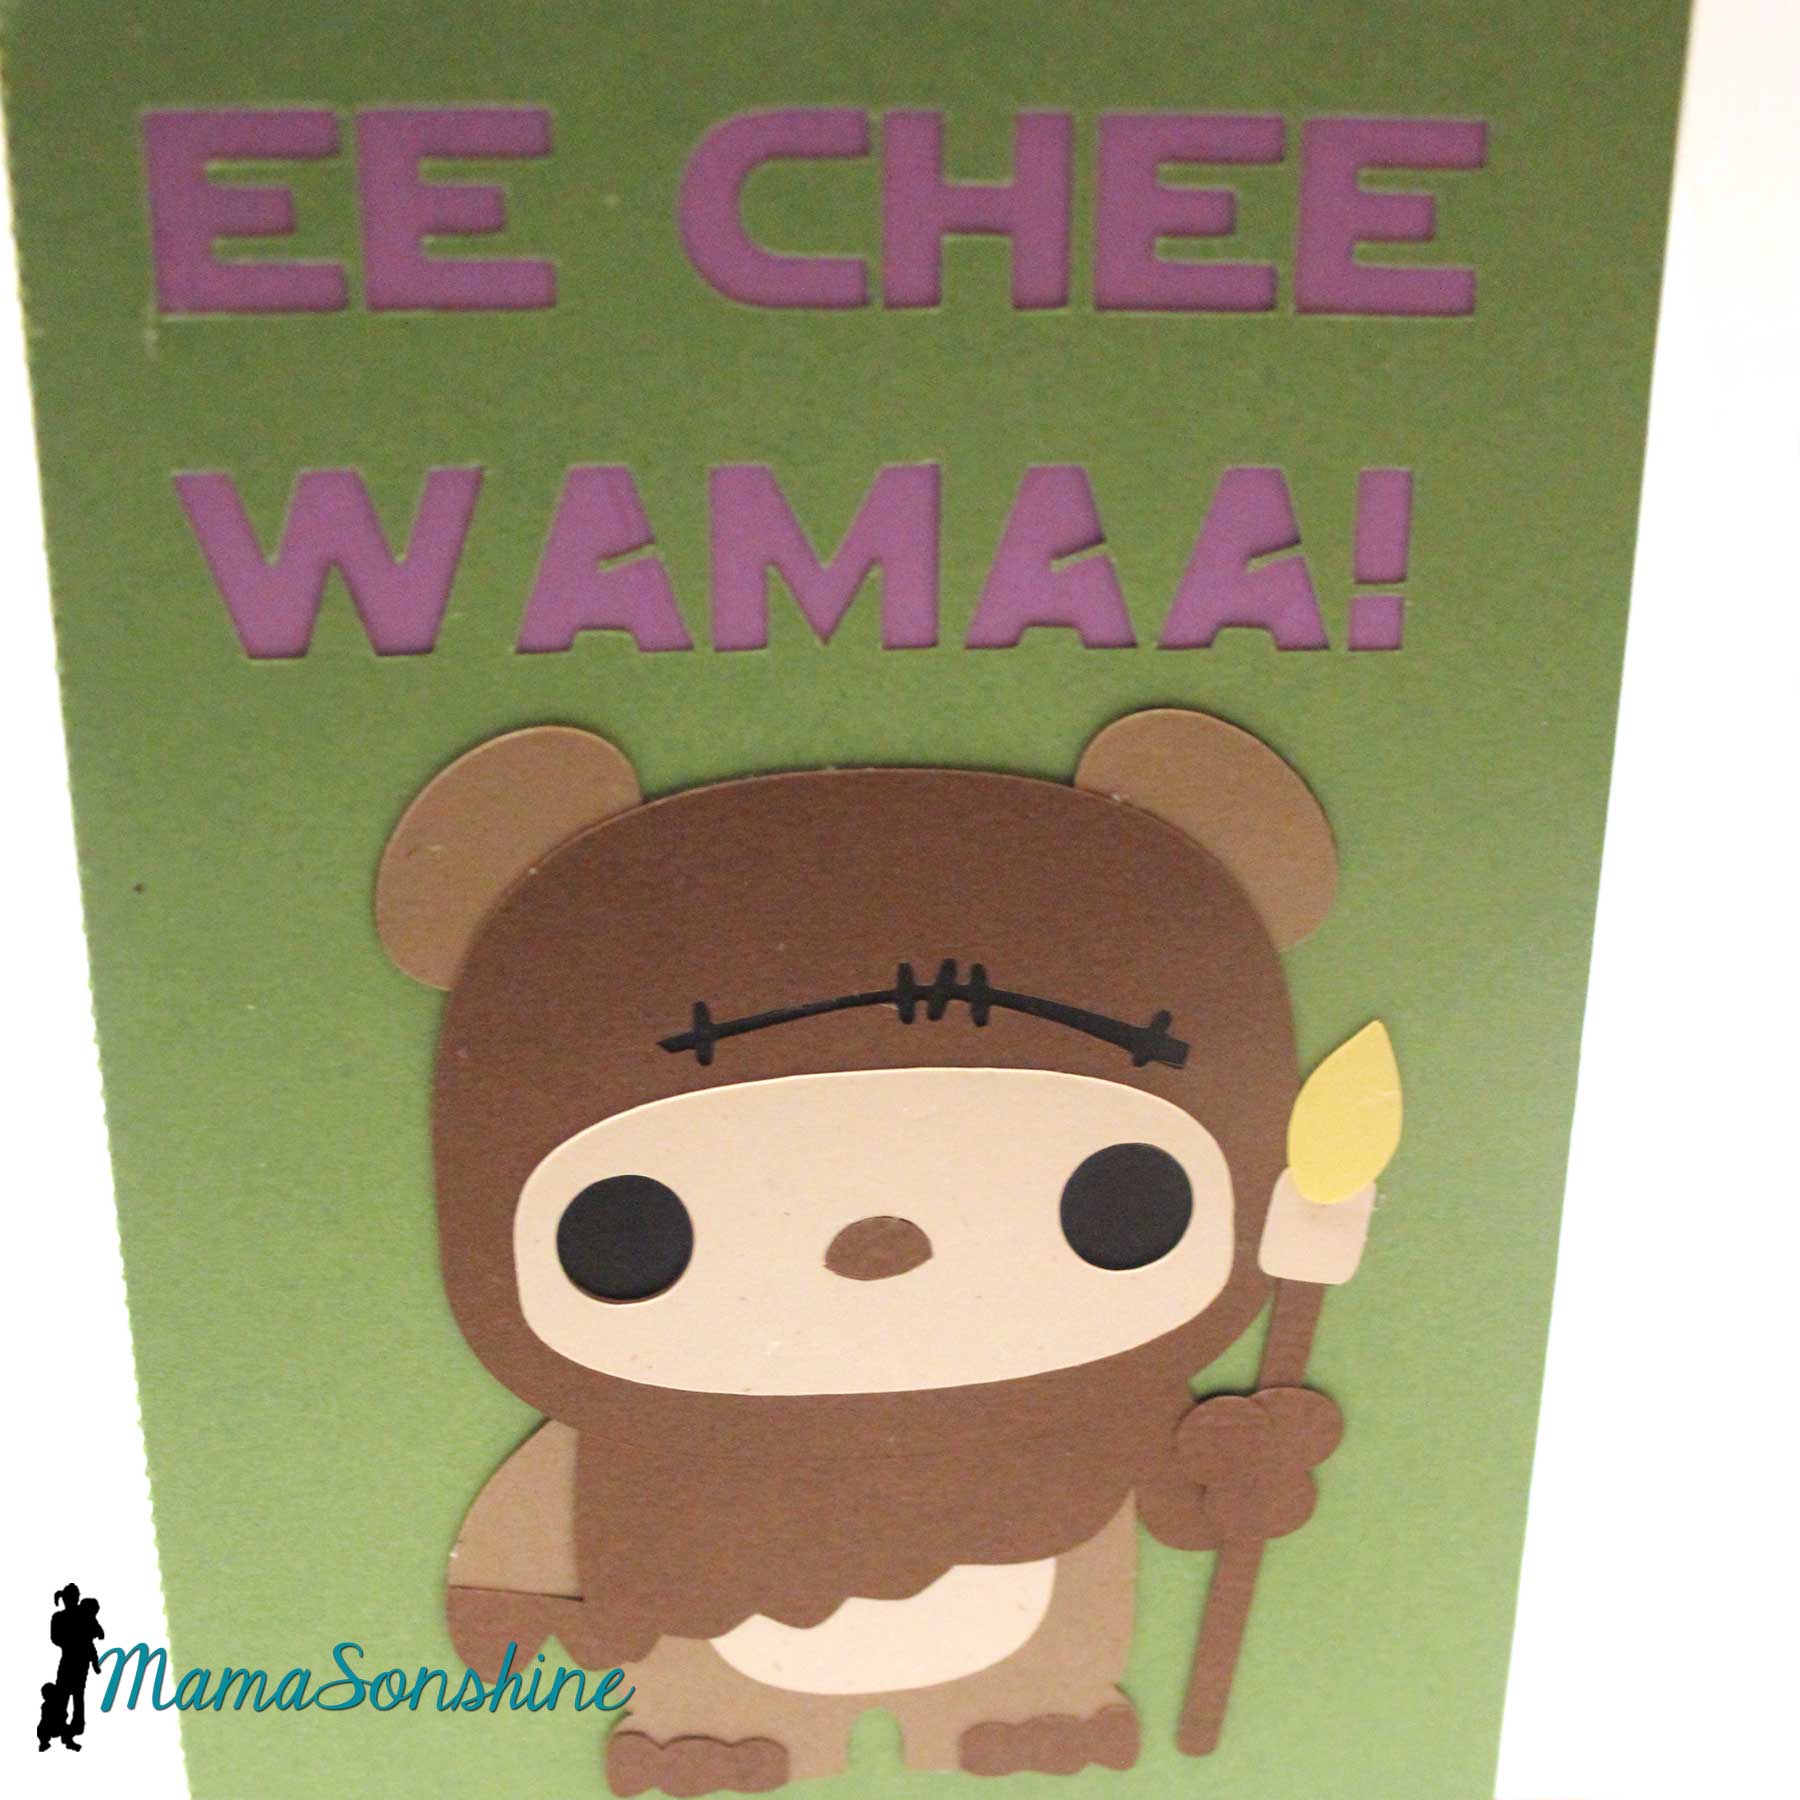
I used a couple of files to make some birthday cards for my Star Wars loving nieces.
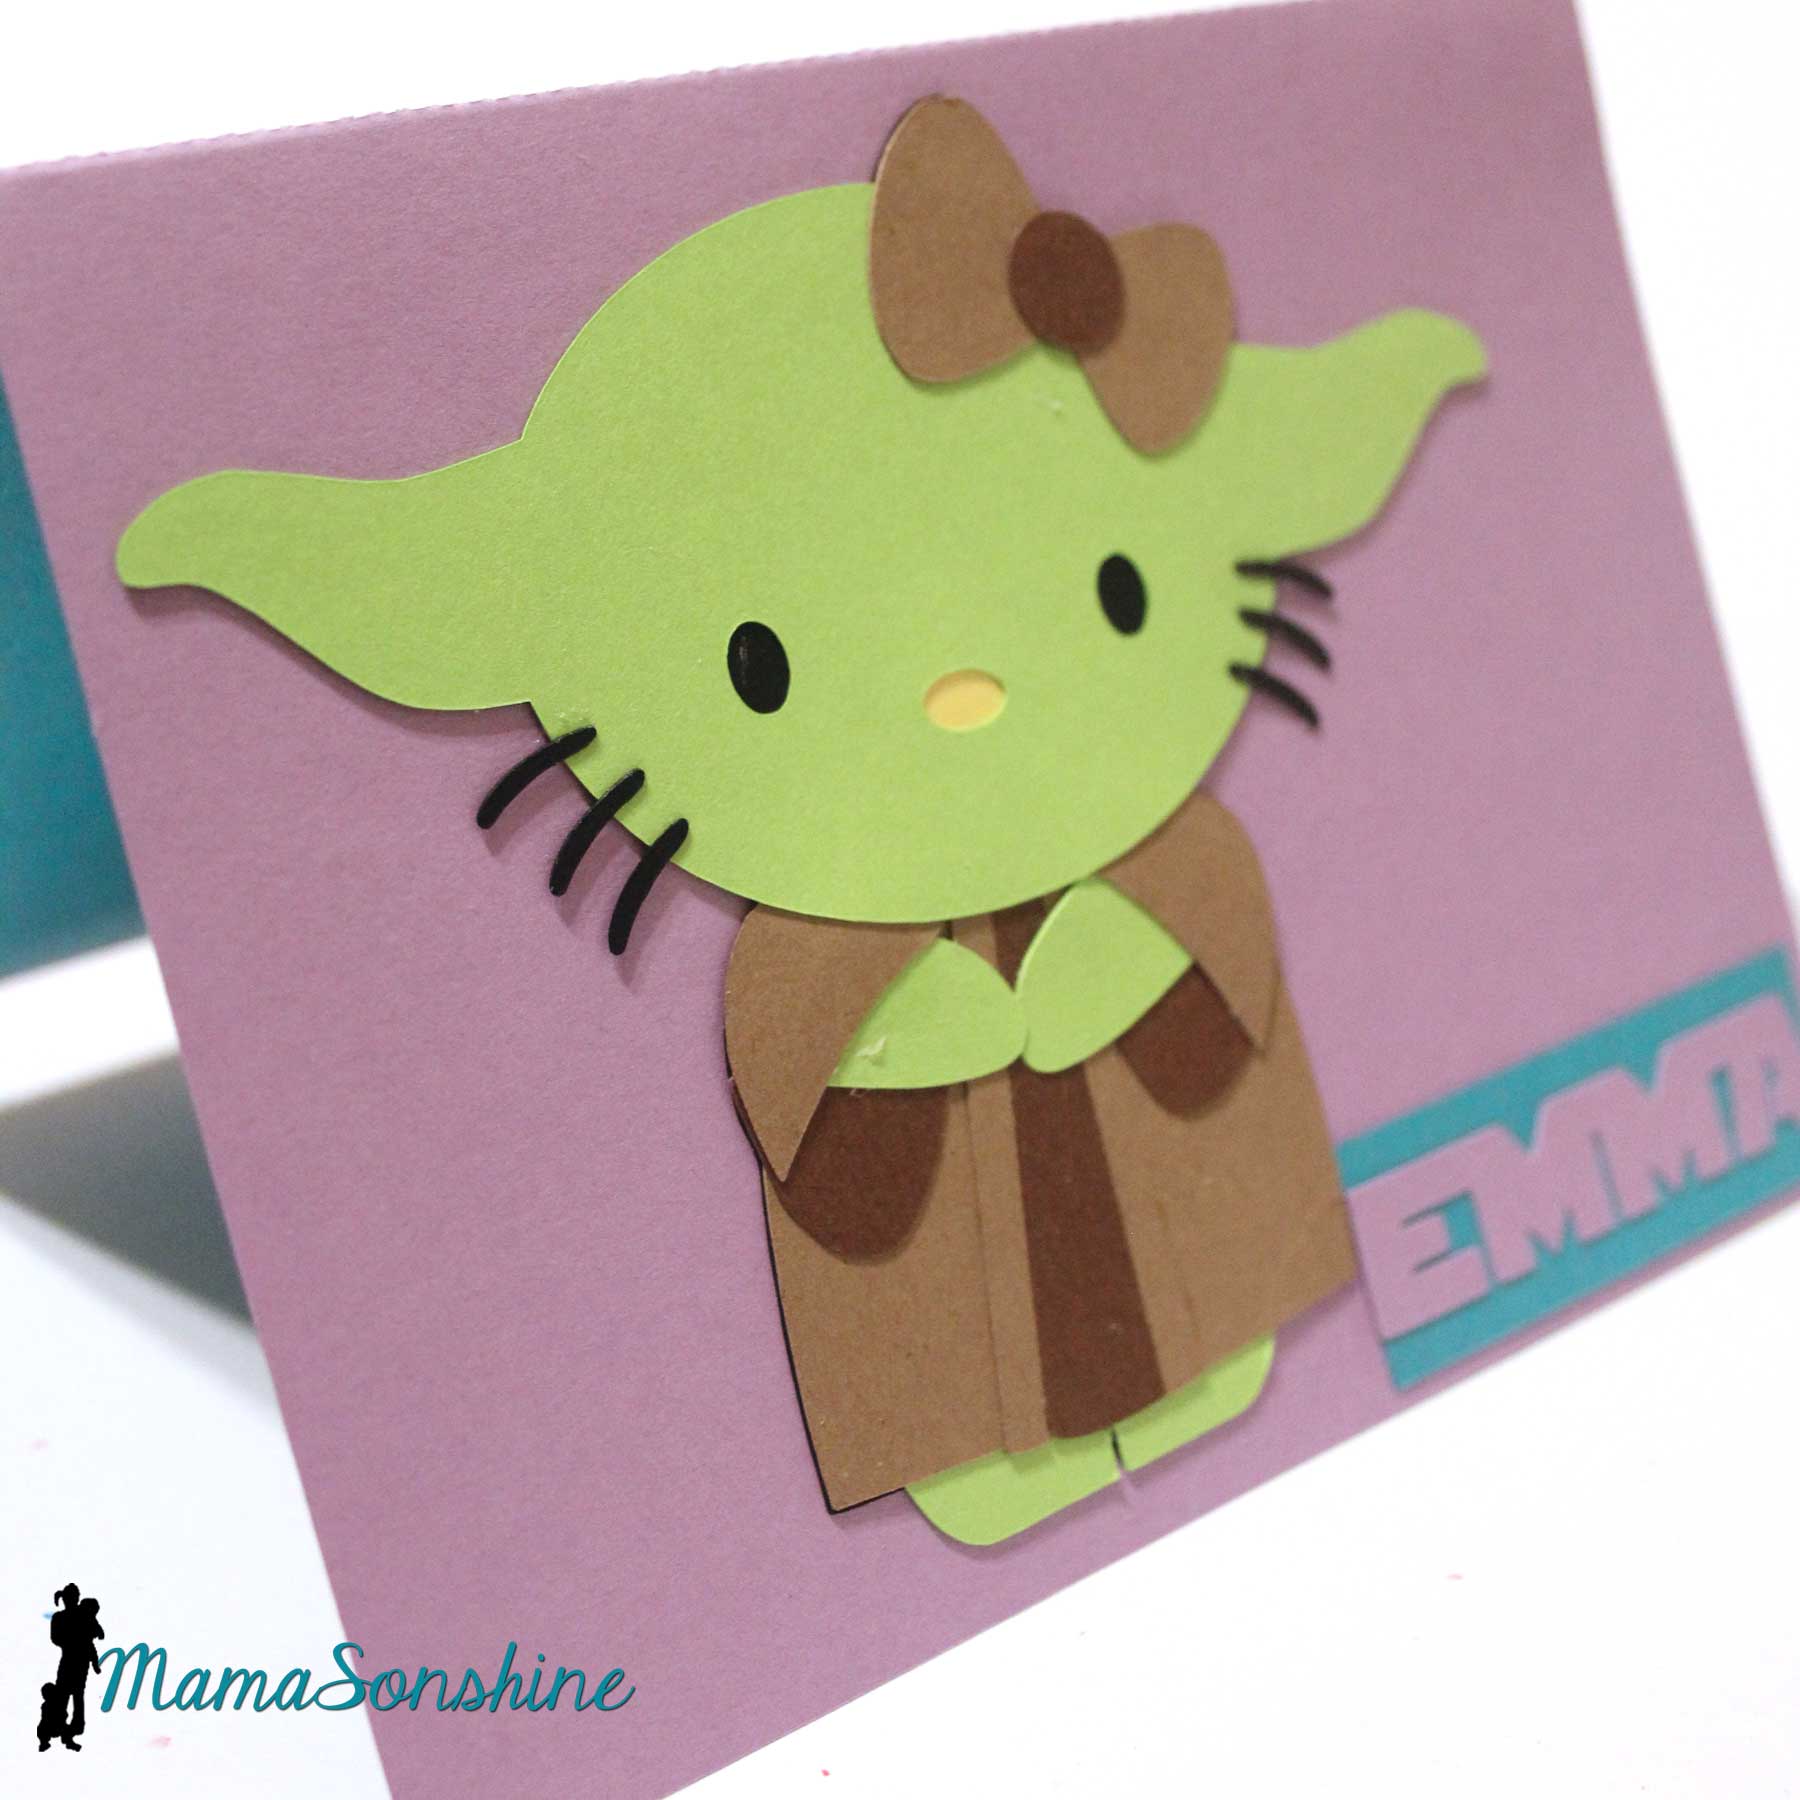
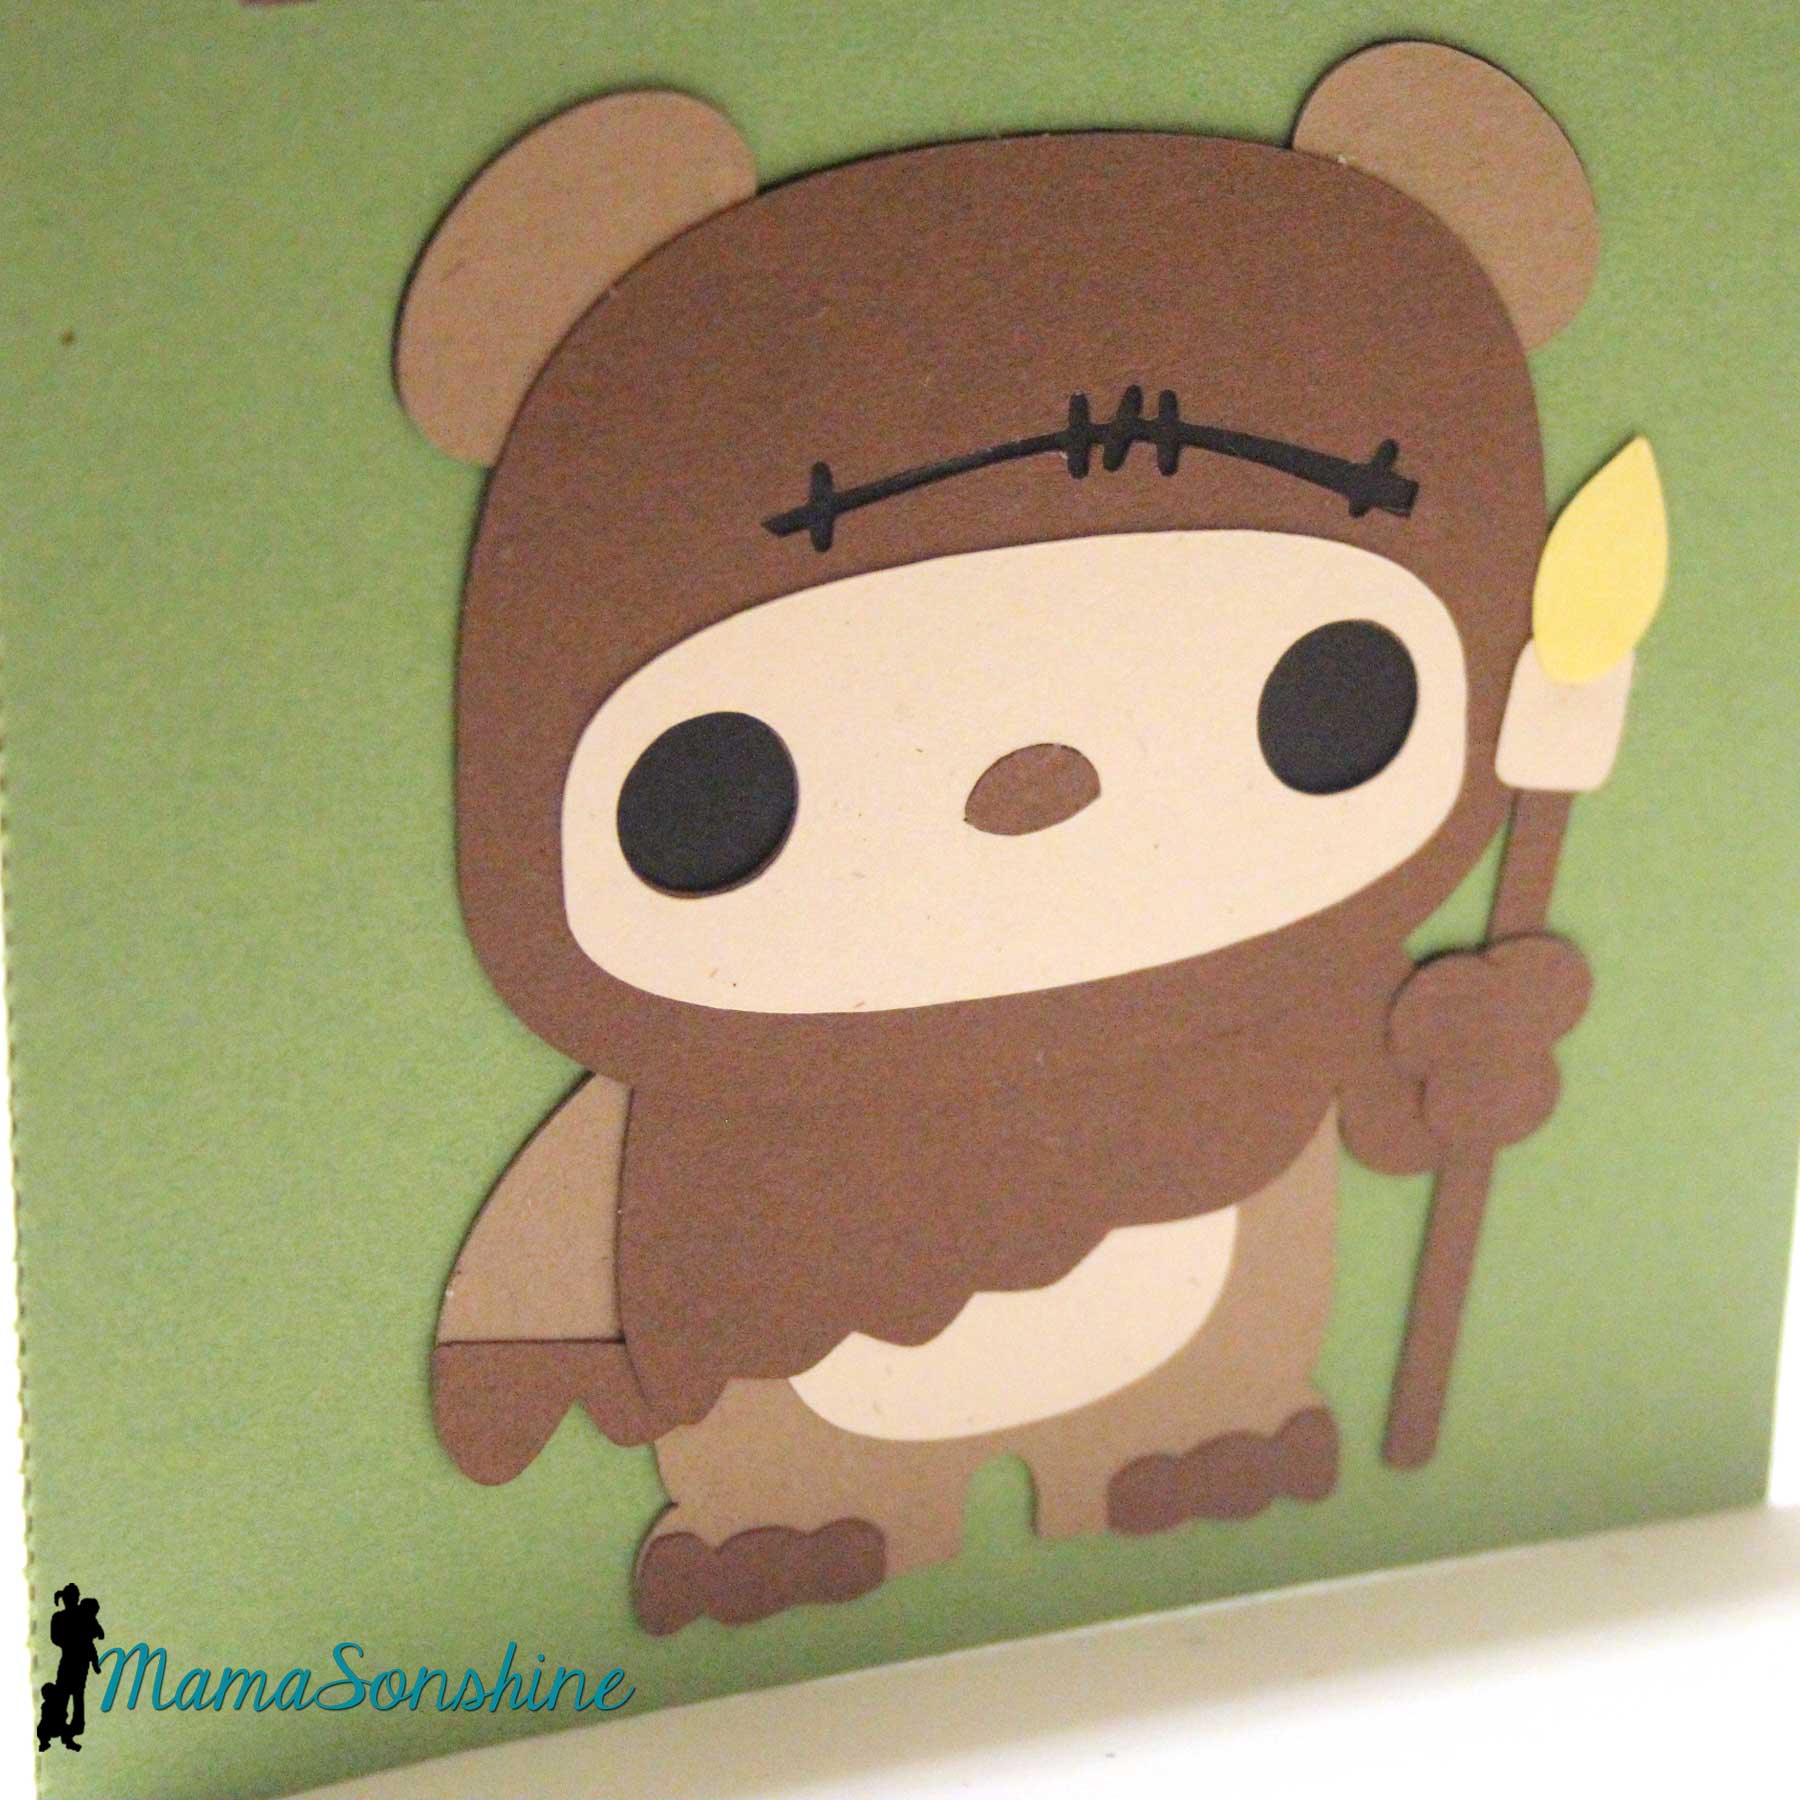
One of my nieces also loves Hello Kitty, so the Hello Kitty Yoda was perfect for her. Both of my nieces, and everyone, loves Ewoks, so I made my other niece a card with the cute little Ewok.
I had intended cut out her name on the front, so that the inside color would show through, but I was having some major operator errors that day. I kept doing it backwards, upside down, etc. When I messed up with the last piece of cardstock, the night before I needed them, I had to improviser. I cut a rectangle out of the inside color and used the negative of her name.
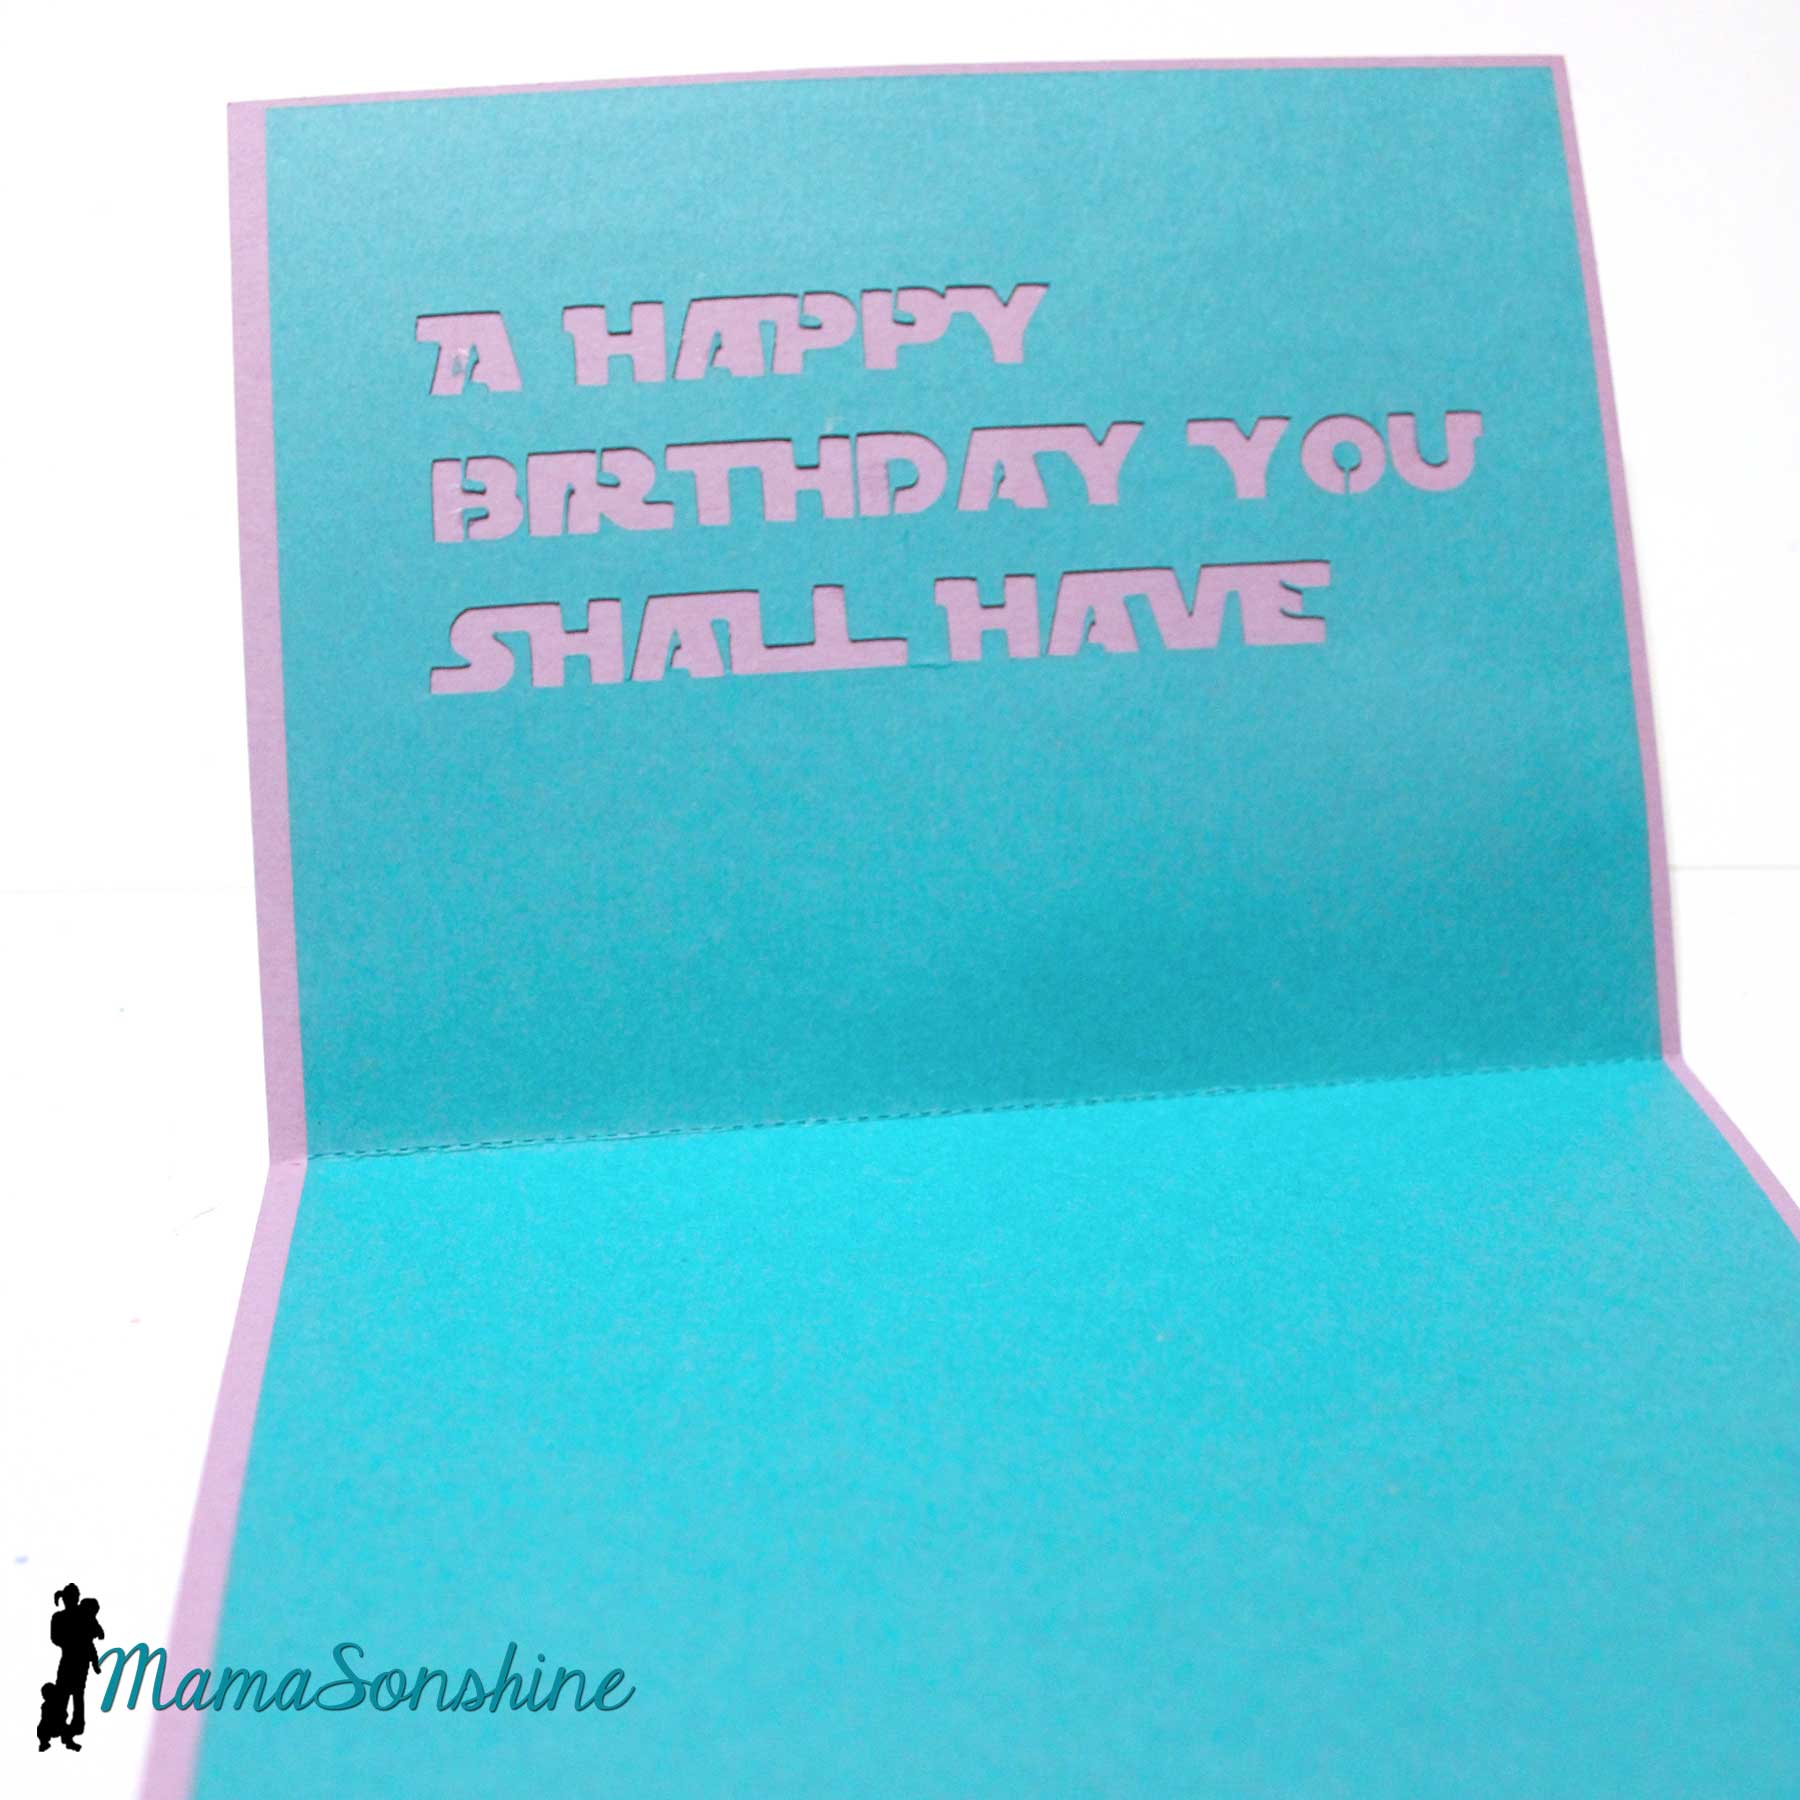
Inside the Hello Kitty Yoda I phrased the ‘happy birthday’ sentiment just the way Yoda would.
You can actually translate words from Ewokese to English and back. Ewokese doesn’t have words for every English word, but they have enough. However, they do not have a phrase for “Happy Birthday” or anything close that I could use to convey that message. So the sentiment on the front of the card translates to “wow! Gee Whiz” or “Oh My Goodness!” as a way to show excitement.
In a similar design as the Yoda card, it just says “Happy Birthday” inside.
The girls loved them, and said they would keep them forever.
Happy Crafting





 I Tri and Craft