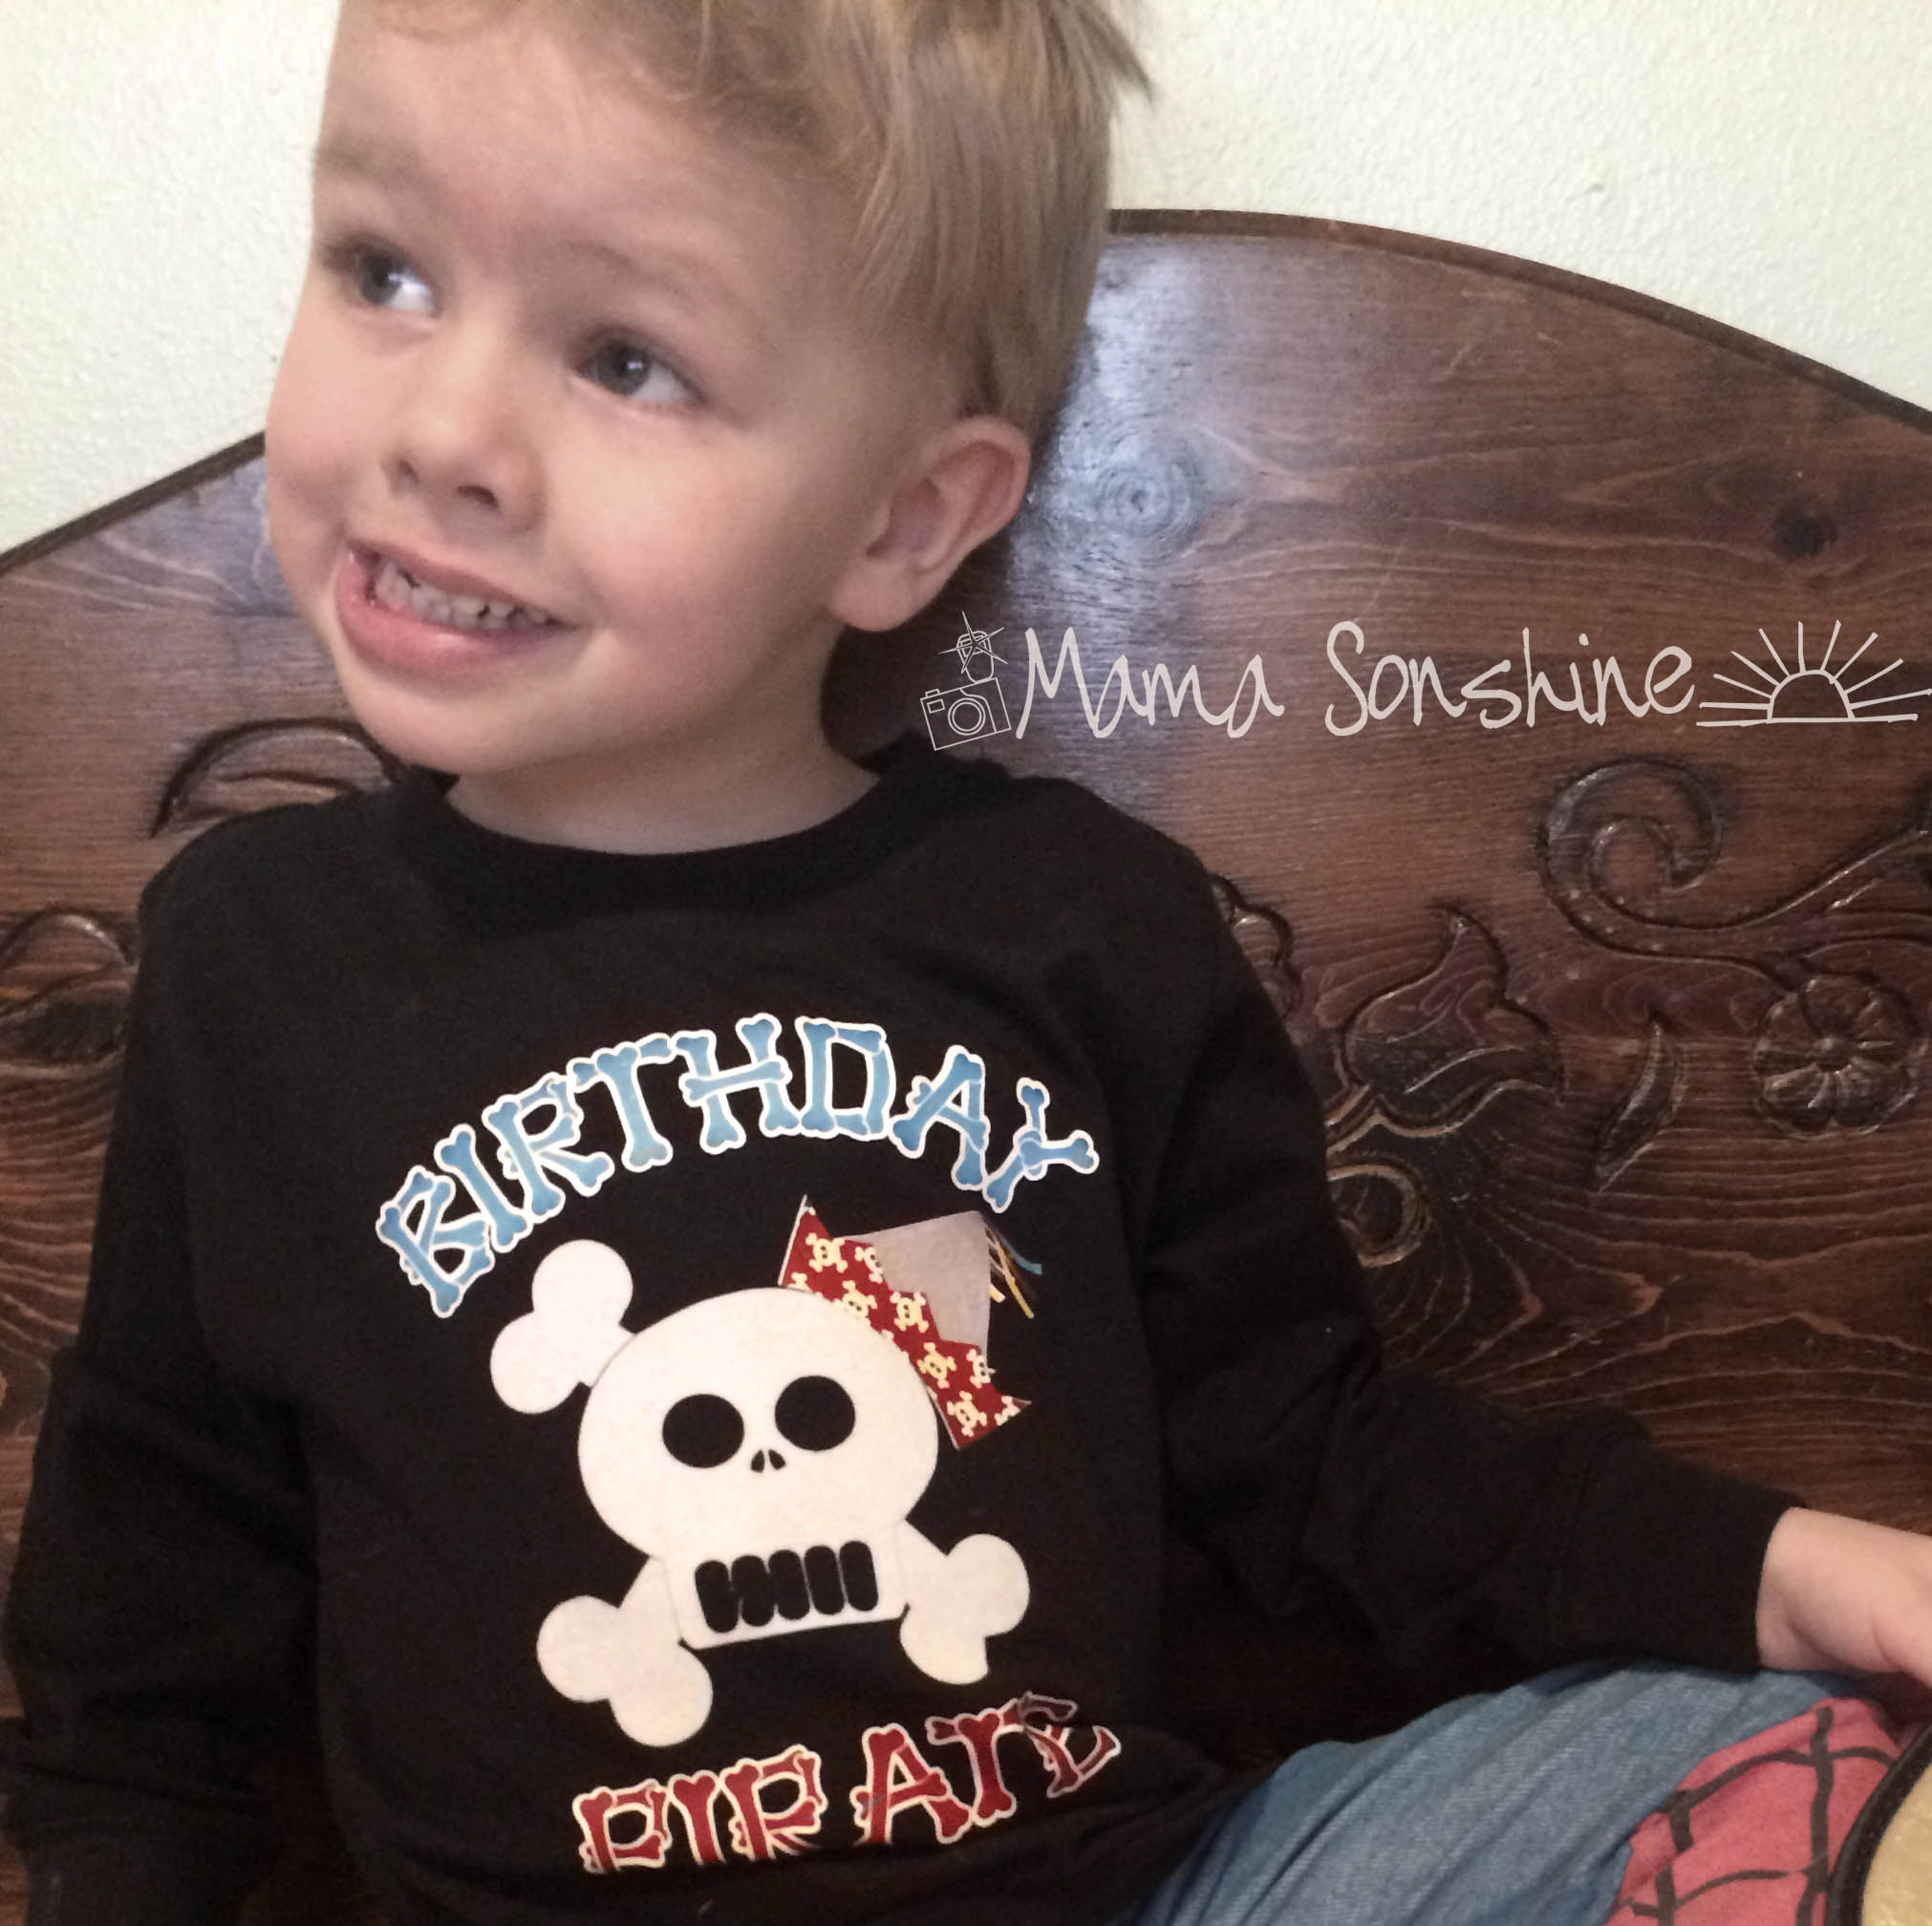
I wanted to share with you the steps I took to make my son’s birthday shirt. There was a few problems I had that I was able to work through. Hopefully this will help so others won’t get stuck like I did.
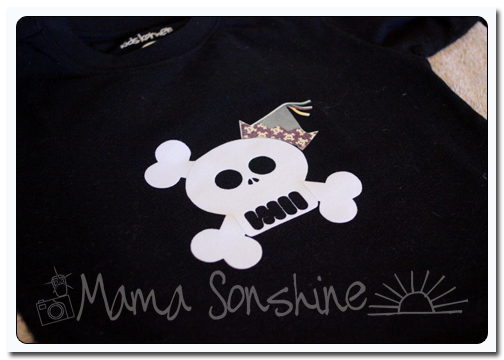
In this tutorial I use my Silhouette Cameo and the Silhouette Studio DE software to make a custom shirt for my son’s birthday party. I used graphics from Just So Scrappy‘s YoHo YoHo Pirate kit. I used the Silhouette brand Flocked Heat Transfer Material for the skull, and Avery Dark T-Shirt Transfers for Ink Jet Printers.
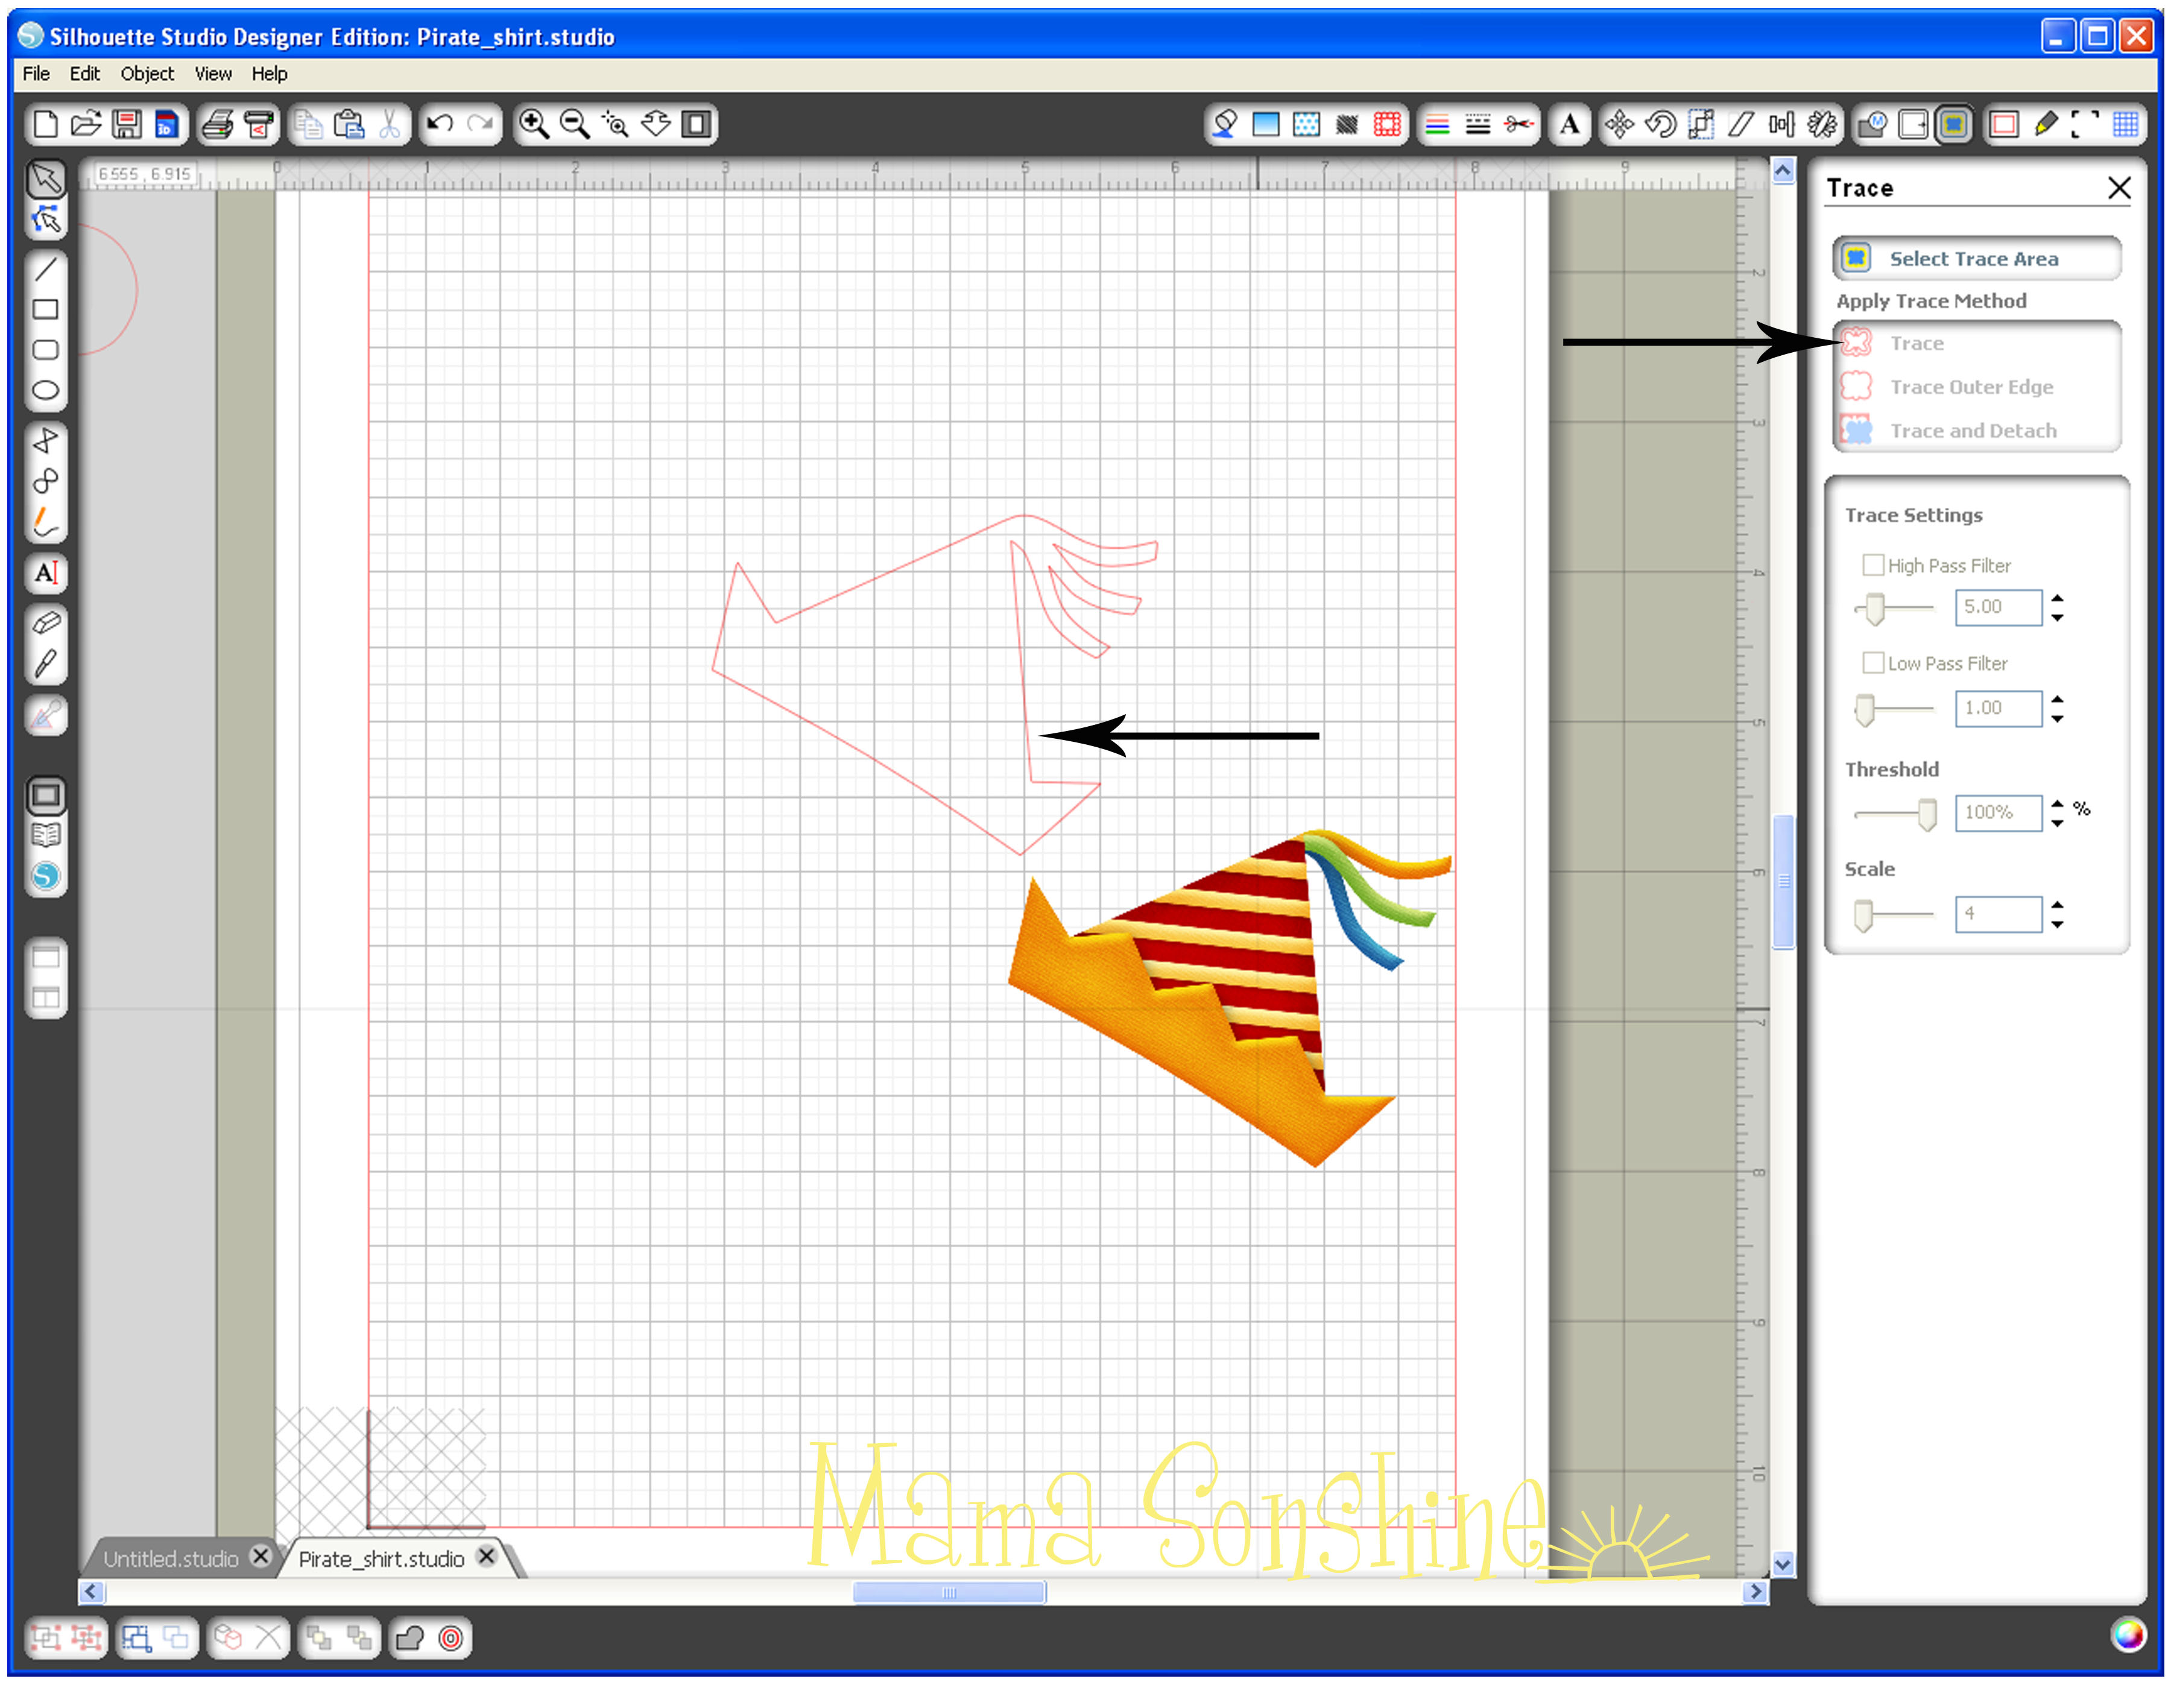
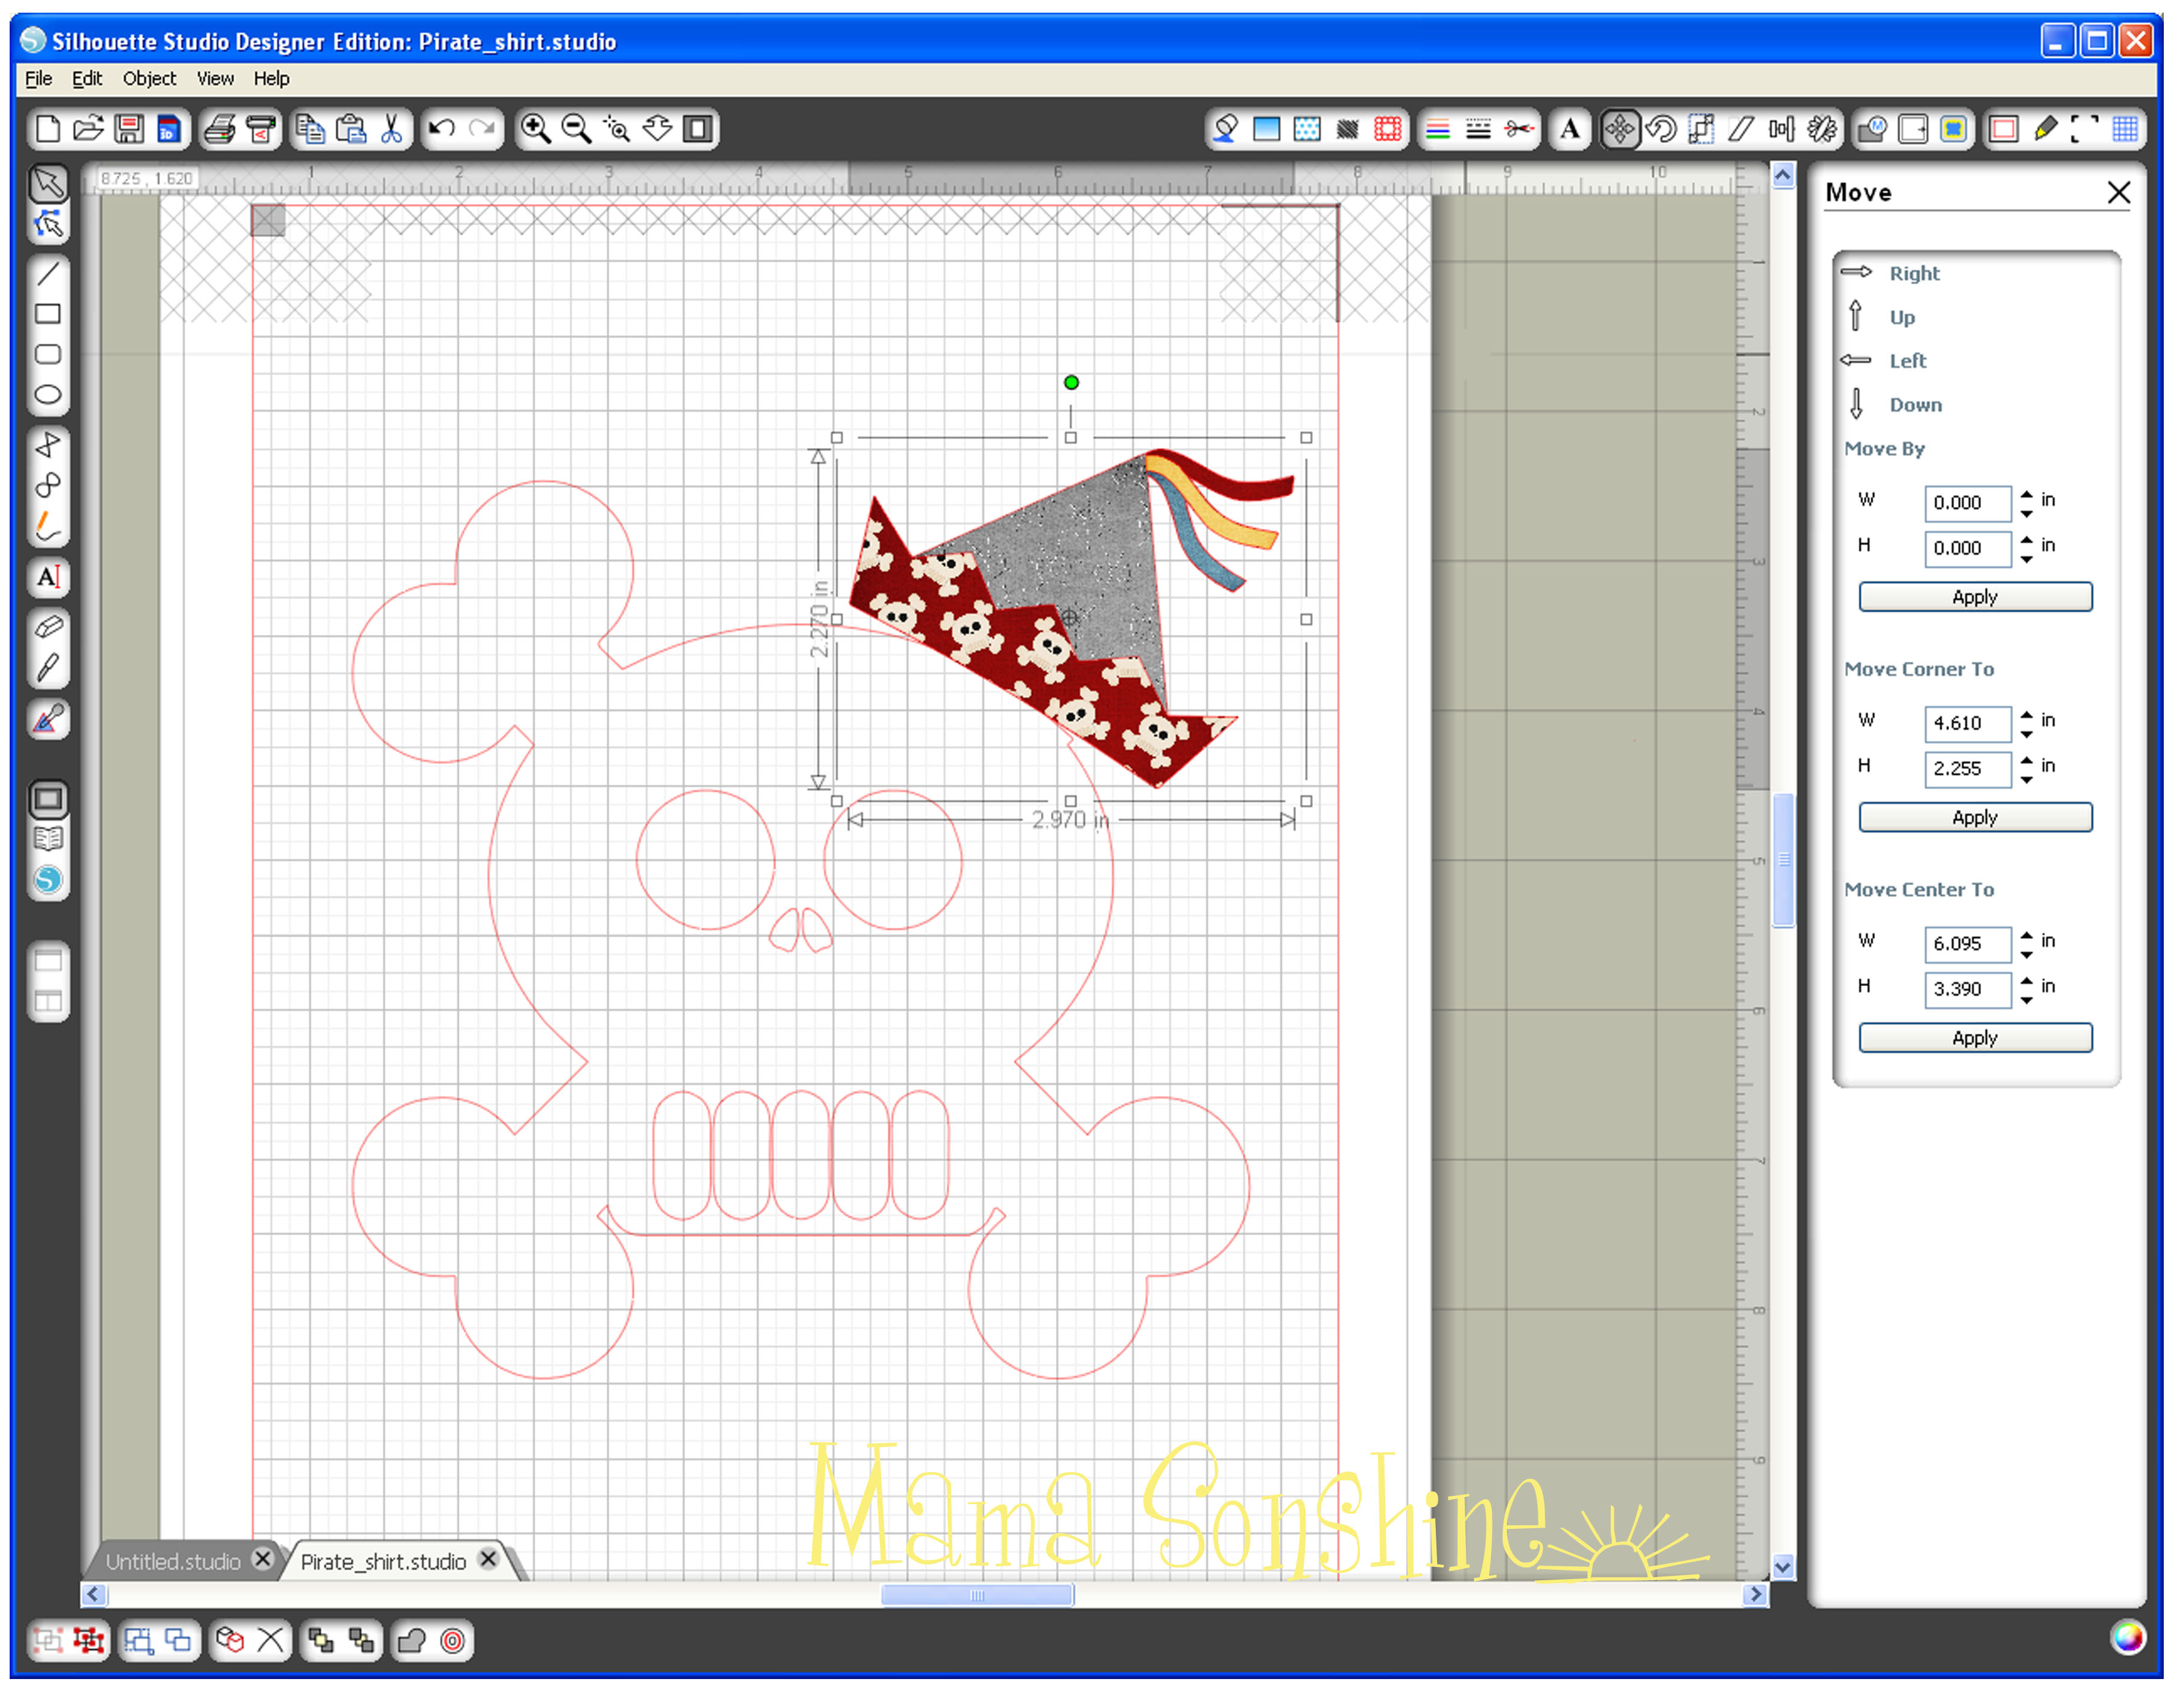
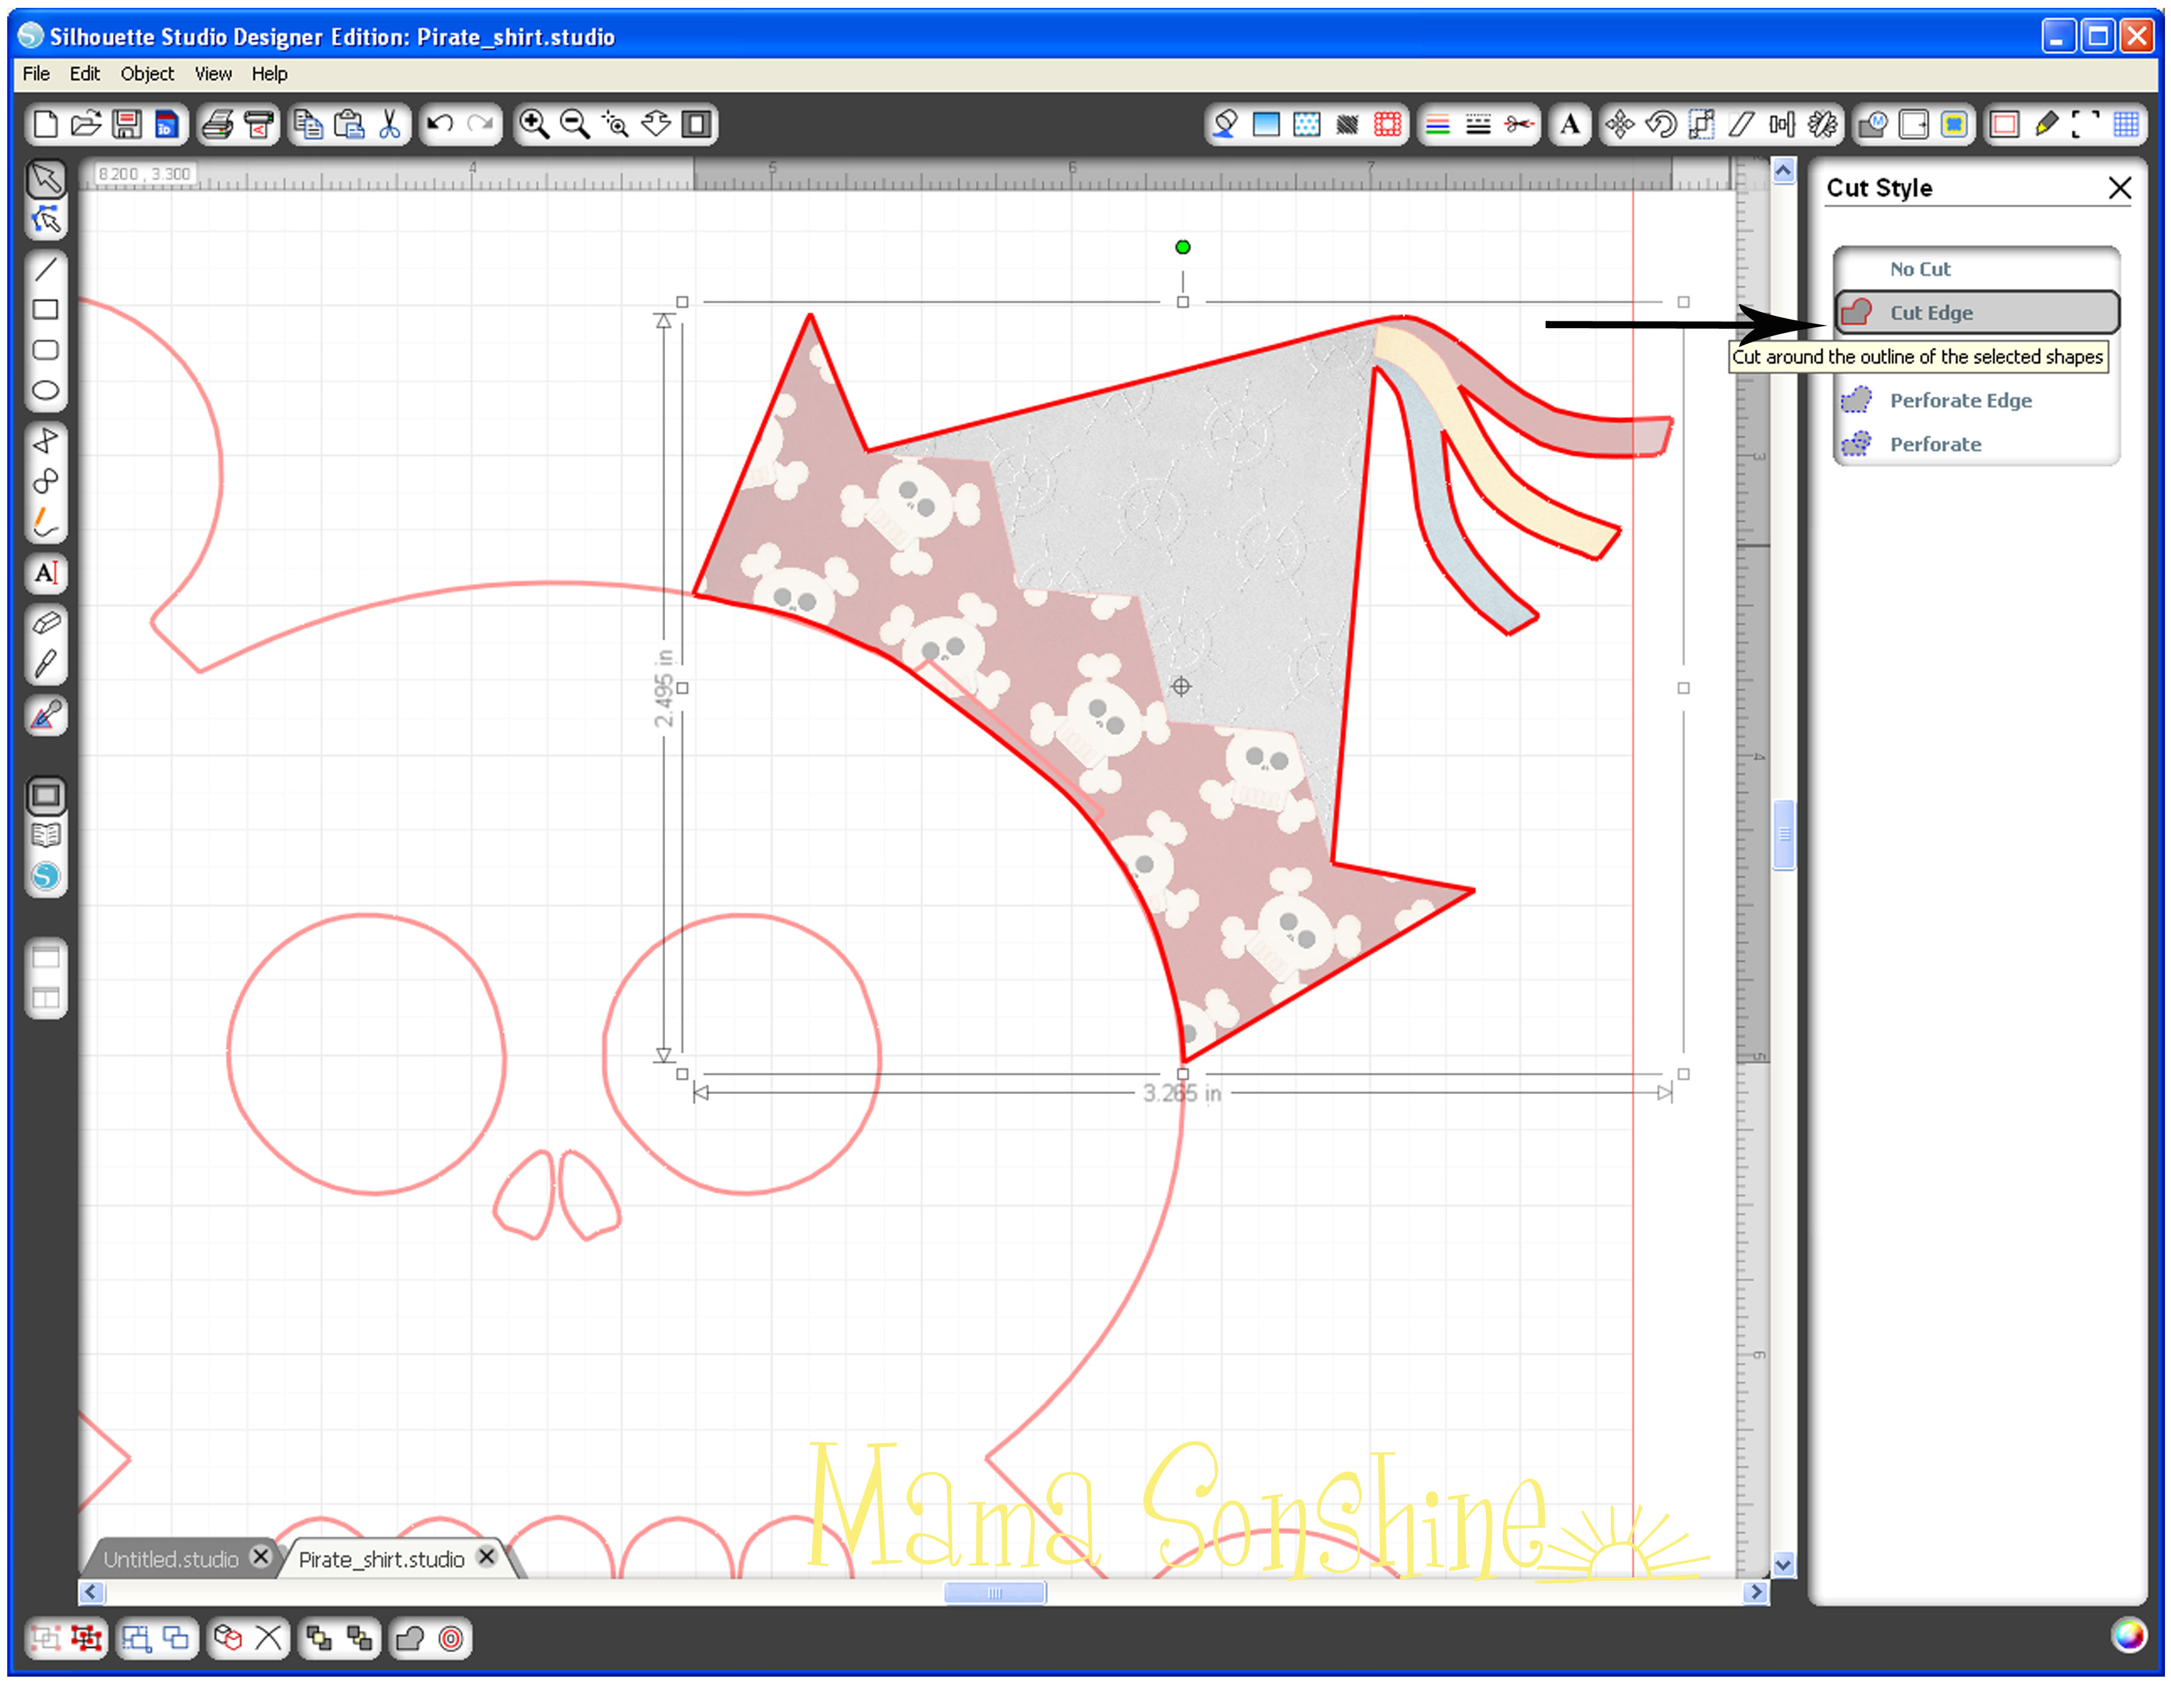
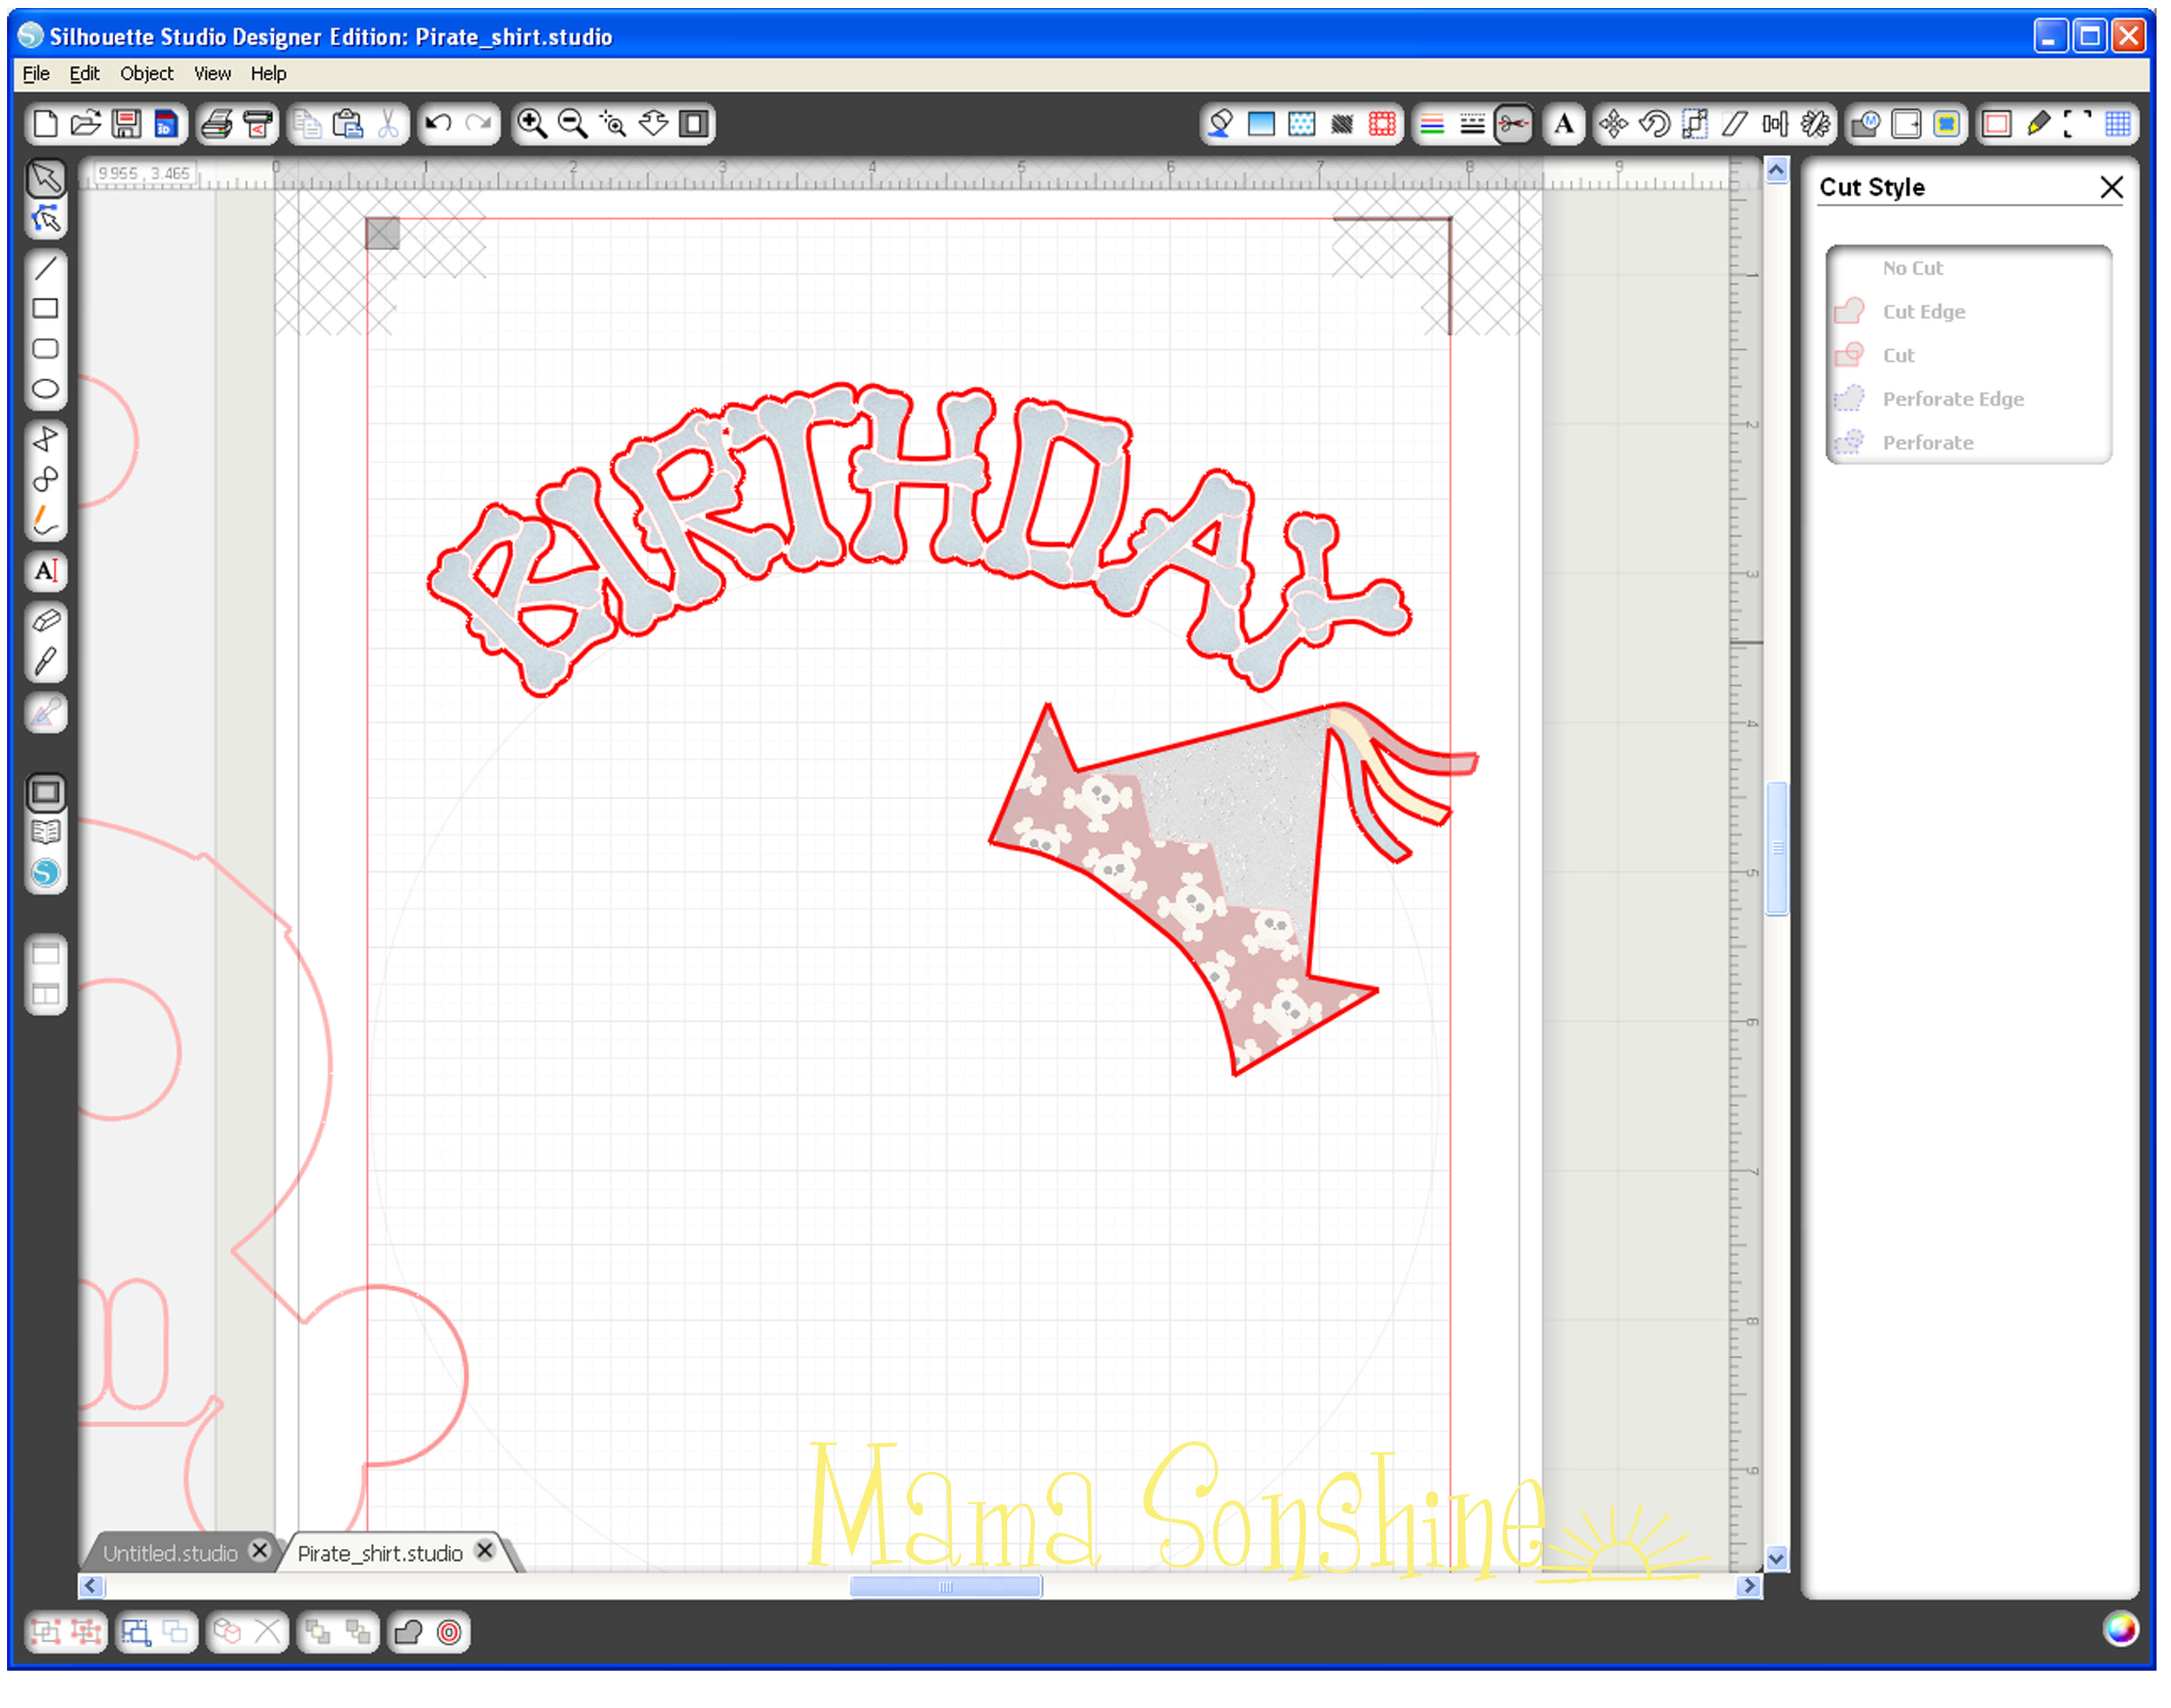
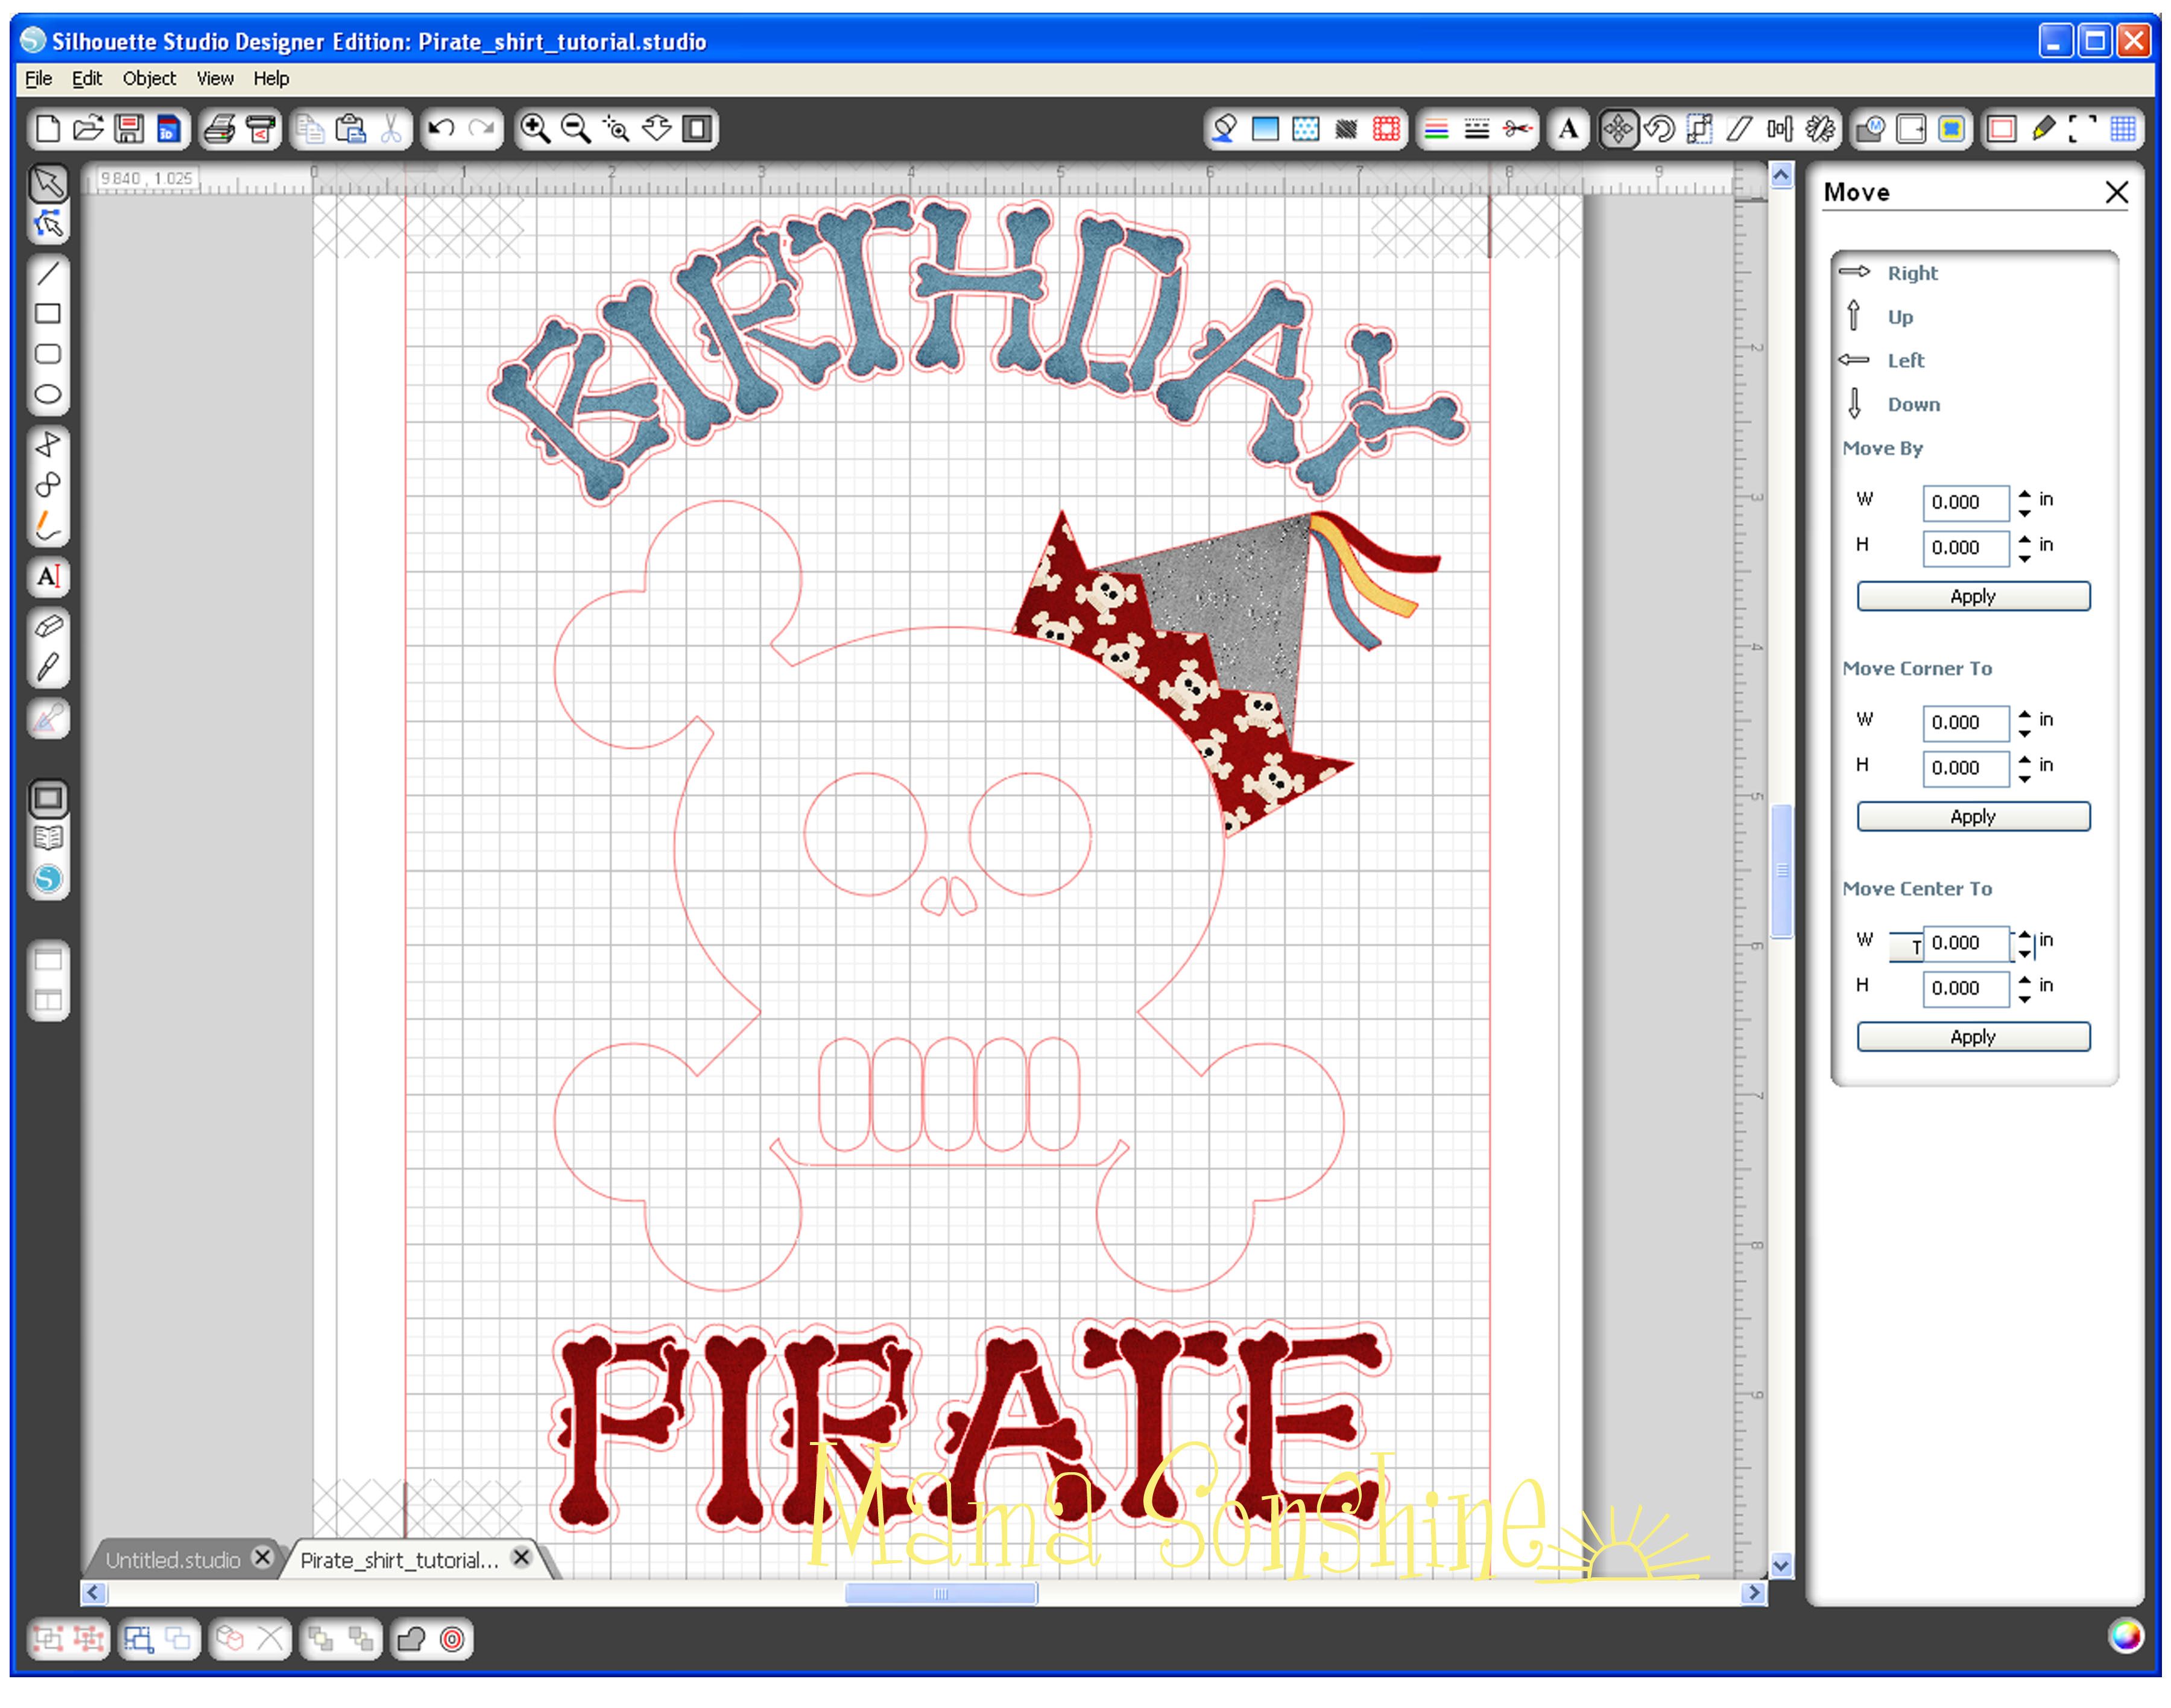
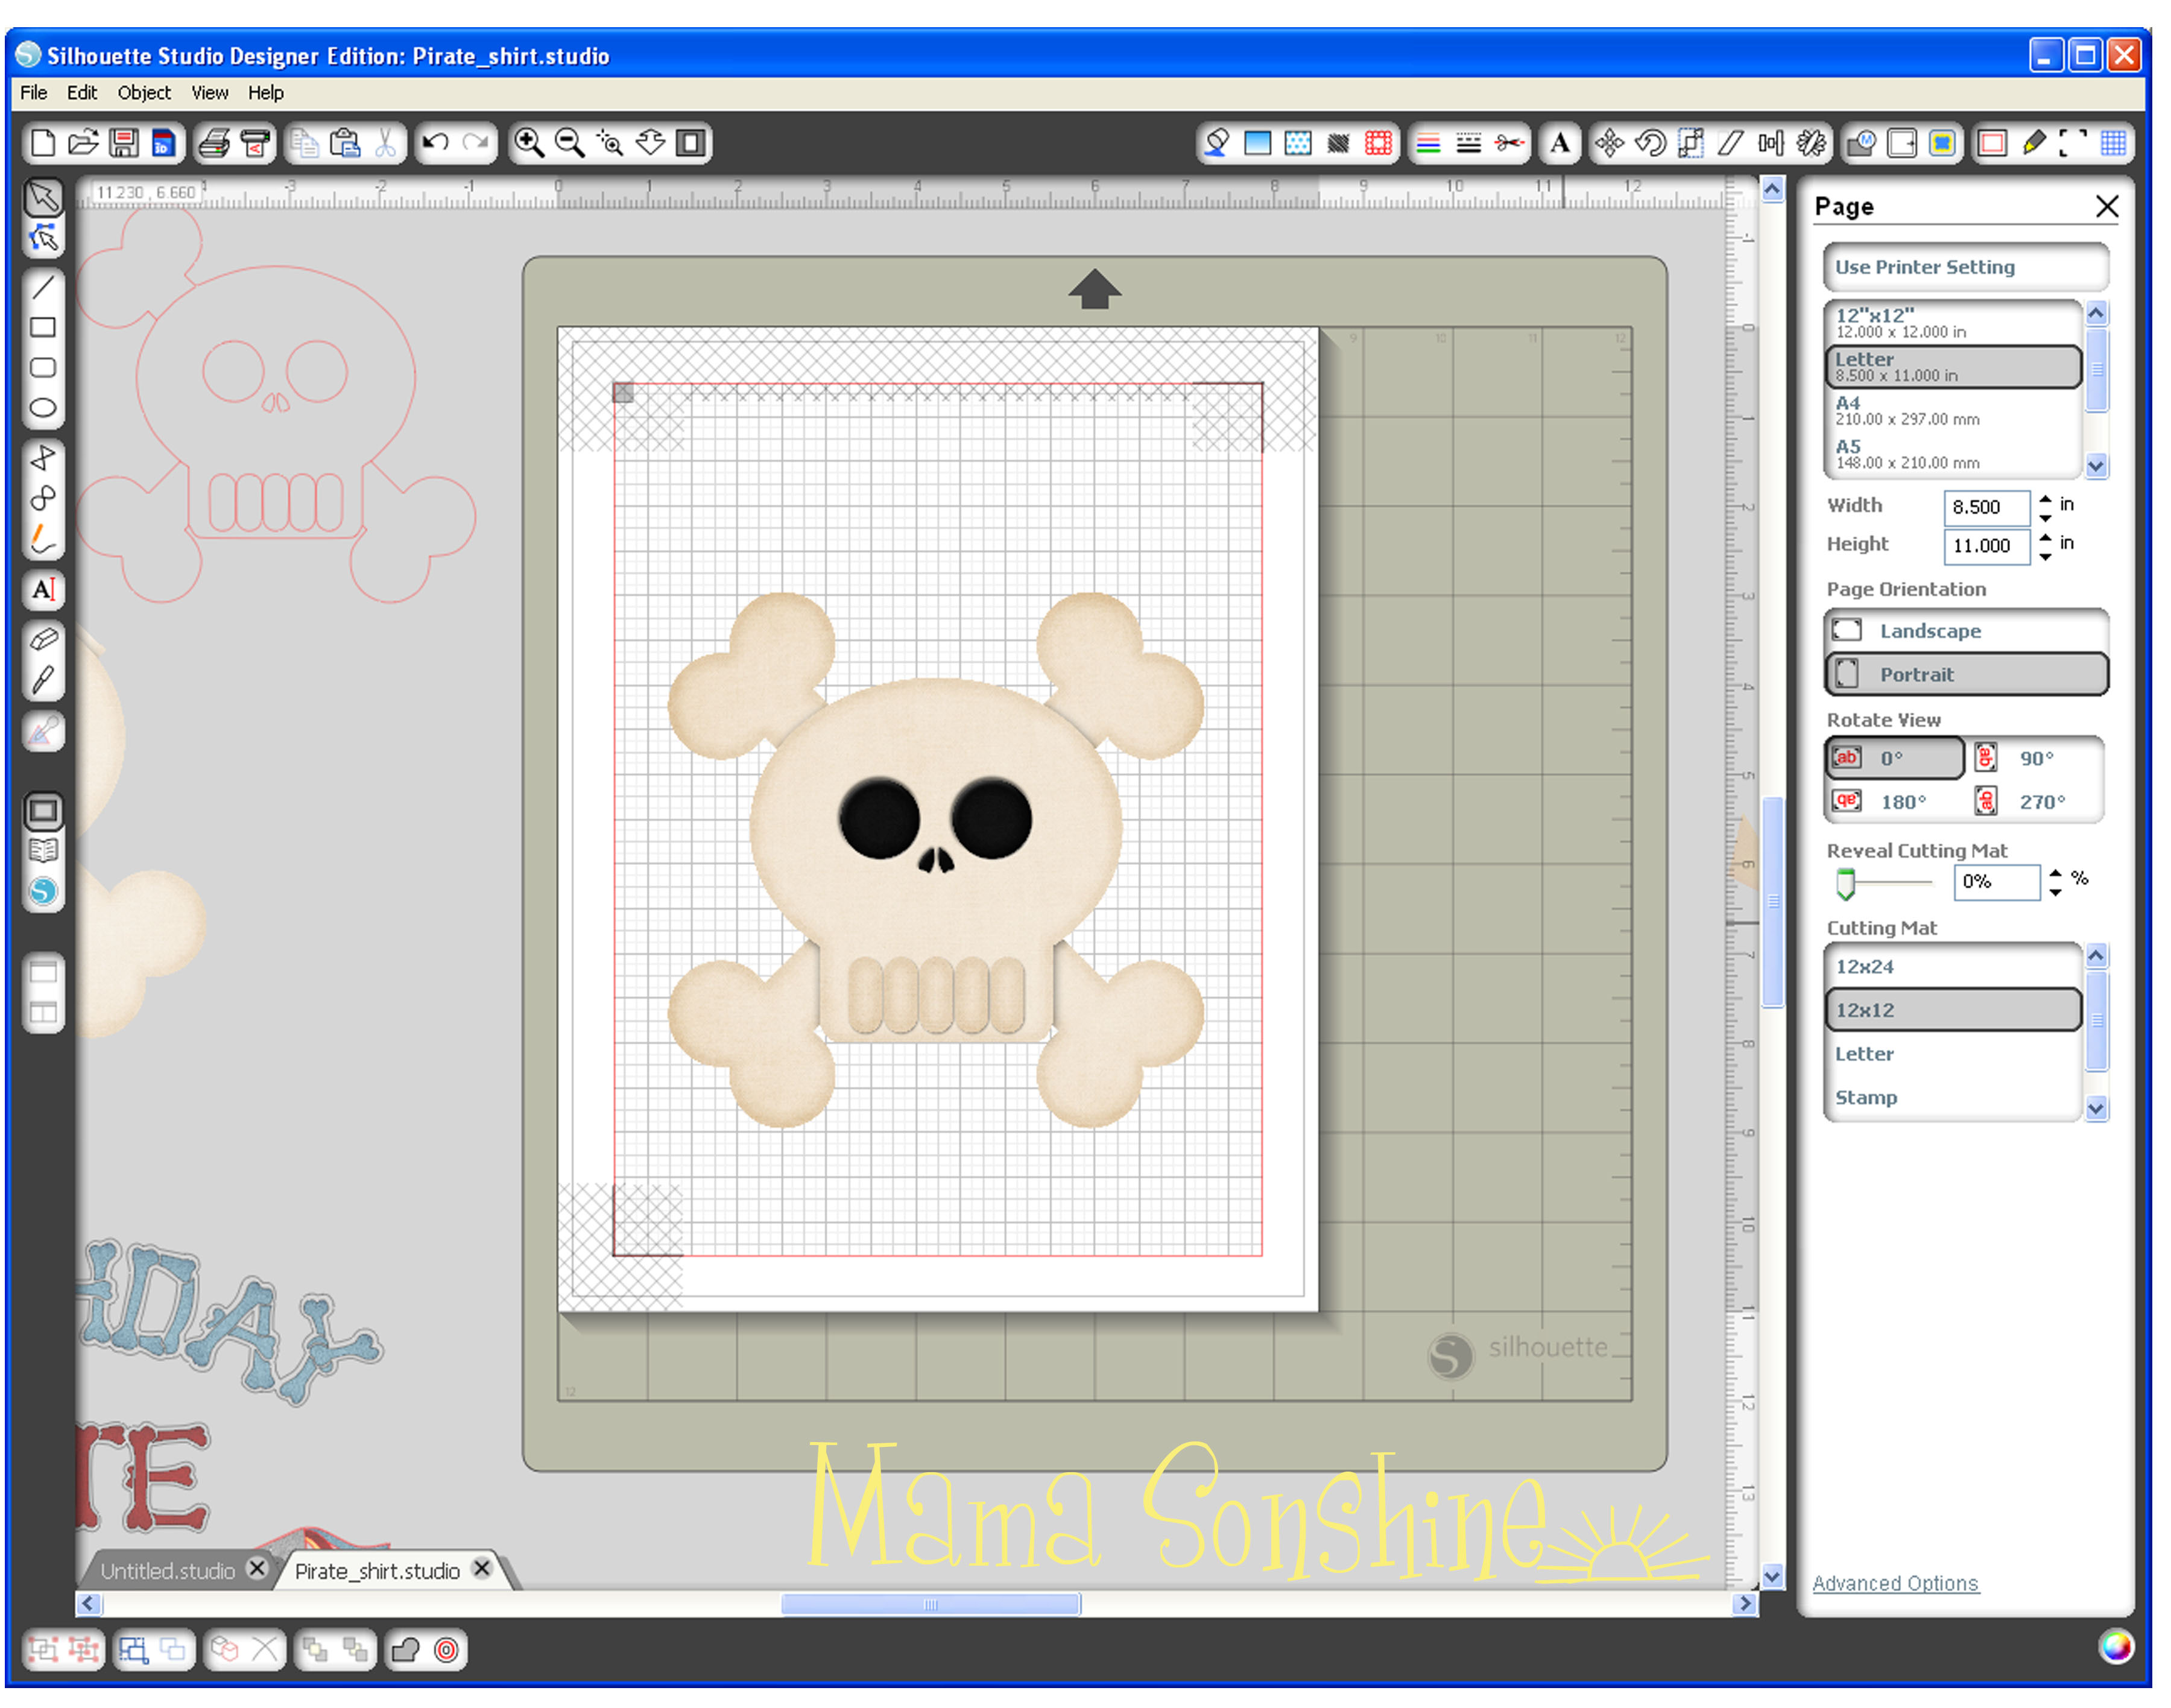
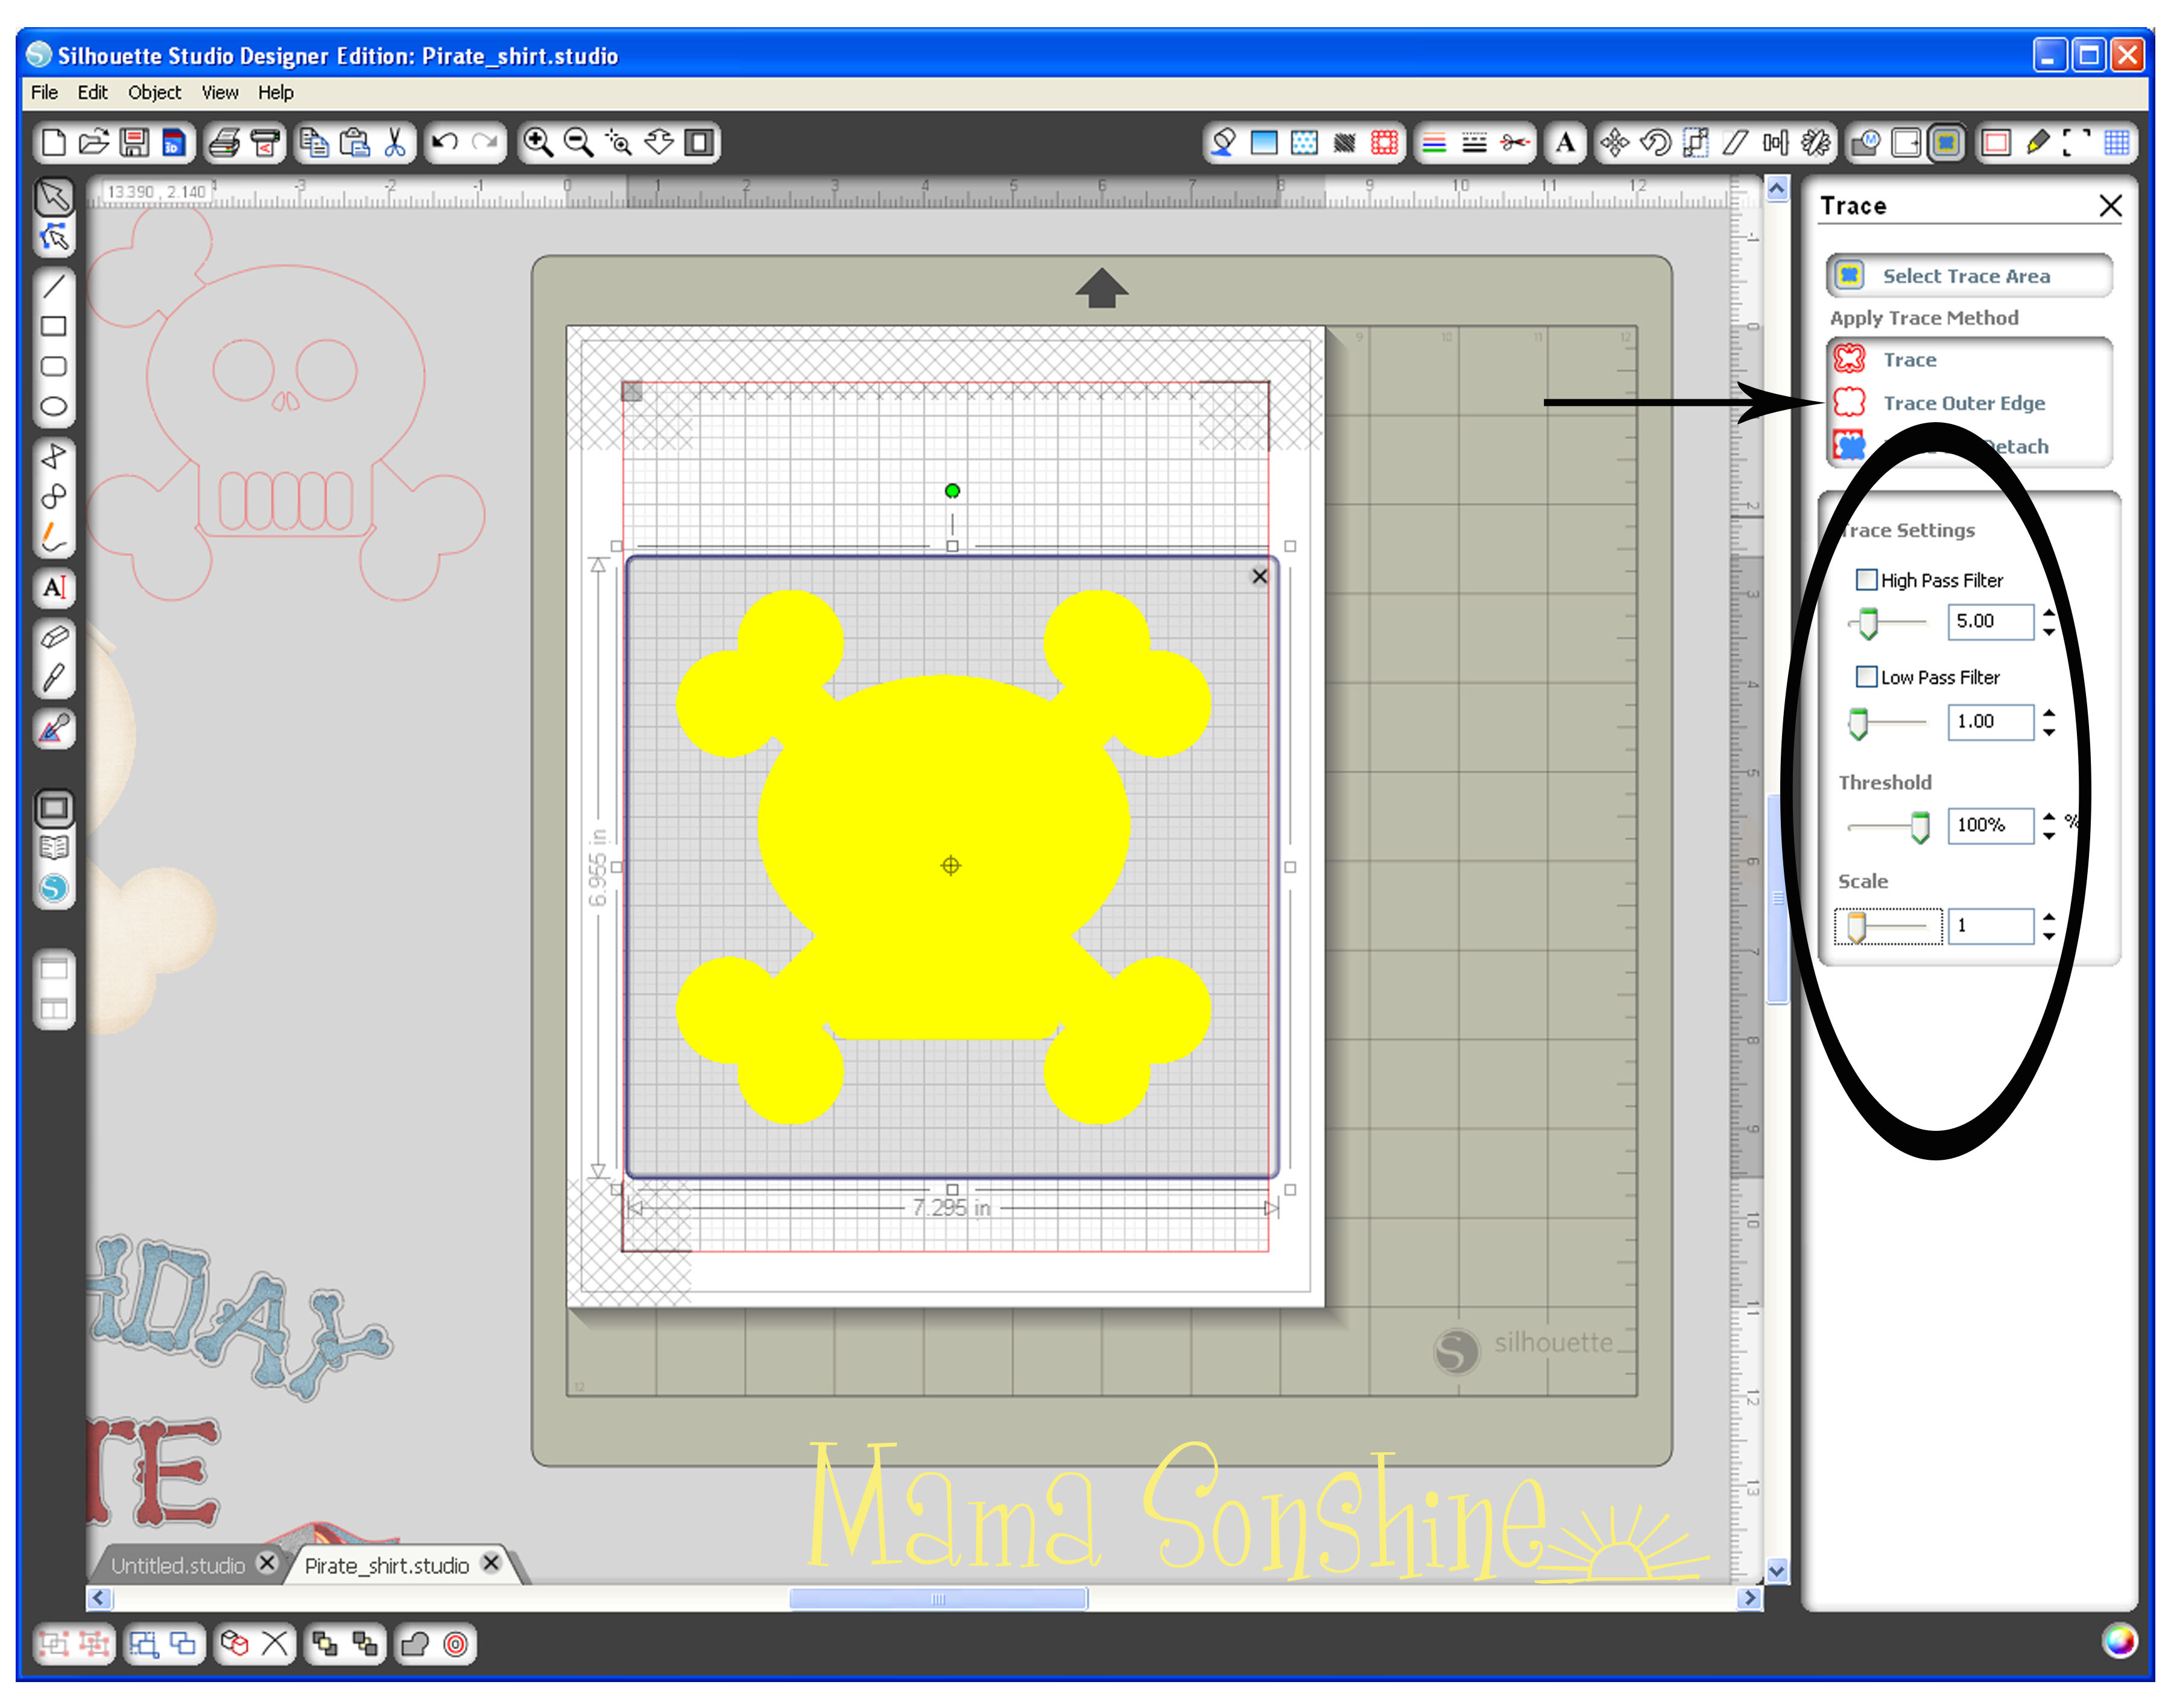
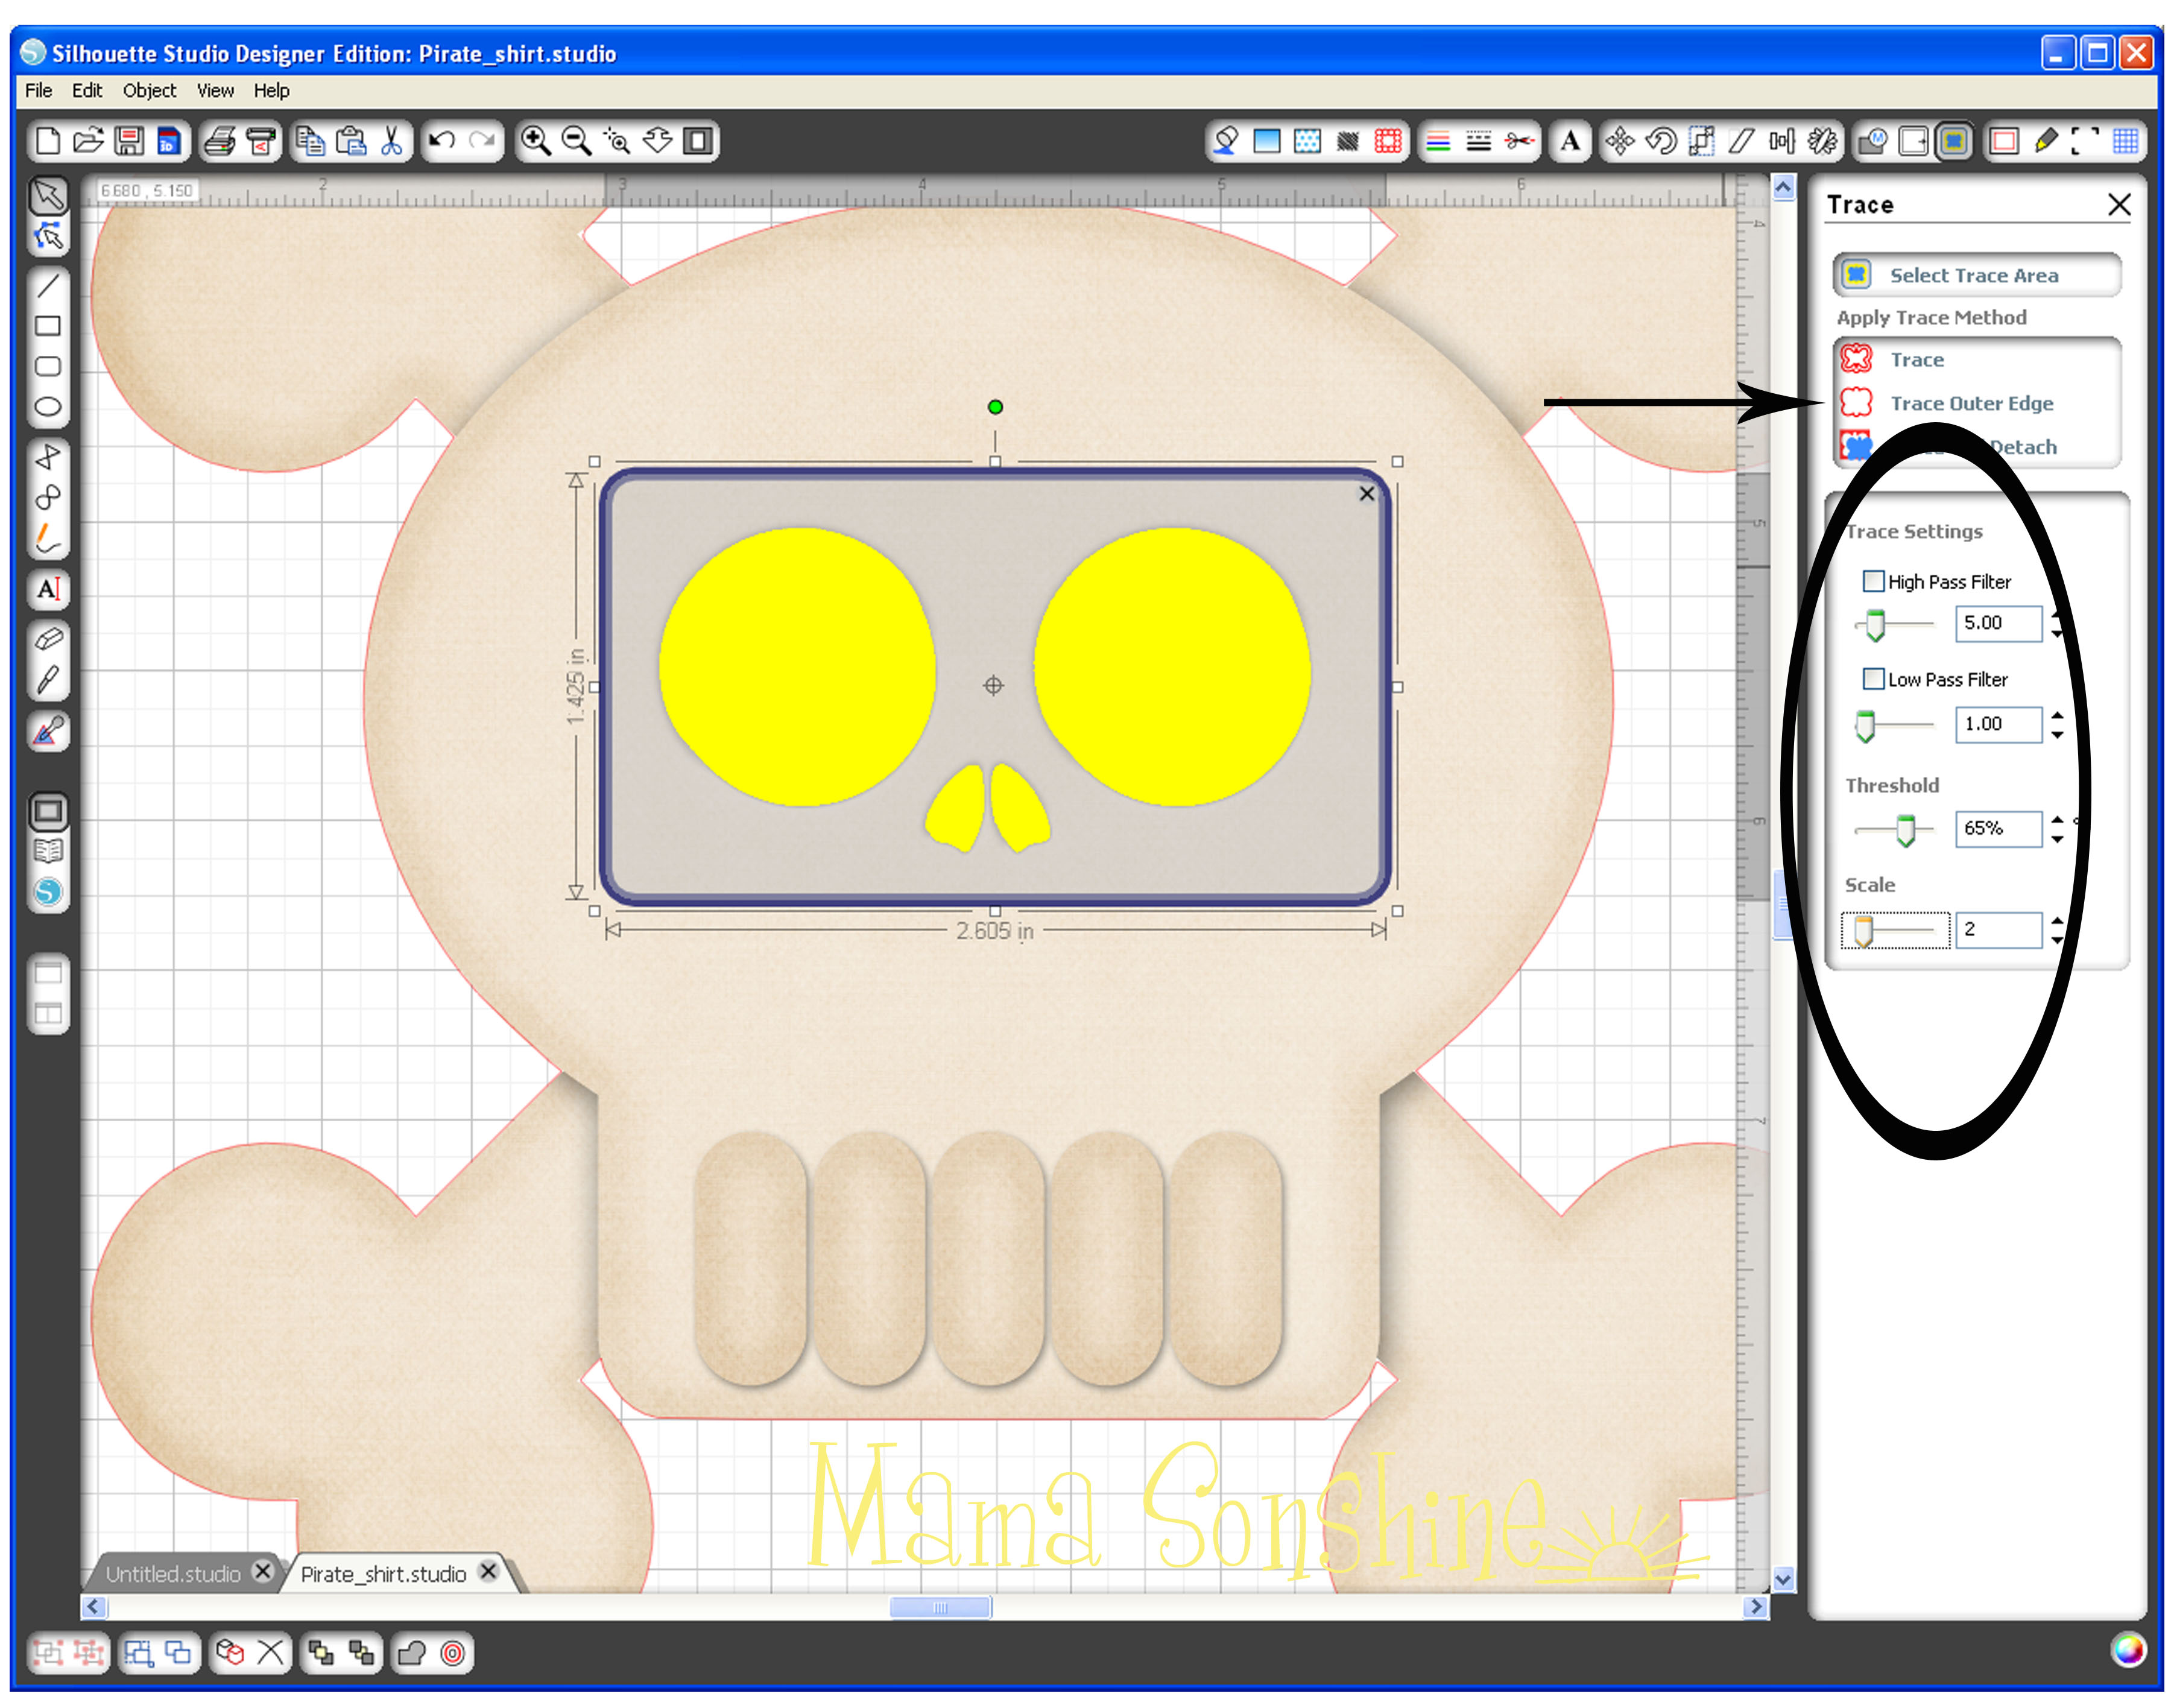
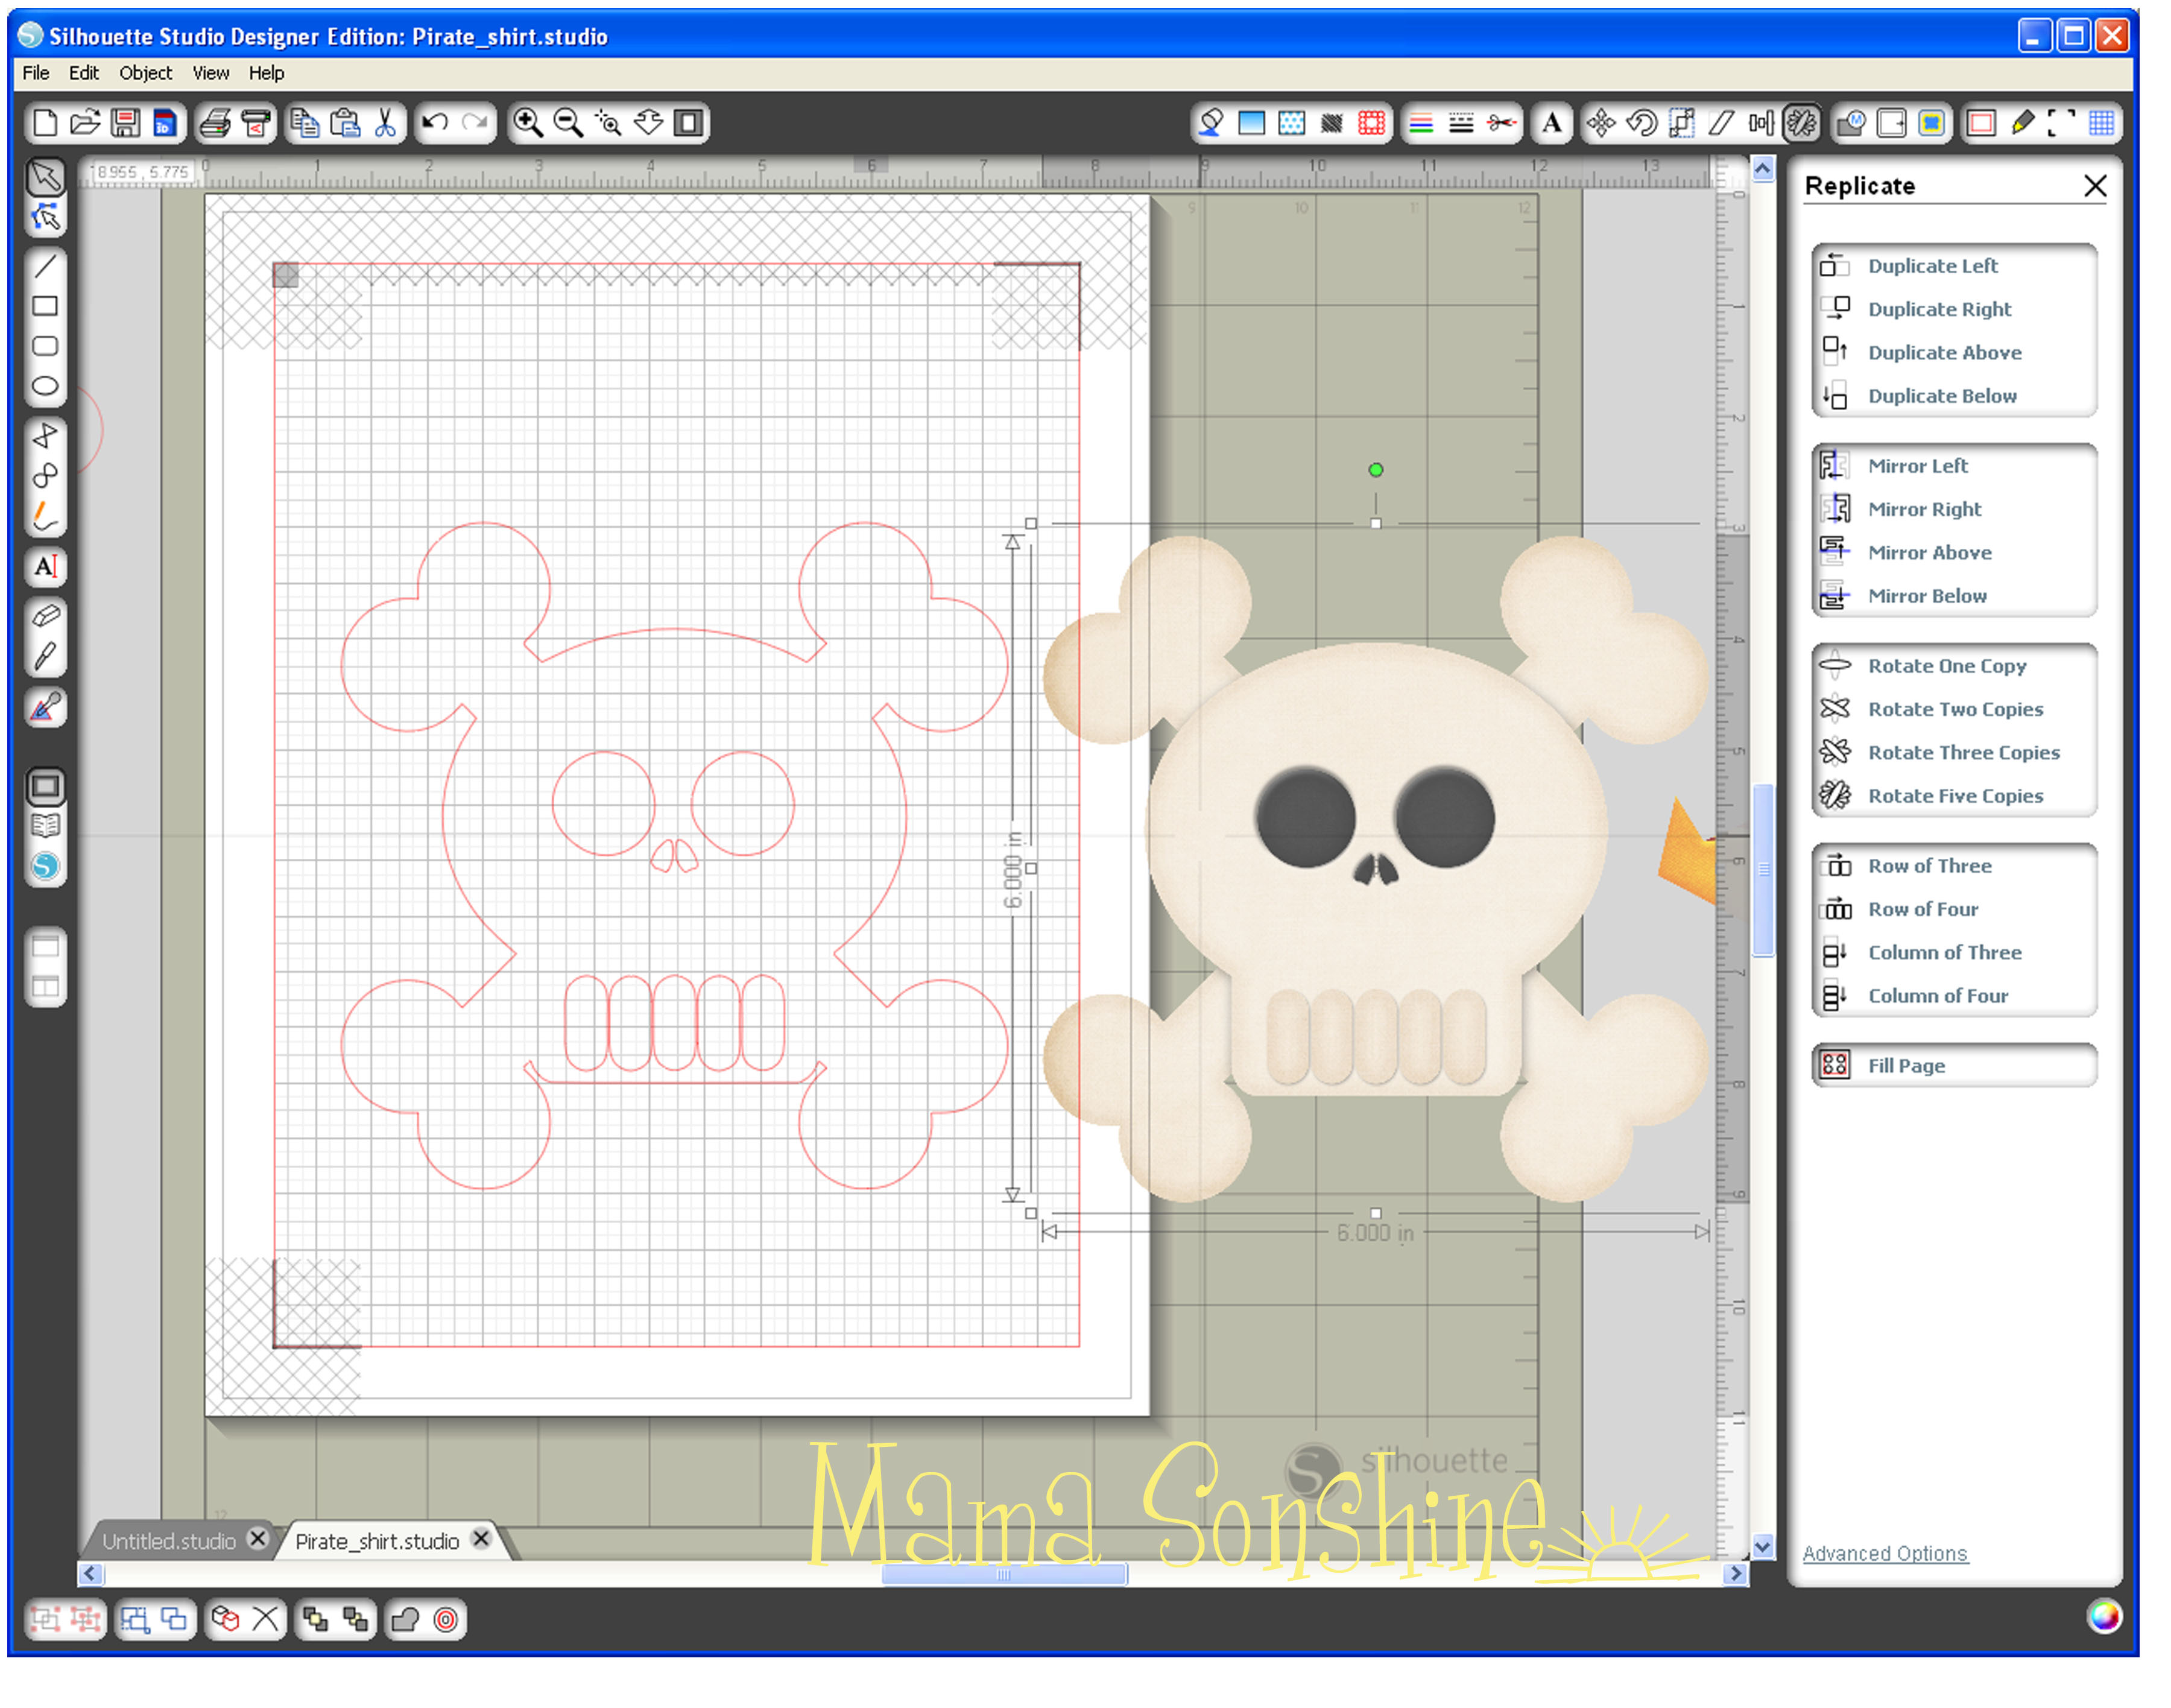
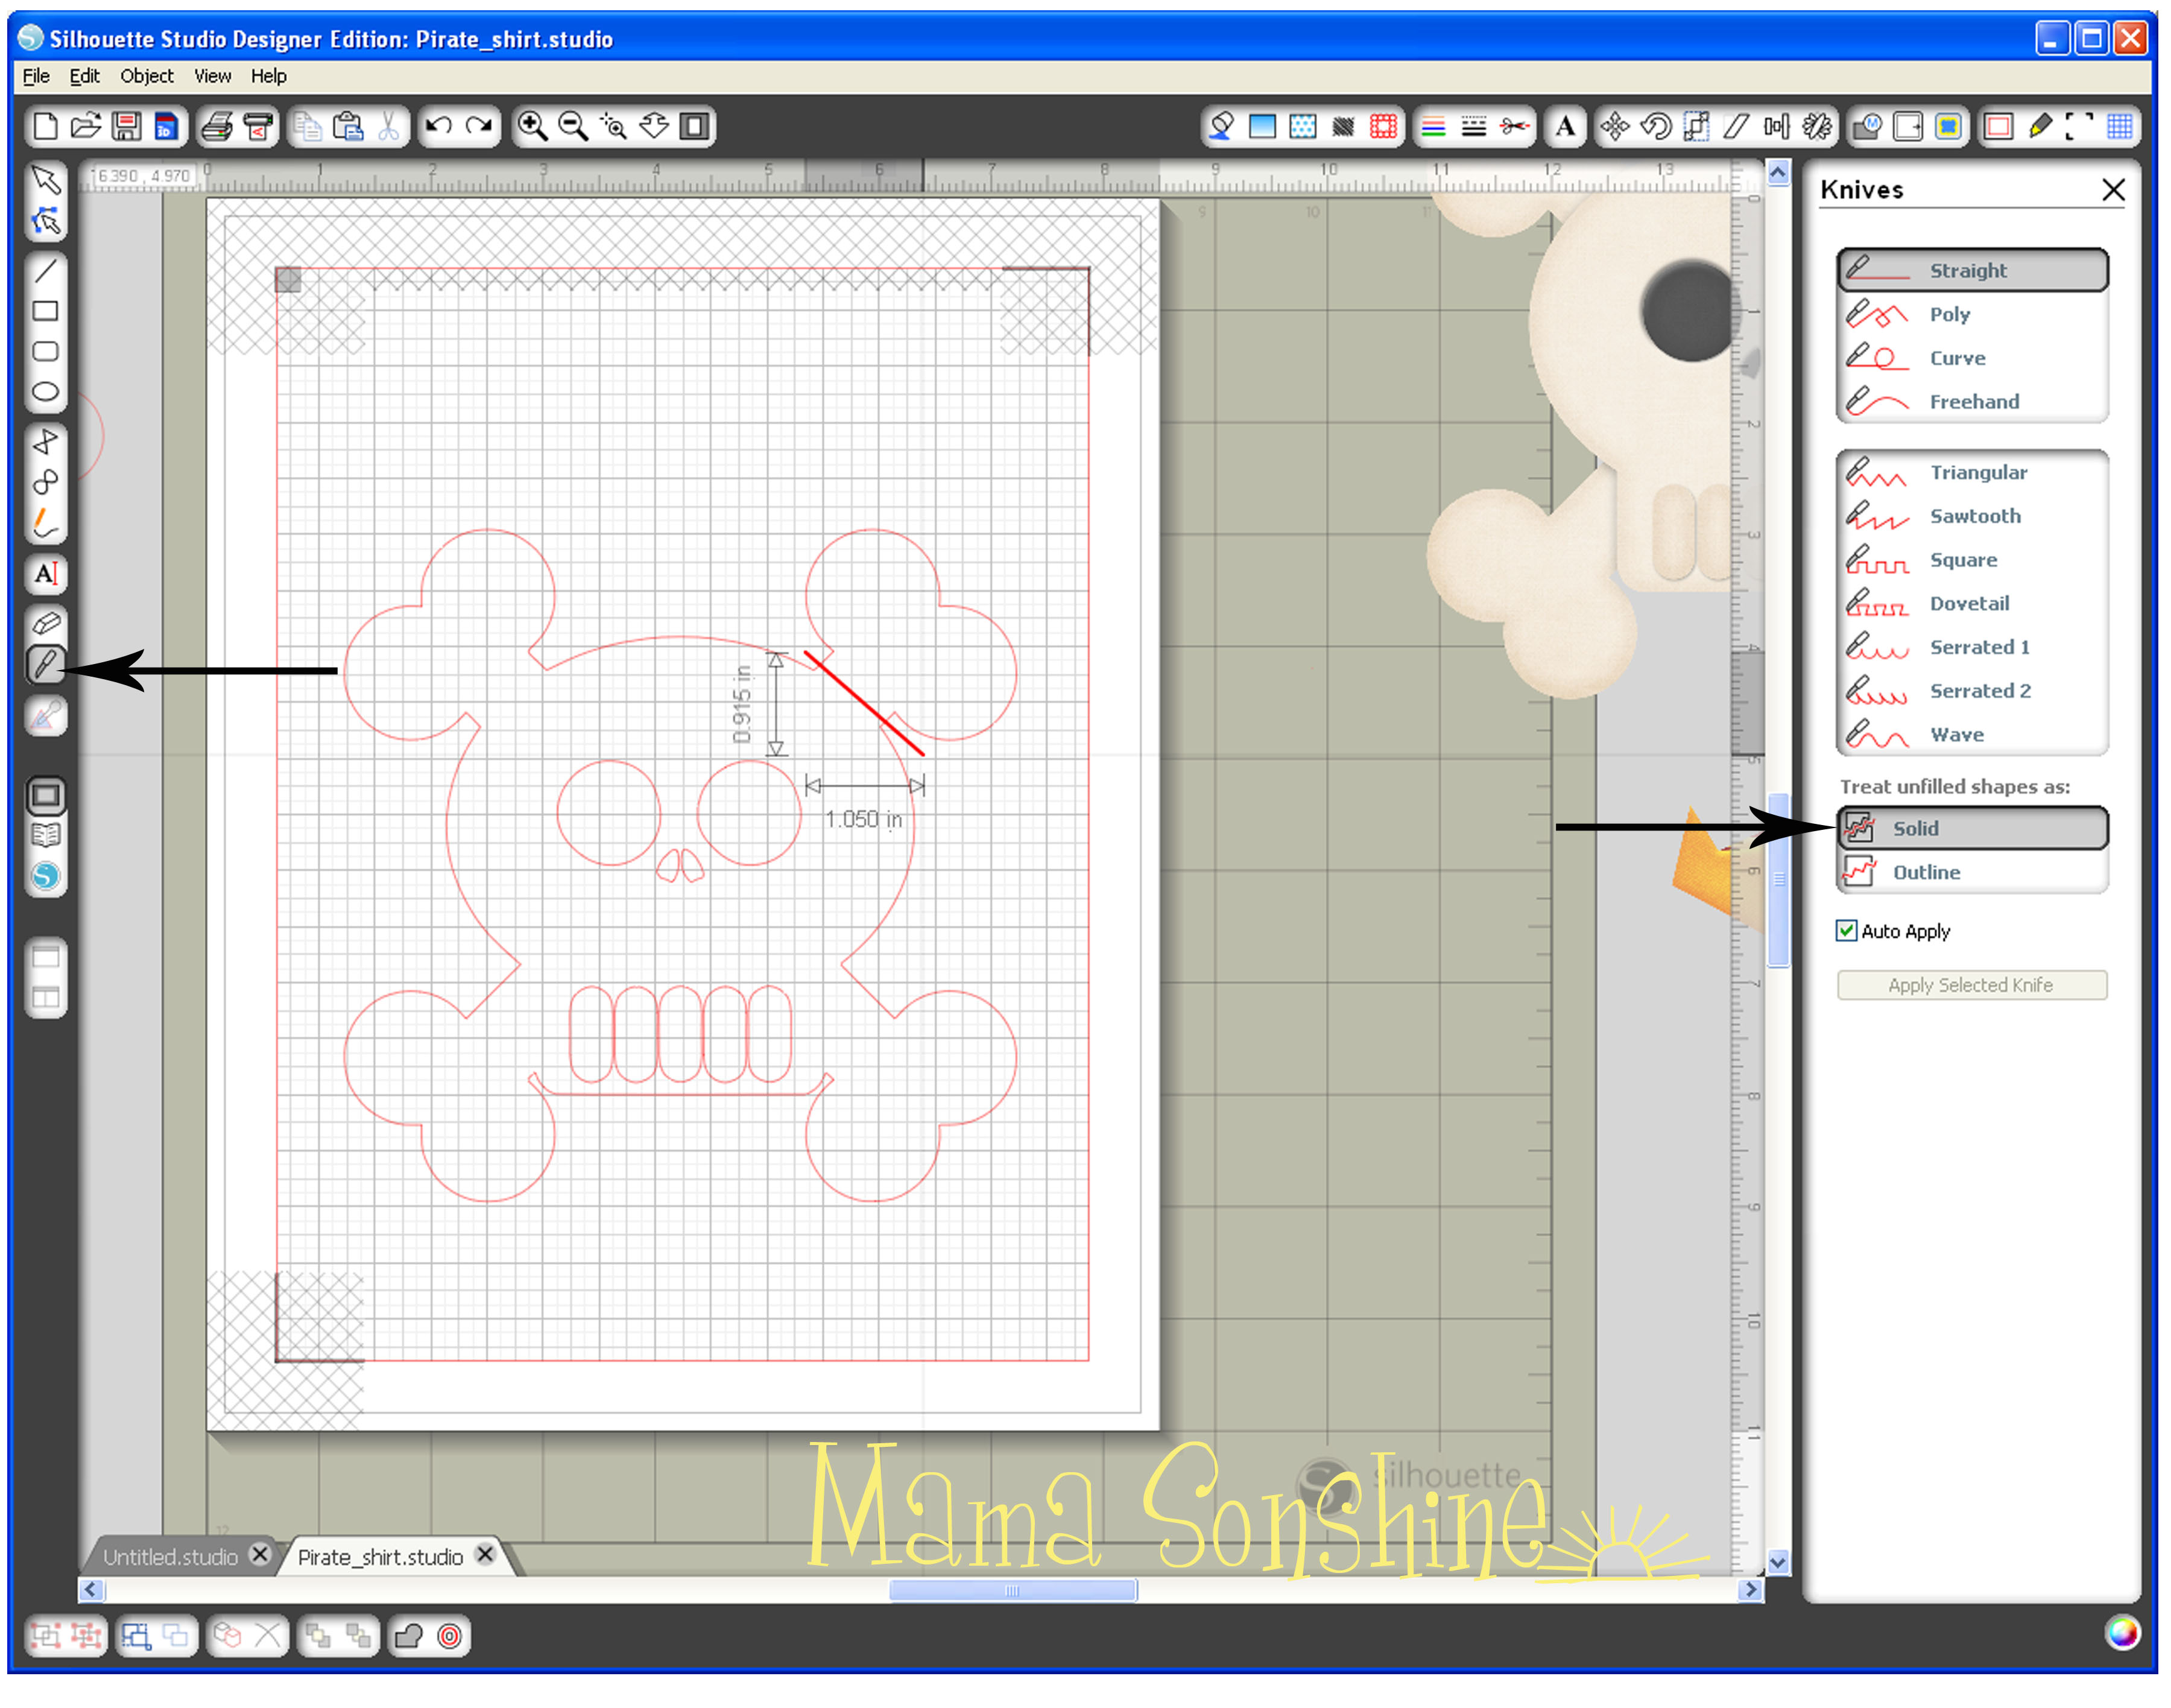
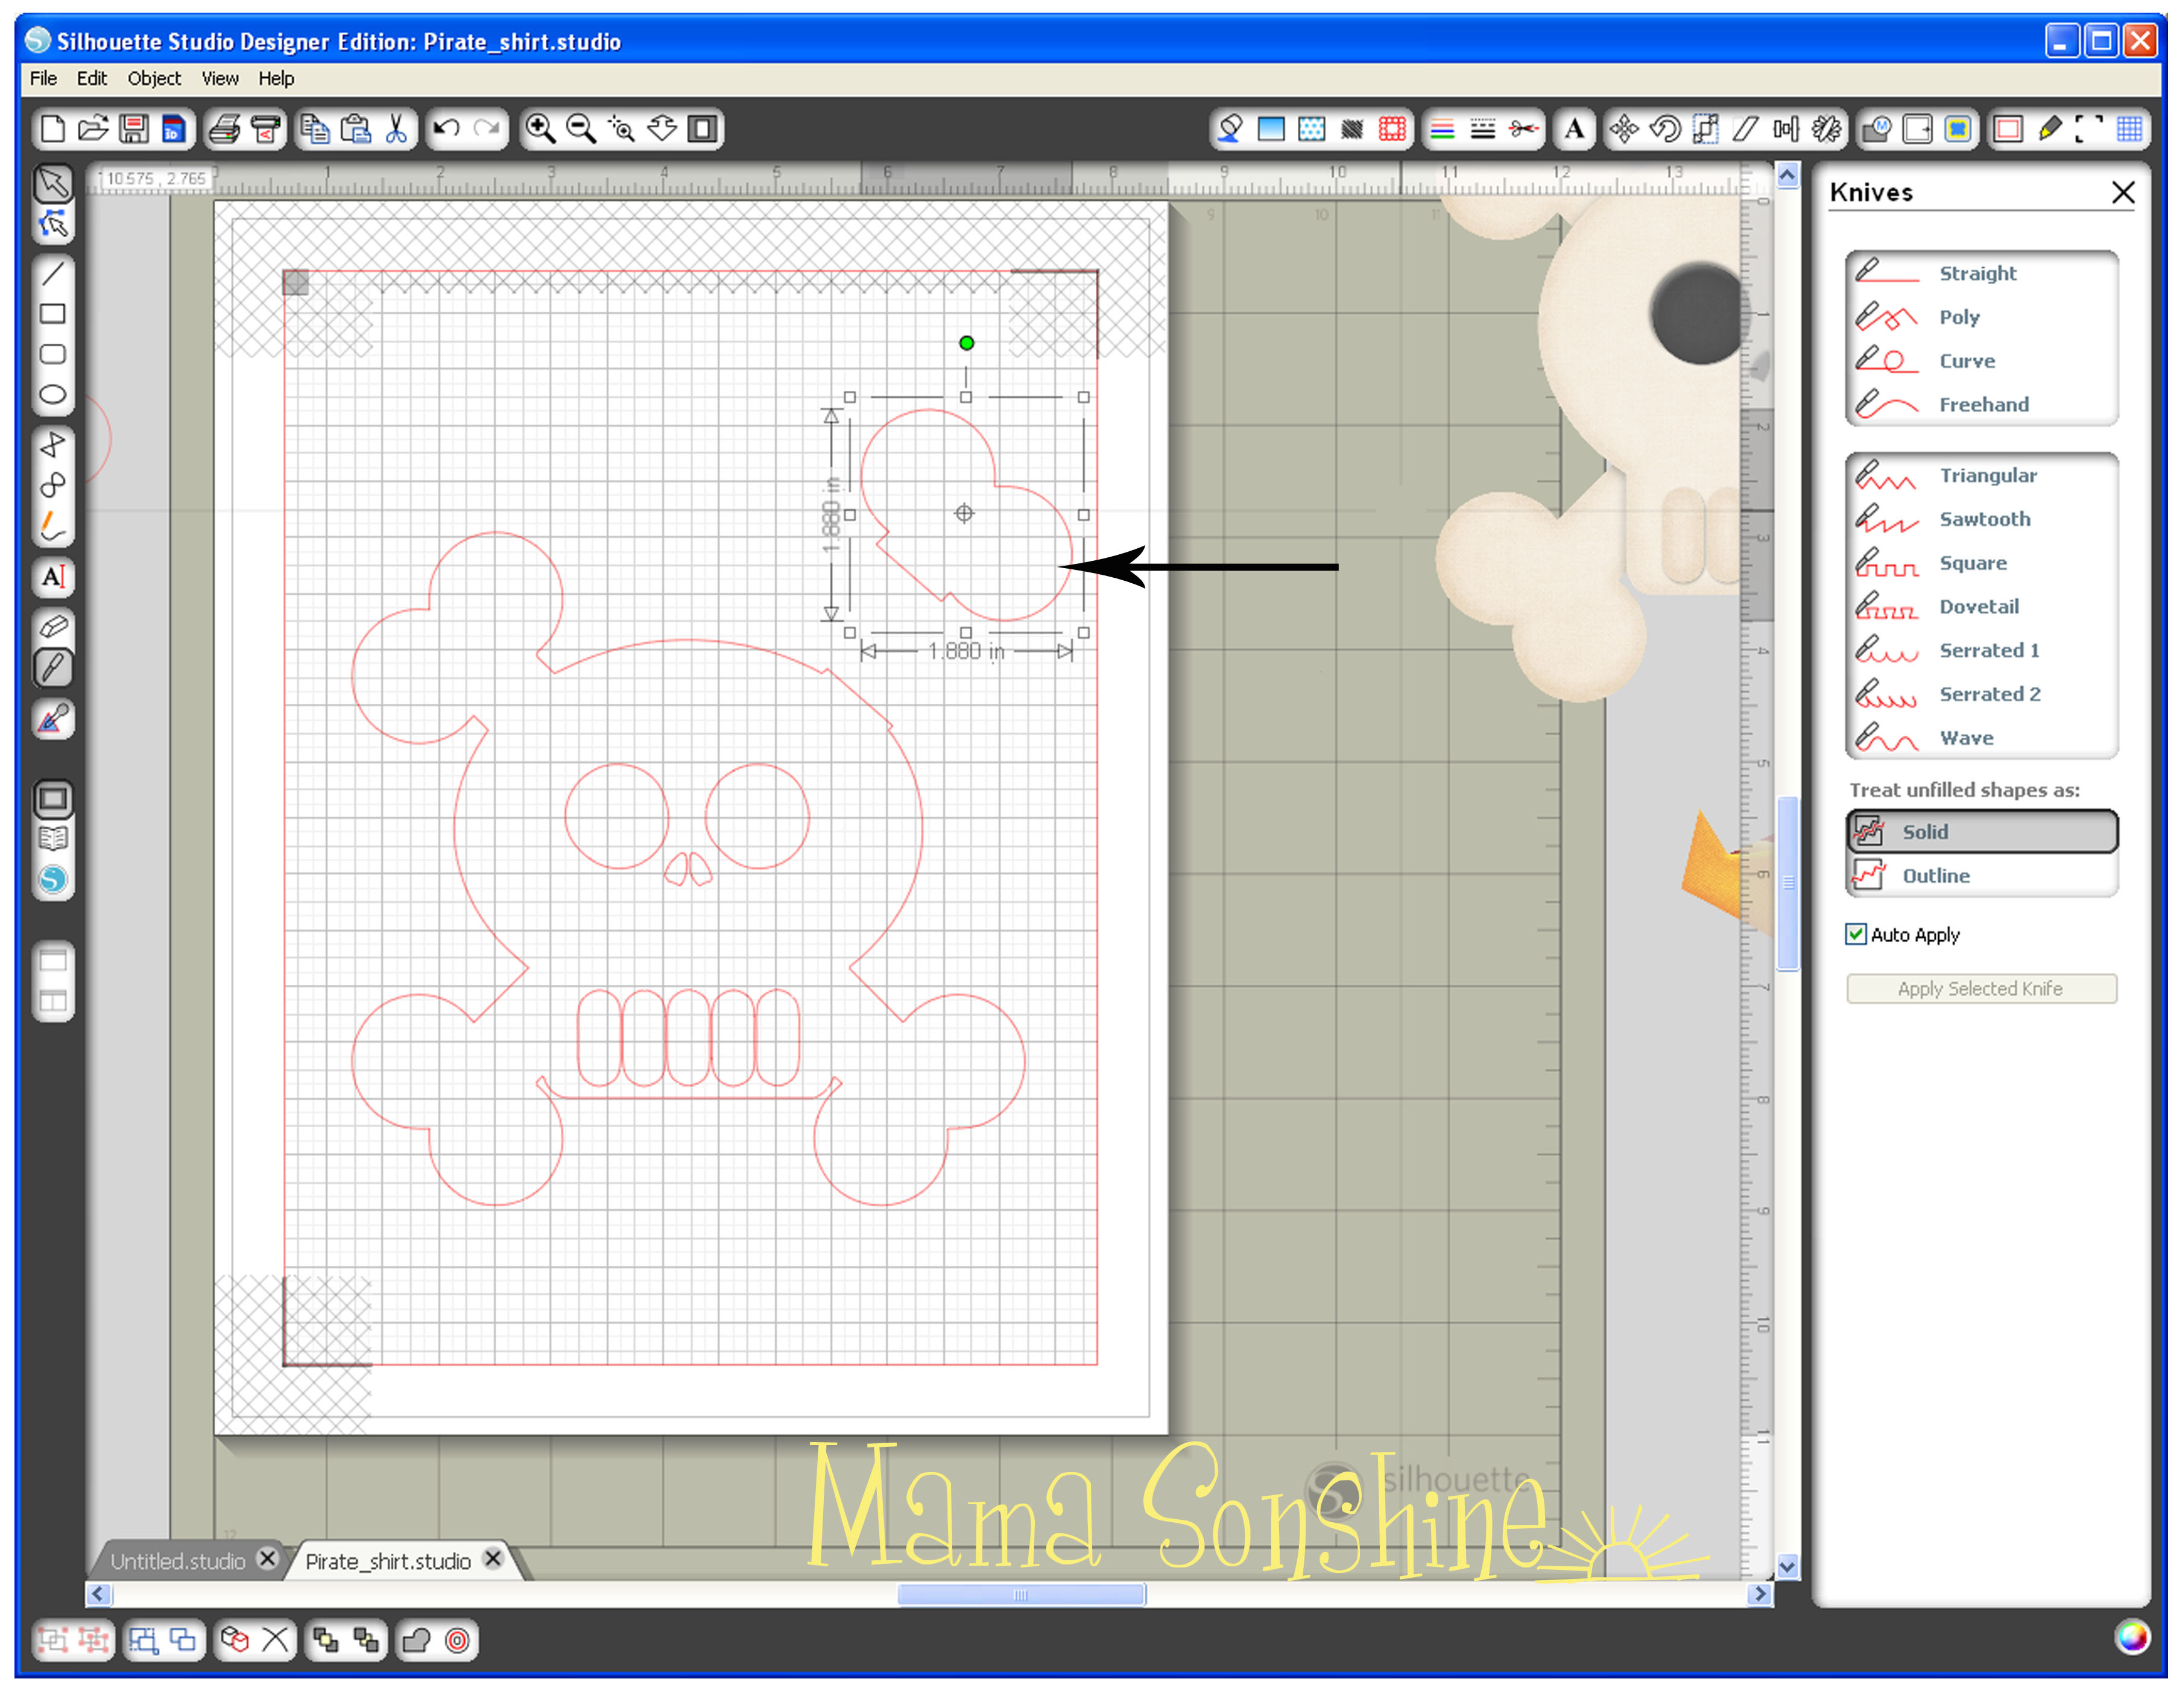
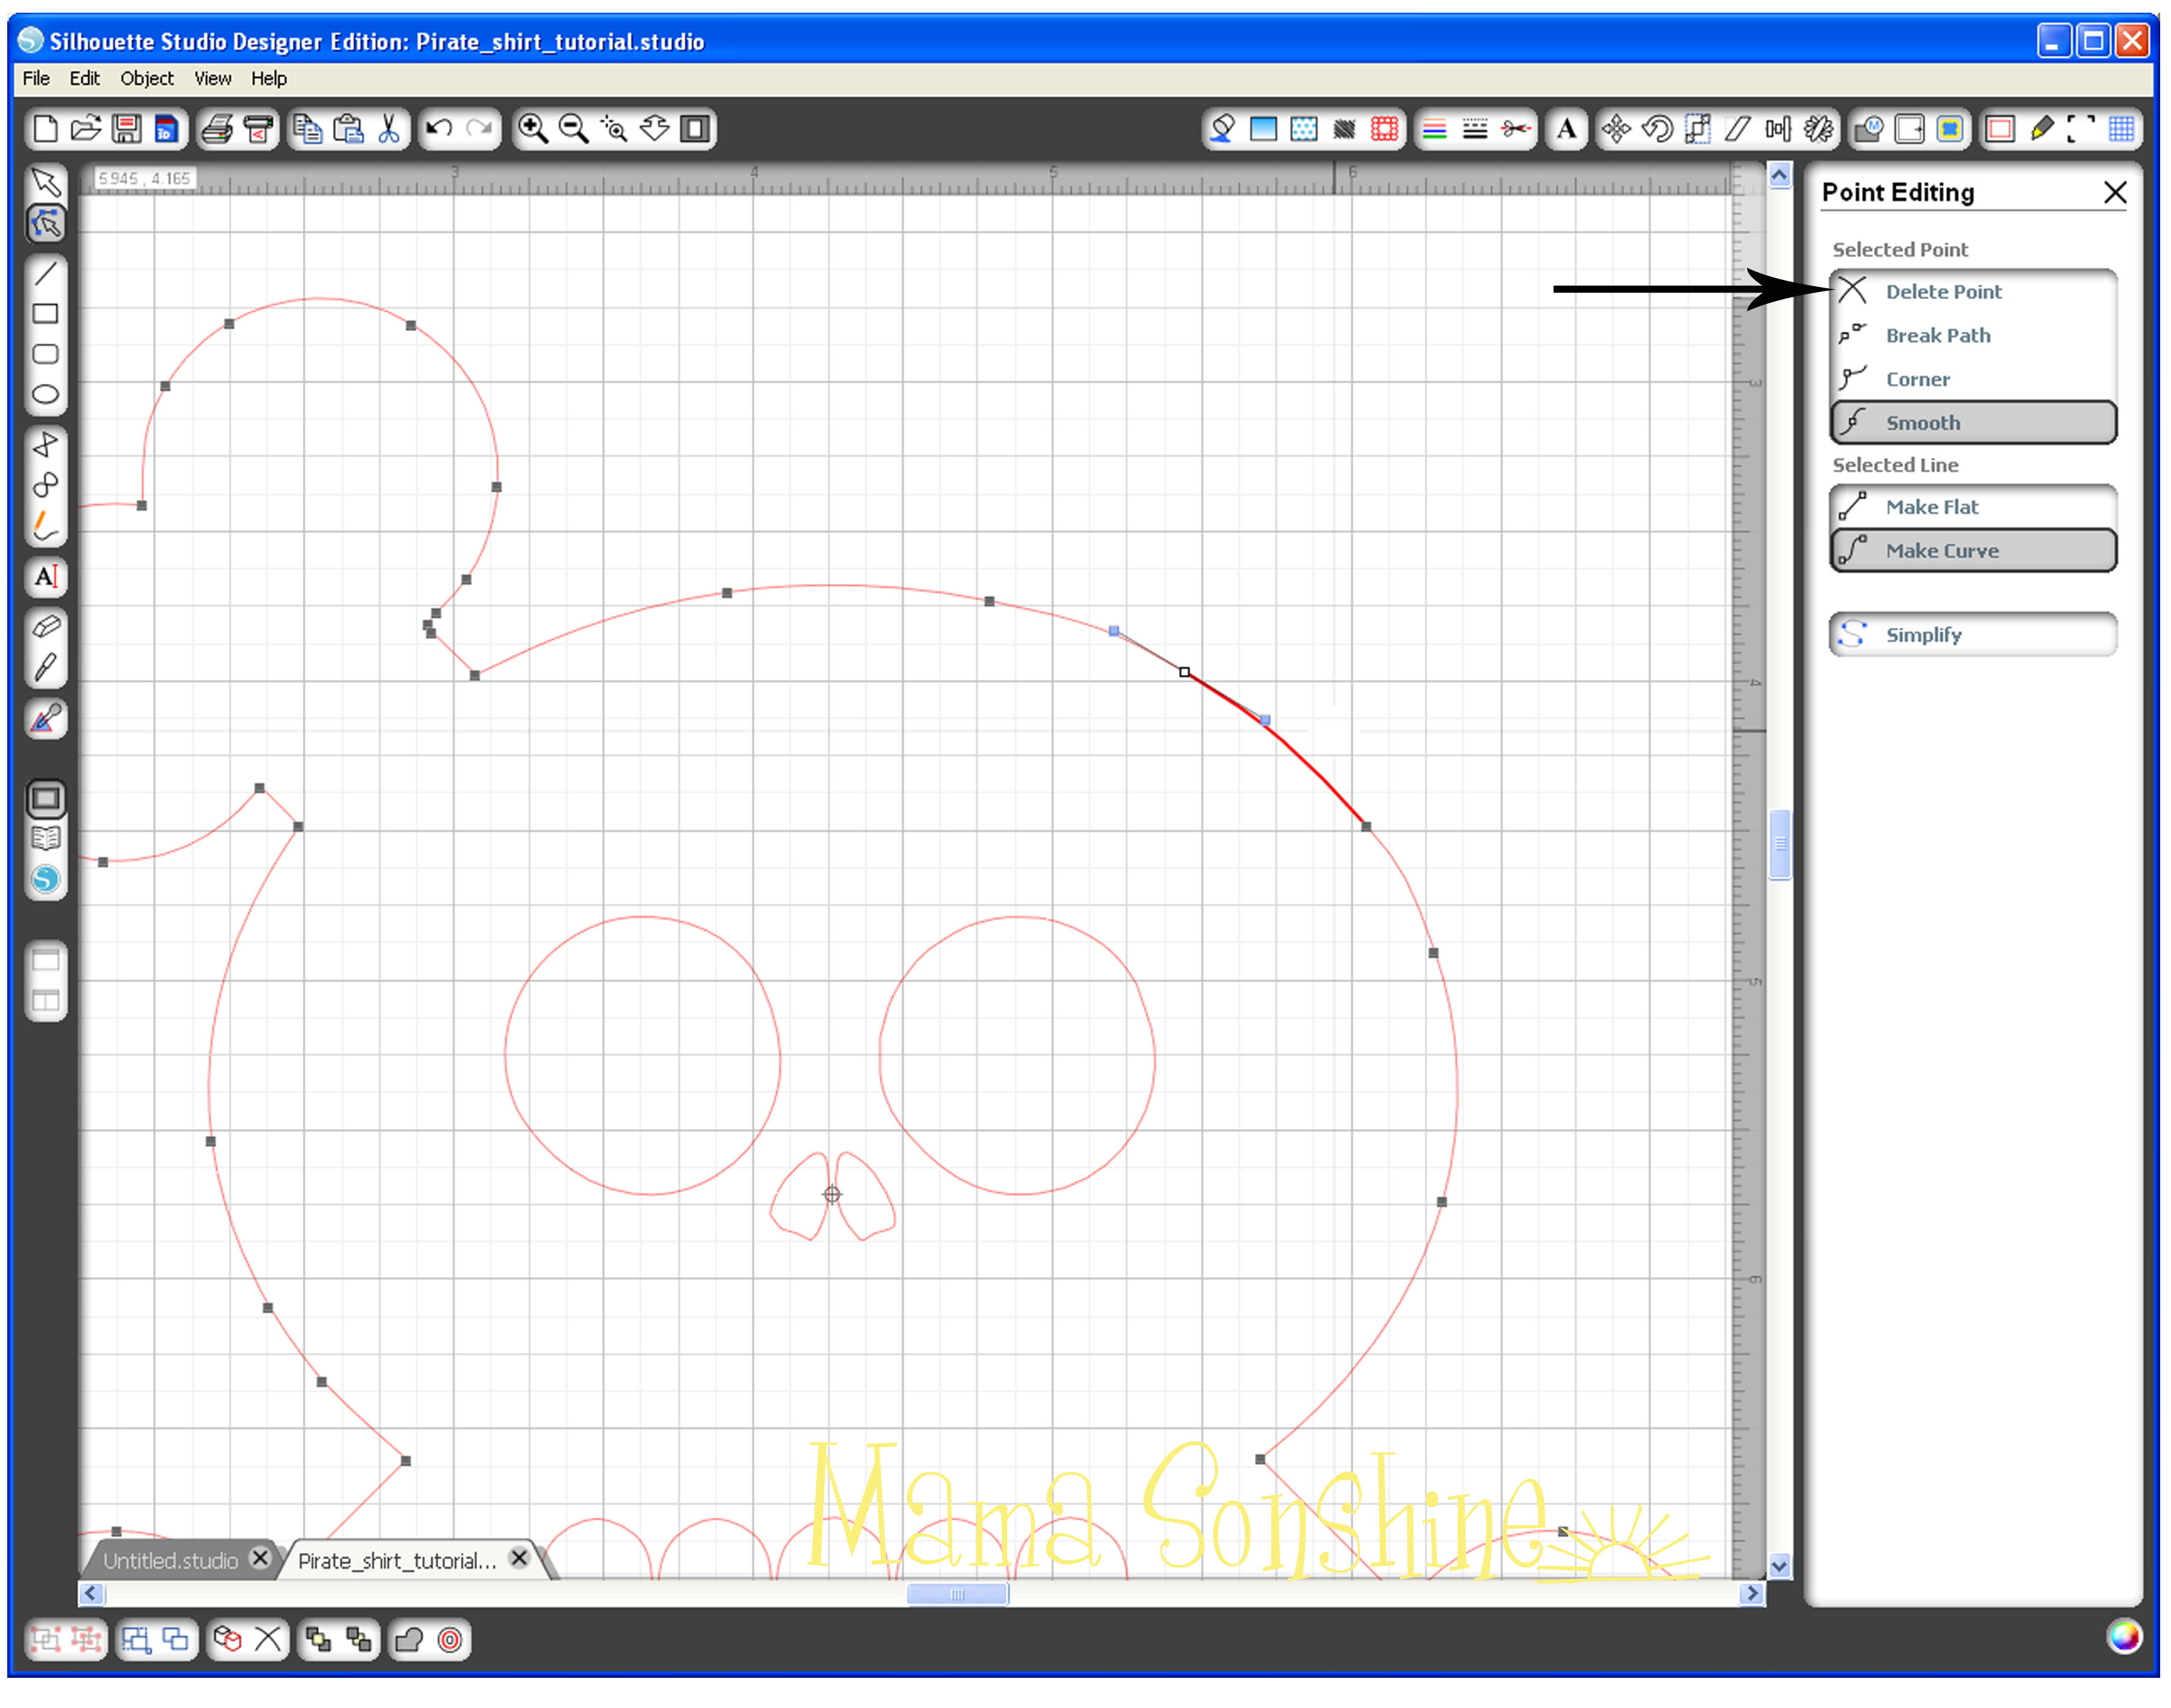
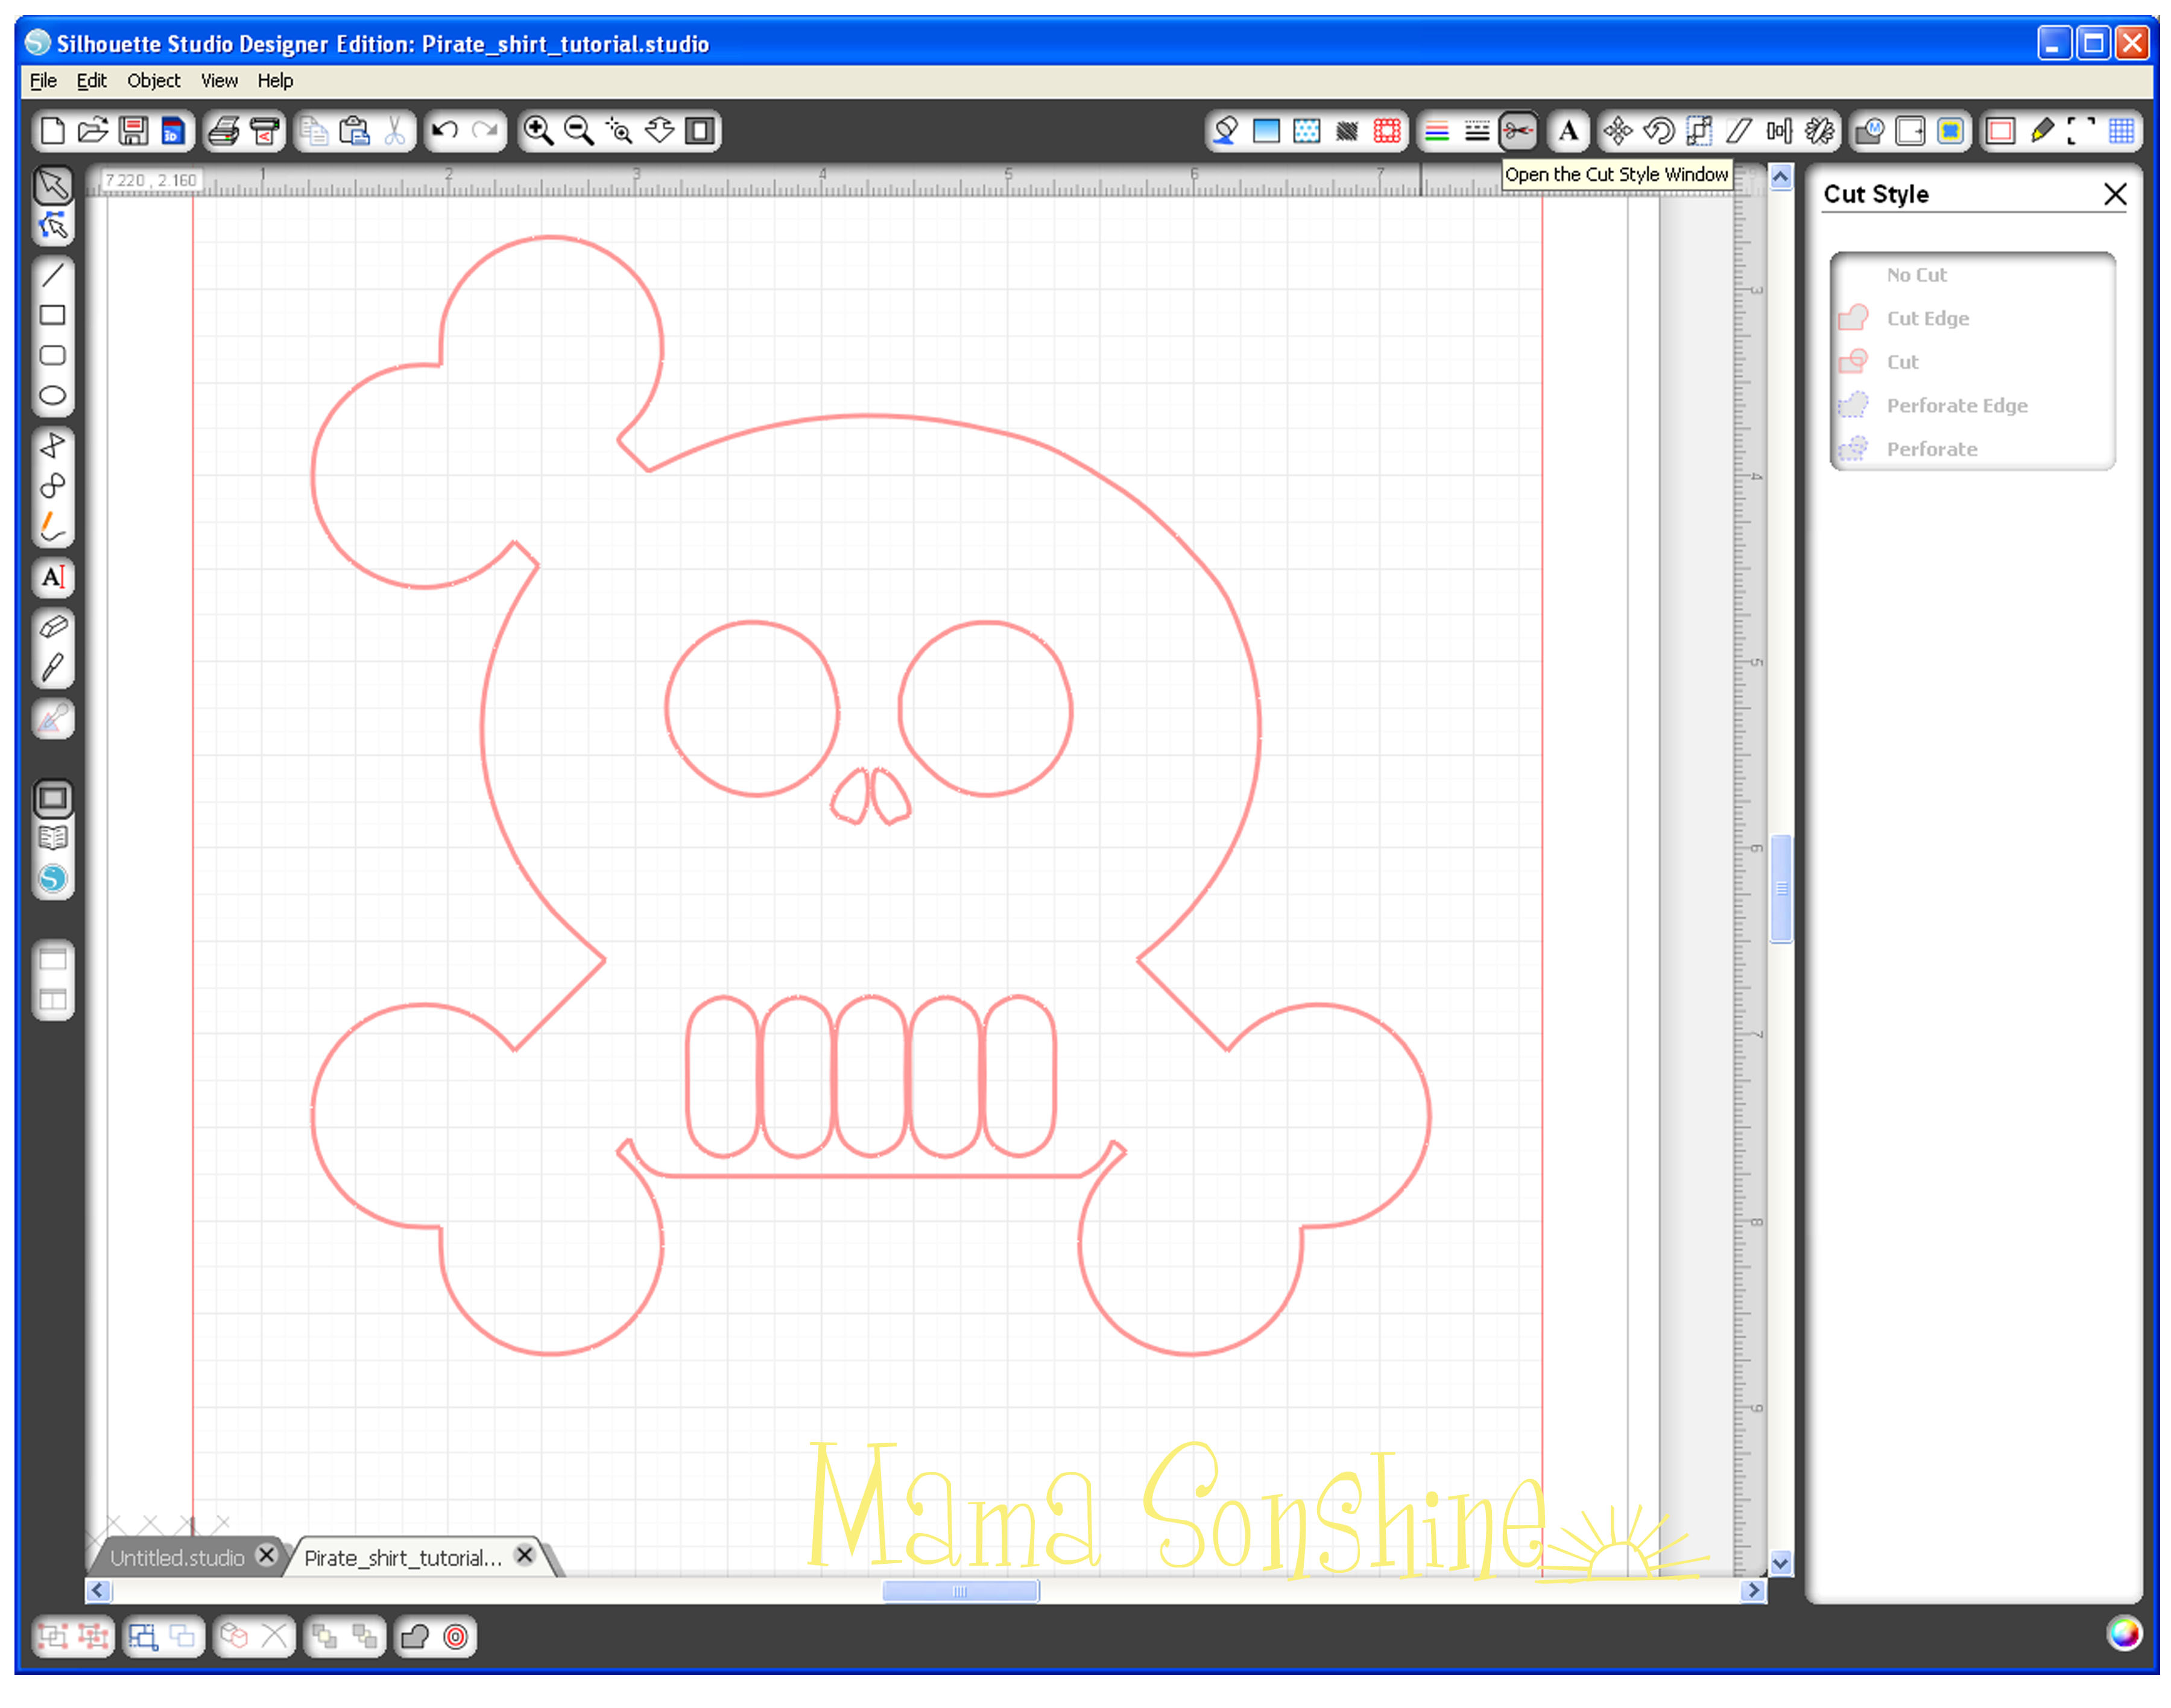
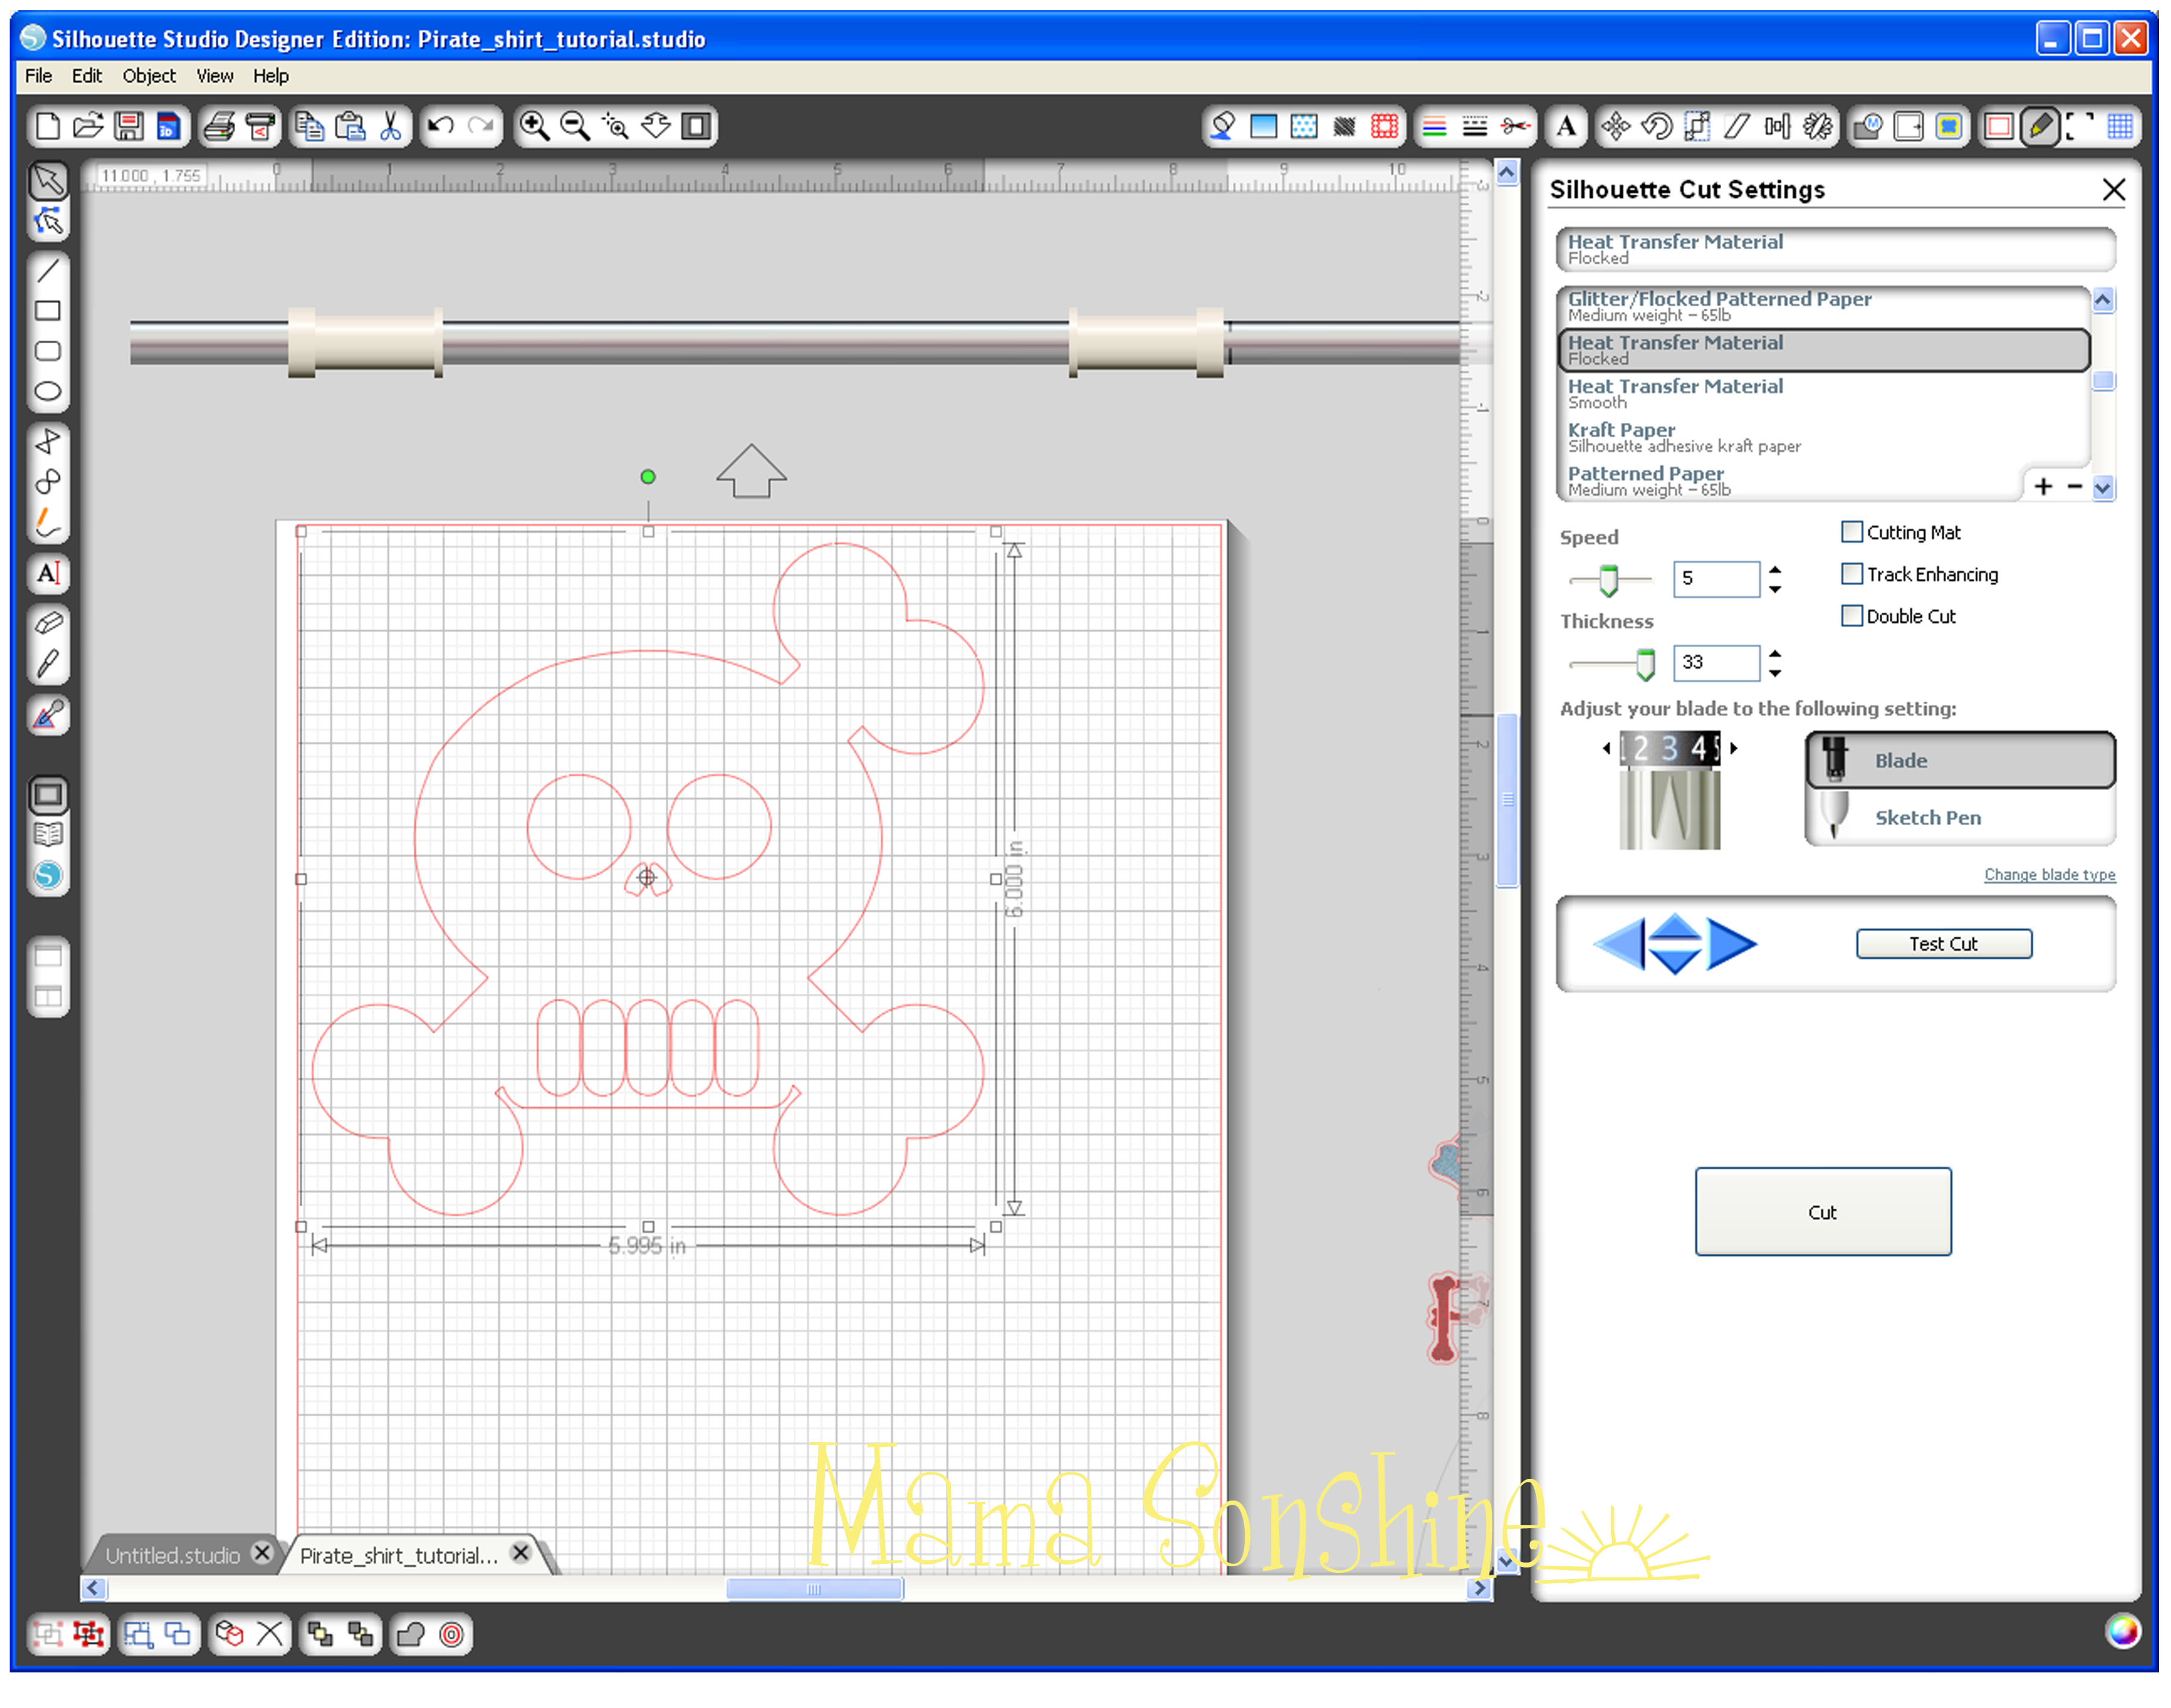
Part One will be how to make the Skull & Crossbones
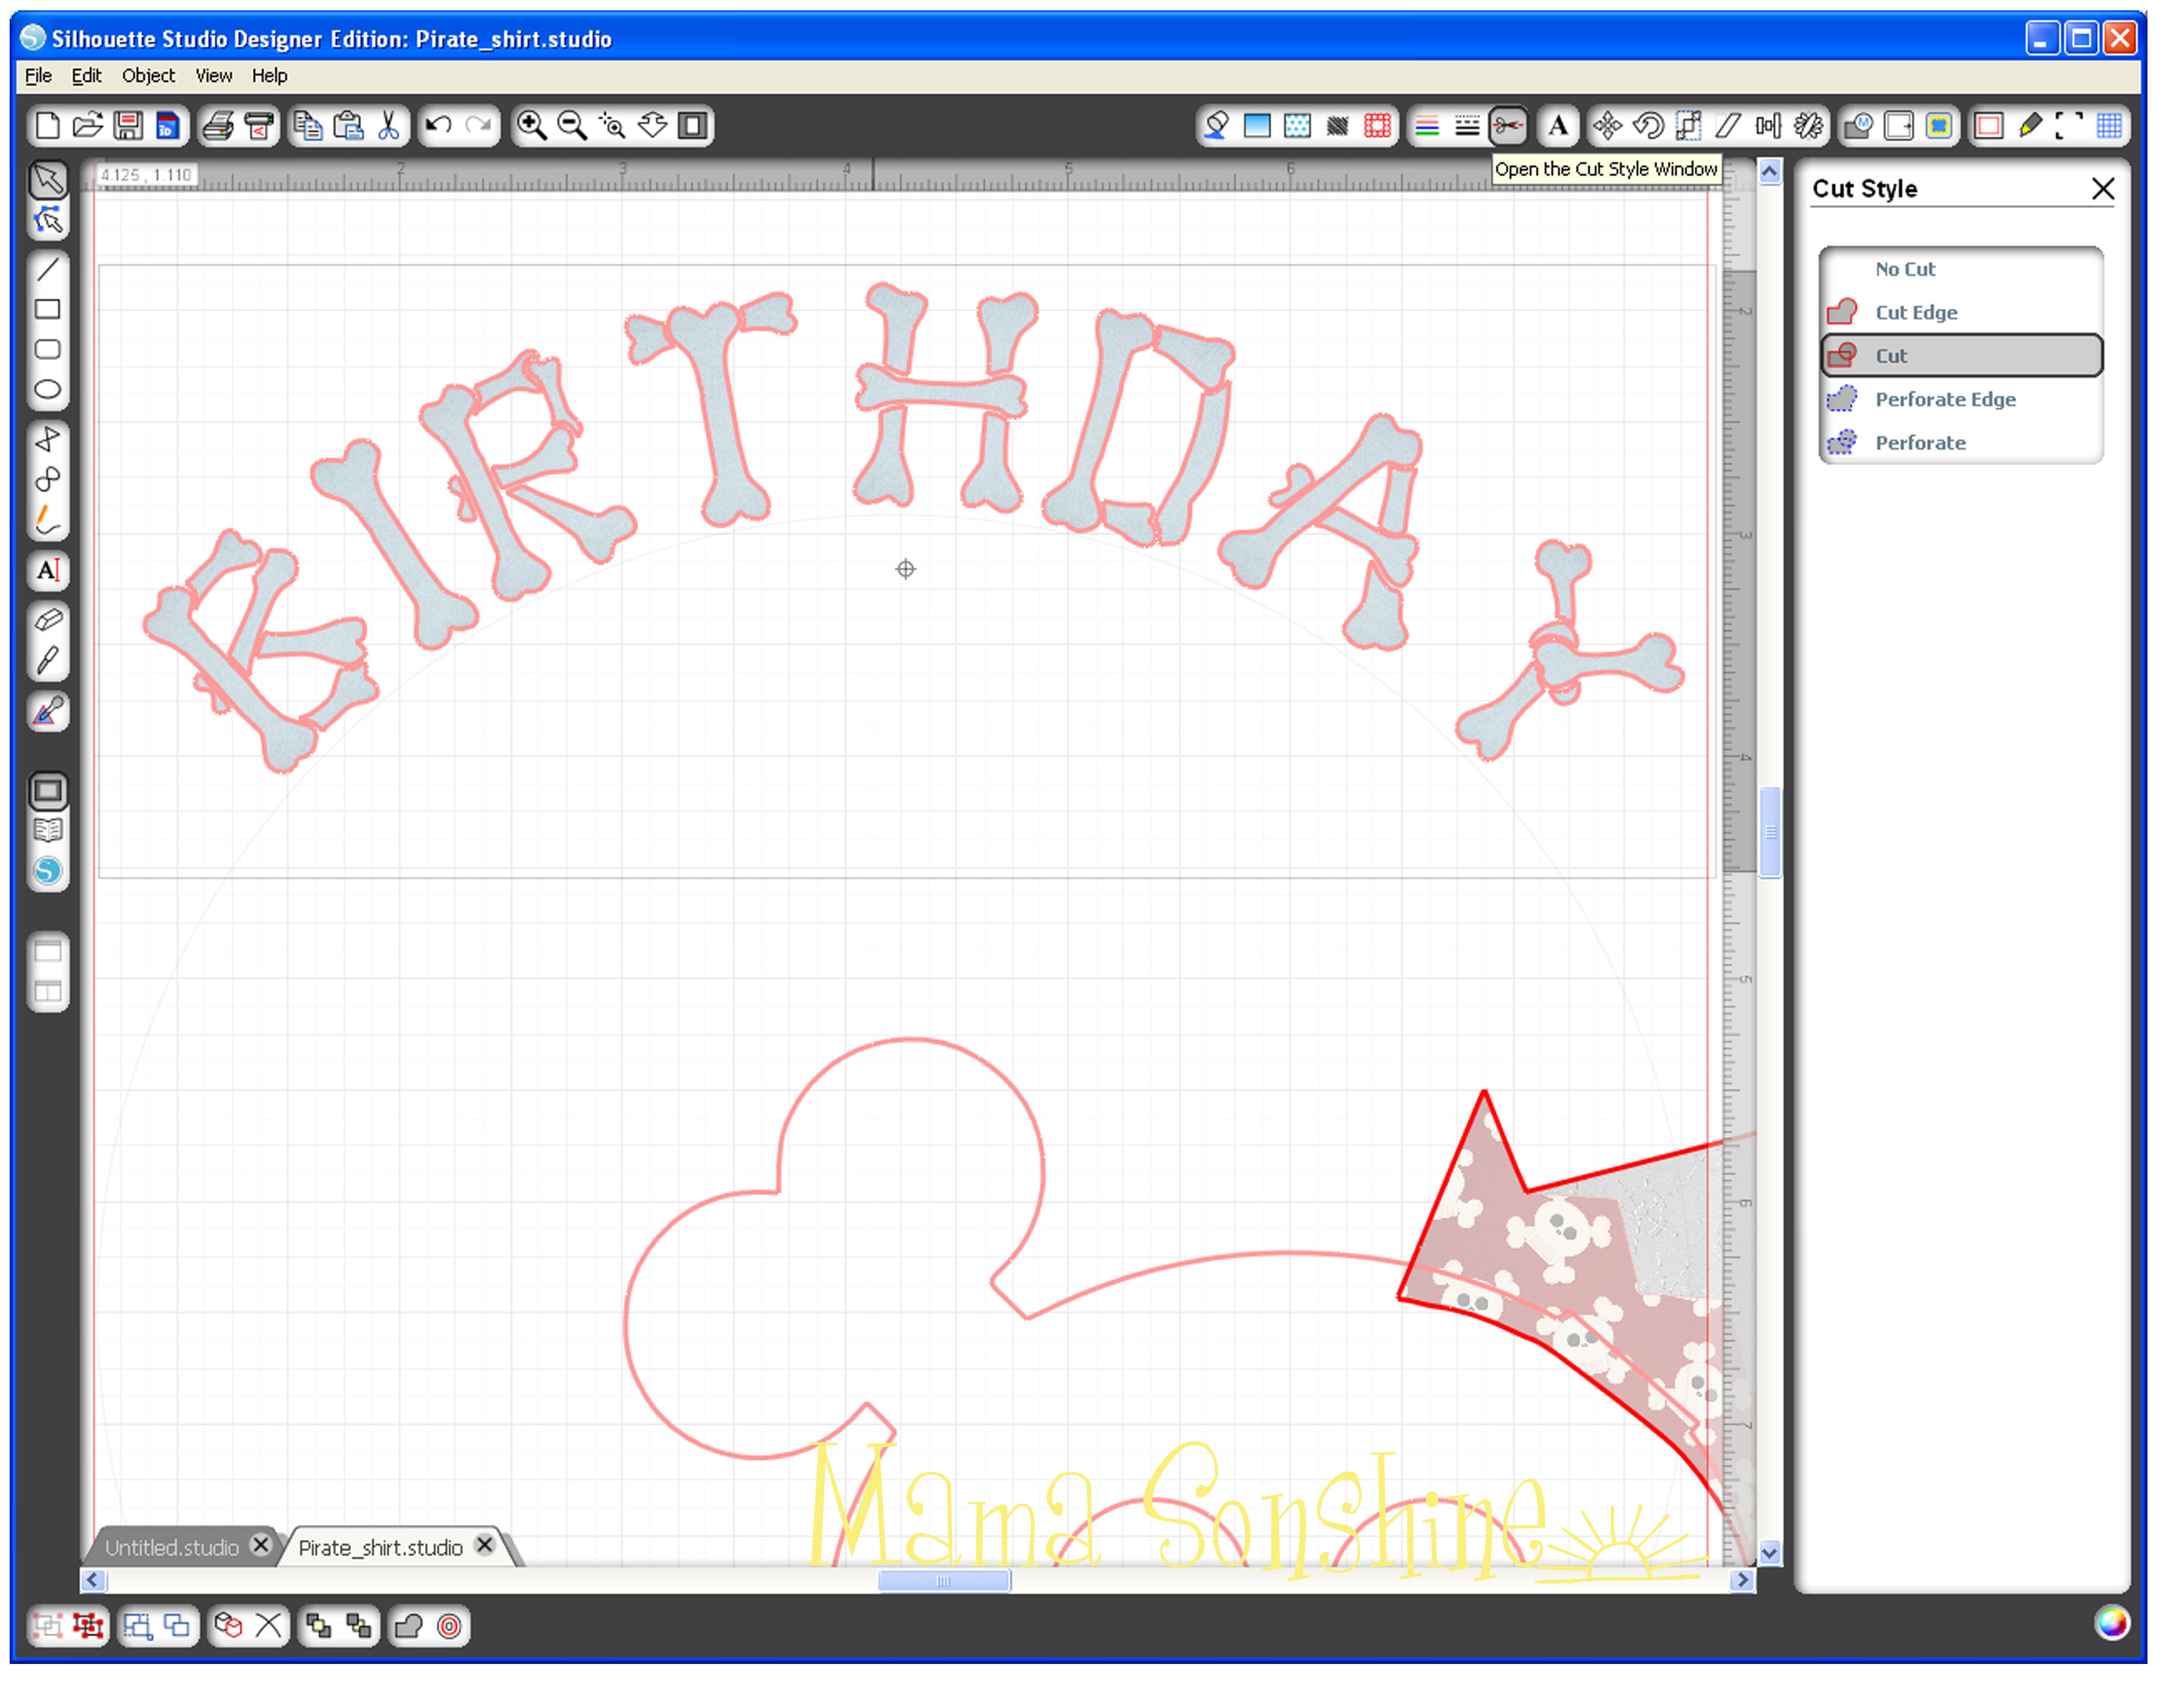
Part Two will be how to do the words & party hat
Part Three will be how to iron everything on and some tips.

My first tip; if you want your words to be in the correct direction I would advise you not to let your three-year old place them on the shirt.
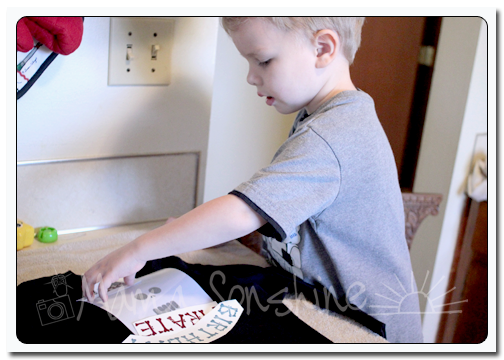
The flocked transfer material has a clear plastic film over the top. This is the side you face down when cutting, you want the Silhouette to cut through the transfer material but not this film. After weeding out the areas that you want the shirt to show through, lay your transfer material with the film facing up. I would advise ironing on one piece at a time, just to ensure proper placement.
Use a dry iron, on the highest setting (please read the directions that come with your material) and a piece of thin cotton fabric between the iron and your material. I used a pillowcase after determining a dish towel was too thick. You want to apply a lot of pressure for up to a minute, or more. Again, this is where you want to double-check the instructions that come with your material. The time can very depending on manufactures, but the main thing is if isn’t sticking, you need more time and pressure. Try not to move the iron around like you are ironing your clothes. Just hold for a minute, then move to another area and hold, with lots of pressure. Have I made it clear that pressure is important?
Some material is cool peel, meaning you need to wait until the ironed on design has cooled before removing the top film. If this is the case, wait! You will only ruin your design if you get impatient.
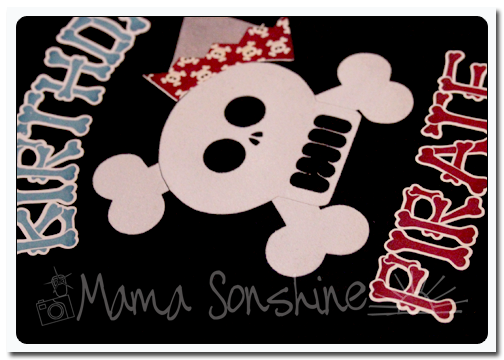
The intricate cut around the words was done as stated in the previous tutorial, but I wanted to separate the words from the page and lay them on the shirt without yet removing the backing, so I just cut them out with scissors. The Silhouette settings I used made a ‘kiss cut’ meaning it cut through the transfer material but not through the backing. When you are ready to iron on the material you peel it off like a sticker.
After placing the elements where you want them use the same iron settings but use the piece of parchment-like paper that comes with the printable transfers between the material and your iron. Again using lots of pressure. Also, make sure something is covering the areas that have already been ironed on. If you apply direct heat to this material you could melt it.
As I have stated above I used the printable material for dark fabric and ink jet printers. The dark fabric is like a sticker. What is face up is what will show, this is different from the material for light fabric. The dark fabric material also leaves a white area on the printed material where there is a white area on your screen. With the light fabric material, where there is white on your screen the shirt fabric will show through. This is something to consider before purchasing your transfer material. Also it is very important for you to know what kind of printer you will be using. The way an ink jet and laser printer adhere the ink to the paper is different and for this type of material it does make a difference.
The first time I printed this out I used a laser printer without thinking of the consequences.
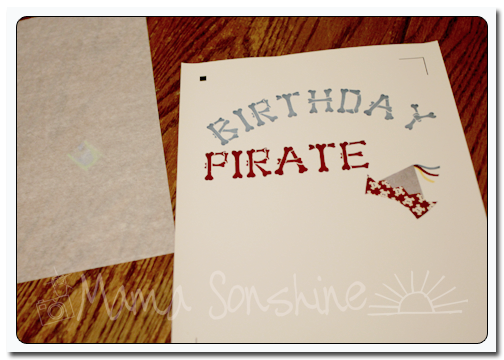
It looks fine, there wasn’t any difference between it and the one I ended up printing on my ink jet printer. At least not until I ironed it on.
See how the hat has faded? This is because of the toner in a laser printer. It can come off the printable heat transfer material when heat is applied. I had to go back and reprint everything on an ink jet printer. At this point I also had to make the hat a little bigger to cover up the faded one.
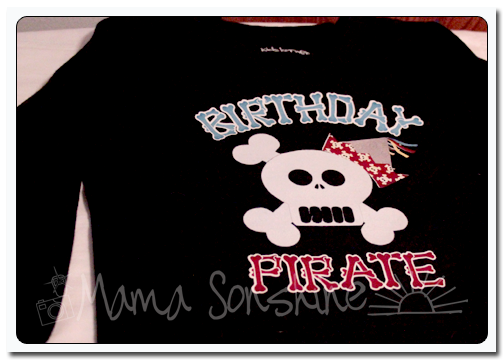
But the end result was still one happy birthday-boy-to-be.
If you want to see how I designed the skull check out Part one.
If you want to see how I designed the print and cut words and hat see Part Two.
Happy Crafting