I am going to admit it here. I think I have shin splints.
Here is a picture of the area where I am in pain
Click Pic for where I found this drawing
The pain is in my left leg and anterior.
I can run about two miles before I have to walk some. Monday night I was able to get a five-mile run in. But it wasn’t all running. I had to walk a few times to stretch my leg.
Yesterday I felt pretty good, I did a lot of walking and stair climbing at work and my leg didn’t hurt too bad. So I went to the gym again last night.
I could hardly get half a mile in before the pain was unbearable. I mean bad.
I walked at a faster pace and raised the incline on the treadmill to still get some movement in.
OK. So maybe I should have taken a rest last night. But I thought I could do it. I plan on going running again tonight and I will see how it goes.
I found this colorful diagram on how to tape for shin splints.
Click Pic for source and taping directions
I have never taped for an injury before. I am pretty skeptical about if it will work on not.
I mean she LOVES tea. She drinks tea like I drink coffee.
I don’t get it, but then again, she doesn’t get why I drink coffee.
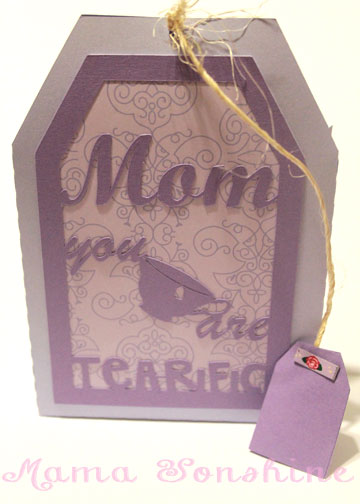
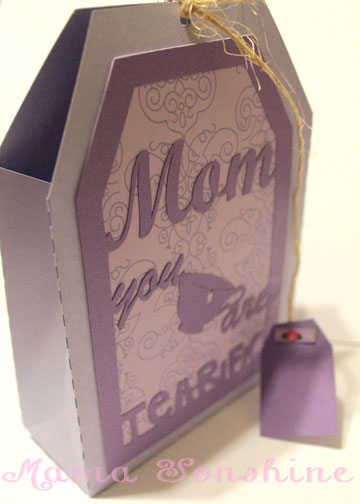
I had seen some Teacher Appreciation gifts that incorporate tea with a card stating “You are a Tea-rific Teacher”. I thought how cute would it be to make a tea bag shaped gift bag with the same sentiment for my mom.
When making the graphics for the bag, I had the hardest time with the fonts.
I wanted something curvy and fancy. But those fonts were just too thin and didn’t cut well with the paper. Plus I had to use a font that could be connected together.
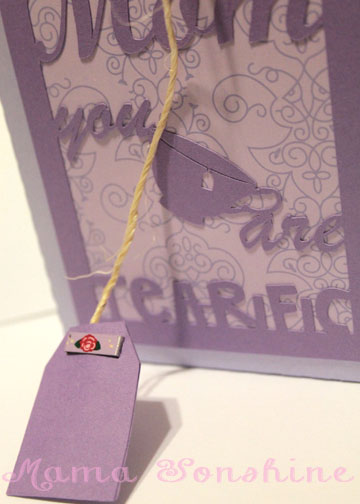
I also didn’t want “you are” to be larger than “mom” but I needed the words to be connected, so I used a vintage tea-cup in between the words.
I added a string to tie the bag closed and made a tag in the same shape. That way the whole thing looks just like a tea bag.
The execution of the cut file took a few tries, but I finally found fonts that worked, and still looked elegant.
Of course I couldn’t get this kind of cut with the use of my Silhouette Cameo. I used two shades of card stock and a patterned scrapbook paper to give it a little more life.
I may have mentioned once or twice how much I love the print and cut feature on my Silhouette Cameo.
Well, I am going to bring it up again. Only this time I will be using a Heat Transfer Material to make a gift.
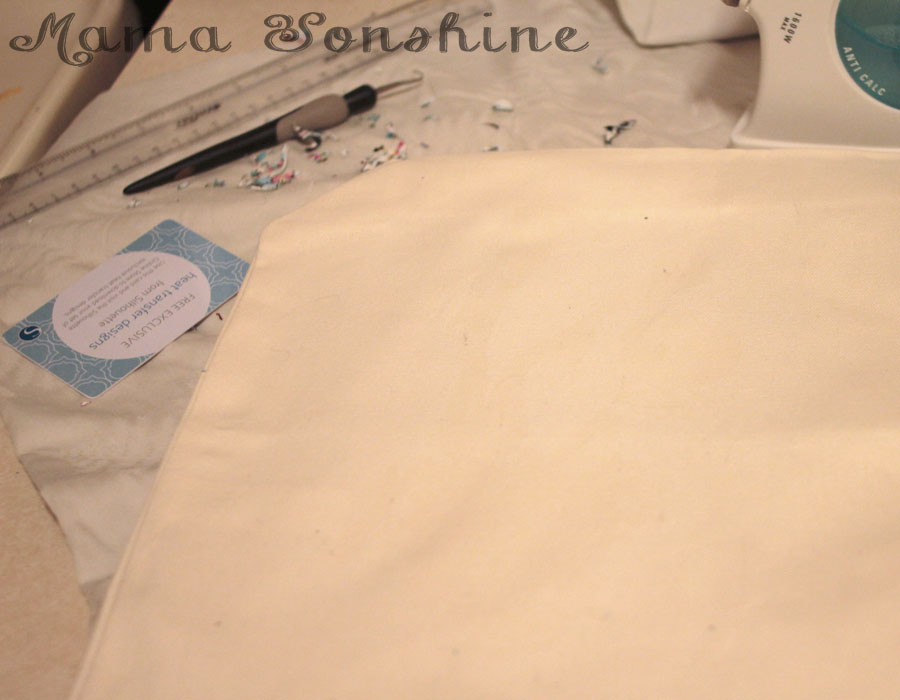
There are other brands out there that sell this kind of material, but I use Avery, because I can buy it just about anywhere.
Here is the concept, you print something out on your computer, cut it out and then iron it on to something made of fabric. And viola! Your very own custom shirt, coat, bag, pillow, blanket, etc.
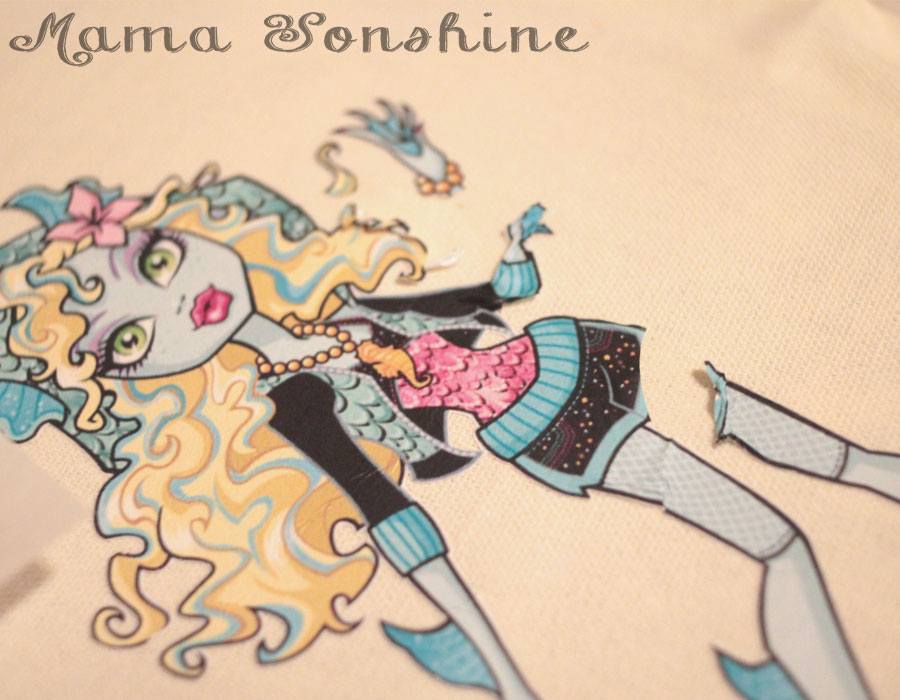
I wanted to make a six-year-old girl a bag with her favorite Monster High Character. I could have made one by layering colored heat transfer vinyl (HTV) but the characters from Monster High have sooo many coloring shades, that it would either too much work (& too munch HTV) or it wouldn’t give me the same look I was going for.
I have used this material in the past, so I am very familiar with it, but as with all projects, I ran into some trouble. I figured it would be beneficial to others if I shared my snafu, so you will not make the same mistake.
Here are a few tips for using the printable heat transfer material:
Know your printer. Printer inks are different and behave differently. If you have an ink jet printer, get the material designed for ink jet printers. If it is a laser printer, there is a different material for that, as well as the other inks, like UV. If you choose the wrong type your ink will not set and will either run or fade.
Print a test page on regular paper to see how your image will fit, and line up. You don’t want to waste any of the transfer material.
There are two different kinds of transfer material. One for light-colored fabrics and one for dark.
The one for light-colored fabrics is an actual ink transfer material. It will transfer the ink on to your shirt, so the places in your design that are white, will be transparent, meaning the shirt will show through. The material that it is printed on will adhere to the fabric, so there is a protective layer between the ink and the outside world. You must also remember to flip your design on the horizontal plane when using this material.
The one for dark-colored fabrics is like a sticker. It is a white material and so the white areas in your design will remain white. Plus, there is no need to flip the design. It is the one I like to use the best.
Weed carefully, this material can tear easily. But it is not sticky, so you can do it in sections.
Don’t use the shade of fabric alone to make the decision on which one to use. Think about what you want your project to look like in the end. I use the material for dark fabrics all the time, even on light-colored fabric like this tote bag.
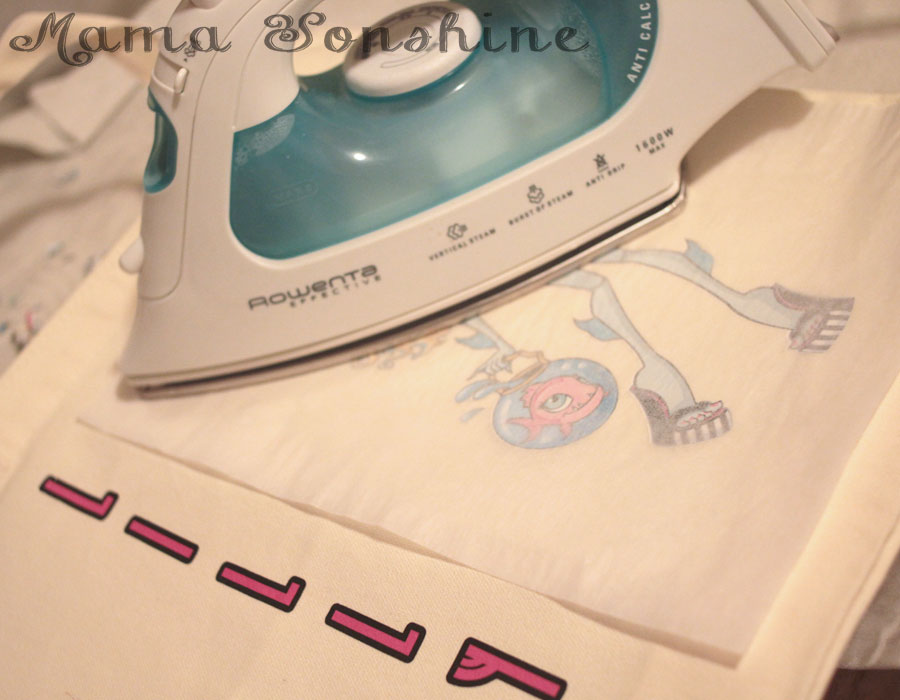
Your iron must be hot and dry. If you use this to iron out the wrinkles in your clothes, dump out the water. Set your iron to the hottest setting. It is also not recommended you not use an ironing board. This could be because you don’t want an uneven surface, but it is also because of the reflective heat material under the cover. Heat on the bottom of the material may interfere with it bonding to the fabric. I place a folded, ironed sheet on my kitchen counter.
Cool removal or not? Some heat transfer material requires you to wait until the design has cooled before removing the transfer plastic. If it does and you rush it, you can peel off your design with the transfer plastic, so be patient.
Don’t be discouraged when it takes longer to adhere than the instructions say. I have held the iron in place for minutes, when the instructions say 45-60 seconds.
Apply constant high pressure. You are not ironing out the wrinkles, so don’t move your iron around. You can mess up your design, as I did.
But not all is lost if you do. Here is something you might not know: the heat that put it on, can take it off.
Apply heat back to the design and quickly use something to scrap away the design before it cools. I first used my weeding tool to pull the design, but that was taking too long. I then thought of my scrapping tool (a used Sil gift card), when the design was still hot I just scrapped it off. You have to keep applying heat to small areas and scrapping, and repeating. The scrapping doesn’t take too long, and within 10 minutes, it was gone. There is a slight bit of ‘glue’ left, it’s not really glue, but there is a residue, it’s kind of like a shiny outline of your design.
That’s OK, because you are going to reprint your design and reapply. This time, not moving the iron around.
It turned out just the way I wanted it to, and the birthday girl was happy.
The bag went perfectly with the personalize Monster High water bottle & Lagoona Blue card I made.