I Tri and Craft

thoughts from a mother of boys, a marathoner, a triathlete, a crafter, a wife, and a scientist


Leave a comment

Teacher Appreciation Week

As adults we have fully come to understand and value teachers.

Growing up we had bad ones, ones we didn’t like, ones that might not have liked us and we had great ones.

But as an adult with kids we can fully understand the difficulty teachers face everyday trying to get our kids to learn.

How do you gets kids interested? How do you keep their attention? How do you explain super complicated things in ways they understand? How do you make them sit still and listen? How do you keep up with all the academic rules, regulation & bureaucracy?   But above all how do you not lose your desire to teach?

I don’t have the answers.  But I do know that as parents we need to take the extra step to let our children’s teacher know that we care.

Not only do we care about our children’s education, but we care about those that are providing it.  We need to give them a little thanks.

This year Teacher Appreciation Week is May 5-9.  So get on Pinterest, or Google and find an idea for a nice homemade gift or card.  Or just reach out with a call or an email.  Tell those who spend so much time with our kids trying to better their lives that we appreciate all they do.


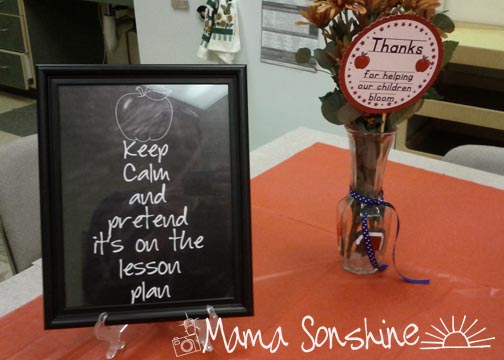
I helped celebrate some teachers at my nieces’ school with these decorations.  The PTSO (Parent Teacher Student Organization) got the teacher dinner and dessert during conference days.  My sister (who was on the PTSO for her girls’ school) and I decorated the break room where the food was set out.

teacher privew


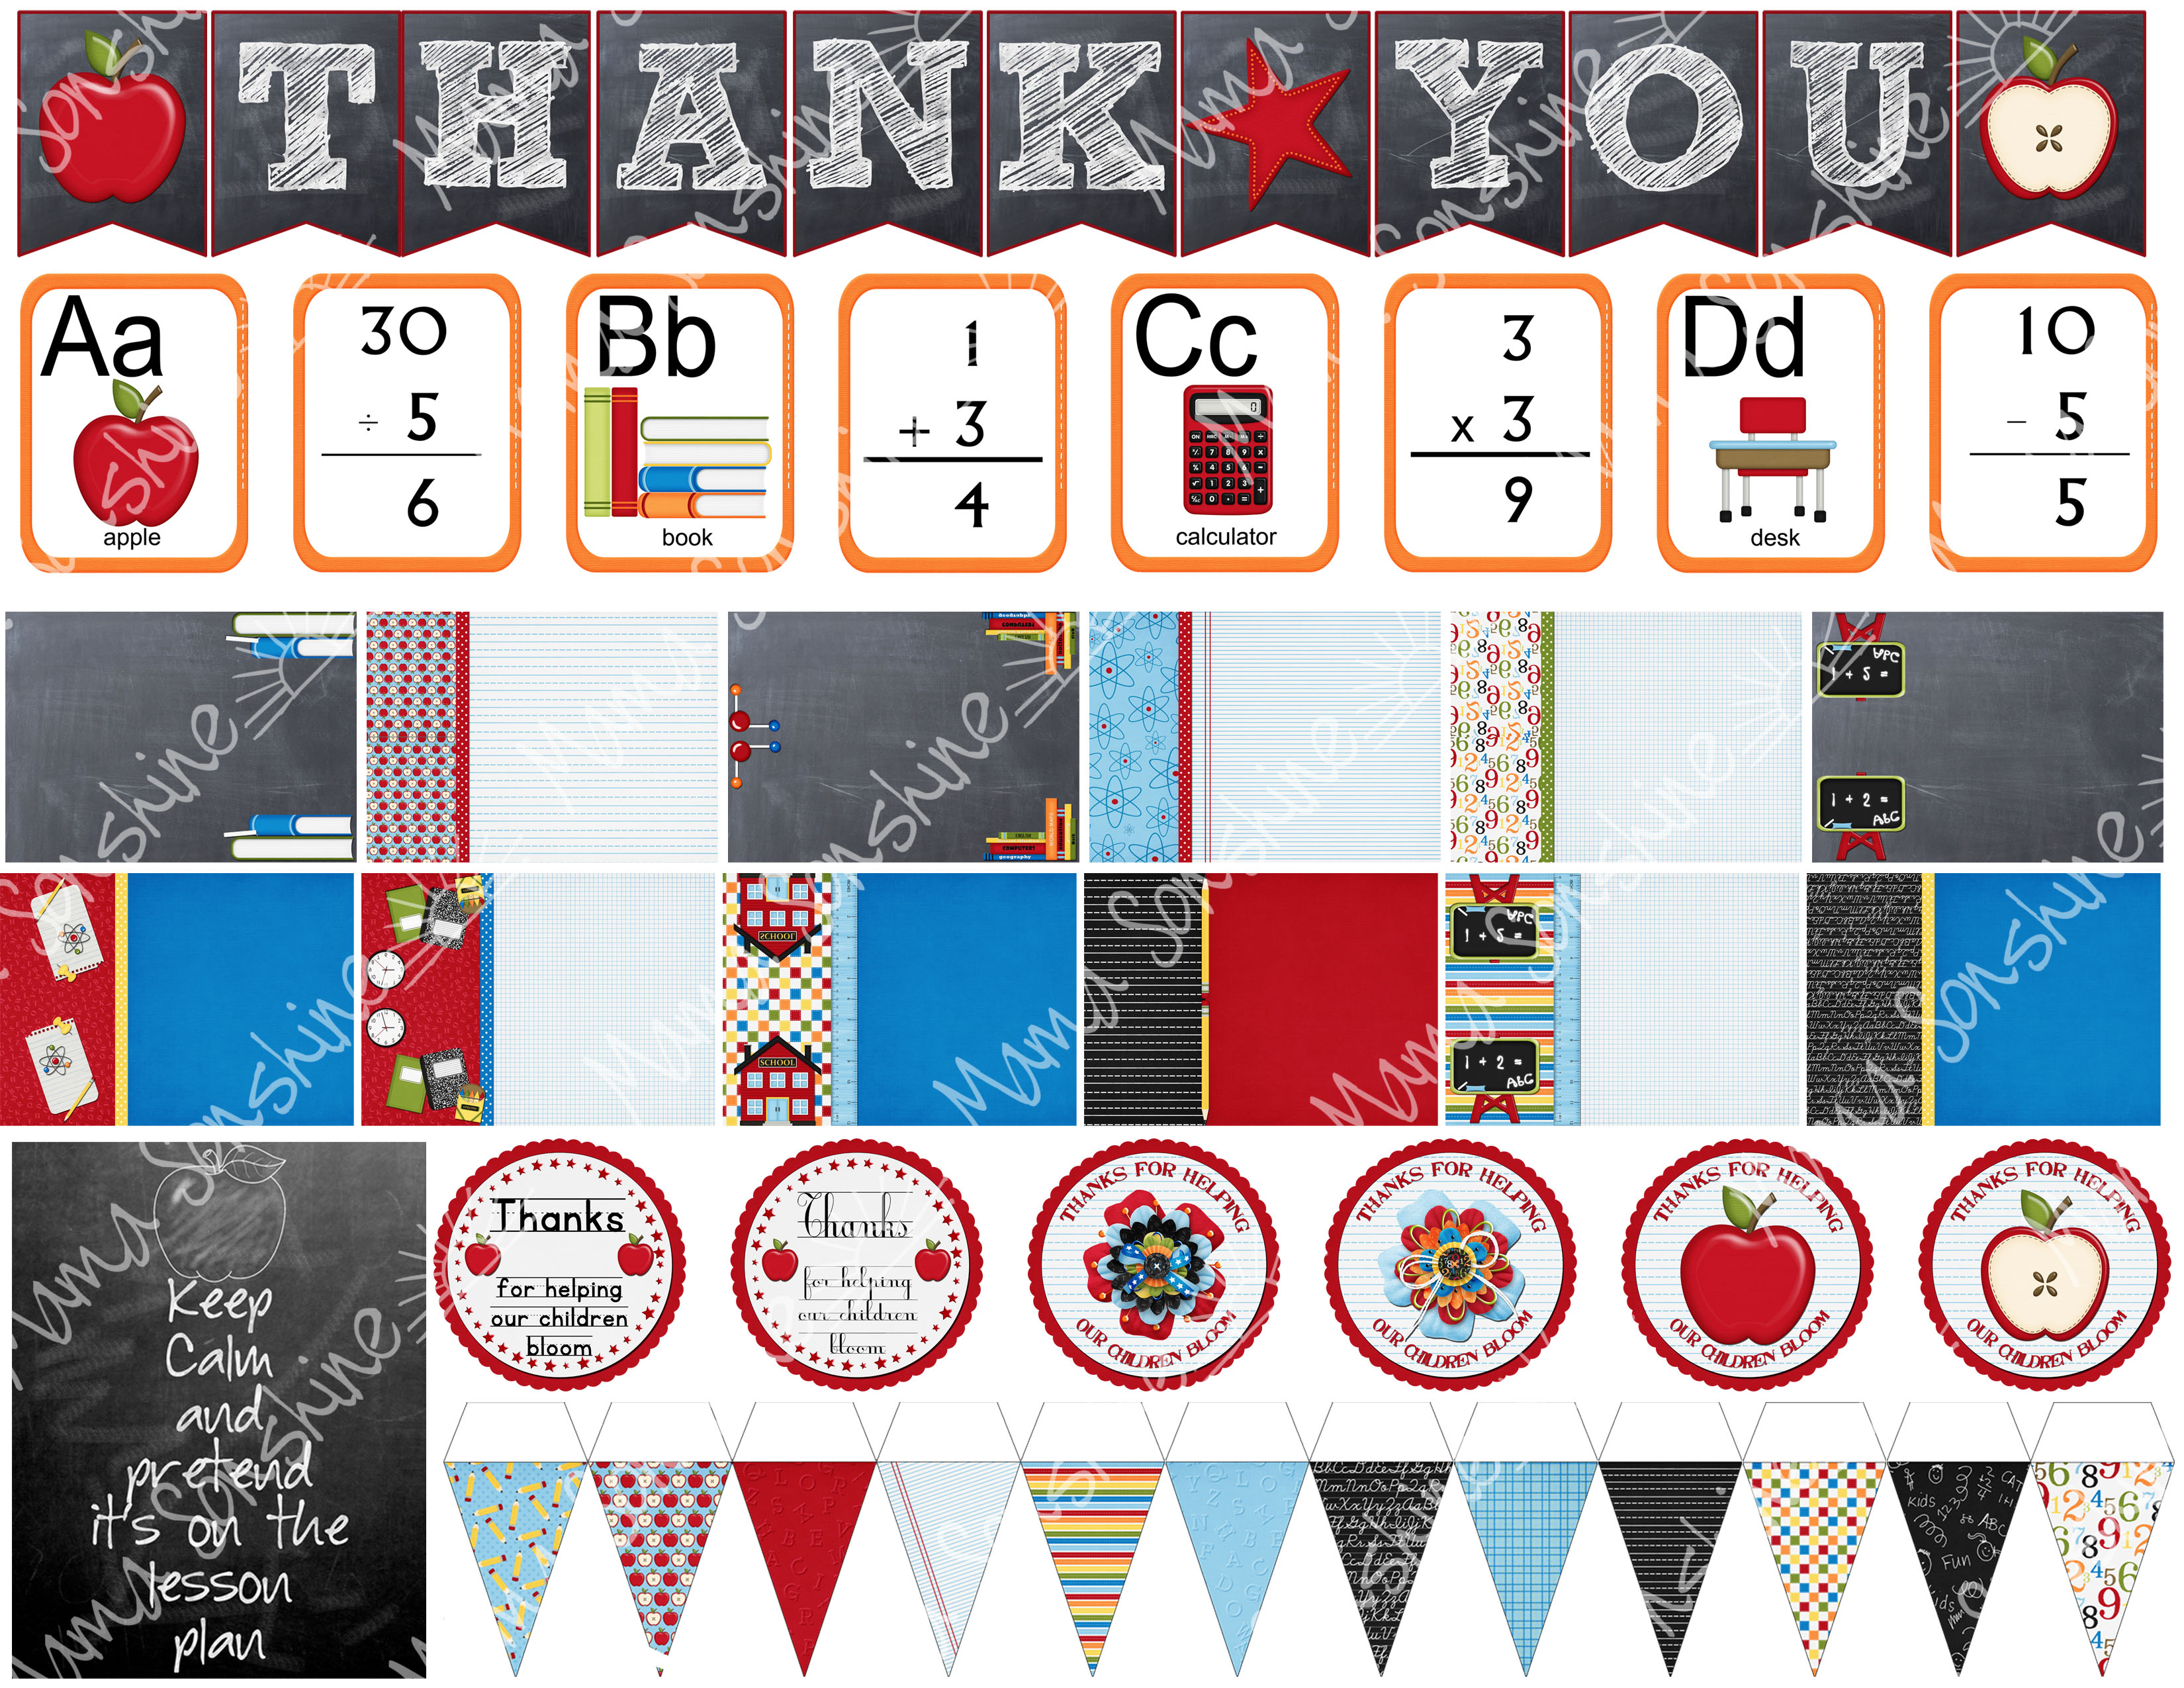
I designed all the decorations using graphics from Just So Scrappy‘s digital scrapbooking kit School Rules.

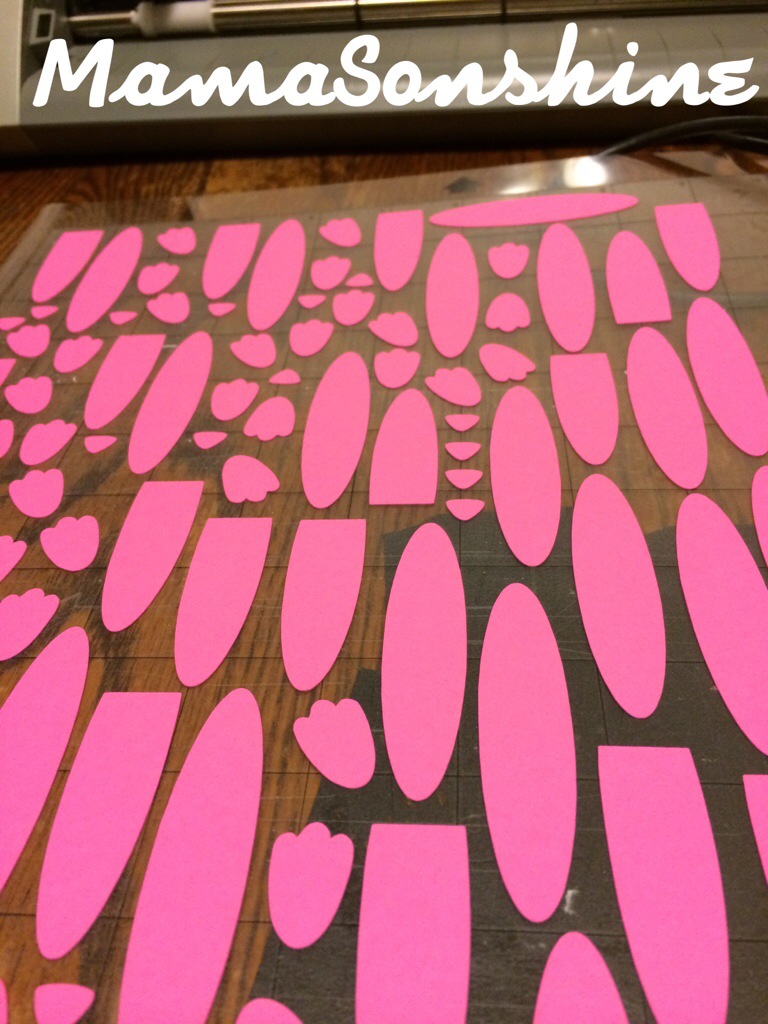
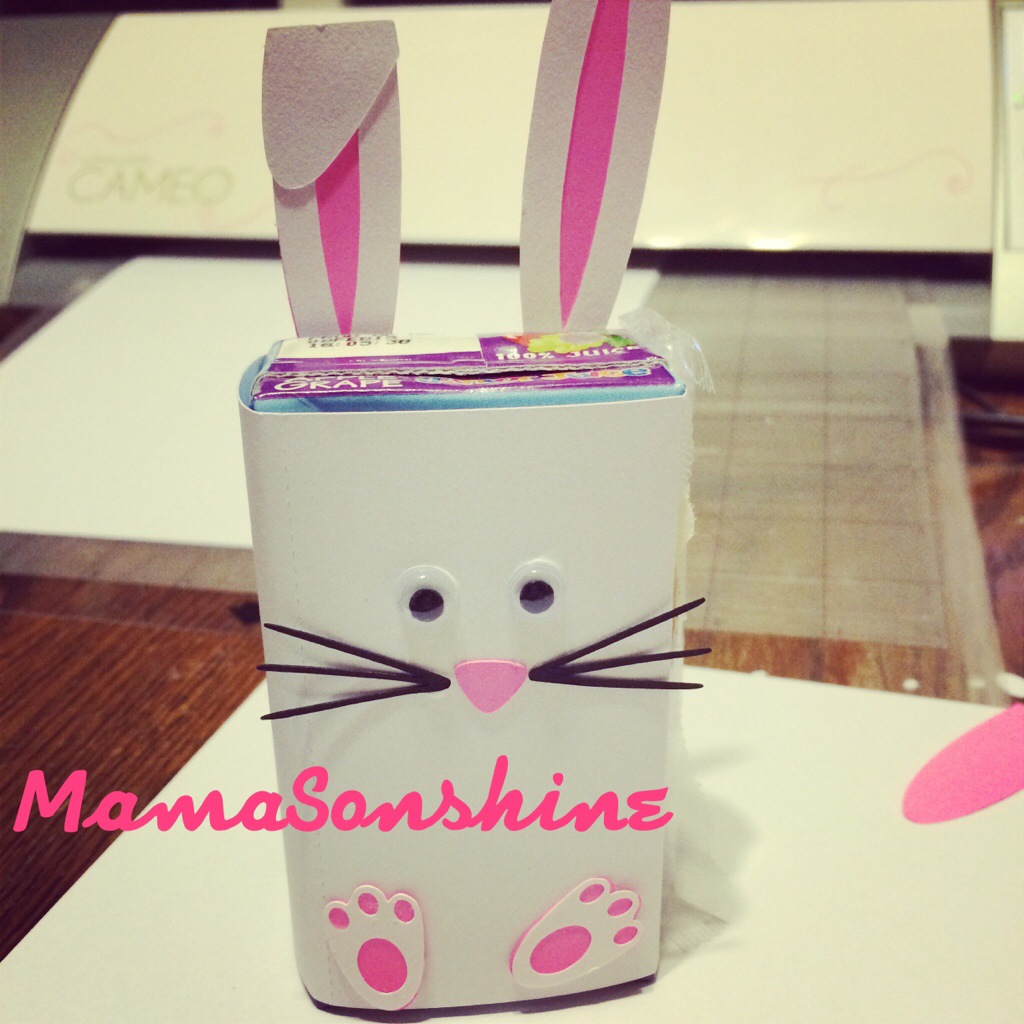
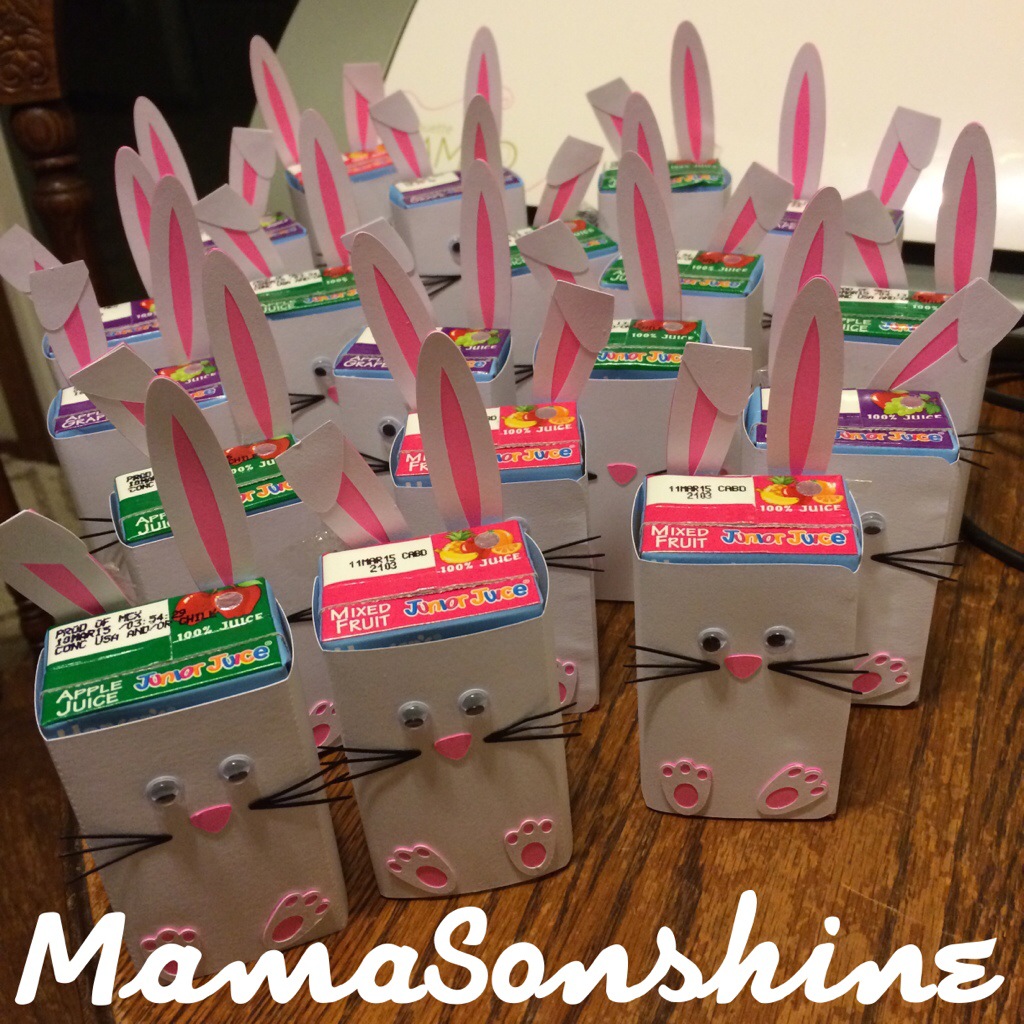
Of course using my Silhouette Cameo to cut out all these decorations is a real time (and hand) saver.

There wasn’t really a great place to hang the two banners we strung them from the table.

Teacher01


Teacher04

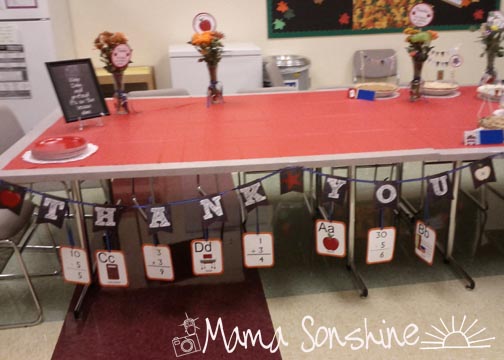
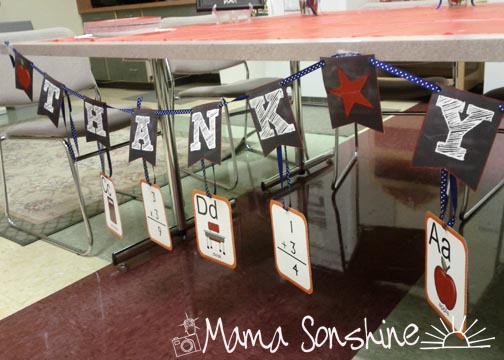
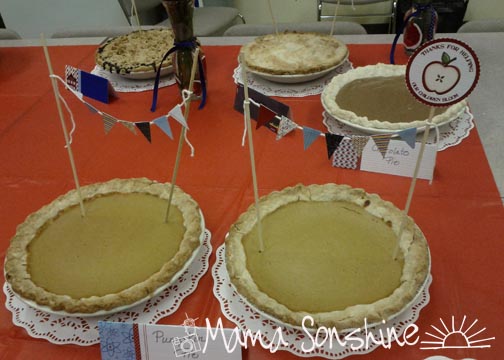
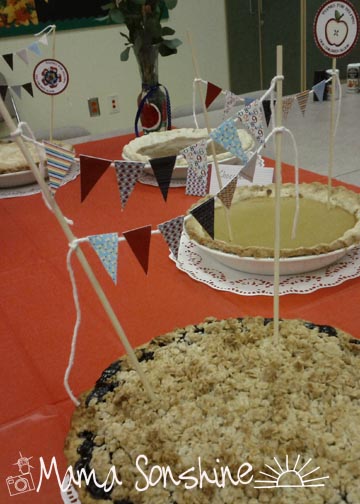
My sister made different pies, so we made folded tent cards so the teachers would know what kind of pie.

Teacher05

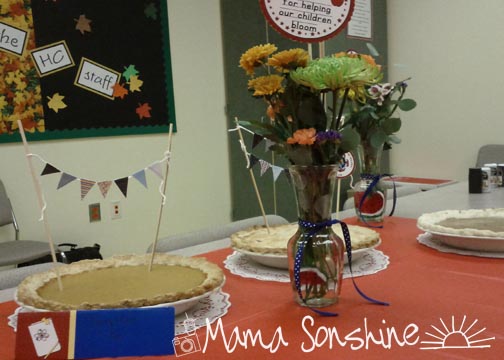
The mini-bunting flags were used to decorate the pies.  The flags have little tabs that fold over the string to attach more easily.

Teacher03


Teacher07


The teachers really appreciated all the decorations but of course their favorite was the Keep Calm sign.

Teacher06


Remember to thank your teachers


signature-black
facebook instagram pinterest parties by mamasonshine etsy bloglovin google+ email twitter Image Map


Enhanced by Zemanta


5 Comments

Monster High Birthday Card with the Silhouette Sketch Feature

I have been loving the sketch feature that my Silhouette Cameo has.

Being able to draw with it gives me more options than just print n’ cut.

This weekend we will be attending a birthday party for a little girl who is turning six and just loves Monster High.  Since her favorite character is Lagoona Blue I made her a personalized birthday card.


Laggona Blue Birthday Card

Lagoona Blue Birthday Card


I will be providing a tutorial on how to make this card, so tune in next week for the details.

Lagonna Blue

Lagoona Blue


I think my favorite thing about the card is the fish bowl purse.  I used clear sticker paper to give the appearance of glass.


Happy Crafting

signature-black
facebook instagram pinterest parties by mamasonshine etsy bloglovin google+ email twitter Image Map


I shared this project on the Silhouette Challenges Blog

Silhouette Challenges


Enhanced by Zemanta


Leave a comment

Easter Bunny Juice Boxes for a Preschool Easter Party

Ian has his Easter party at school today.
So what do I volunteer to bring?
Juice boxes of course because I can make them look like super cute little bunnies.
I found these Hansen’s Junior Juice
boxes and thought the would be perfect because there are just 4.23 oz, a perfect size for little 4 & 5 year olds.

20140416-185907.jpg
I used my Silhouette Cameo to cut out all the parts for the bunny.

20140416-190102.jpg
I was grateful that I had two mats!  I could load another one to cut, while I was taking all these little parts off.
I then just glued them all together and wrapped around the boxes.

20140416-190217.jpg
I made 20 boxes and was able to use one 12×12″ sheet of pink card stock, scrap pieces of black and 7 sheets of 8.5×11″ white card stock. I also had the googly eyes, so I only had to buy the juice boxes, which I got 20 for less than $7.

20140416-190621.jpg

I also broke out my Cameo to make a letter matching egg game. I got the eggs 18/$1 and I already had the vinyl. I cut out an upper case and a lower case letter, and put them on different colored eggs.

20140416-190832.jpg
I put the upper case on the top half and lower case on the bottom half. The kids then would match the two letter s together.

20140416-190926.jpg

We also had the kids make rabbit masks to hold up for a group picture.

20140416-191013.jpg

You need a paper plate, card stock for the ears (white and pink), pipe cleaners for the whiskers and craft sticks for a handle.

We cut out the center of the plate, made a template for the ears and let the kids cut the ears and glue them together.

20140416-191243.jpg

They turned really cute and we were able to get a great group picture.

Happy Easter


signature-black
facebook instagram pinterest parties by mamasonshine etsy bloglovin google+ email twitter Image Map
Enhanced by Zemanta


3 Comments

Frozen Crafts on my Silhouette

This month my cousin’s daughter turned four.  And of course she loooovvvveees Frozen.  She is a princess through and through, this child.

For her birthday I decided I wanted to make her a card with images from the movie.  I also decided to make my first shaker card.  I thought it would be great to have some ‘snow’ to shake around.

MSS_FrozenCard01

I used Silhouette’s print and cut feature to make the card.

I used foam pads to pop out the characters.   I made two copies of the background and cut a square out of one.

MSS_FrozenCard03However, I neglected to place a spacer between the levels, so the stuff inside doesn’t really ‘shake’.

MSS_FrozenCard02But, it was my first shaker card, and I didn’t actually read any directions on how to make one…

MSS_FrozenCard01The Birthday Girl loved the card, so it was a win in my book!

I also wanted to make something using the sketch feature.

MSS_FrozenSketch05

So I made her this picture and mounted it on canvas for her room.

MSS_FrozenSketch01

I didn’t like the way the words at the top looked just sketched out, so I gave them more dimension and added some layers.

MSS_FrozenSketch04

I added some snowflake brads and some adhesive jewels.  I printed out the small snowflakes on the paper before beginning the sketching process.

MSS_FrozenSketch03

I also used my embossing ink pen in the Silhouette and went over the sketch lines for the large snowflakes, her hair and the silver in her dress.  I then used a transparent opal embossing powder, because glitter makes everything better.

MSS_FrozenSketch02

I used a combination of pen types; Sharpies, Silhouette Sketch Pens, and Bic Mark-It ink pens.

It took a few passes to get everything right, and I had the hardest time figuring out how I wanted the eyes.

This project was really fun and I can’t wait to find something else to sketch!


If you want to learn how to turn a coloring book page into a sketch check out my tutorial here.


Happy Crafting

signature-black
facebook instagram pinterest parties by mamasonshine etsy bloglovin google+ email twitter Image Map


I shared this project on the Silhouette Challenges Blog

Silhouette Challenges