Folklore says that we will determine how much longer winter will last depending on if the groundhog sees his shadow. If it is sunny and he sees his shadow we will have winter for another six weeks.
My sister, a teacher, asked me to make some decorations because the following Monday they are going to have a pot-luck at work.
So I decided to share those decorations with you! I know, you just can’t contain your excitement!
Follow this link, or click on the picture, to download the party pack.
Party Pack includes:
“Happy Groundhog Day” Banner (two parts)
Triangle Bunting flag, 10 flags
Cupcake wrappers; six styles
Cupcake toppers; six styles, 2” circles
Keep Calm sign
Instructions
This design is for PERSONAL USE only please. You may print the items as many times as needed for your own personal use. Please do not forward, share, sell or distribute the files for any commercial purposes or claim as your own design.
I don’t typically set them, because I always feel guilty when I don’t stick to them. But this year is the year I want to become financially organized.
Motherhood can leave you brain-dead. I can’t remember anything anymore, but I know where my sons shoes are.
I can’t remember if I just put shampoo in my hair or washed my face in the shower, but if my kid asks me where his little tiny sword that goes to his Snake Eye toy is, you bet I know.
One thing I am always forgetting is to pay bills. Probably not the best thing to do. Plus I don’t have a good schedule for paying them.
My husband and I both get paid every other week, but on alternate schedules. So we basically get a paycheck every week. Right now I have it set up so that his last paycheck of the month goes to rent for the following month, my paychecks pay the sitter, and his other paycheck goes to bills.
This is a horrible system. It leaves me stressed, and sometimes not paying the cable bill because I don’t want something to happen that might make us need emergency money. There’s no wiggle room, no budget and I am not happy about it.
So here is my plan:
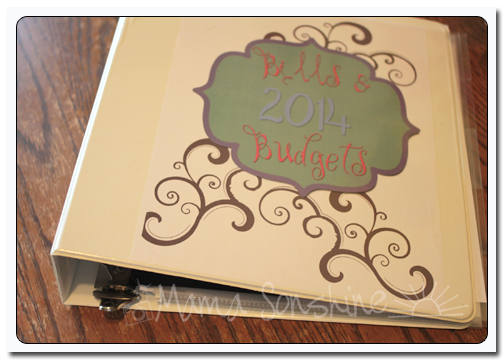
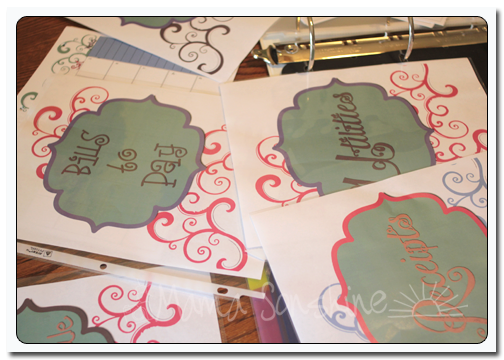
I have made this wonderful Bills & Budget binder.
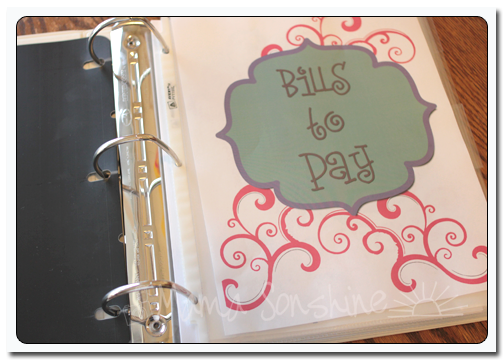
When a bill comes in the mail I will tear off the payment tab and place it in the “Bills to Pay” section.
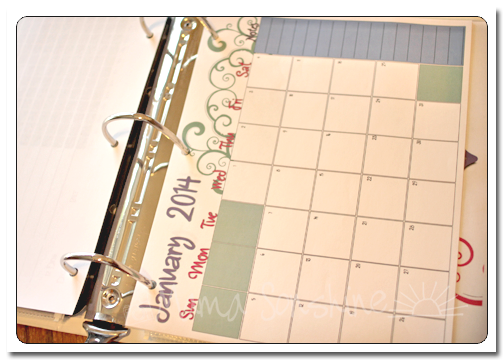
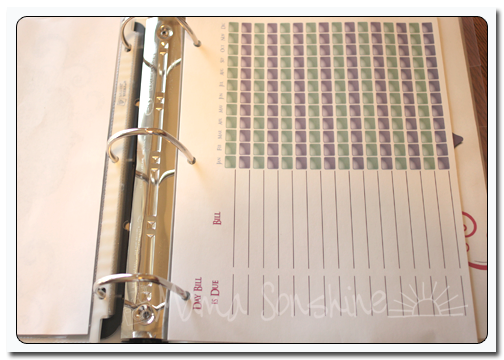
I will write down on the calendar when it is due and how much is due.
I will also have our pay days, with the amounts, and any other things that require money. Like if we have plans to go out to dinner or out-of-town. This will give me a nice visual where I can see the whole month at a glance.
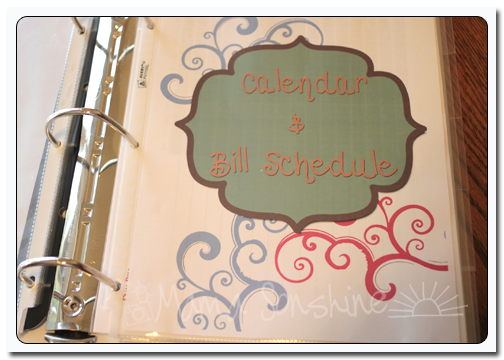
On the Bill Schedule page I will write down what day of the month the bill is due, and make a check mark in appropriate month box when it is paid. This will let me see at a glance if I have paid the bill for a specific month.
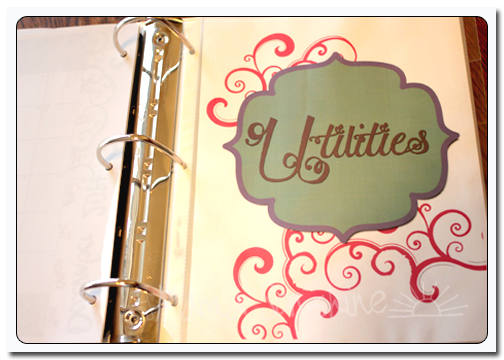
The actual detailed bill will be filled under the “Utilities” section, which is sorted by type of bill. This will stop me from putting everything in a pile that I never go through and loathe to file away.
Finally I have a section to place all my receipts. I will have an envelope for each month.
At the end of the year, the binder will go in the box with all our tax info.
In order to budget I am using a worksheet similar to this woman’s.
I will sit down and determine how much money we will have each week. Take your annual income and divide by 52 (as there are 52 weeks in the year).
Determine how much non flexible expenditures like mortgage or rent, car payments, and insurance. These don’t change on a monthly basis. Add them up and divide by 52.
After that you determine your slightly flexible ones, like electricity and water. While these might very slightly you can estimate them. Look back at the previous year, add them up and divide by 52. Do you see a pattern here?
Here is where things get tricky and stressful. What you have left can go towards food and fun and savings. You want to make sure you budget for the necessities, like food, but you also have to factor in things like eating out occasionally and gas. Plus if you have kids you will need clothes. Kids go through clothes like they do food. The young ones out grow them and the old ones wear through them. You might not be buying clothes all the time, but you want to make sure you can.
I think the main thing is to make figure out how much money you have each week, because a week is a short amount of time. What will be hardest for us at first is to get out of the schedule we have. I have to take out money from the paychecks to save, and yet still get bills paid.
Hopefully this will still allow us and you to have some left over for savings or the vacation fund.
If you want to download Ginny’s Budget worksheet you can do so here. (I don’t have one set up yet)
If you want to download the printables for my Budget Binder files, including a 2014 calendar, you can do so here.
I hope this helps to find you a budget friendly 2014.
I love reviving old family traditions, and making new ones. I love remembering fondly the things that I did as a child at Christmas time and the things I couldn’t wait to do again.
As an adult, I get to make sure our family participates in our traditions and make new ones.
Christmas Crafts! Part Two
It is no secret I love hand and foot print art. Last year we made these Mistletoes plates. We gave them to some family as gifts. I had thought we might make them again, but decided I wanted to do something different.
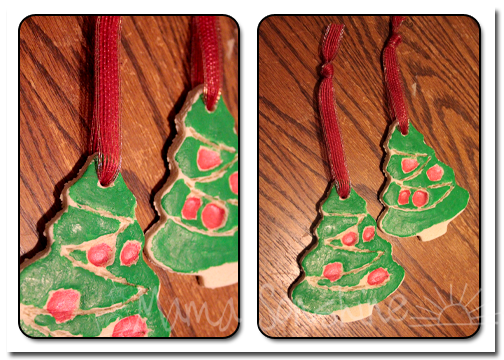
We made salt dough ornaments with the kids fingerprints to give to family.
OK, admittedly, I am not as pleased with them as I was with the plates. Mostly because you can’t tell the difference between Ian’s & Sid’s thumb prints.
They are really easy, and I could make a lot of them all at once. Ian is much more cooperative with these projects than Sid is. So I needed something that I could quickly make a lot.
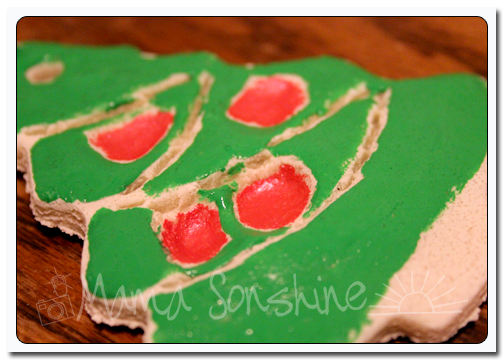
To make these Christmas Tree Fingerprint Ornaments you will need:
2 cups flour
1 cup salt
1 cup water (+/-)
rolling-pin
cookie sheet
paint (or food coloring)
ribbon
thumbs belonging to your favorite kids
Preheat oven to 250°.
Mix salt and flour together, add water a little at a time until a dough if formed. If using food coloring to color ornaments add to water prior to mixing with four & salt. Knead until dough becomes elastic, smooth and stickiness is gone, adding little bits of flour as needed.
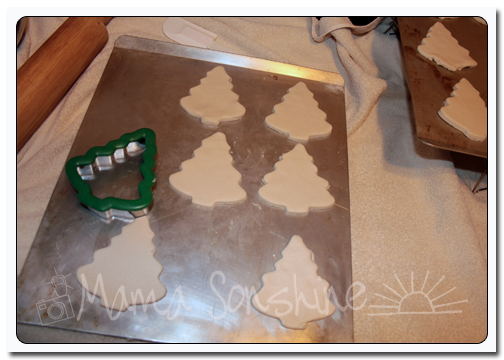
Roll out dough to 1/4″ thick on a greased surface. Use Christmas tree cookie cutter to cut out ornaments, I was able to make about 15. Poke a hole for the ribbon at the top of the tree.
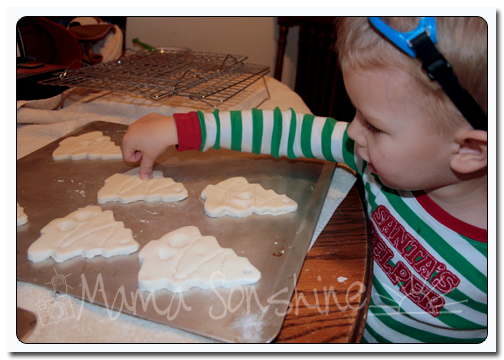
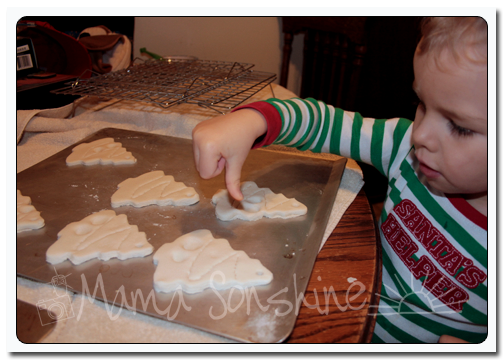
Have kids use finger/thumb prints to make ornaments on the cut out trees.
This is a good assembly line project. Ian just went through and put two prints on each one. I did have to tell him not to put them on the edge.
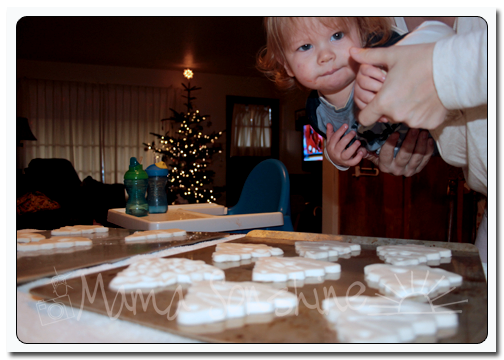
Little guys might need some help or persuading to get their thumbs on there. Sid was not very enthusiastic about this.
Place on a greased cookie sheet and bake for 2 hours. Remove from oven and allow to completely cool before painting. I used whatever craft paint I had on hand. One was acrylic and one was enamel, both worked fine.
Thread a length of ribbon through the hole and tie in order to hang up.
There is no ornament on a tree better than the ones your children make. At least, according to me.
I love reviving old family traditions, and making new ones. I love remembering fondly the things that I did as a child at Christmas time and the things I couldn’t wait to do again.
As an adult, I get to make sure our family participates in our traditions and make new ones.
Christmas Crafts!
It is so much fun to make things with the kids, but this craft is made by me with the use of the kids hands.
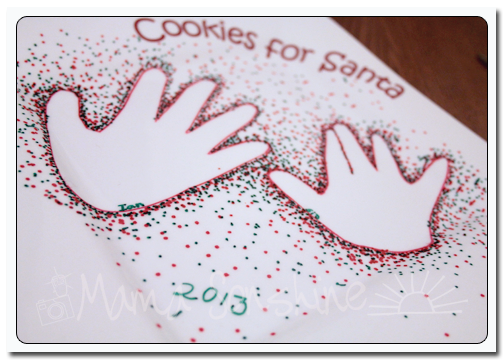
On Christmas Eve I realized I didn’t have a plate for Santa’s Cookies! I tried to find on at the store and couldn’t find one I liked, and decided to make my own.
I know, make a plate on Christmas Eve, was I crazy?
I had seen this post around thanksgiving and thought it was great and knew I wanted to make something in that style.
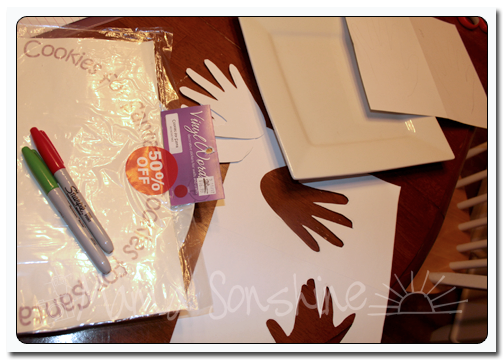
Decorating with Sharpies are so easy! As long as you don’t make a mistake…
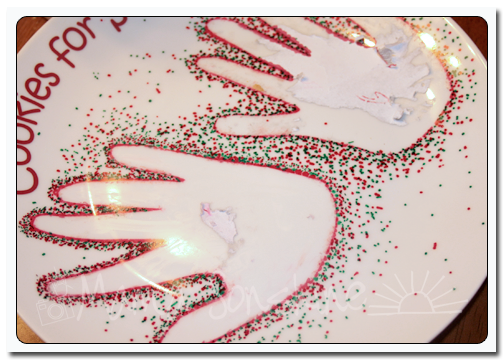
Trace you child(ren)’s hand on the sticker, then cut out. I used large address labels, but they didn’t work that well, contact paper would be better. The address labels have too much adhesive and were really hard to remove.
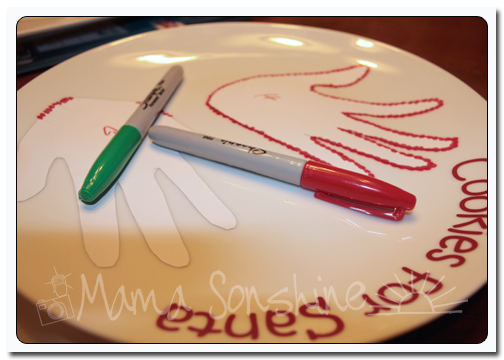
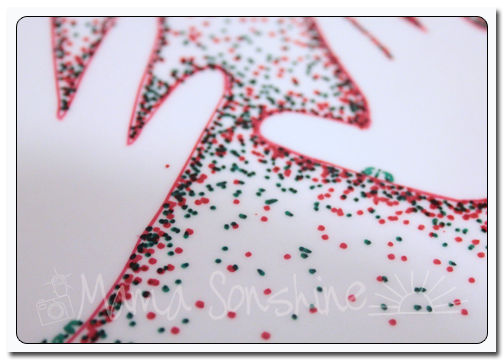
Place the pattern on the plate and using the sharpies, start your dots.
Dot heavily around the pattern, and tapering out as you go towards the plate edge. Since I had two hands, I kept the heavy pattern in between the hands.
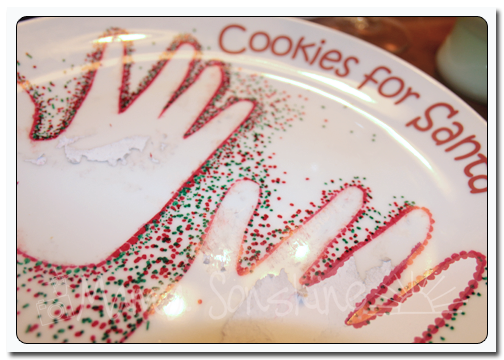
On the first plate I did, I dotted around the pattern, which took a long time. I thought if I could remove the address label quickly it would be easier, so I traced around the hands before dotting. I was able to cleanly remove the address label, but I didn’t like the look as much.
It is also better if you don’t use a brand new sharpie, you want the point to be blunt for better dots.
When you get the look you want you need to cure it. If there is a mistake you can probably clean it up with some rubbing alcohol and a cotton swab.
See the residue of the address label…
Place your plate in a cold oven and turn it on to 350°. Bake for 30 minutes, turn off oven and let the plate cool while still in the oven. You can spray with a clear sealing spray if you want, but I can’t guarantee it would be food safe. I would recommend hand washing only.
I used vinyl stickers for the “Cookies for Santa” on the plate. I had planned on writing “from our hands to your” but didn’t think there was room.